


12 Rental-Friendly Living Room Upgrades
When I moved into my first rented flat, the living room was a blank box: magnolia walls, a tired carpet, and a landlord who had said a firm no to painting. I assumed that meant living with it for a year. It did not. Over that tenancy I learned that the best rental living room ideas are the ones you can undo on a Sunday afternoon, with no filler, no paint touch-ups, and no awkward conversation at move-out. Every upgrade below passes that test. None of them needs drilling, painting, or permission beyond a quick check of your lease, and most cost less than a weekly shop. Start with one, live with it for a few days, and then add another. A rented room can still feel like yours.
Rental Living Room Ideas That Won’t Cost Your Deposit
Before you buy anything, take phone photos of every wall, floor, and fixture, and read the decorating clause in your lease. Some landlords allow adhesive hooks but not wallpaper; others are fine with both as long as you restore the room at the end. Keep the original hardware, screws, and knobs in a labelled bag, so move-out day is a reversal job rather than a repair job. That one habit has saved me more deposit money than any single decorating trick.
1. Add a Peel-and-Stick Wallpaper Accent Wall
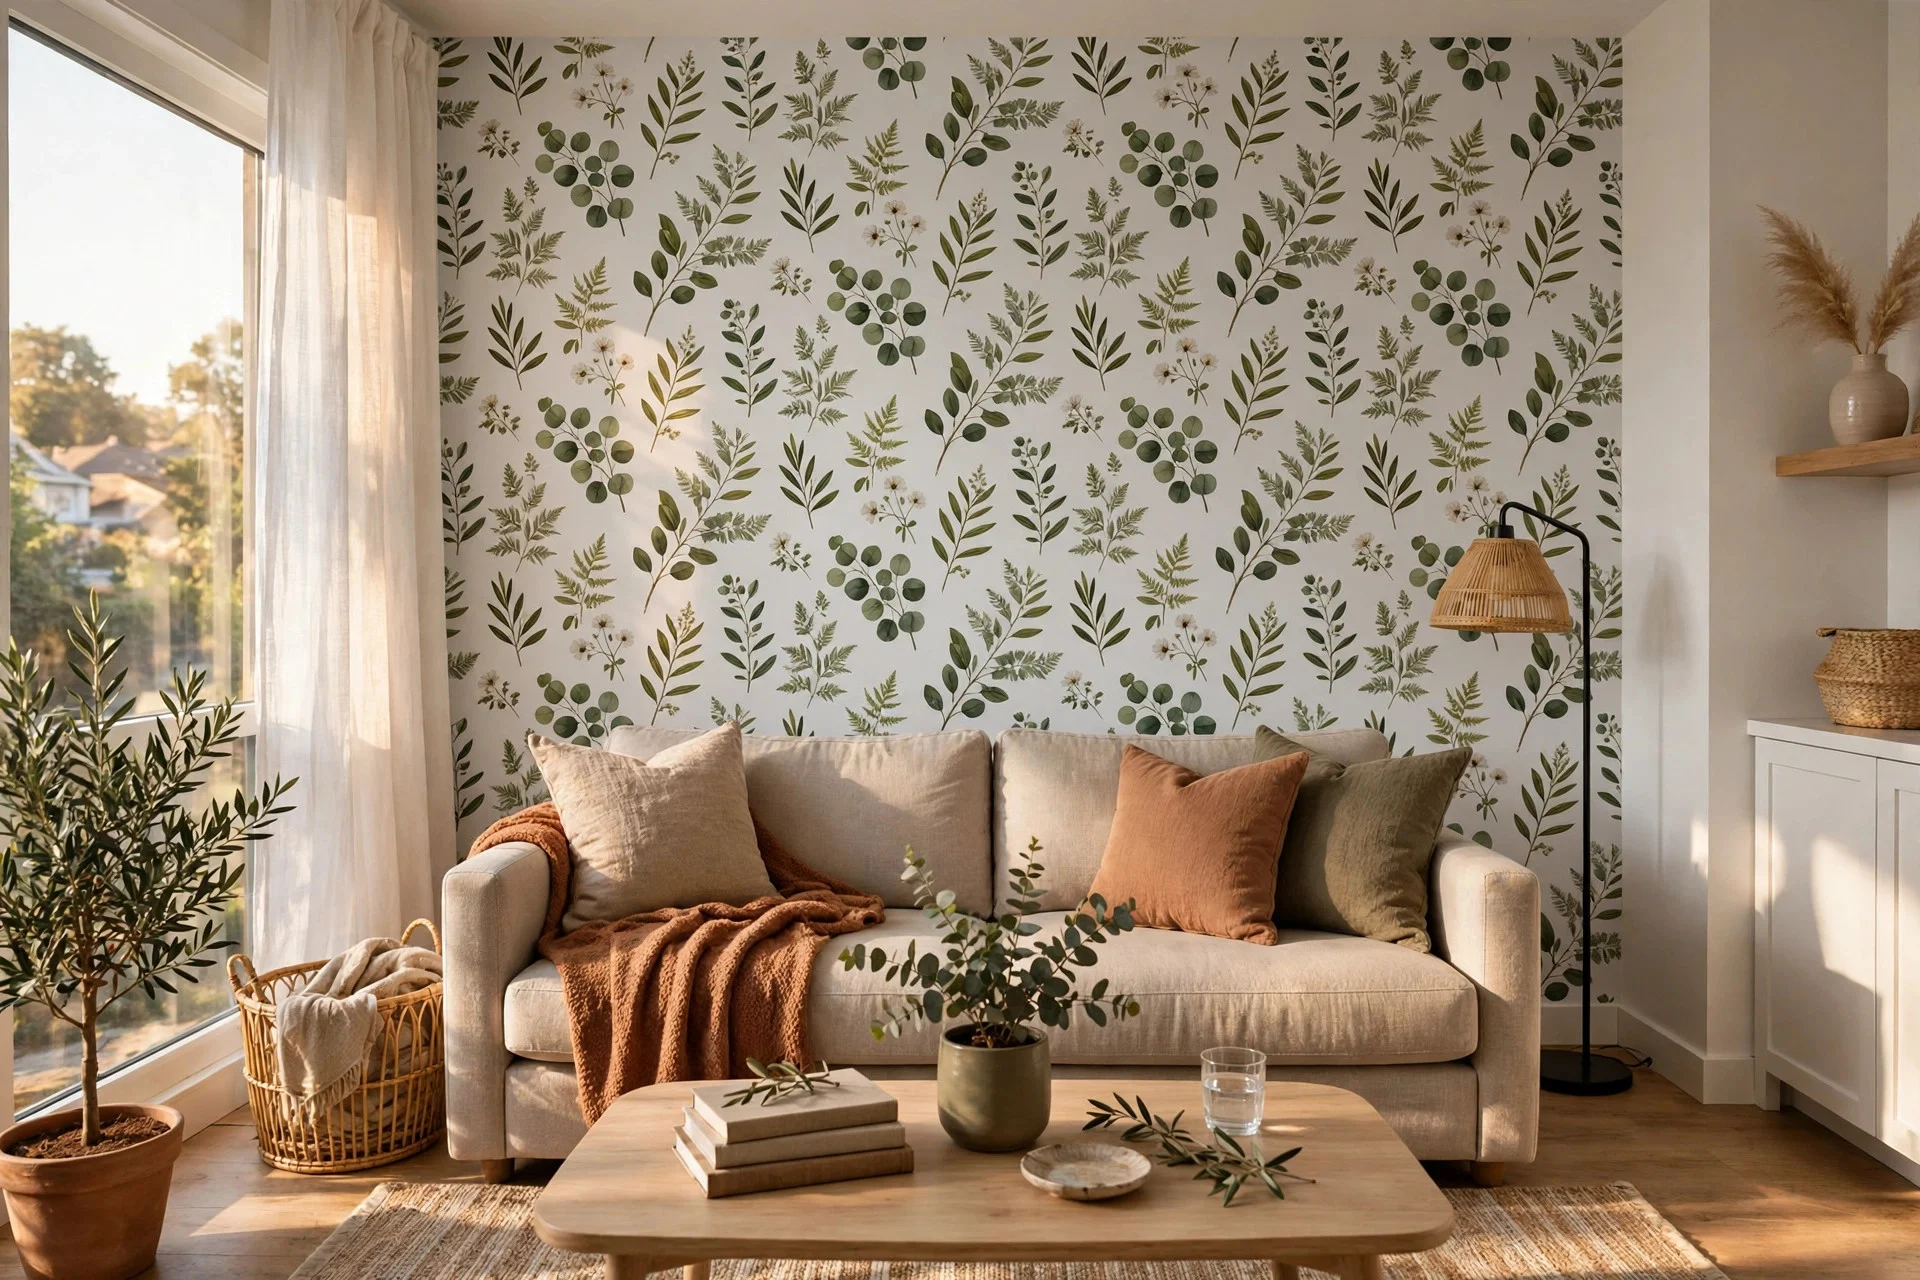
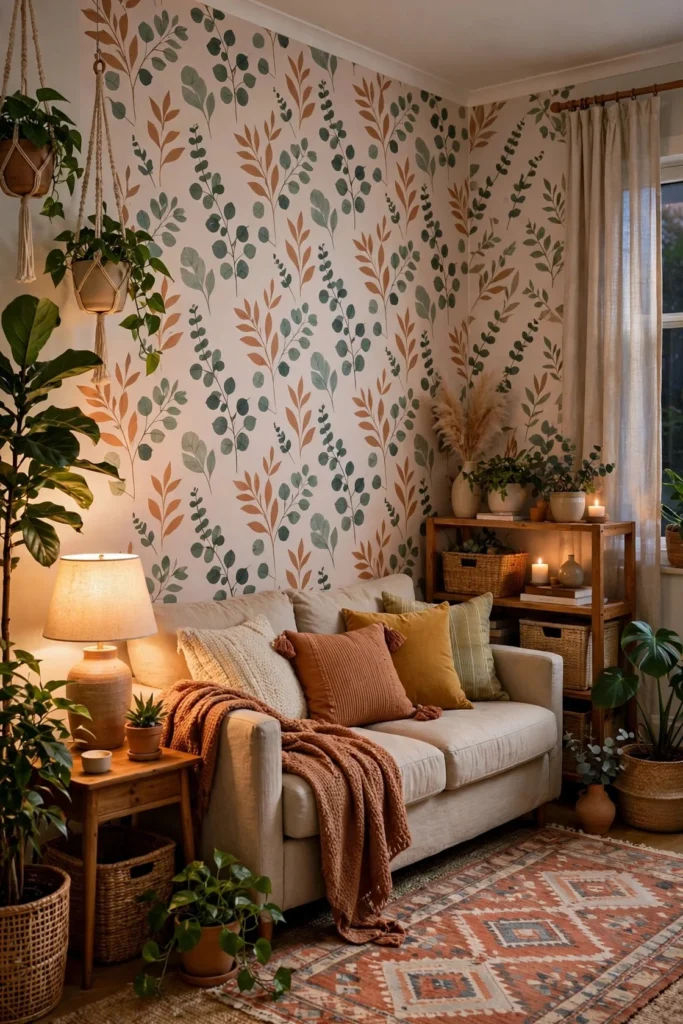
Peel-and-stick wallpaper is the closest thing renters get to repainting. Pick one wall, usually the one behind the sofa, and measure it twice before ordering. Clean the wall with a damp cloth and let it dry fully, then peel the backing a little at a time, smoothing from the centre outward with a plastic card to push air bubbles out. Work top to bottom, and trim the excess at the skirting board with a sharp craft knife. I did our living room wall in an evening, and the room went from flat rental beige to something with actual character. When you move, warm the edge with a hairdryer and peel slowly; it should come away clean.
2. Hang a Gallery Wall With Adhesive Hooks
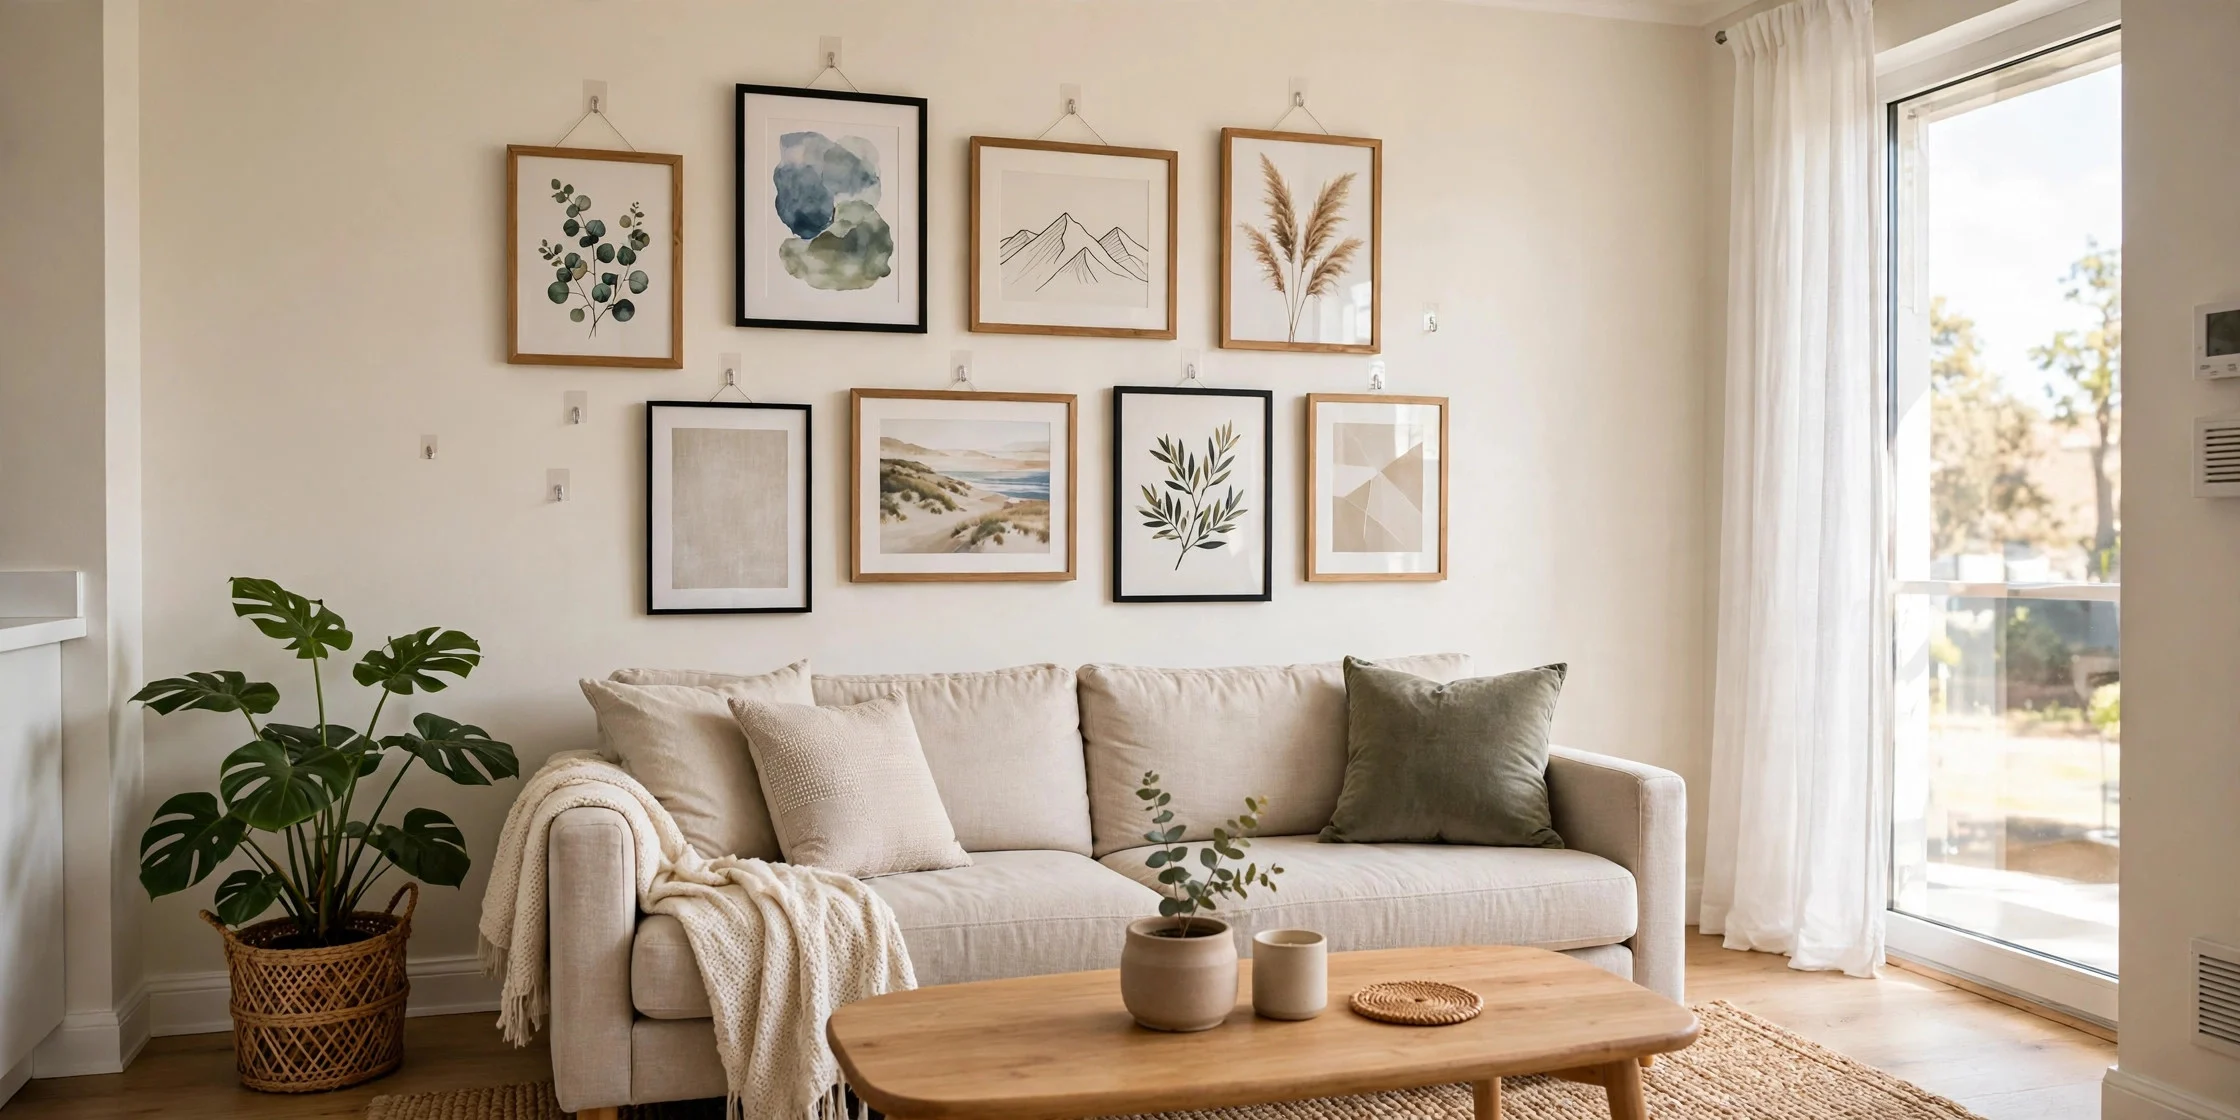
Bare walls are what make rentals feel temporary, and a gallery wall fixes that in an afternoon. Lay your frames on the floor first and shuffle them until the arrangement feels balanced, then trace the layout on paper or snap a photo for reference. Use adhesive picture-hanging strips rated for each frame’s weight, press them firmly for thirty seconds, and wait an hour before hanging anything heavy. Mix frame sizes, leave two or three inches between frames, and include one personal piece, a holiday photo or a child’s drawing, so it reads as your wall rather than a showroom. Check the weight limits on Command’s damage-free hanging guide before you start, and your landlord will never know a thing.
3. Throw a Washable Slipcover Over the Sofa
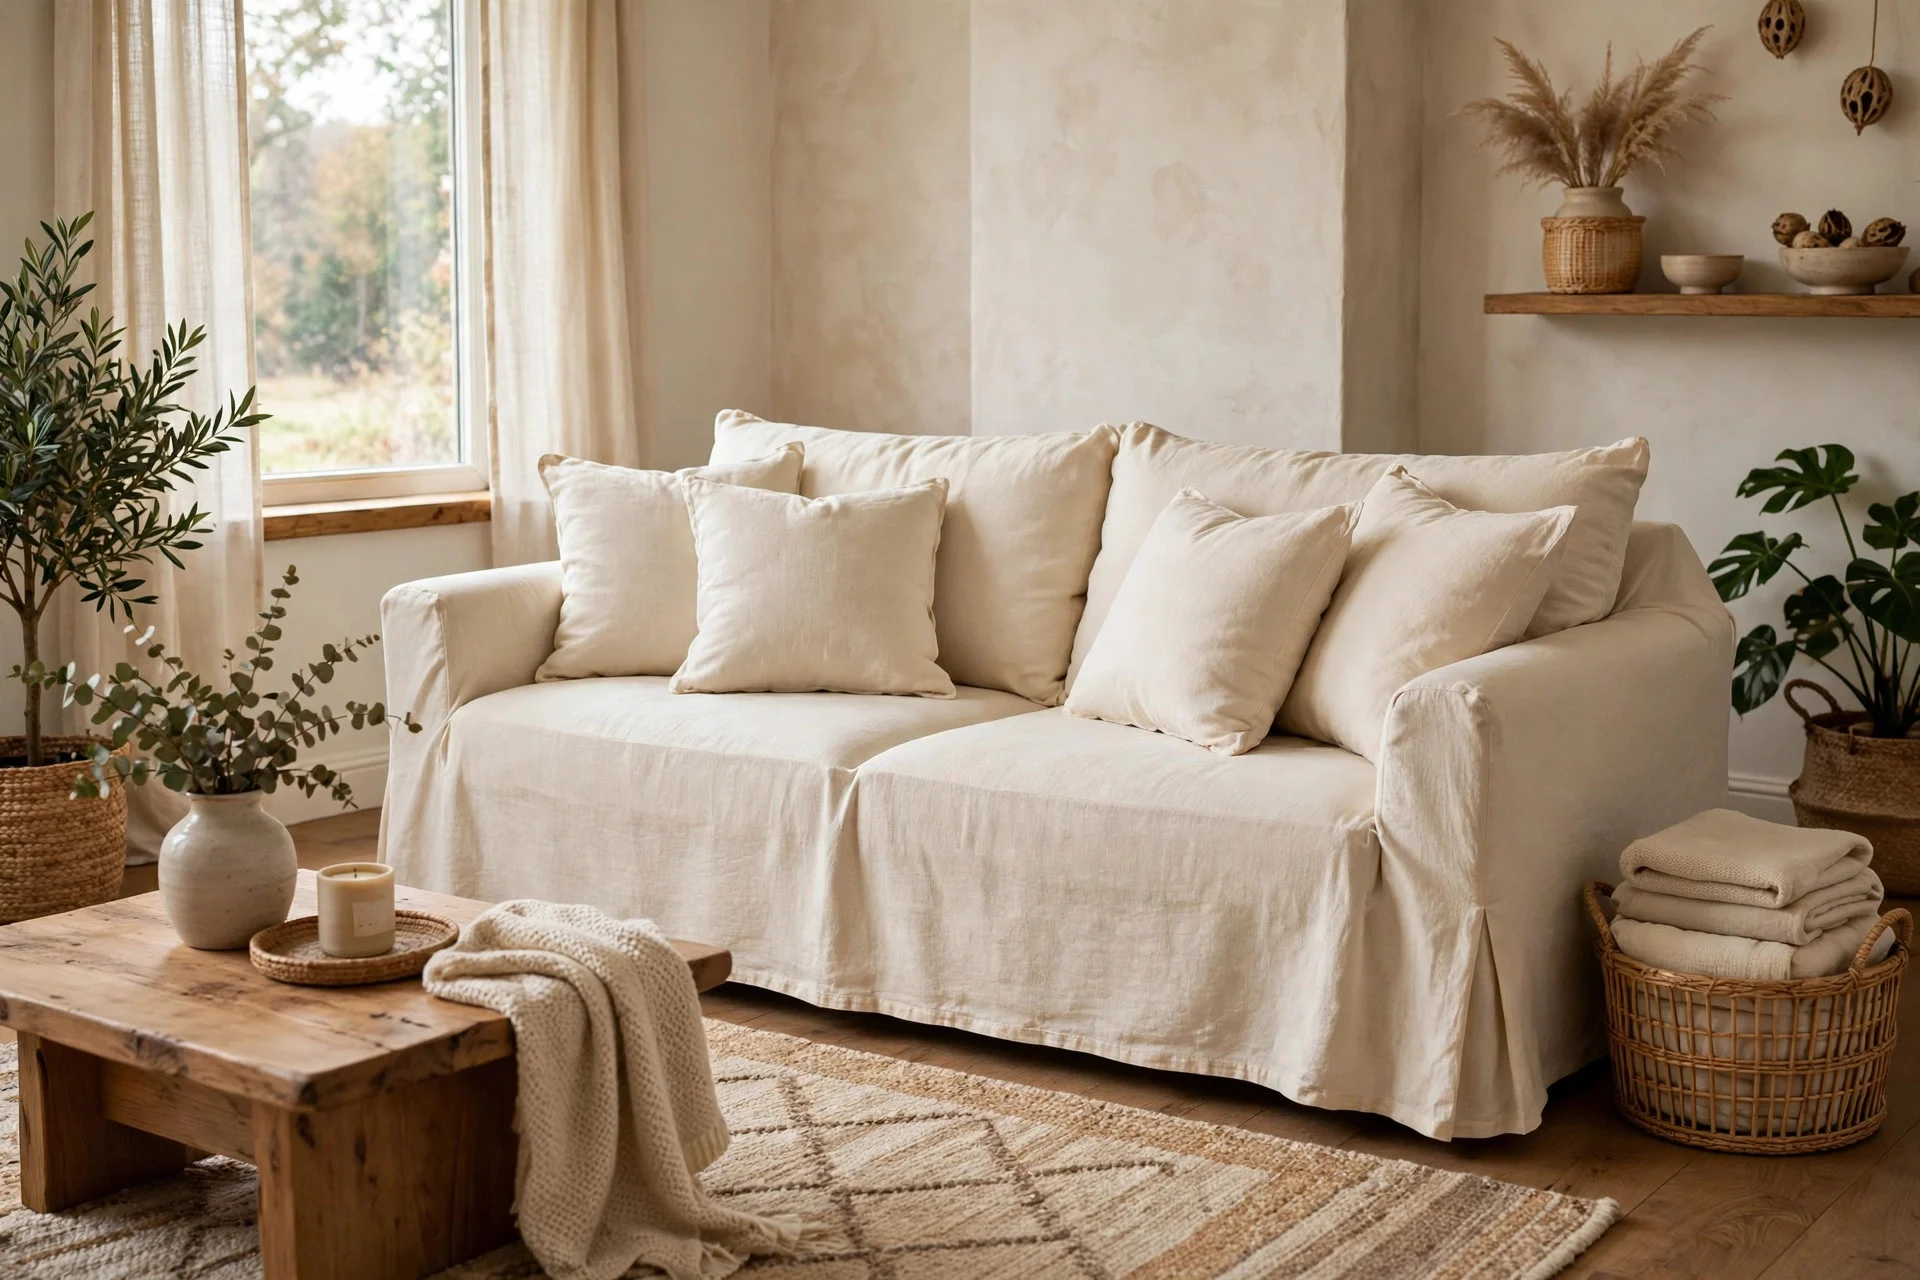
If the sofa came with the flat, or if yours has seen better days, a slipcover is a faster reset than shopping for a replacement. Measure the sofa’s length, depth, and arm height, and choose a stretch or tailored cover in a washable fabric like cotton or linen blend. Pull it on, tuck the excess into the seat and back creases, and smooth the arms. It took me about twenty minutes, and suddenly the sagging grey sofa looked like a deliberate cream one. Buy a second cover if you can, so one can be in the wash while the other is on the sofa. Pets, red wine, and toddlers all become much less stressful.
4. Layer a Rug Over a Tired Floor
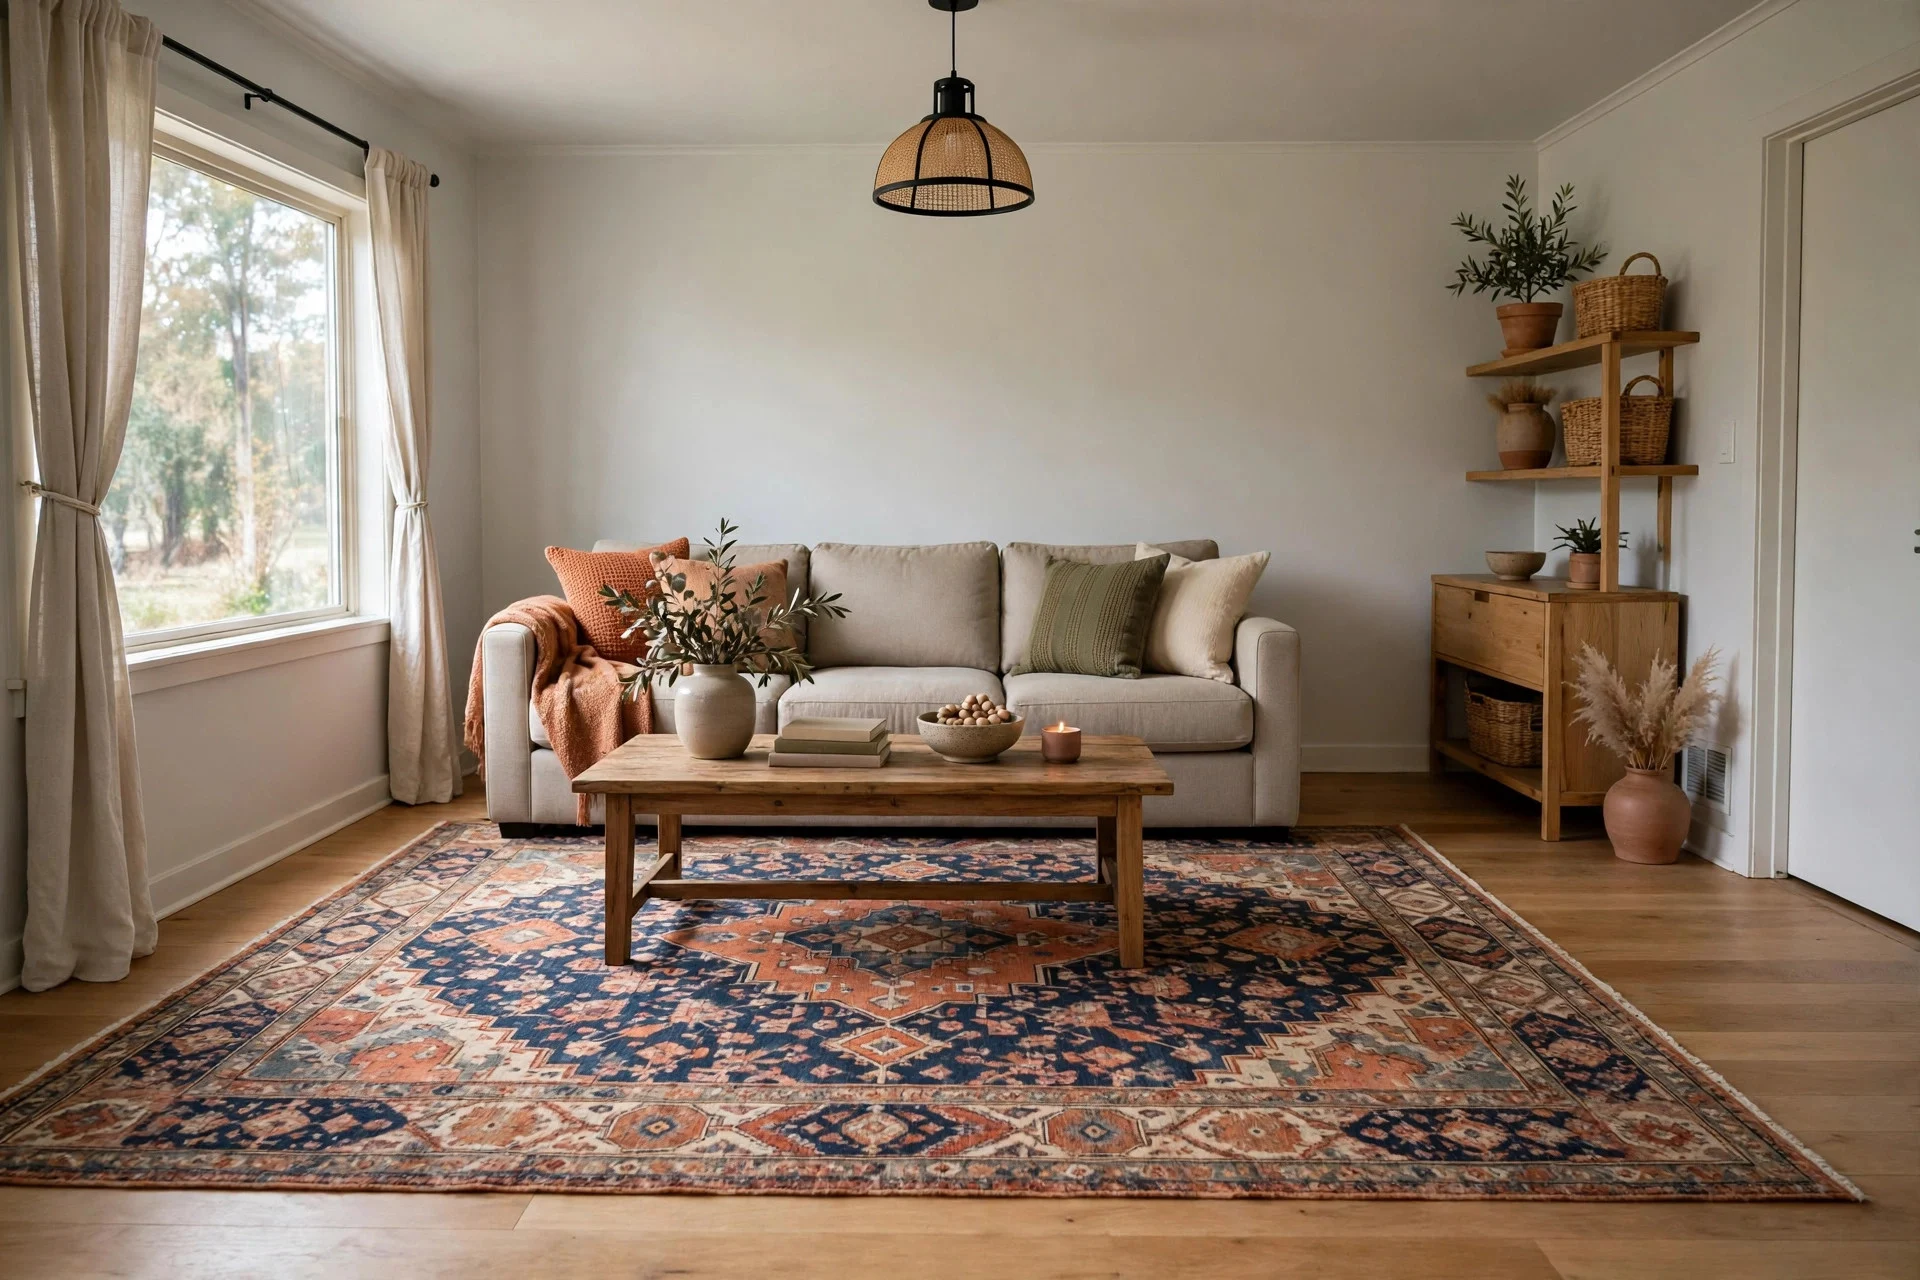
Rental floors are often the hardest thing to love: thin carpet, scuffed laminate, or cold tile. A big rug covers the worst of it and defines the seating area at the same time. Go larger than you think you need, so the front legs of the sofa and chairs all sit on it, and add a non-slip rug pad underneath so it stays put on hard floors. If the base floor is truly ugly, layer a smaller patterned rug over a plain larger one for depth. Our guide to choosing the right rug size for your living room walks through the front-legs rule in detail. A good rug also softens sound, which your downstairs neighbours will appreciate.
5. Hang Curtains on a Tension Rod
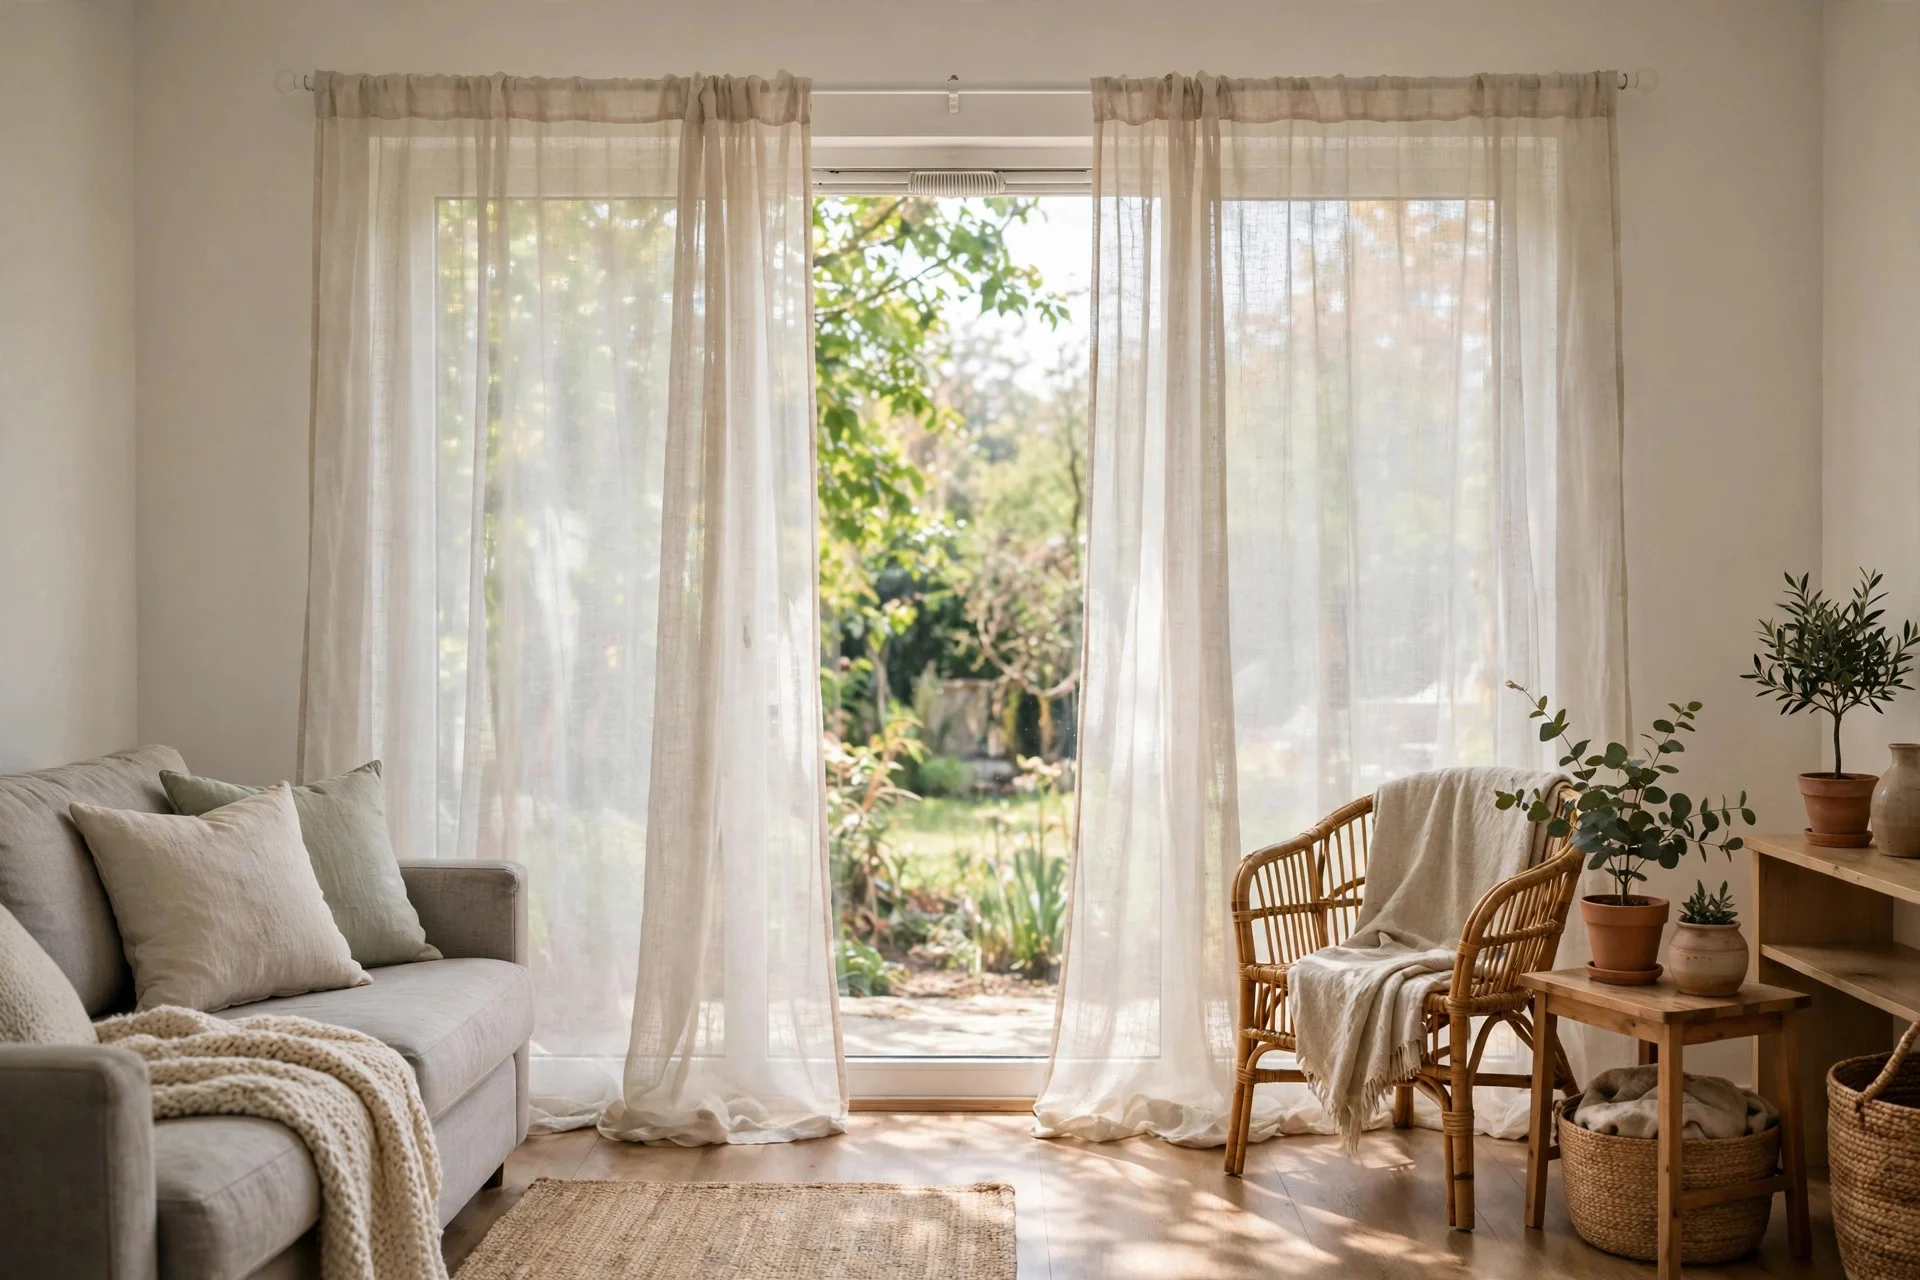
Curtains change a room’s proportions instantly, and a tension rod means no drilling into the window frame. Measure the inside width of the recess, buy a rod that extends a little beyond it, and twist it tight until it grips. Hang sheer linen panels for daytime privacy that still lets light through, or add a heavier pair over the top in winter for warmth. I hung ours higher than the actual window, near the ceiling, which made the window look taller and the room feel less boxy. When you leave, the rod twists out in seconds and leaves no mark at all.
6. Replace Overhead Glare With Layered Lamps
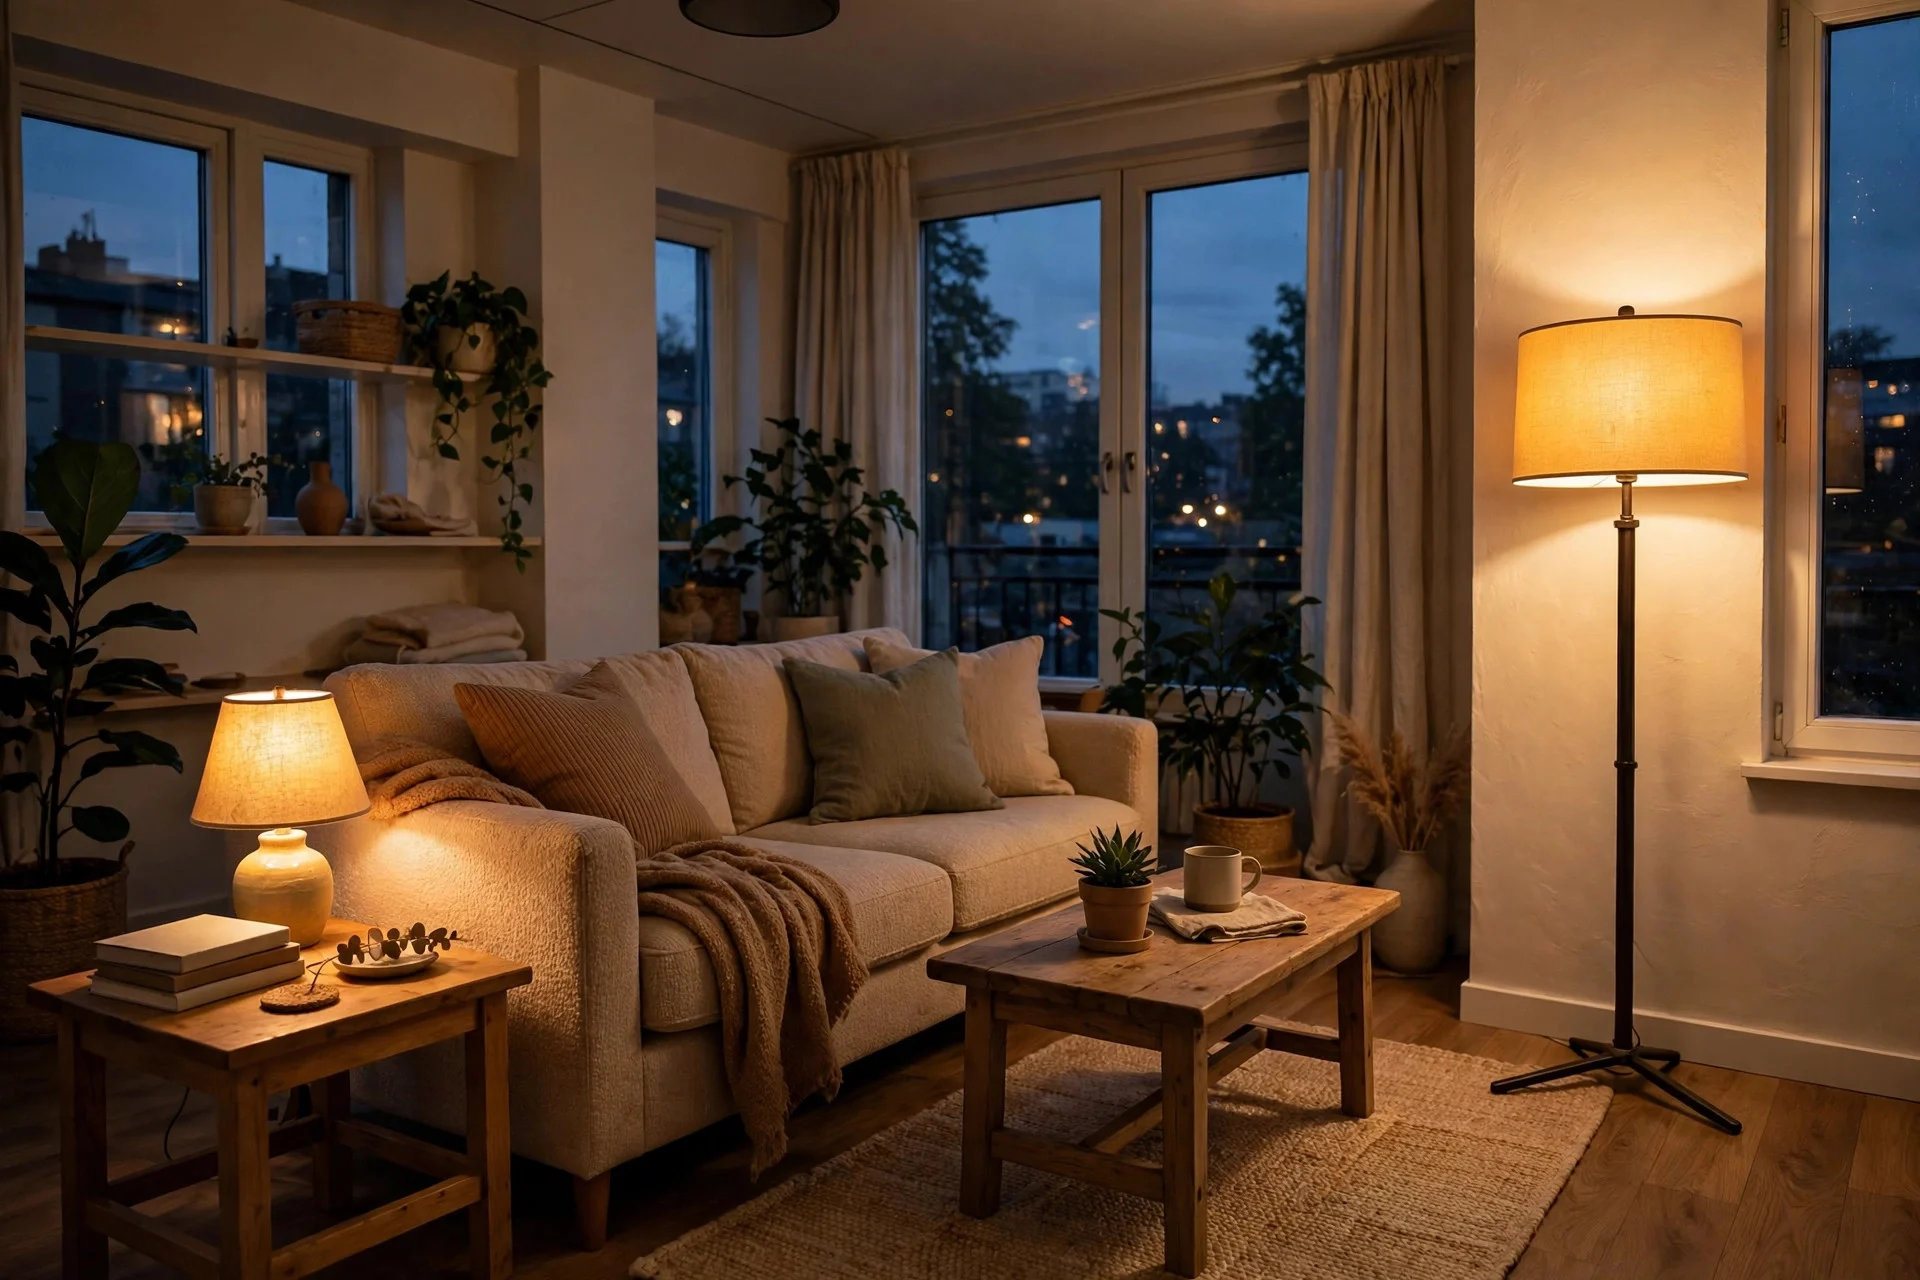
Most rentals come with one harsh ceiling light, and it flattens everything. Turn it off and build light in layers instead: a floor lamp behind the sofa, a table lamp on a side table, and a small warm light near a reading chair. Use warm white bulbs around 2700K, which flatter skin tones and wood far better than cool white. This is also the cheapest upgrade on this list, and it changes evenings completely. For more low-cost warmth, our cozy living room ideas on a budget are full of the same kind of small, reversible moves.
7. Add Privacy With Removable Window Film
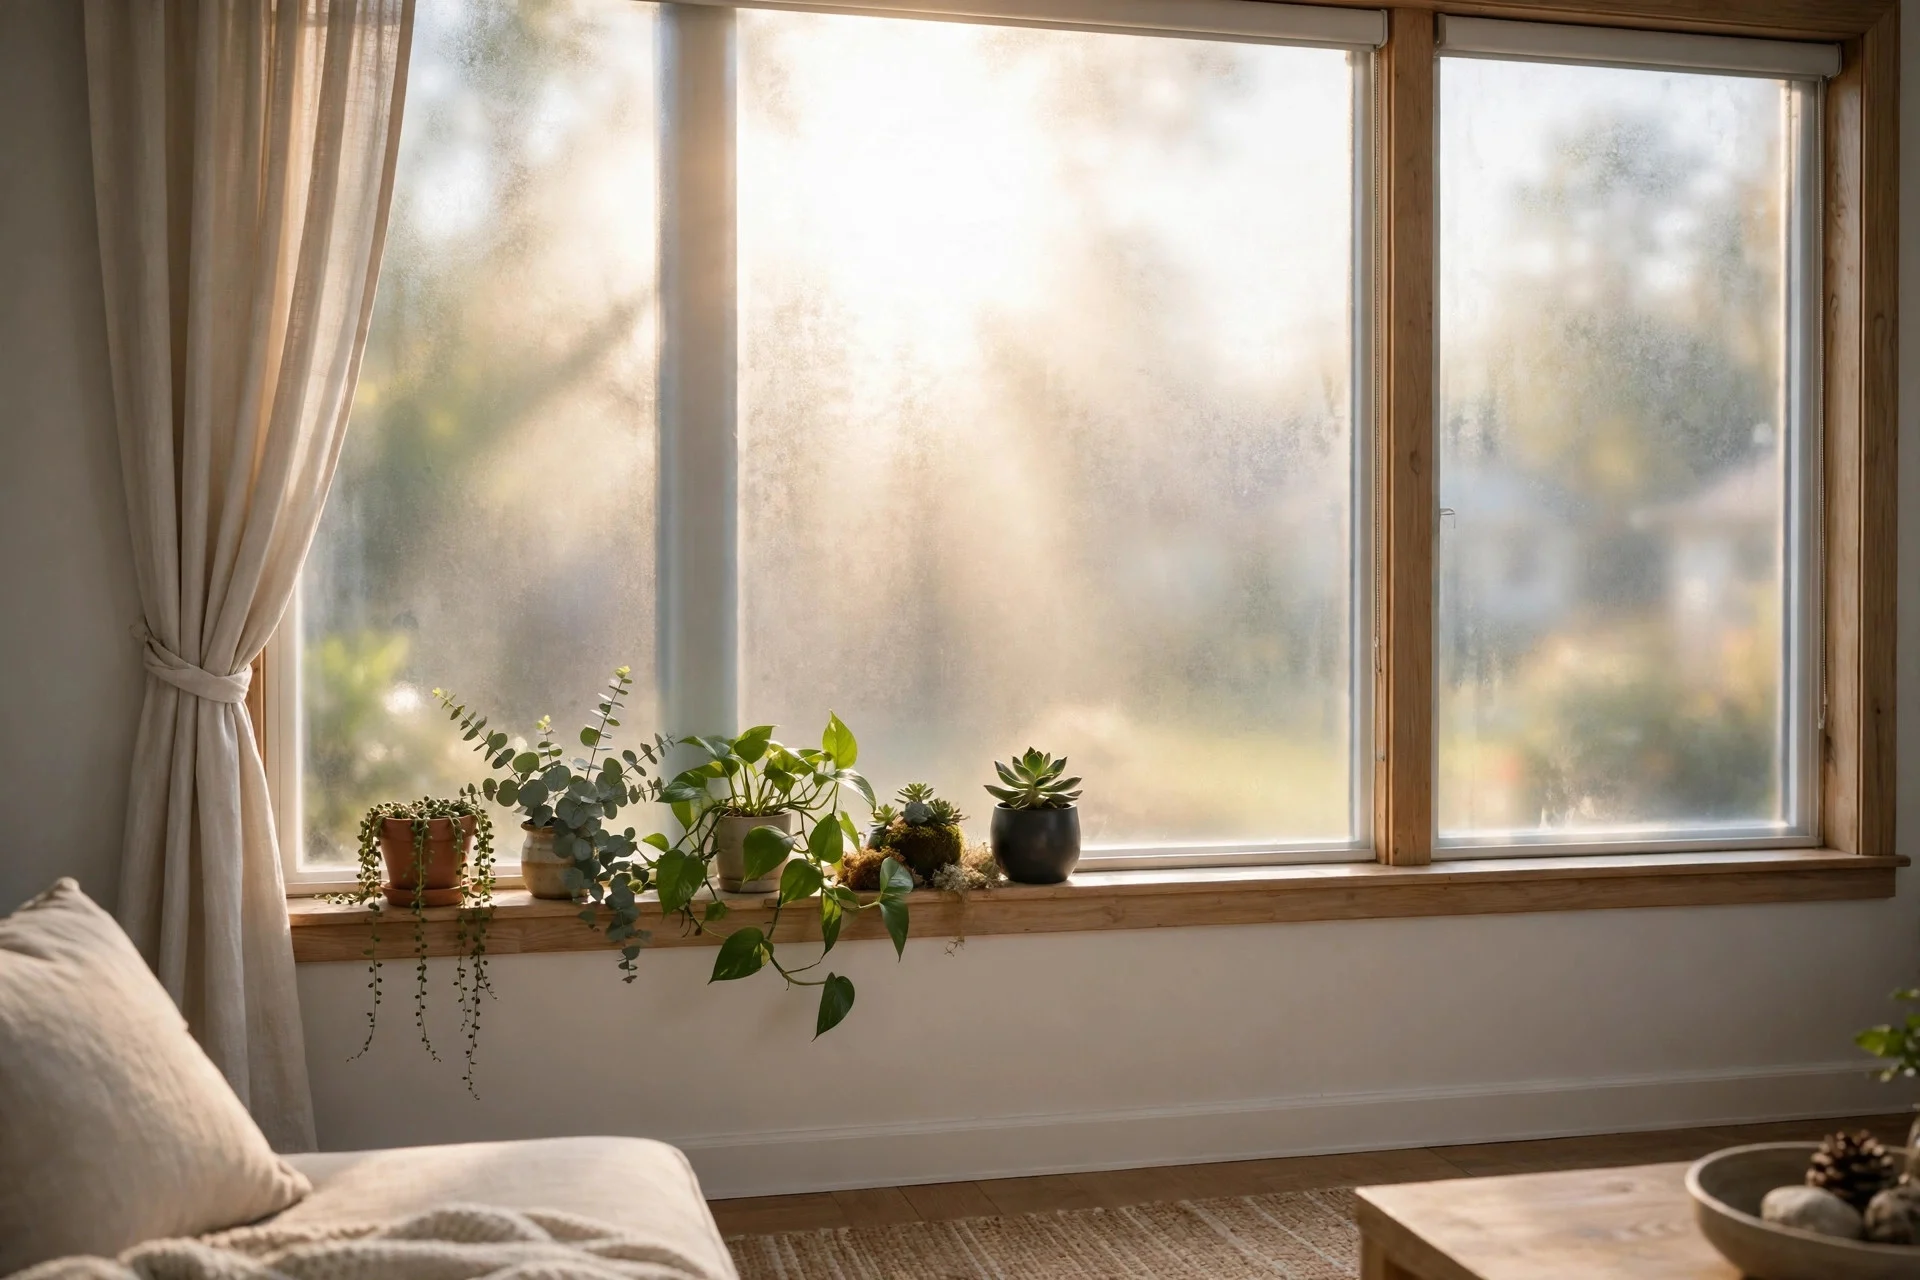
If your living room faces the street, or a neighbour’s window sits a few feet away, frosted window film gives you privacy without curtains or blinds. Cut the static-cling film to size, spray the glass with soapy water, and smooth the film on with a card, working out bubbles as you go. It sticks without adhesive, so it peels off cleanly later. I put it on the lower half of our street-facing window and left the top clear, which kept the daylight while stopping passers-by from seeing straight in. It also softens harsh sun, so the sofa fabric fades more slowly.
8. Bring in Freestanding Shelving
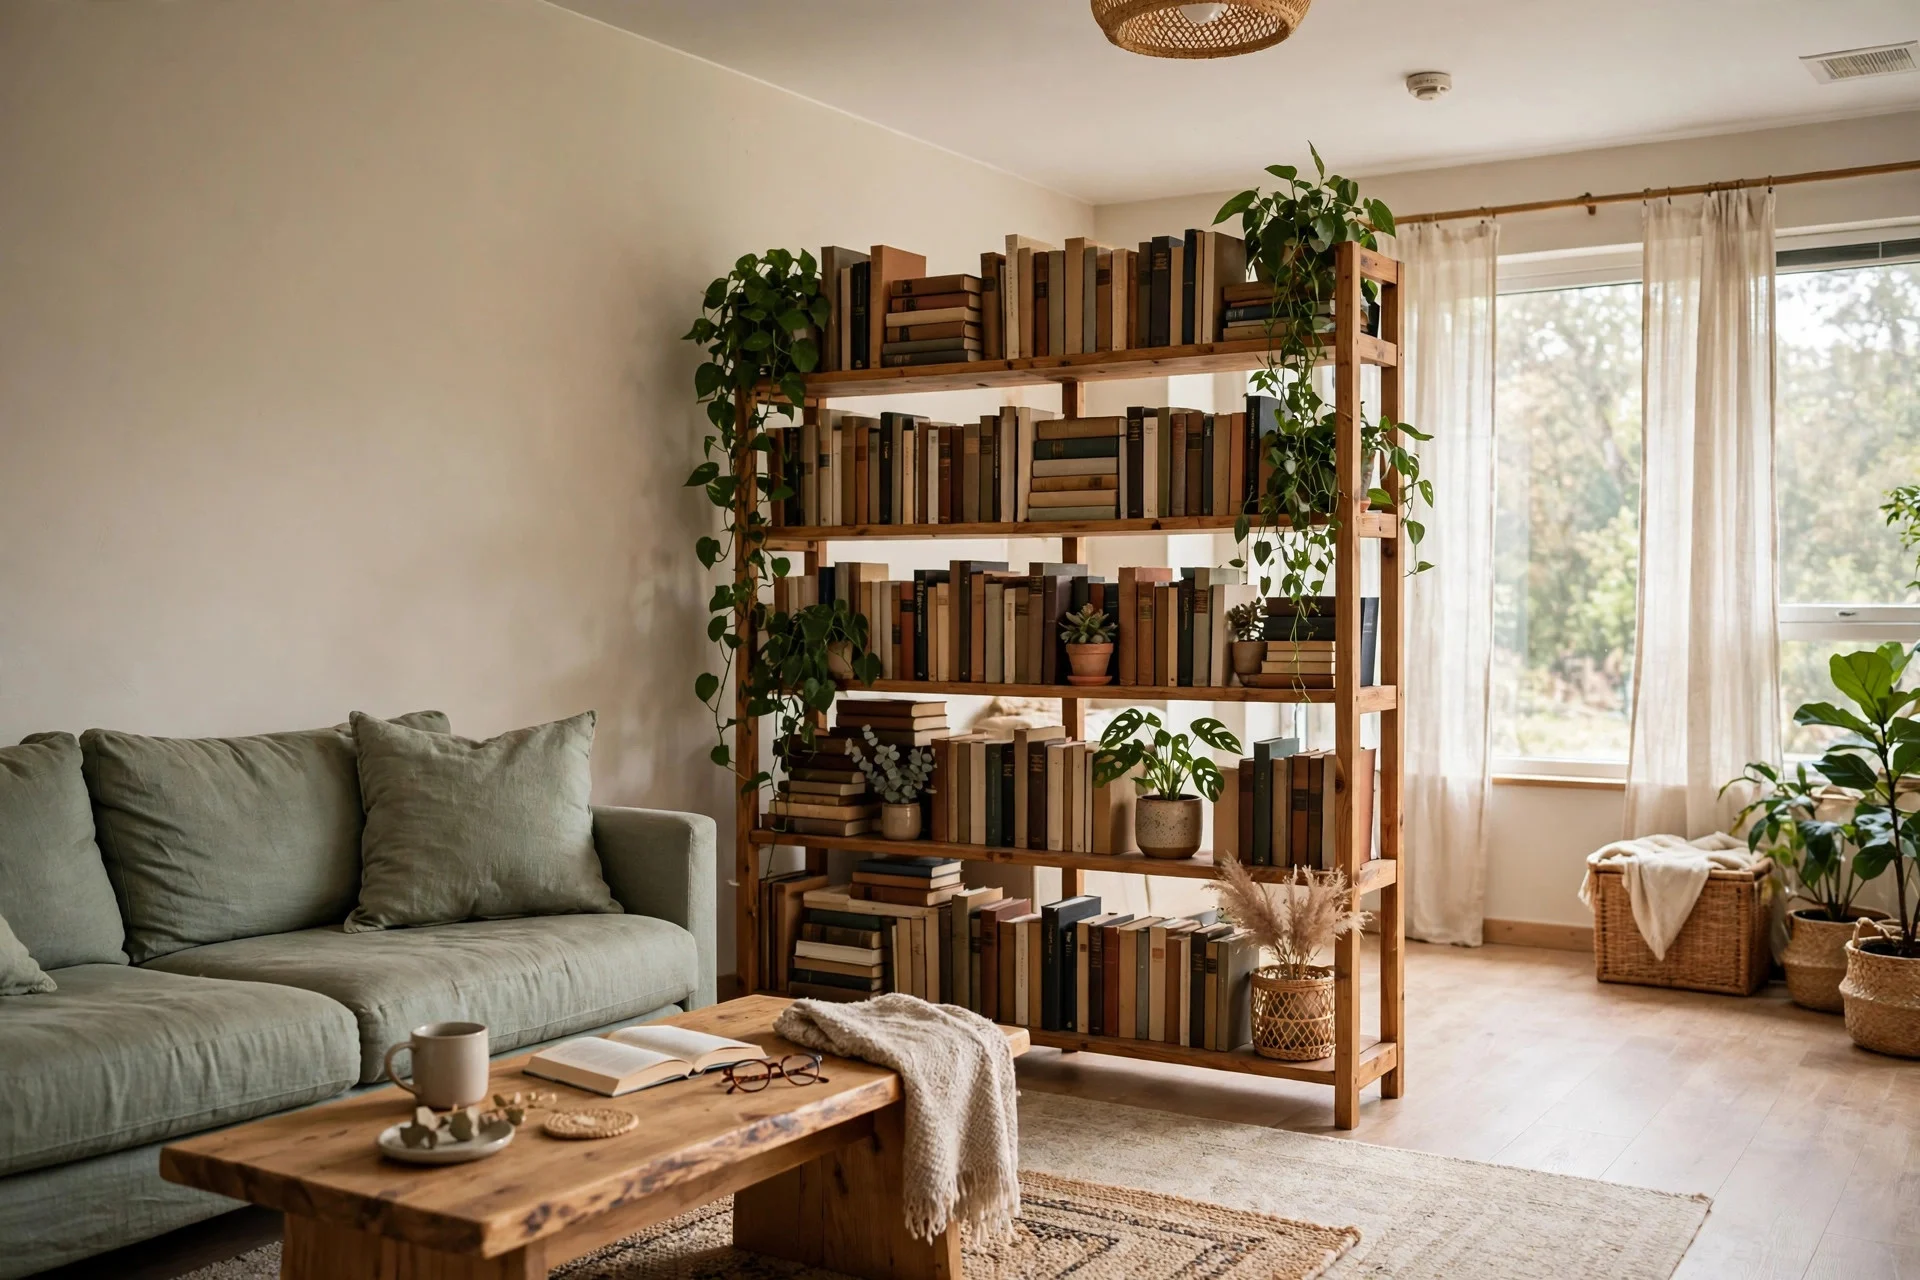
You cannot always drill shelves into a rental wall, but a tall freestanding bookcase gives you the same display space without a single hole. Choose a narrow unit if floor space is tight, and anchor it with a freestanding anti-tip strap only if your lease allows the small fixings, or simply keep heavy items low and the unit stable. Style it loosely: books upright and stacked, a plant trailing from one shelf, a basket on the bottom for clutter. The trick is leaving some empty space on each shelf. A crammed bookcase looks like storage; a bookcase with breathing room looks like a styled piece of furniture.
9. Cover a Small Ugly Floor Area With Peel-and-Stick Tiles
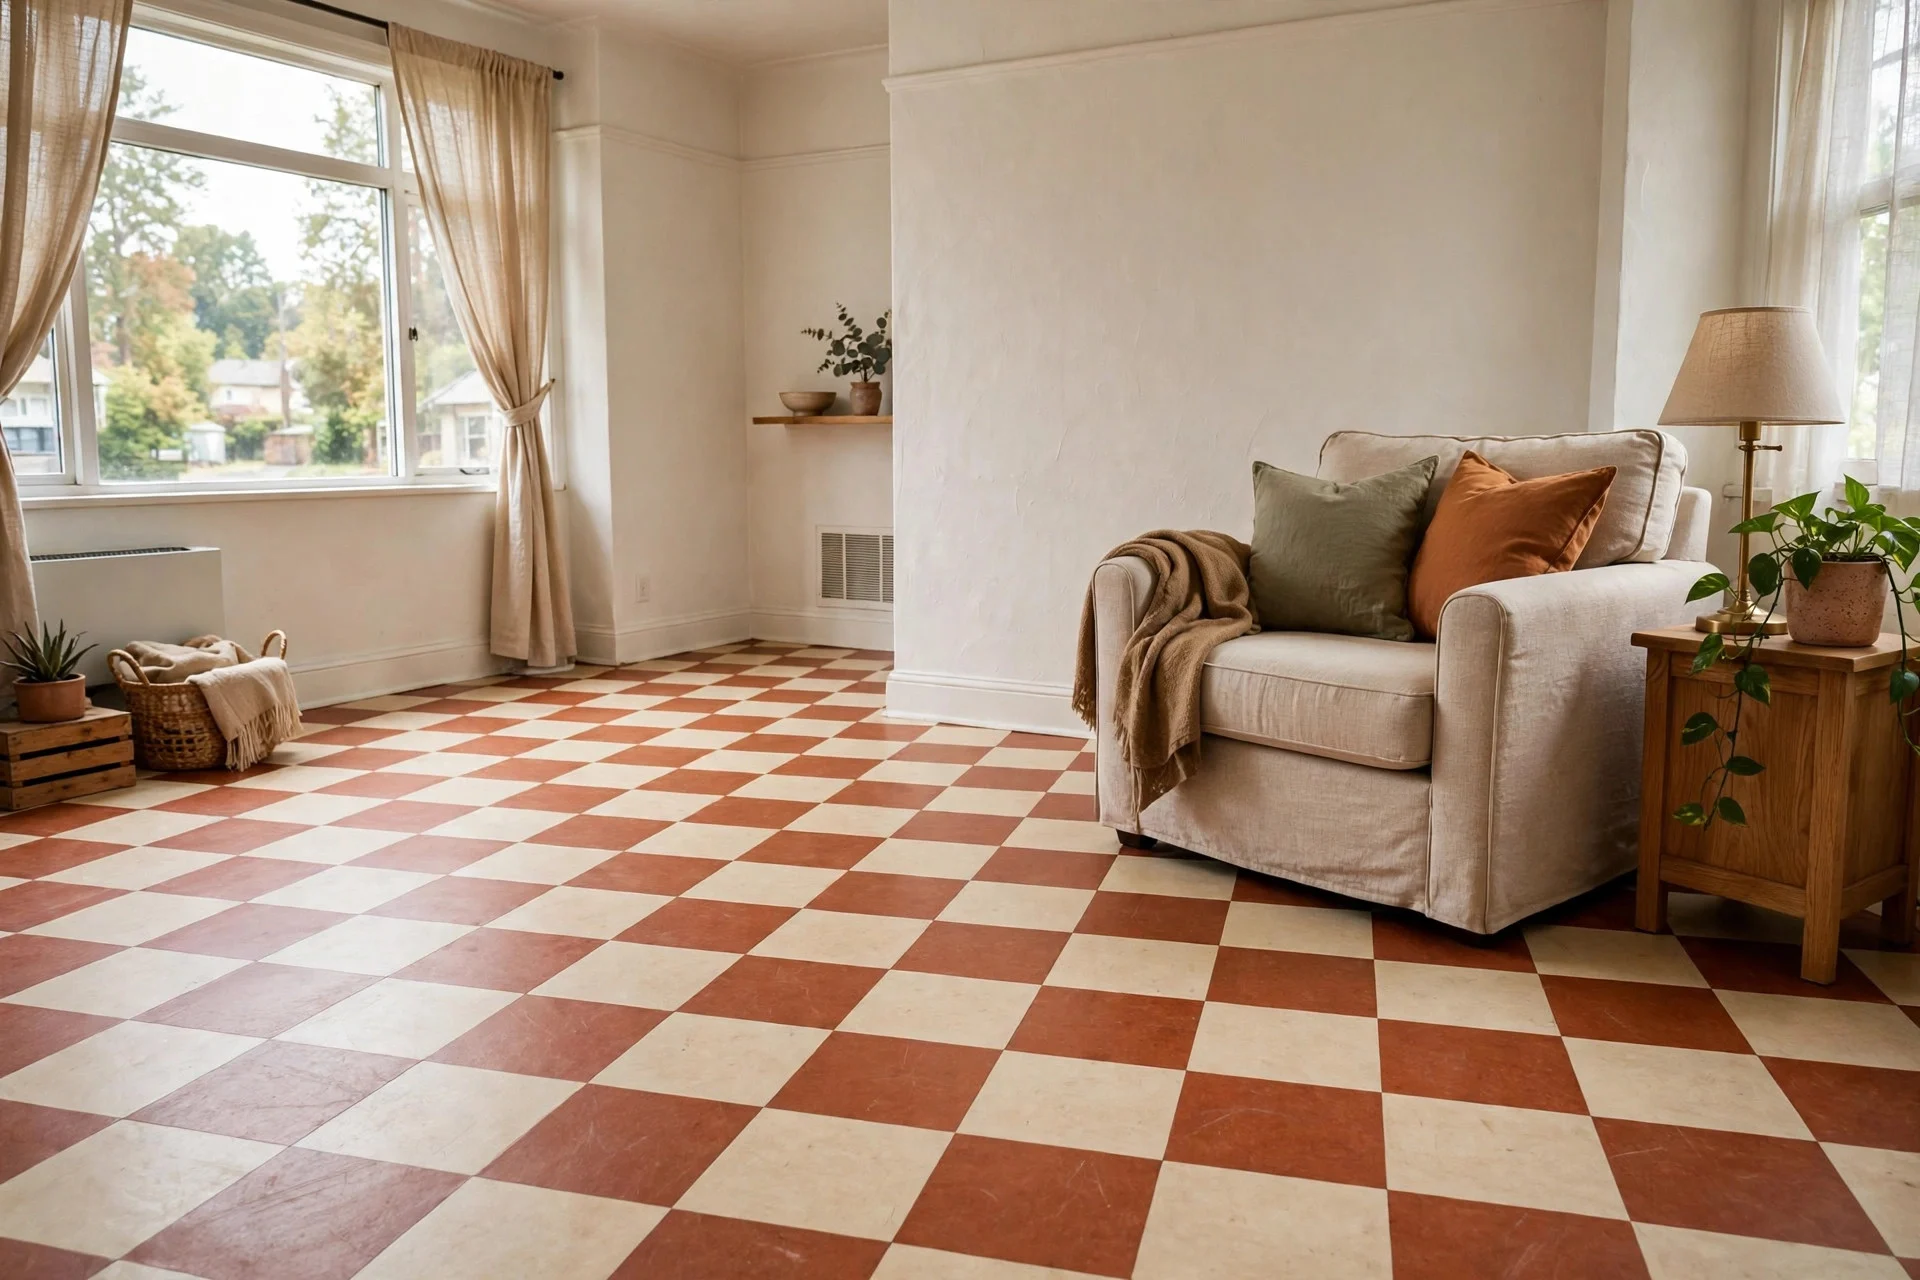
Peel-and-stick vinyl tiles are usually sold for kitchens and bathrooms, but they work just as well on a small, ugly patch of living room floor, like the entry corner or the area by the balcony door. Clean and dry the floor first, start from a straight edge, and press each tile firmly, leaving no gaps. Choose a warm checker or wood-look pattern that flatters the rest of the room. I covered a stained patch by our front door in under an hour, and it looked intentional rather than patched. Check with your landlord first on this one, since floor tiles are harder to remove than wall wallpaper, and keep a few spares for repairs.
10. Lean a Large Mirror Against the Wall
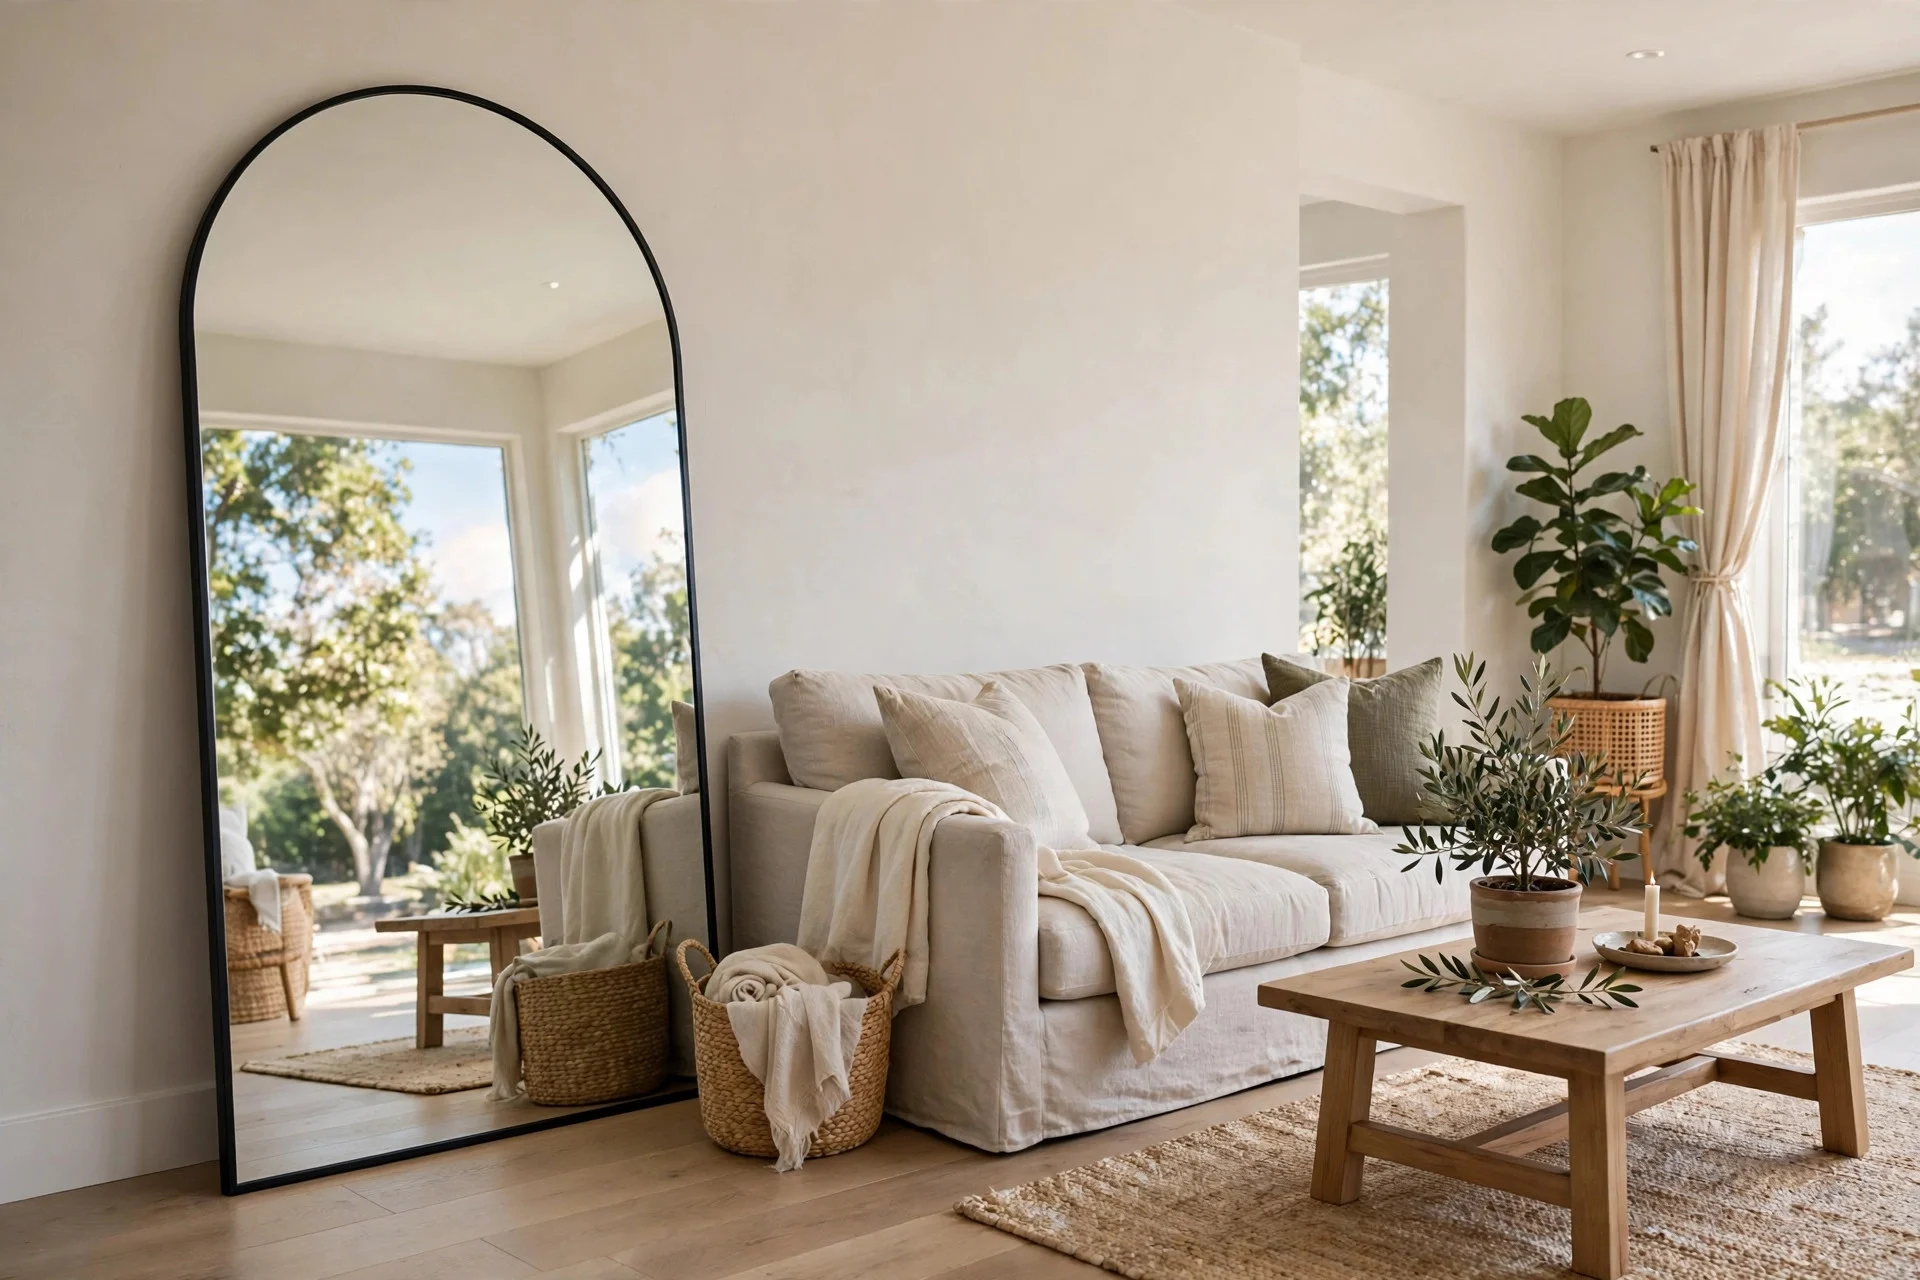
A big mirror is the fastest way to make a small rental feel larger, and leaning it against the wall means no hanging hardware at all. Place it opposite or beside a window so it bounces daylight around the room, and make sure it rests on a stable floor, not on a rug that could slide. A full-length arched mirror looks softer than a plain rectangle, and it doubles as a last check before you leave the house. Secure the top with a small adhesive bumper if you have children or pets who might bump it. Mine leans in the corner by the window, and guests always assume the room is bigger than it is.
11. Hide Clutter in a Storage Ottoman and Baskets
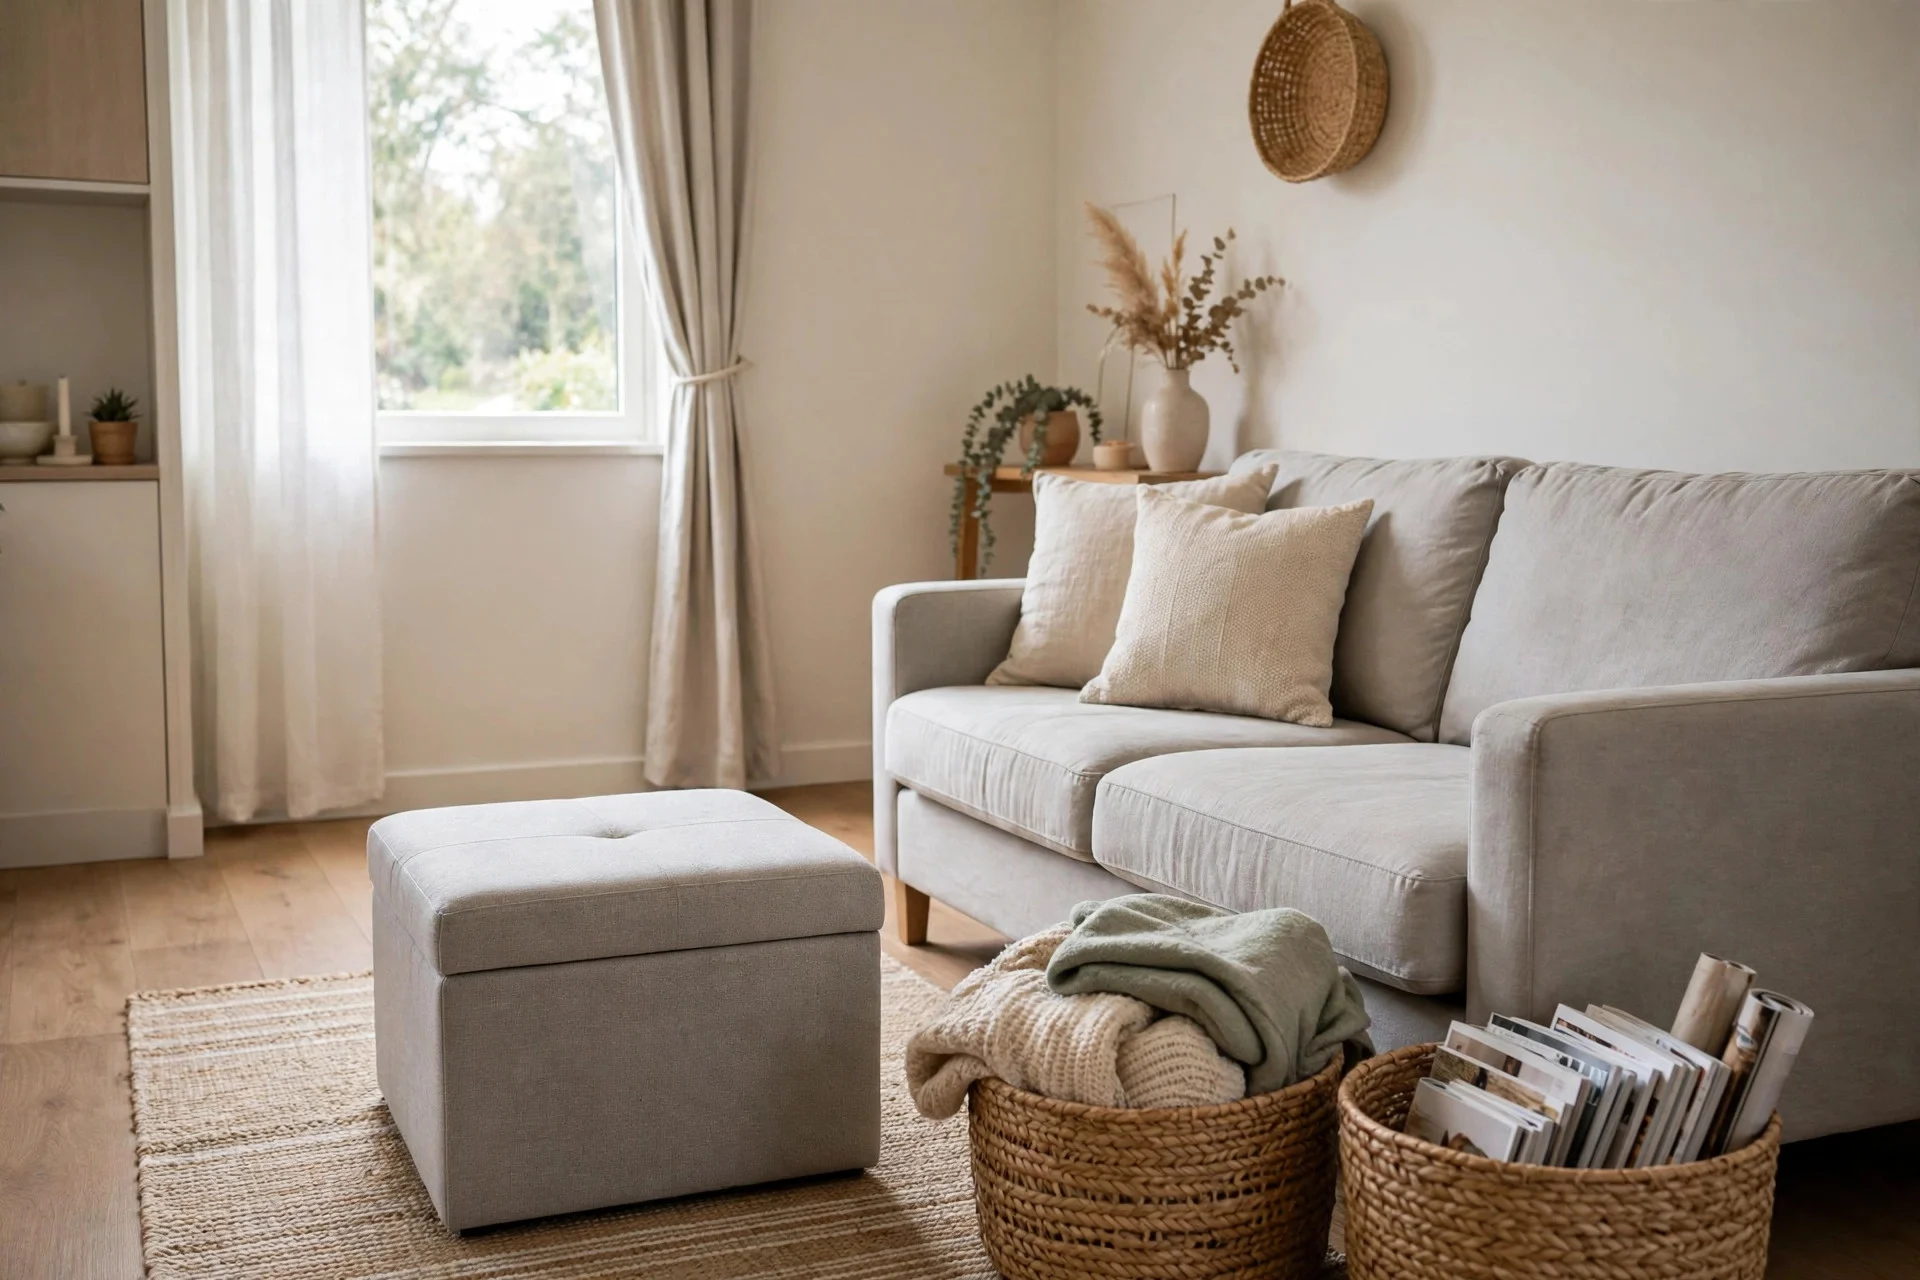
Rental living rooms rarely come with enough closed storage, so clutter ends up on every surface. A storage ottoman solves three problems at once: it hides throws, chargers, and board games, it works as a footrest, and it can be an extra seat when friends visit. Add two matching baskets beside the sofa, one for throws and one for the odds and ends that never had a home. Matching matters more than expensive, as our small living room storage ideas that hide clutter explain. When someone knocks unexpectedly, tidying takes about ninety seconds: everything goes in a basket or under the ottoman lid.
12. Swap the Cabinet Hardware, and Keep the Originals
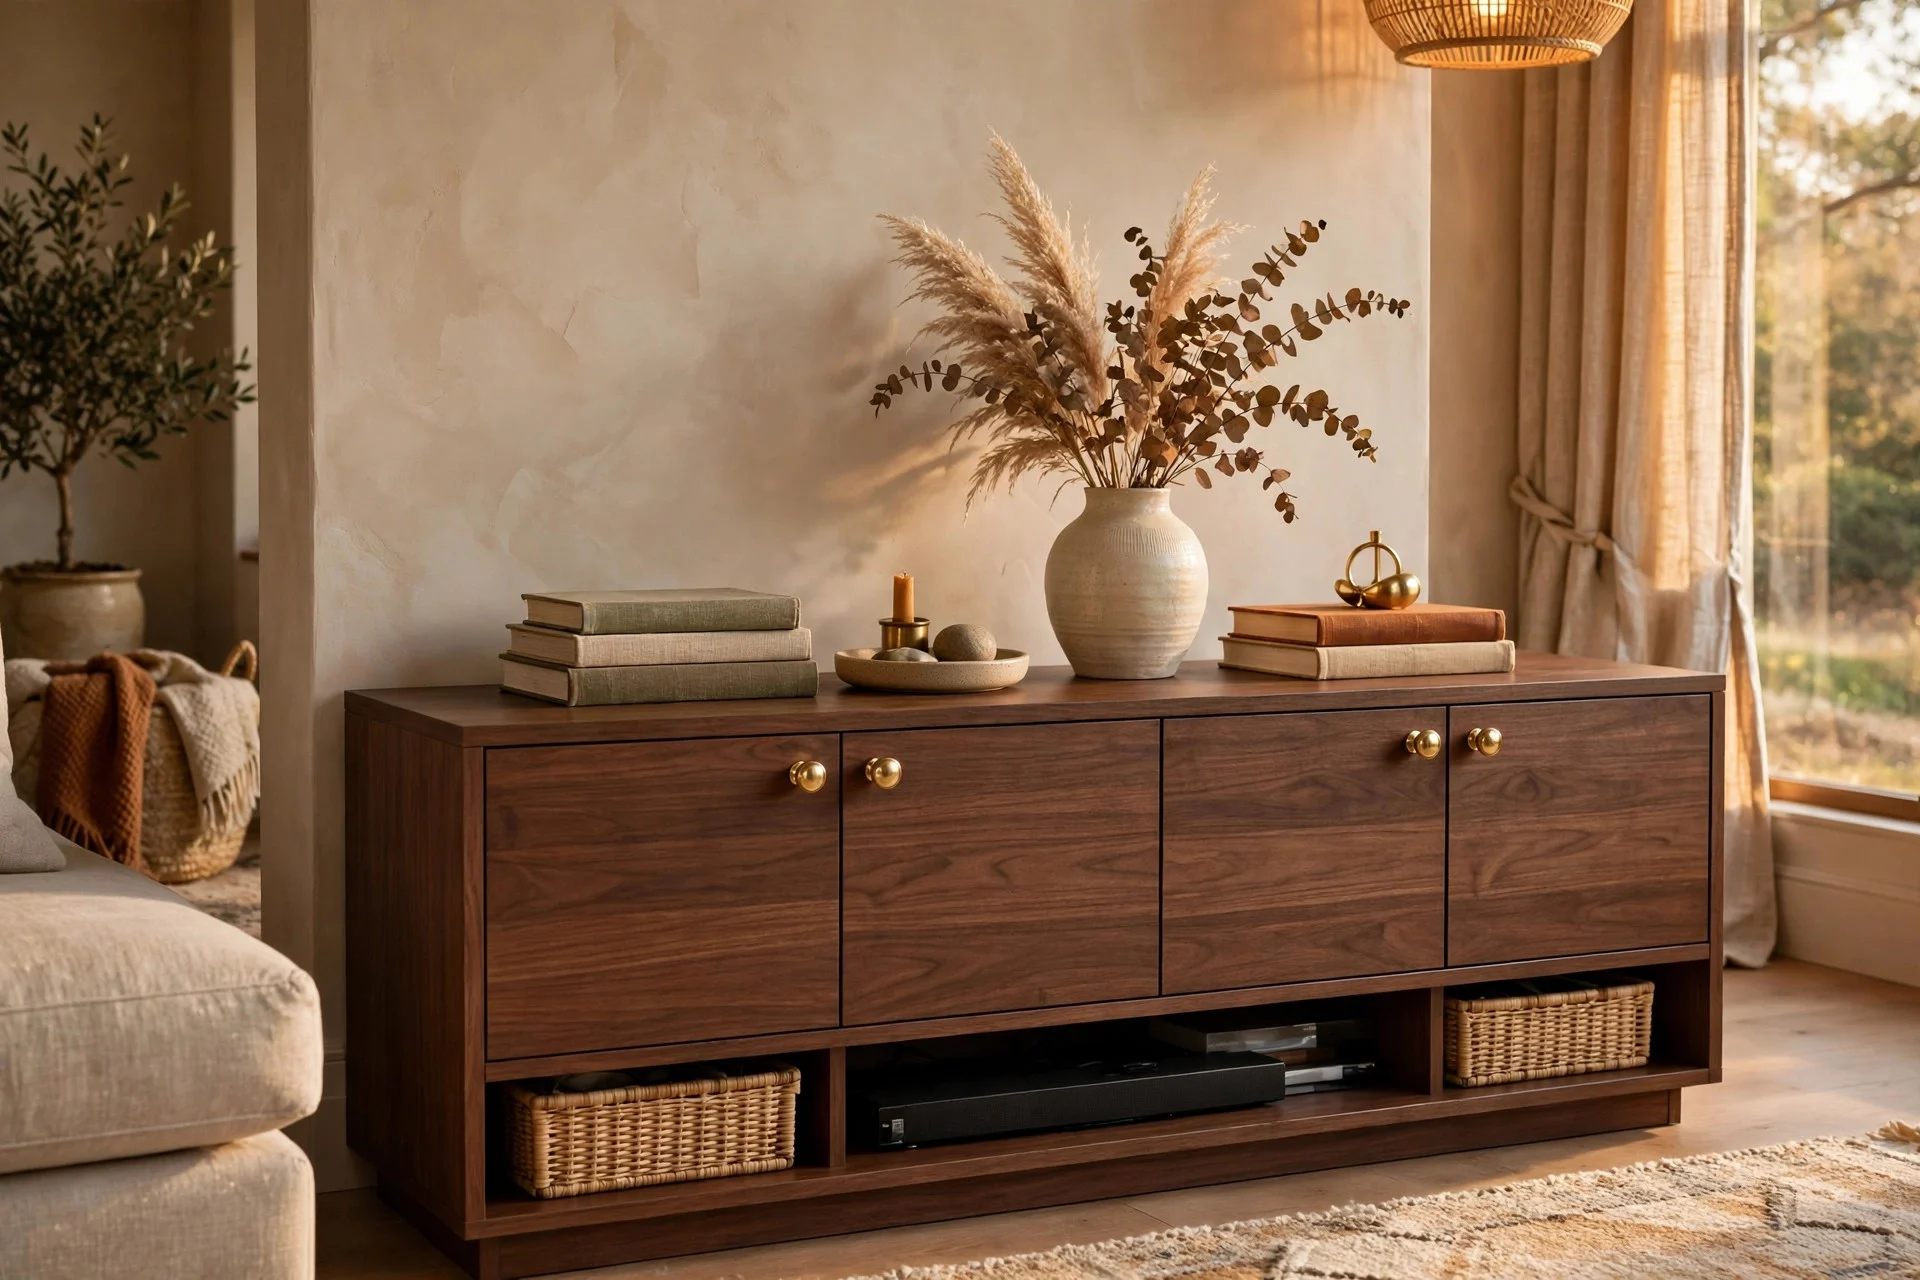
Dated knobs and handles can drag down a whole media console or sideboard, and swapping them is a ten-minute job with a screwdriver. Unscrew the old knobs, drop them in a labelled bag with their screws, and fit new ones in brass, matte black, or wood to match the room. The change is small but surprisingly noticeable, like putting on decent jewellery with a plain outfit. This is the one upgrade where keeping the originals matters most, because a landlord will notice missing hardware at inspection. On move-out day, swap them back, and the furniture looks exactly as it did when you arrived.
None of these upgrades needs a big budget or a brave conversation with your landlord. Pick the one that fixes whatever bothers you most when you walk in, whether that is the bare walls, the harsh light, or the floor you avoid looking at. Do it properly, keep the originals, and take your photos. When the tenancy ends, everything comes down cleanly, and you take the good stuff with you to the next place. That is the whole point of renting well: the room feels like home while you live in it, and like nobody was ever there when you leave.
Frequently Asked Questions
What rental upgrades are almost always safe for your deposit?
Adhesive hooks and strips, tension-rod curtains, rugs, freestanding furniture, slipcovers, and layered lighting are safe in most tenancies because they leave no holes or marks. Always check your lease first, and photograph the room before you start, so you can prove its original condition.
Can I use peel-and-stick wallpaper in a rental?
Usually yes, but it depends on the wall finish and your lease. It sticks best to smooth, painted walls and can pull paint off freshly painted or textured surfaces. Test a small hidden patch first, and use a hairdryer on low heat when removing it.
How do I hang art without drilling?
Use adhesive picture-hanging strips rated for the frame’s weight, press them firmly, and wait an hour before hanging. For heavy frames, lean them against the wall or rest them on furniture instead. Command-style strips are the standard option, and they remove cleanly if you follow the instructions.
What should I do before moving out?
Remove every upgrade in reverse order, refit the original hardware, and clean any adhesive residue with warm soapy water. Compare the room against your move-in photos, and fix anything small before the inspection rather than after.