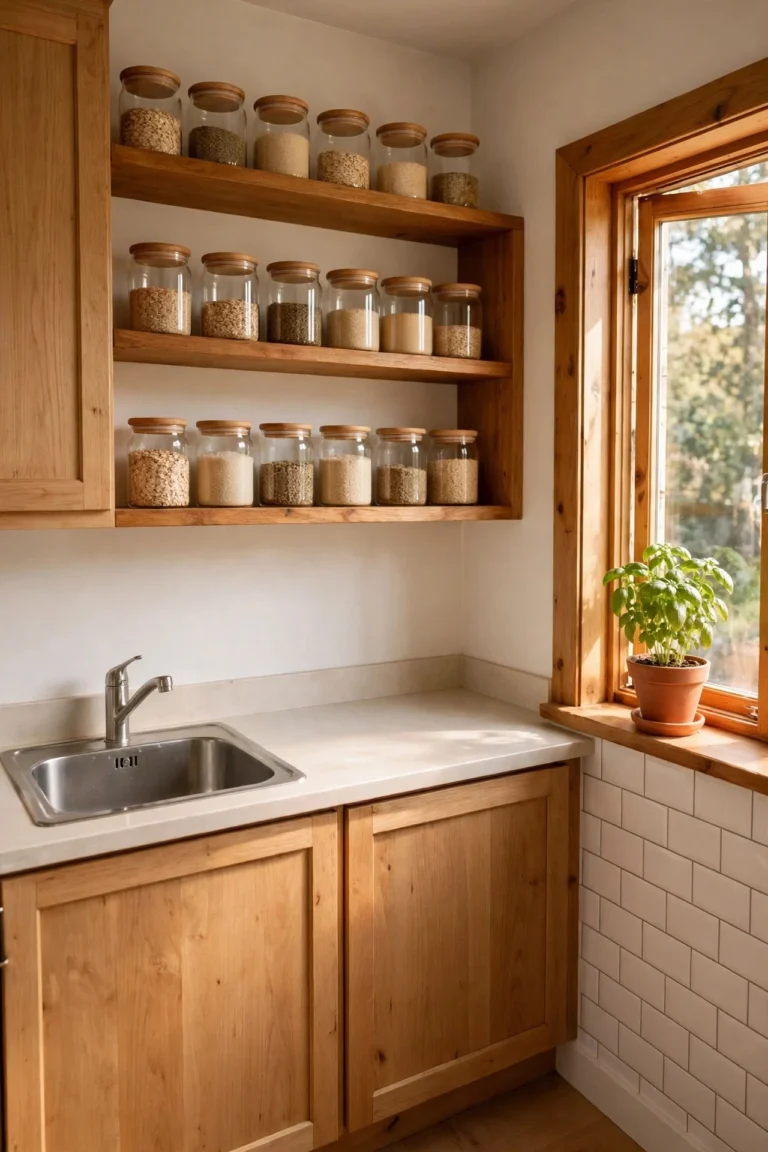



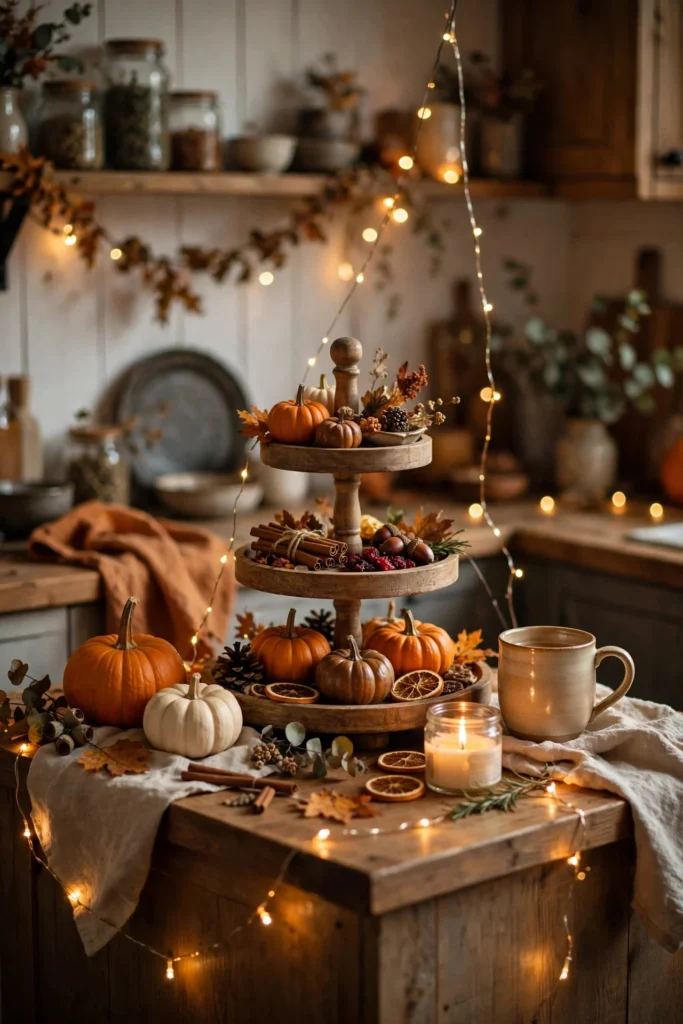
My kitchen counters are exactly 24 inches deep and permanently crowded. Coffee maker on the left, knife block on the right, and a fruit bowl that migrates around like it pays rent. So when October rolls around, I don’t have the luxury of a sprawling Halloween kitchen decor display — every inch has to earn its place. The good news? Small counters actually force better decorating. You pick fewer pieces, you style them tighter, and the whole kitchen ends up looking intentional instead of cluttered.
These 15 ideas are all built for real, working kitchens: vertical pieces, dual-purpose storage, and slim profiles that sit against the backsplash instead of sprawling across your prep space. Most cost under $15, and a few use things you already own.
Small-Counter Rules for Halloween Kitchen Decor
Before the ideas, three rules that keep a tiny kitchen from looking like a costume shop exploded. First, go vertical — tiered trays, risers, and wall space do the work that a wide footprint can’t. Second, pick pieces that do double duty: candy storage, utensil holders, things you’d use anyway. Third, stick to one tight color story (I do black, cream, and one orange) so 15 small things read as one styled look. The National Retail Federation’s Halloween spending data shows decor budgets keep climbing, which is exactly why restraint matters more than ever.
1. Build a Two-Tier Tray That Holds Your Whole Halloween
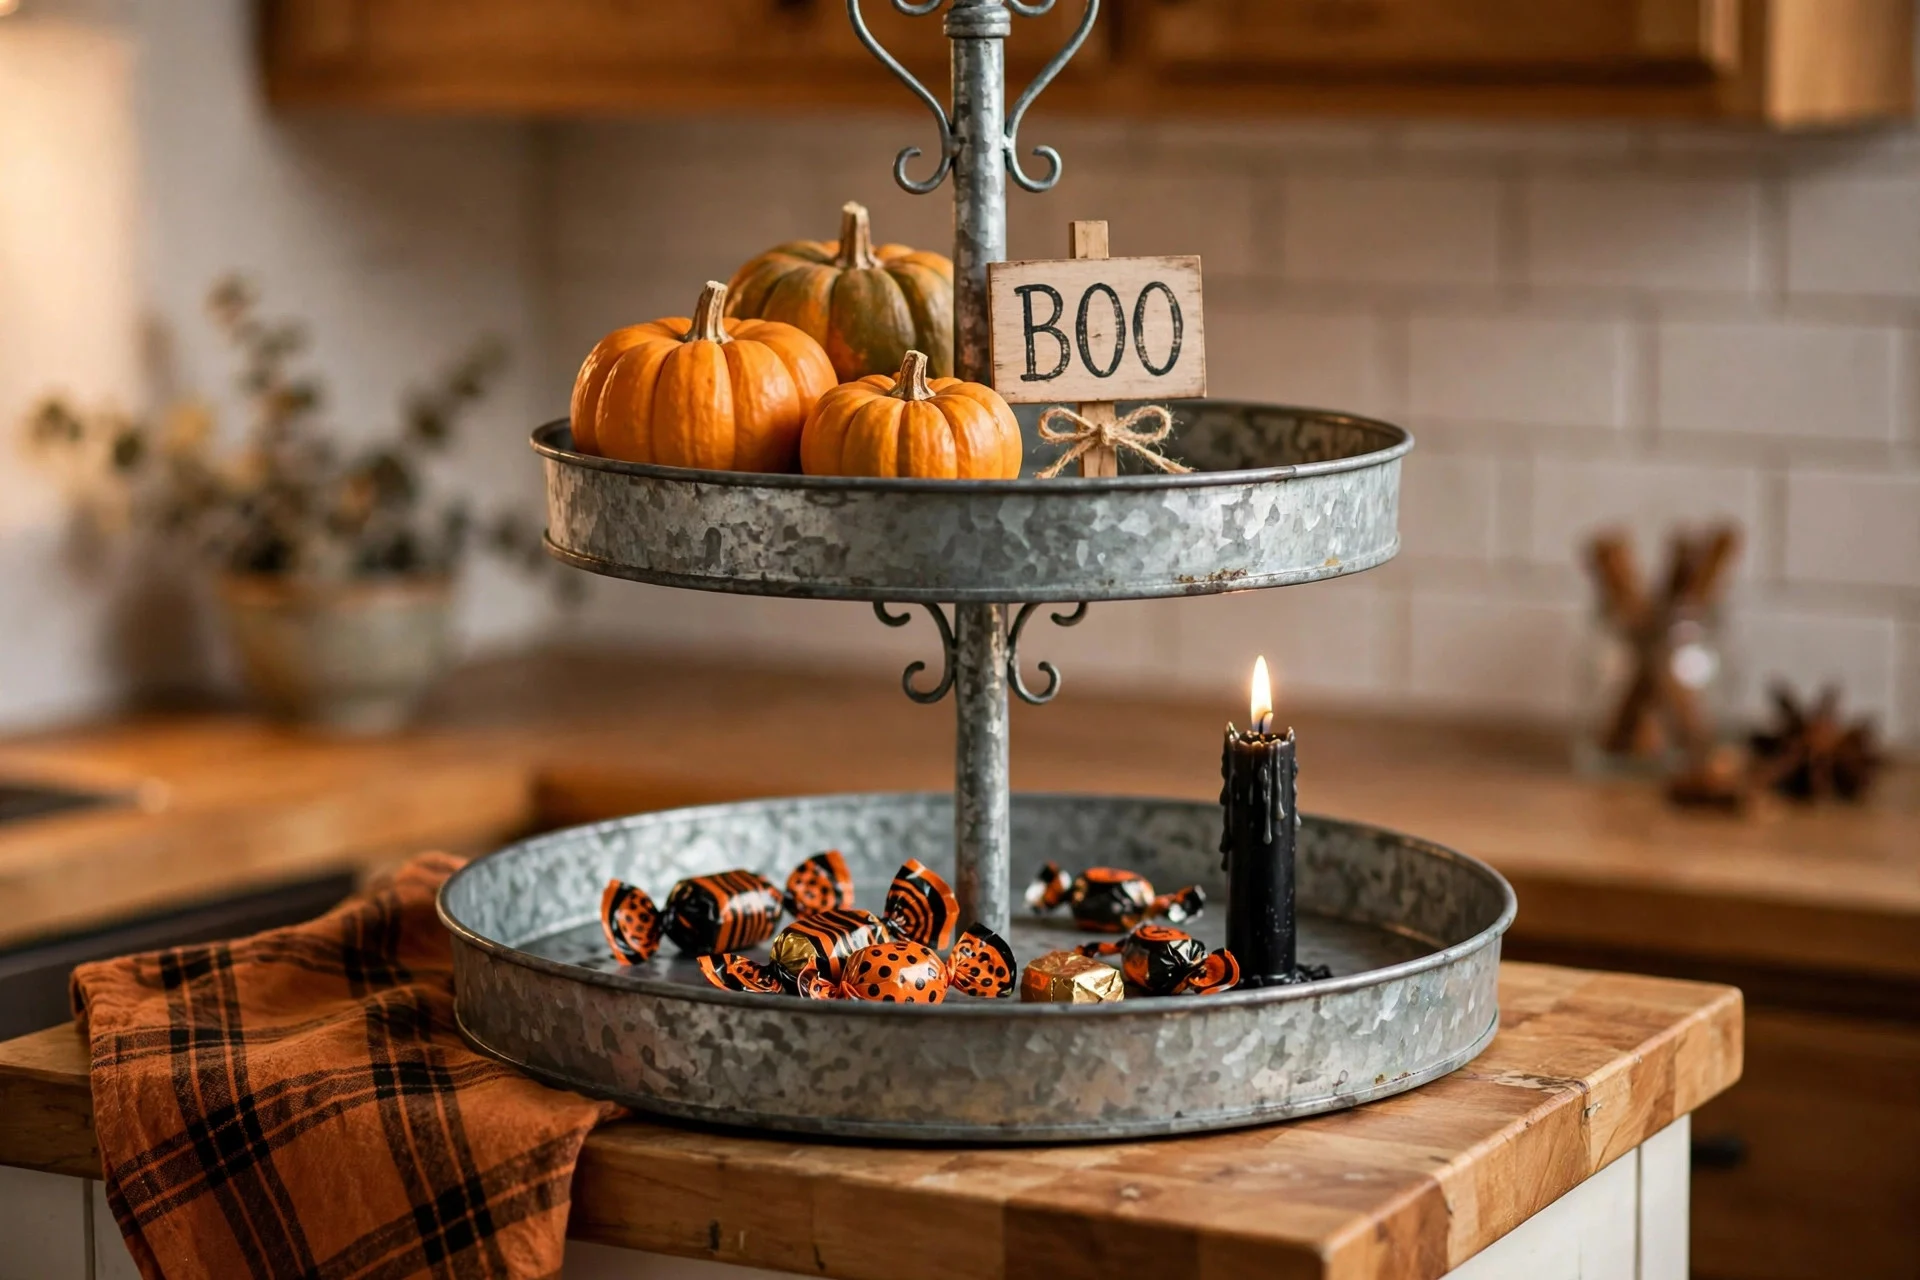
A two-tiered tray is the single best purchase a small-kitchen decorator can make. Target sells a galvanized one for about $13 that holds an entire Halloween scene in the footprint of a dinner plate. I keep mine near the stove and style it in zones: mini pumpkins and a black taper candle up top, wrapped candy and a tiny “boo” sign below.
The trick is editing. Six to eight items max, or it reads as clutter. When November hits, you swap the pumpkins for pinecones and the tray works straight through winter. If you want more fast seasonal wins, these last-minute Halloween decor ideas include a few tray-friendly pieces that photograph beautifully.
2. Stack Mini Pumpkins on a Cake Stand
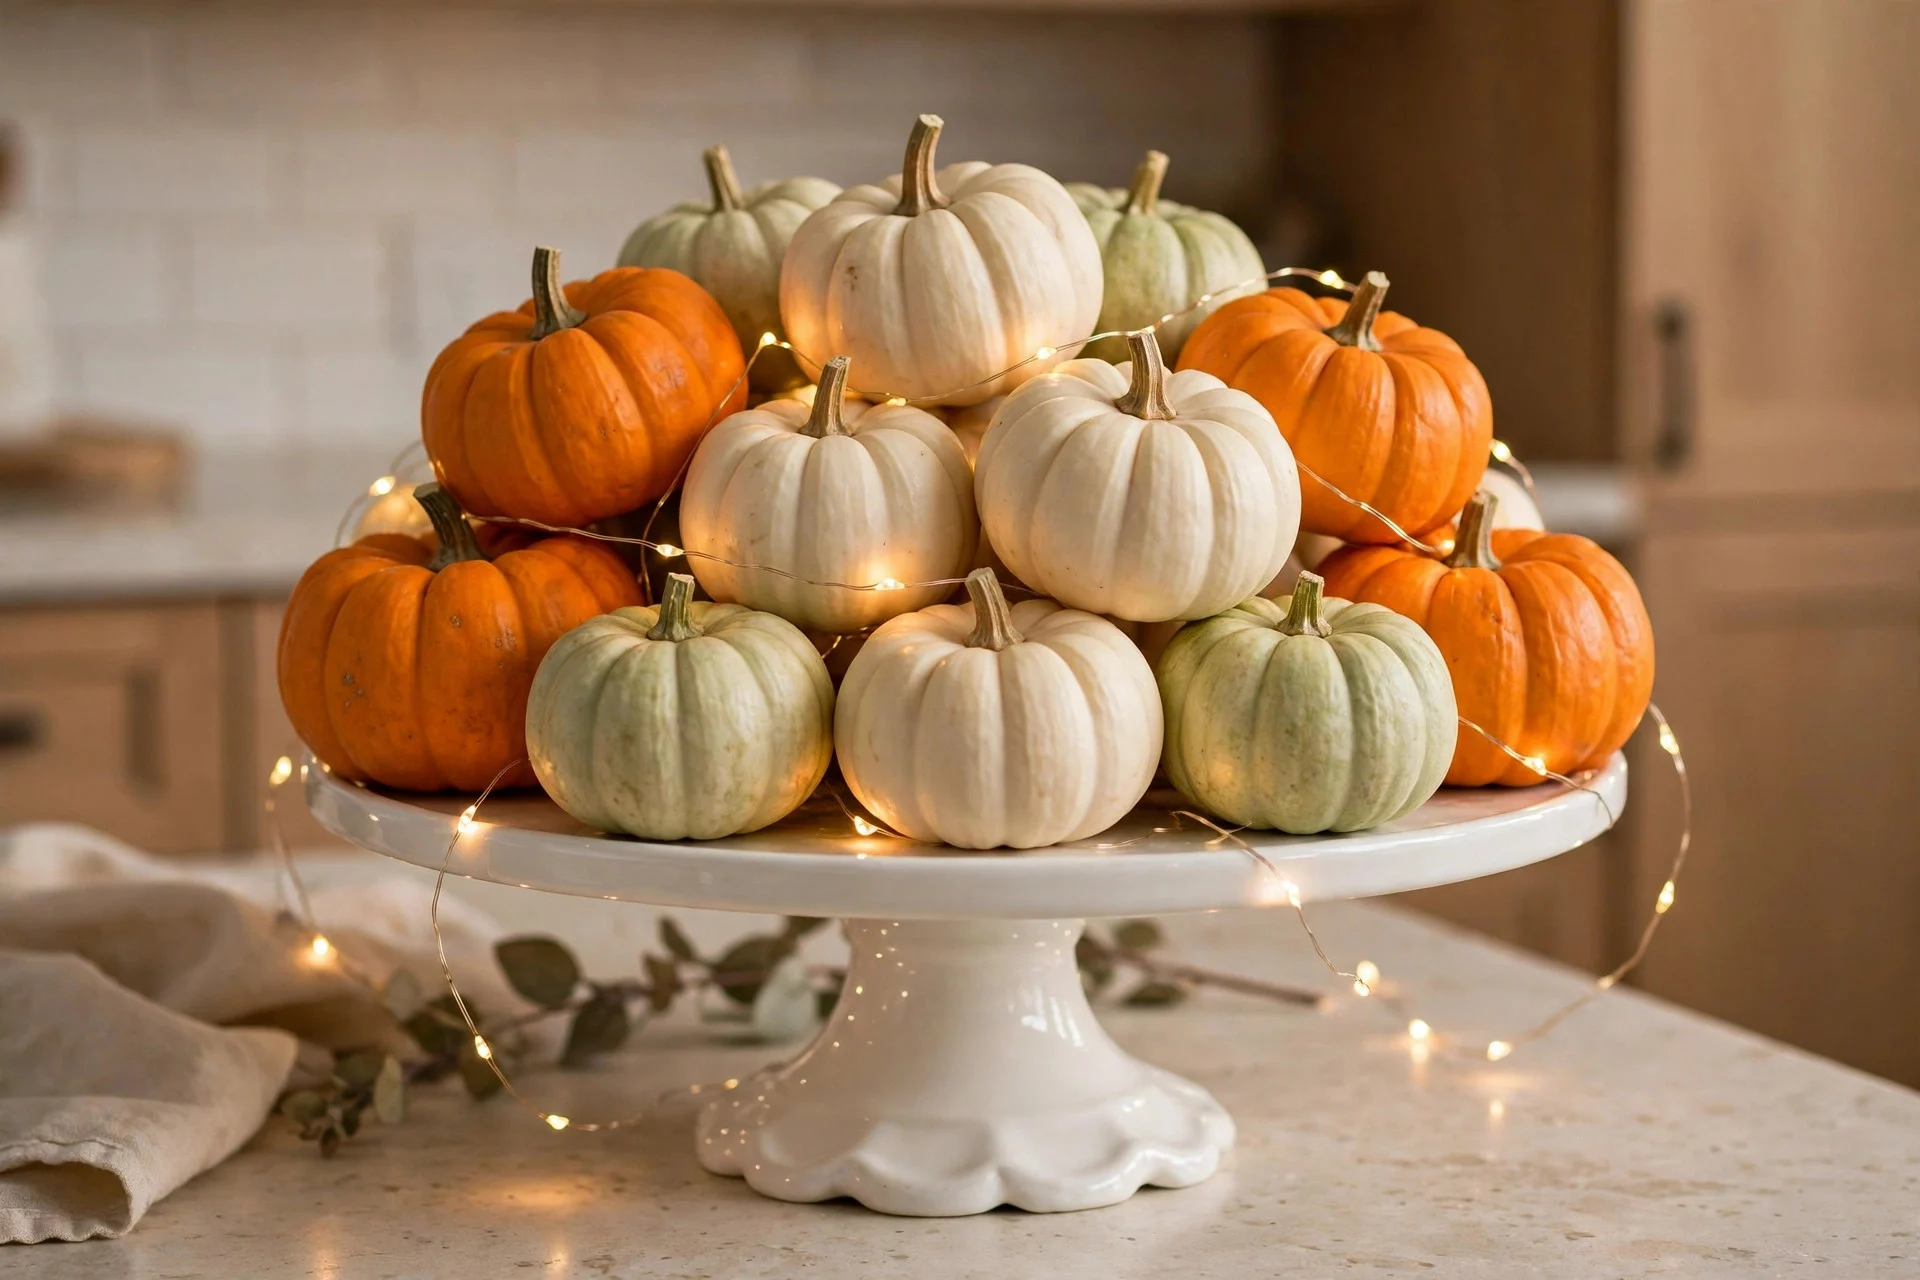
You don’t need a special Halloween riser. Pull out the cake stand you already own, pile on seven or eight mini pumpkins in mixed colors, and tuck a strand of battery fairy lights (about $6 at Michaels) through the gaps. Instant centerpiece, roughly 10 inches wide, and the height draws the eye up instead of out.
I buy the mini pumpkins at Trader Joe’s — usually $4.99 for a bag of mixed minis — and the white and pale green ones keep it from screaming “pumpkin patch.” After Halloween, the same stand holds persimmons or clementines.
3. Fill Apothecary Jars With Candy (Pretty Storage)
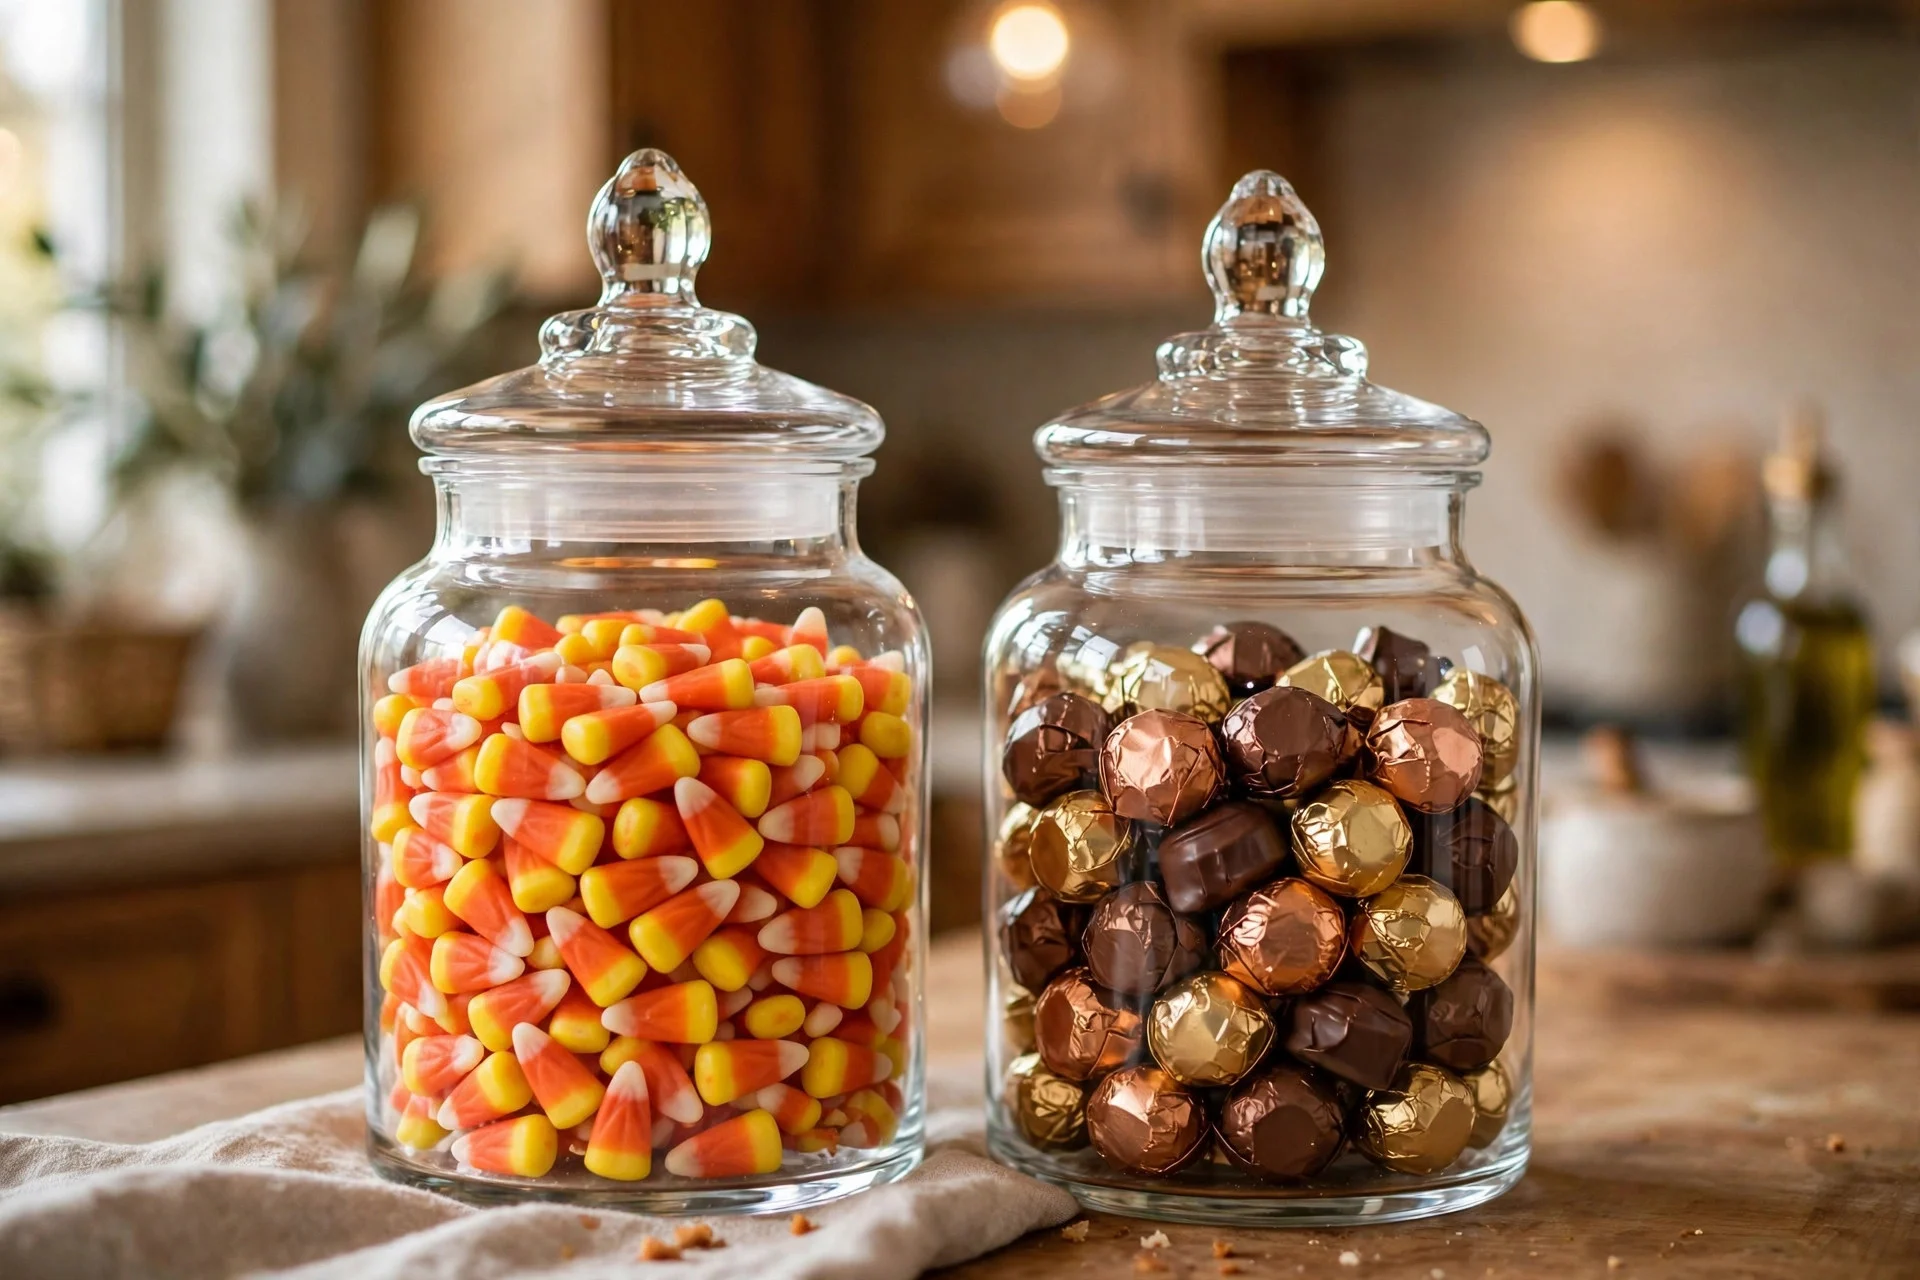
Glass apothecary jars are decor that does a job. Fill two or three with candy corn, wrapped chocolates, or black-and-orange gumballs, and they become the decoration. HomeGoods usually has them for $8–$12, or check thrift stores — I found a lidded jar for $2 that just needed a wash.
Keep the candy in its wrappers if the jar will sit for weeks, and layer: candy corn on the bottom, chocolate on top, so the color bands show through the glass. One jar by the coffee maker is plenty; three in a row starts looking like a candy shop.
4. Swap Your Dish Towels and Oven Mitt
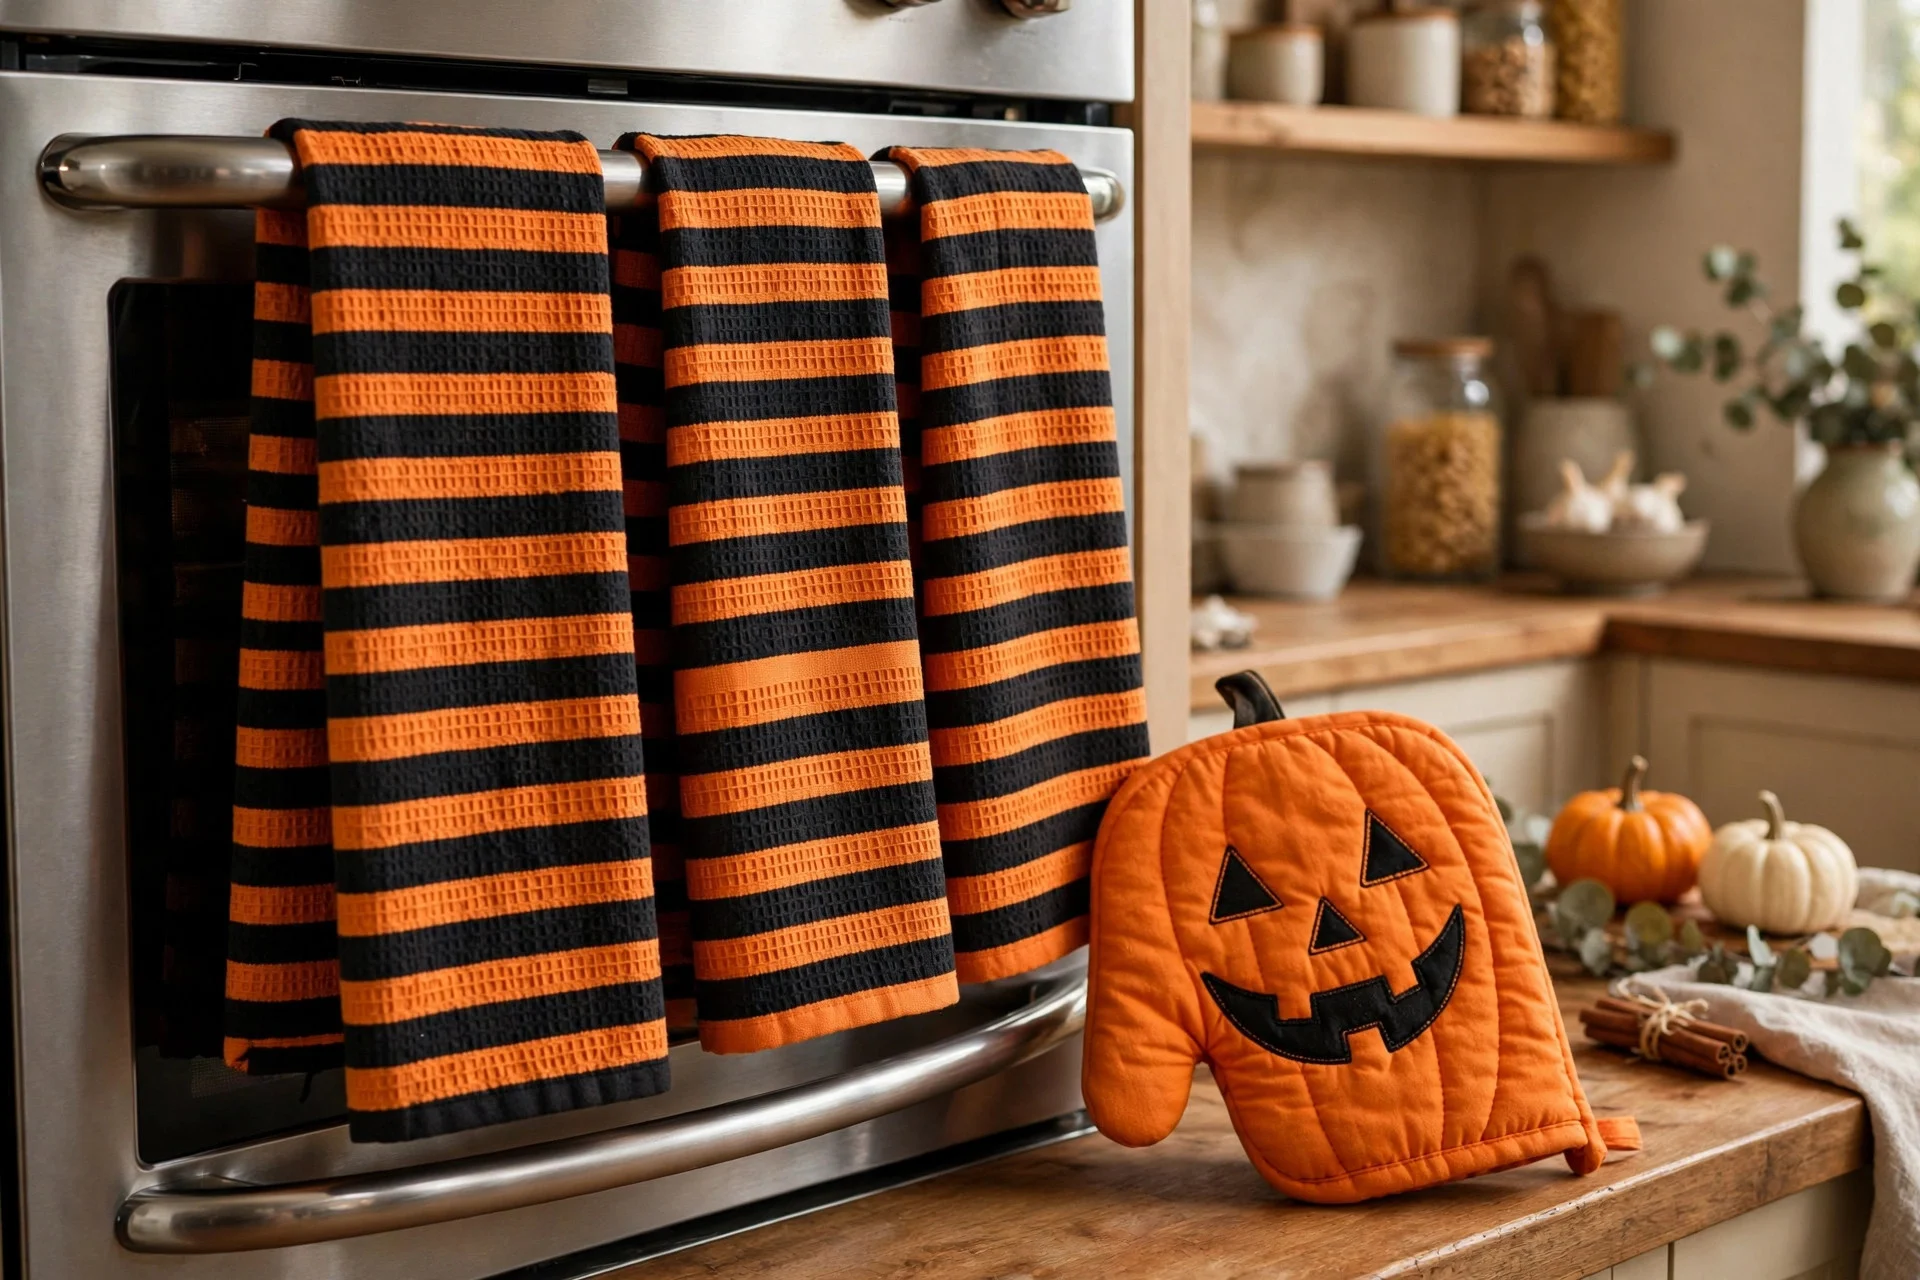
This is the highest-impact zero-footprint move on the list. Swap your everyday dish towels for black-and-orange striped ones, trade the oven mitt for one with a jack-o’-lantern face, and your kitchen reads “Halloween” without a single object on the counter. A two-pack of seasonal towels runs about $7 at Target.
I store the Halloween set in a labeled bin with the rest of my October decor, so the swap takes four minutes flat every year. Drape one towel over the oven handle, fold one over the counter edge — done.
5. Run a Garland Along the Backsplash
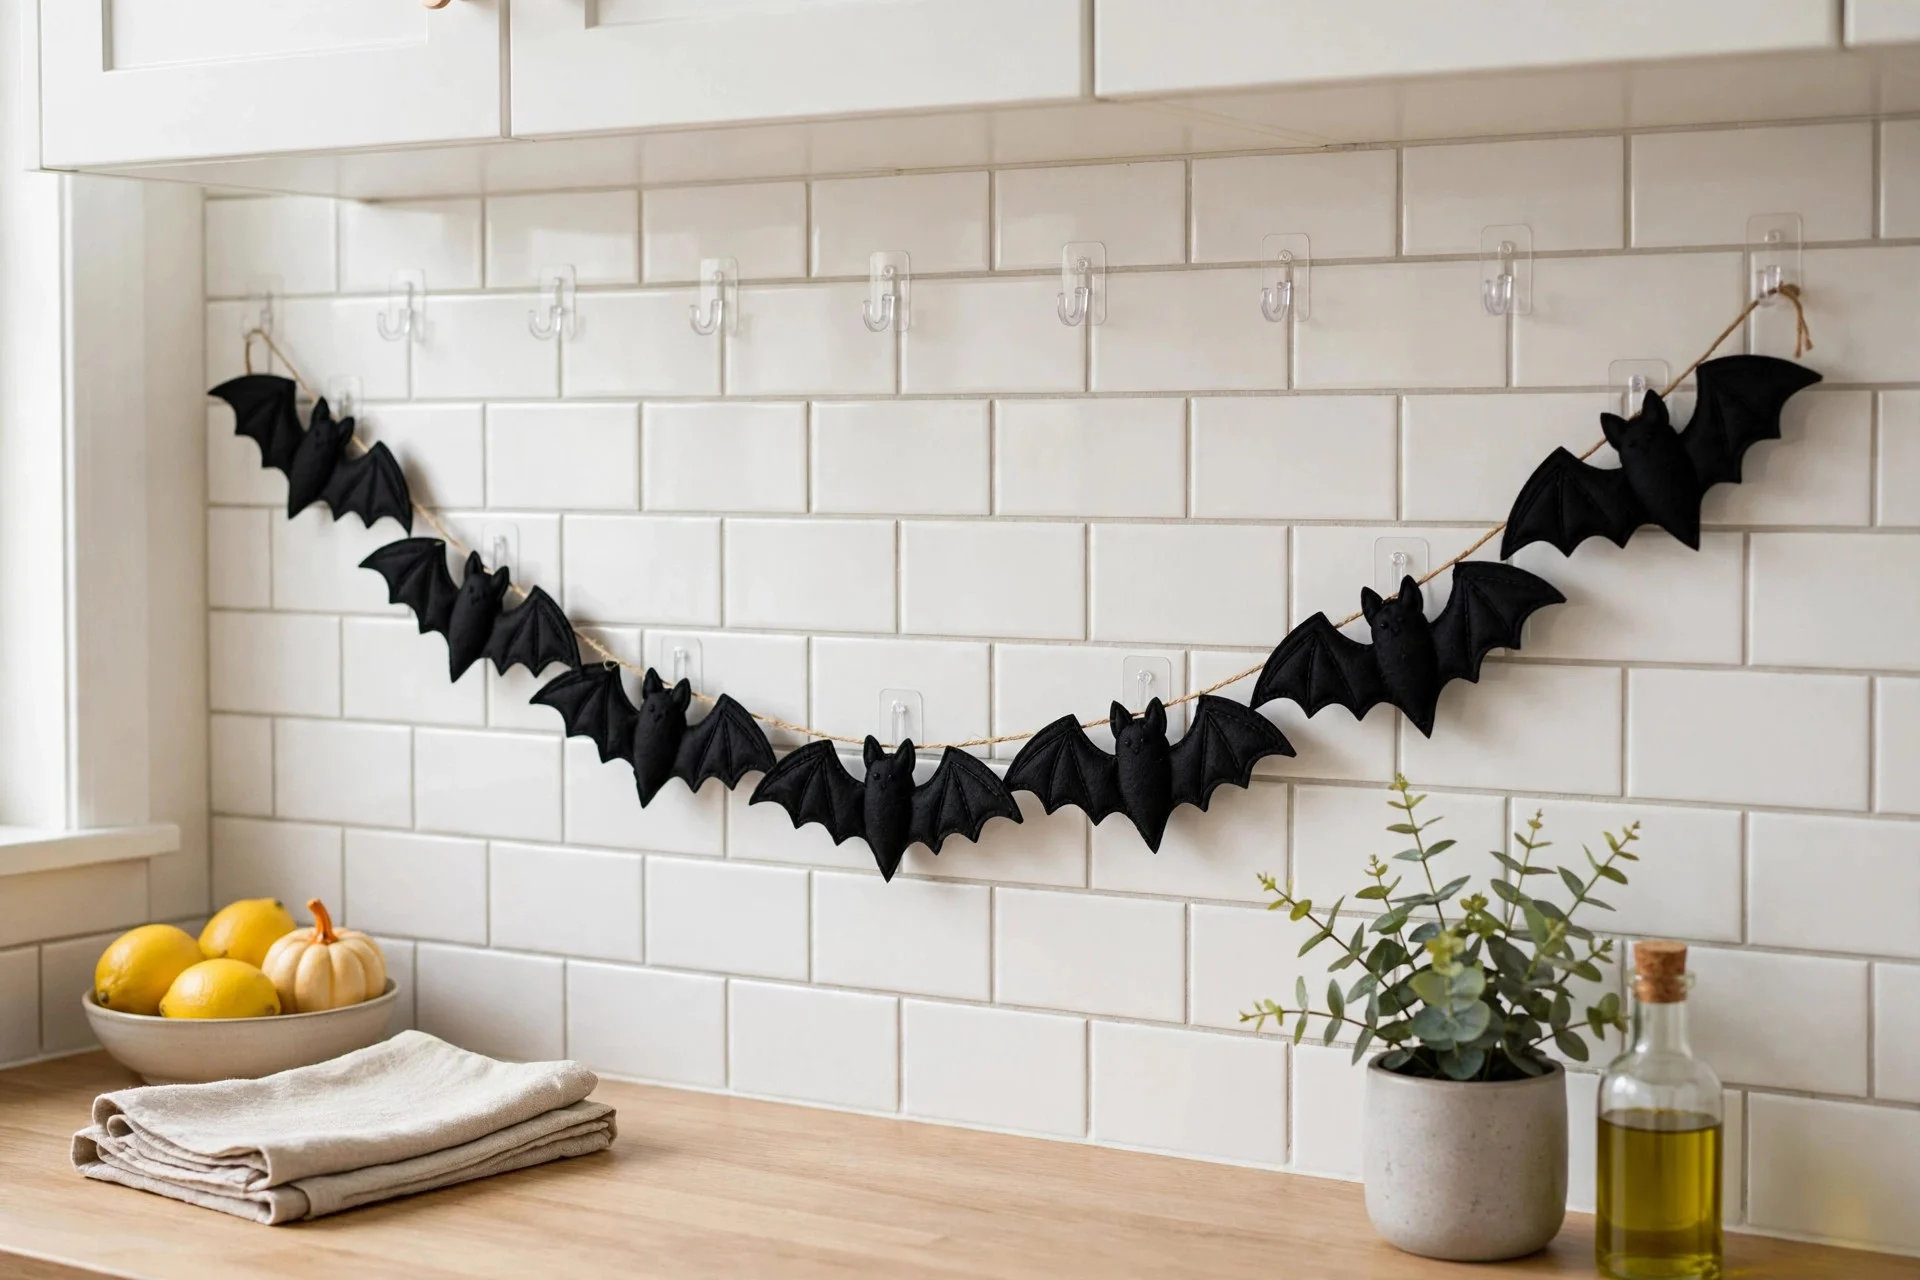
Your backsplash is free real estate. A felt bat or leaf garland strung on clear Command hooks sits about four inches above the counter and adds a full layer of Halloween without touching your prep space. The hooks peel off clean in November — I’ve done this three years running with zero paint damage.
Keep the garland shallow (felt and paper lie flat; chunky wooden beads jut out and snag sleeves). One strand across the main prep zone is enough. This is the same small-space thinking behind decorating a small apartment for Halloween without clutter — use the walls, guard the surfaces.
6. Light a Faux Pumpkin Lantern With Timer LEDs

Real jack-o’-lanterns are a mess on a working counter — they weep, they smell by day four, and carving one takes an evening. A faux carveable pumpkin (about $10 at Michaels) with a $4 set of timer LEDs gives you the glow with none of the rot. Set the timer once and it lights itself every evening at dusk.
One lantern is a statement; three is a pumpkin patch you have to dust. Tuck yours at the back corner of the counter where the cord-free light can glow against the backsplash. Warm white LEDs look classier than flickering orange ones — trust me on this.
7. Hang One Floating Shelf for Potion Bottles
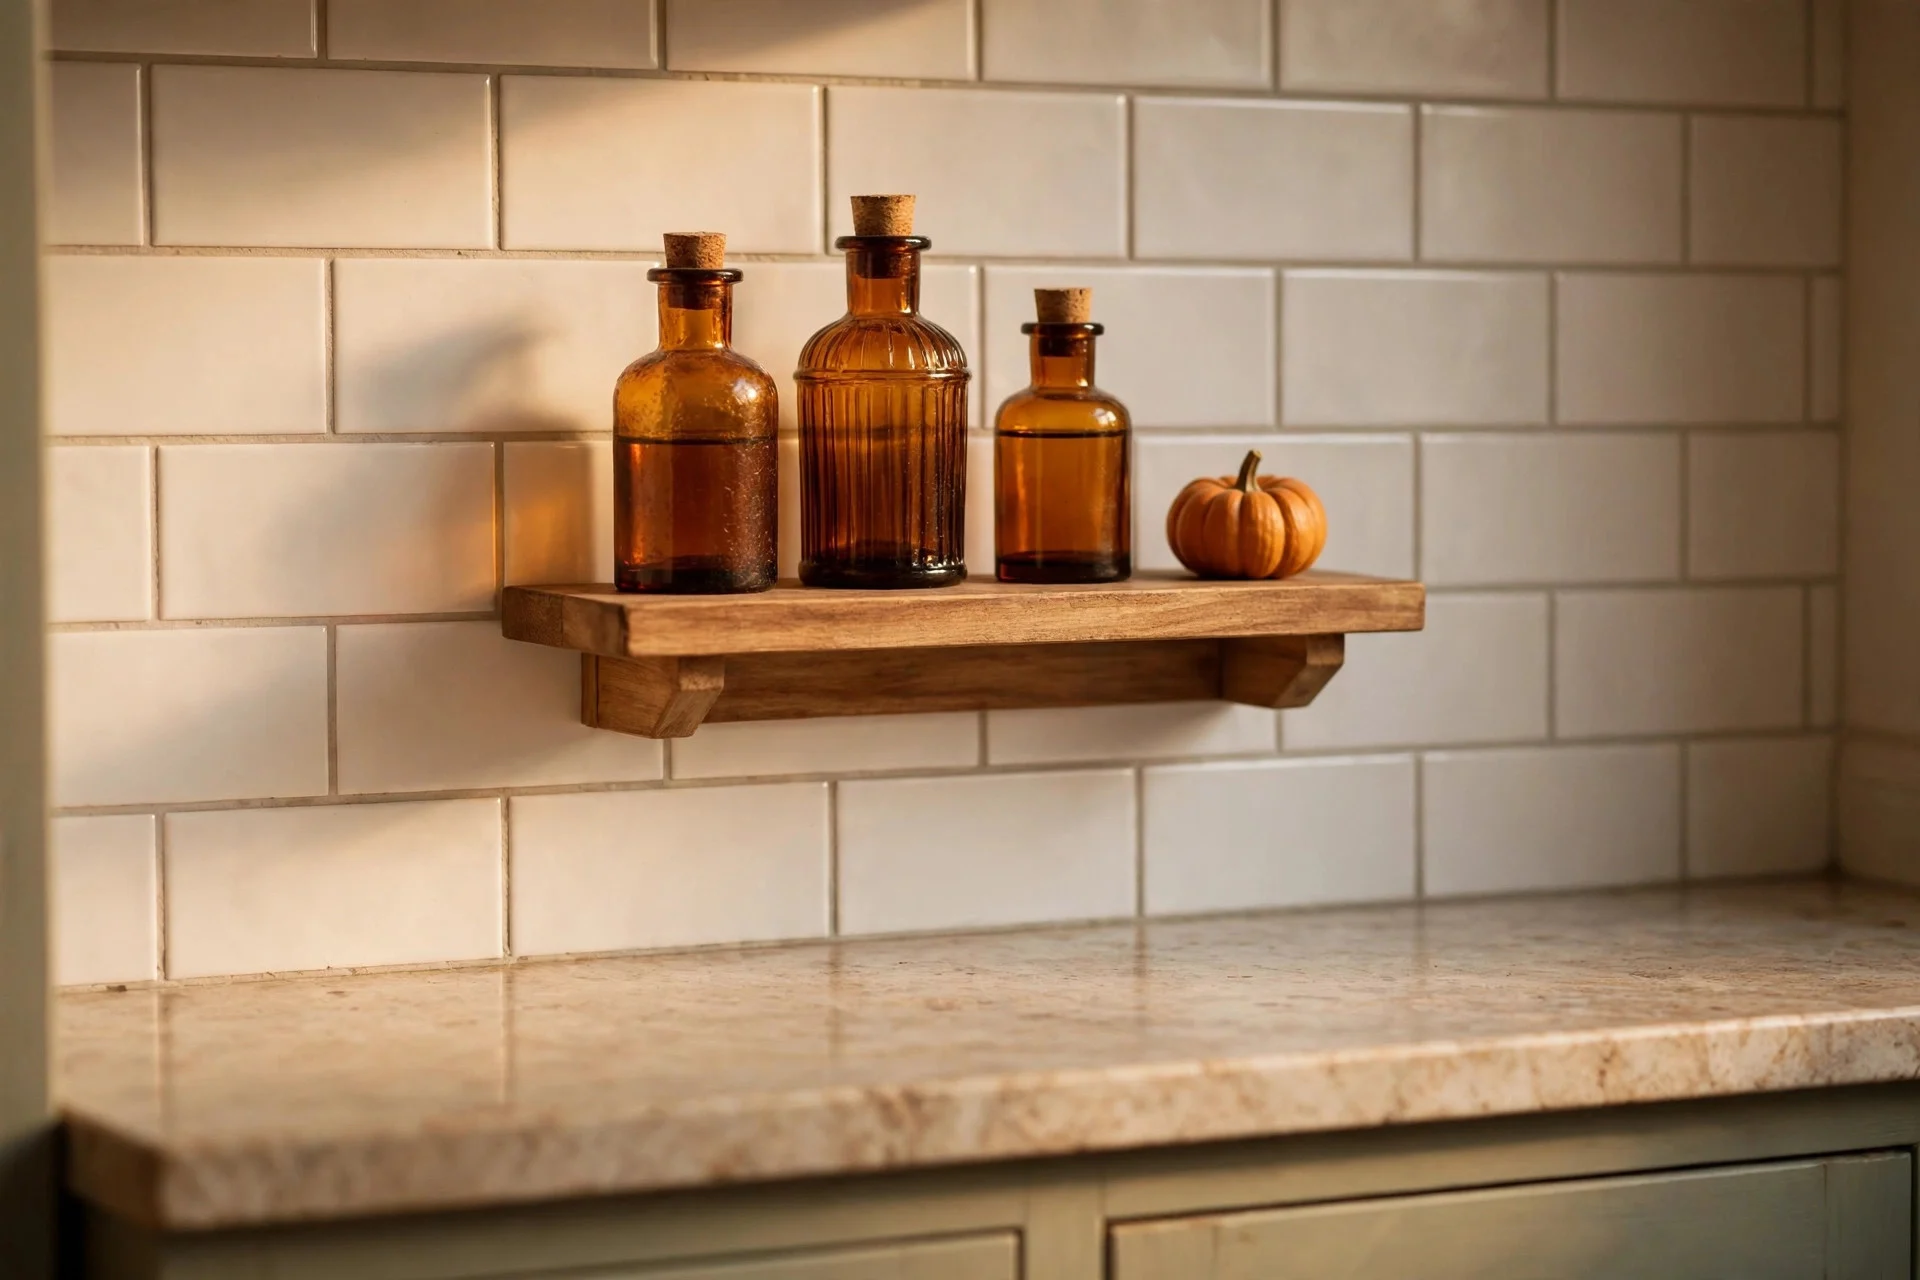
A single 24-inch floating shelf above the counter creates a whole new display surface out of thin air. IKEA’s Lack shelf is $15 and holds a row of amber bottles labeled “potion” ingredients — I use a $5 chalk marker on old olive oil and vinegar bottles. Add one tiny pumpkin and you’re done.
Mount it at least 18 inches above the counter so it clears your tallest appliance, and keep the styling to one row deep. Come January, the same shelf holds cookbooks or spice jars. Renters: use a picture-ledge style shelf on heavy-duty strips if you can’t drill.
8. Lean a Slim Chalkboard Menu Board
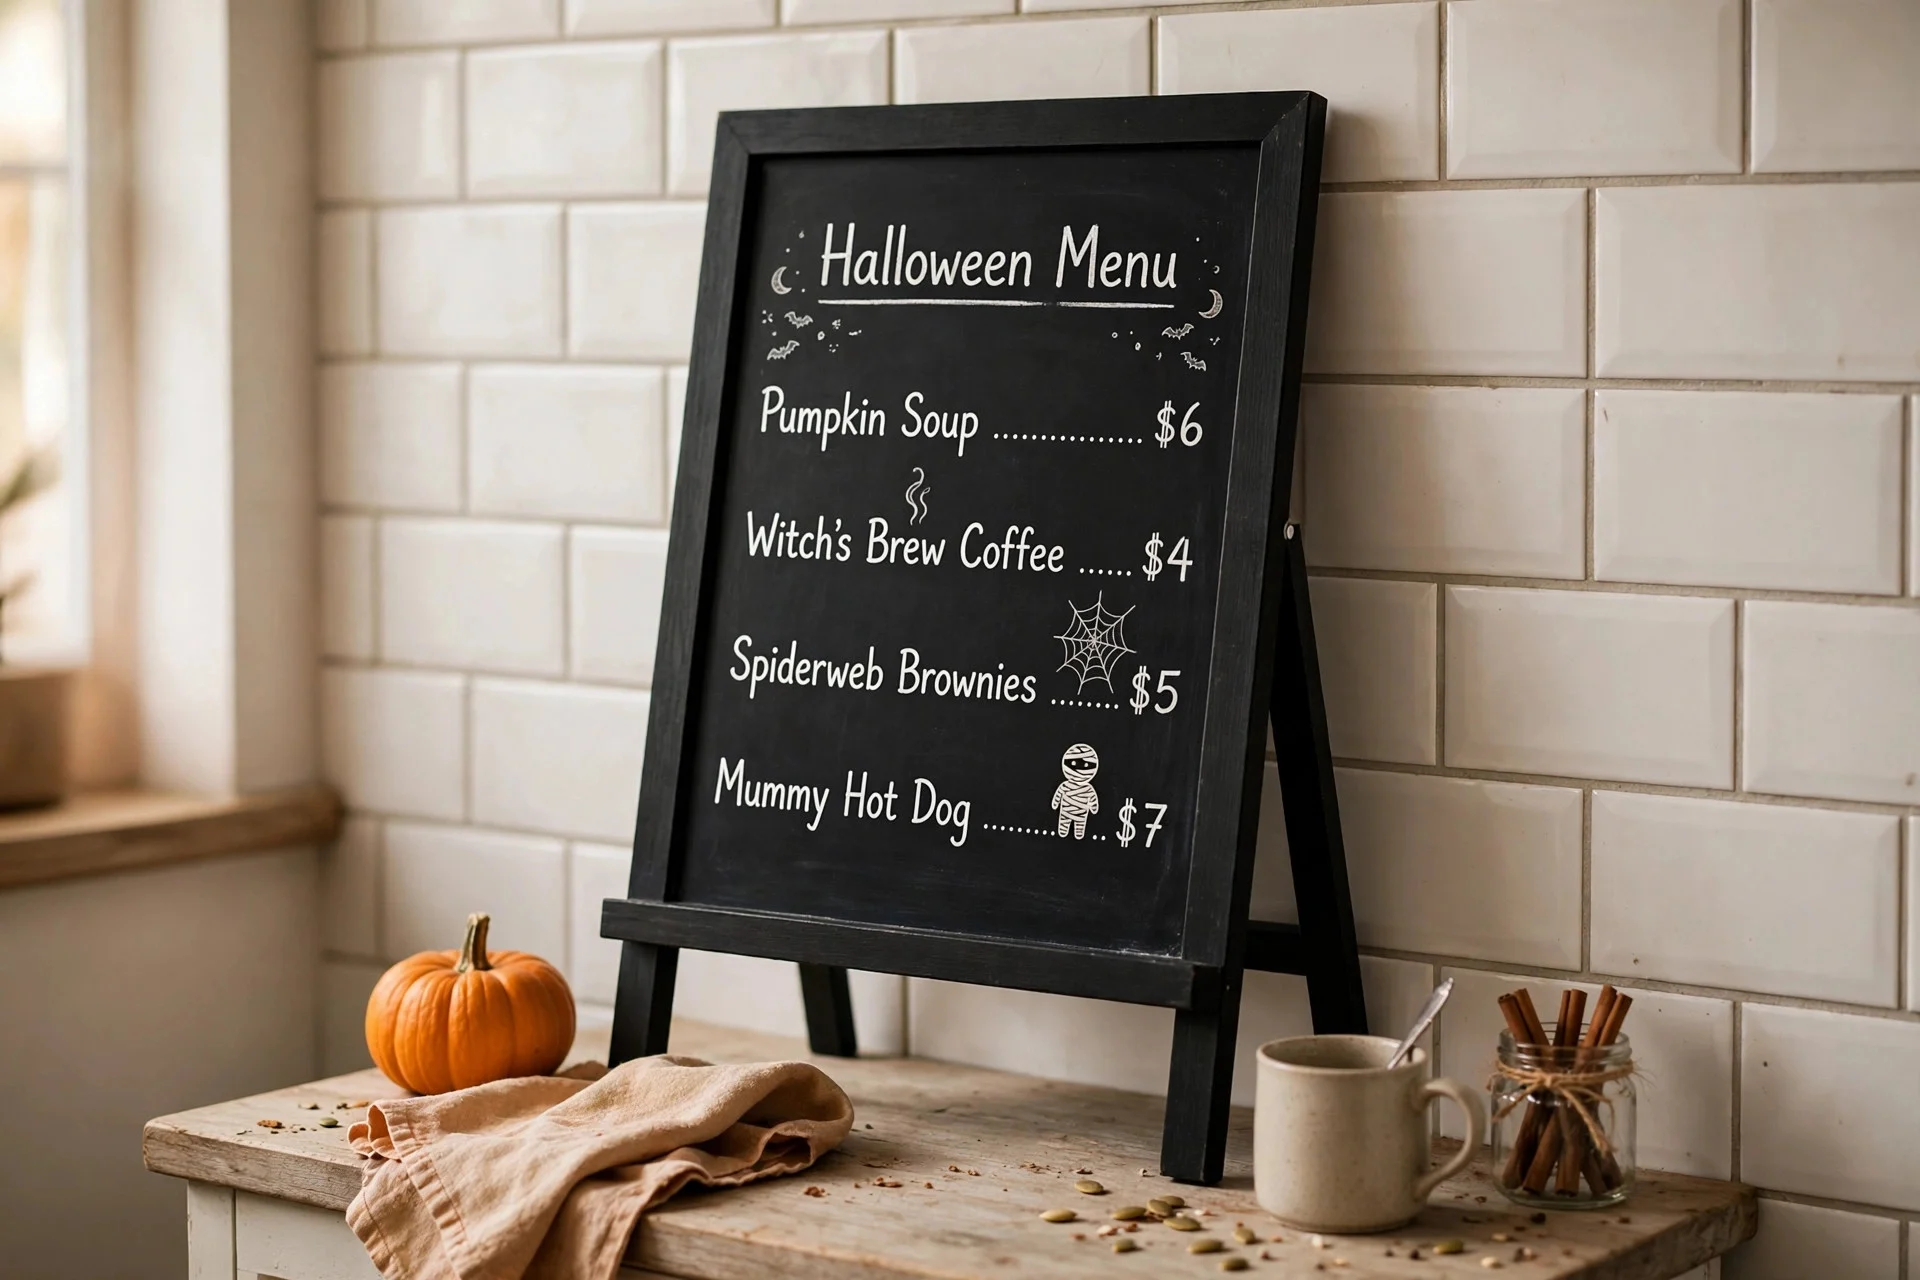
A narrow chalkboard easel — the kind coffee shops use for daily specials, about $12 — leans against your backsplash and takes up maybe three inches of counter depth. Letter it with your Halloween dinner menu, a “witch’s brew” cocoa recipe, or just “trick or treat” in your best handwriting.
Chalk markers (not real chalk) give you crisp lines that don’t smudge every time you reach past. I rewrite mine twice each October: once for the month, once for the actual party night. Guests always read it. Nobody reads your third pumpkin.
9. Turn One Corner Into a Cocoa Station
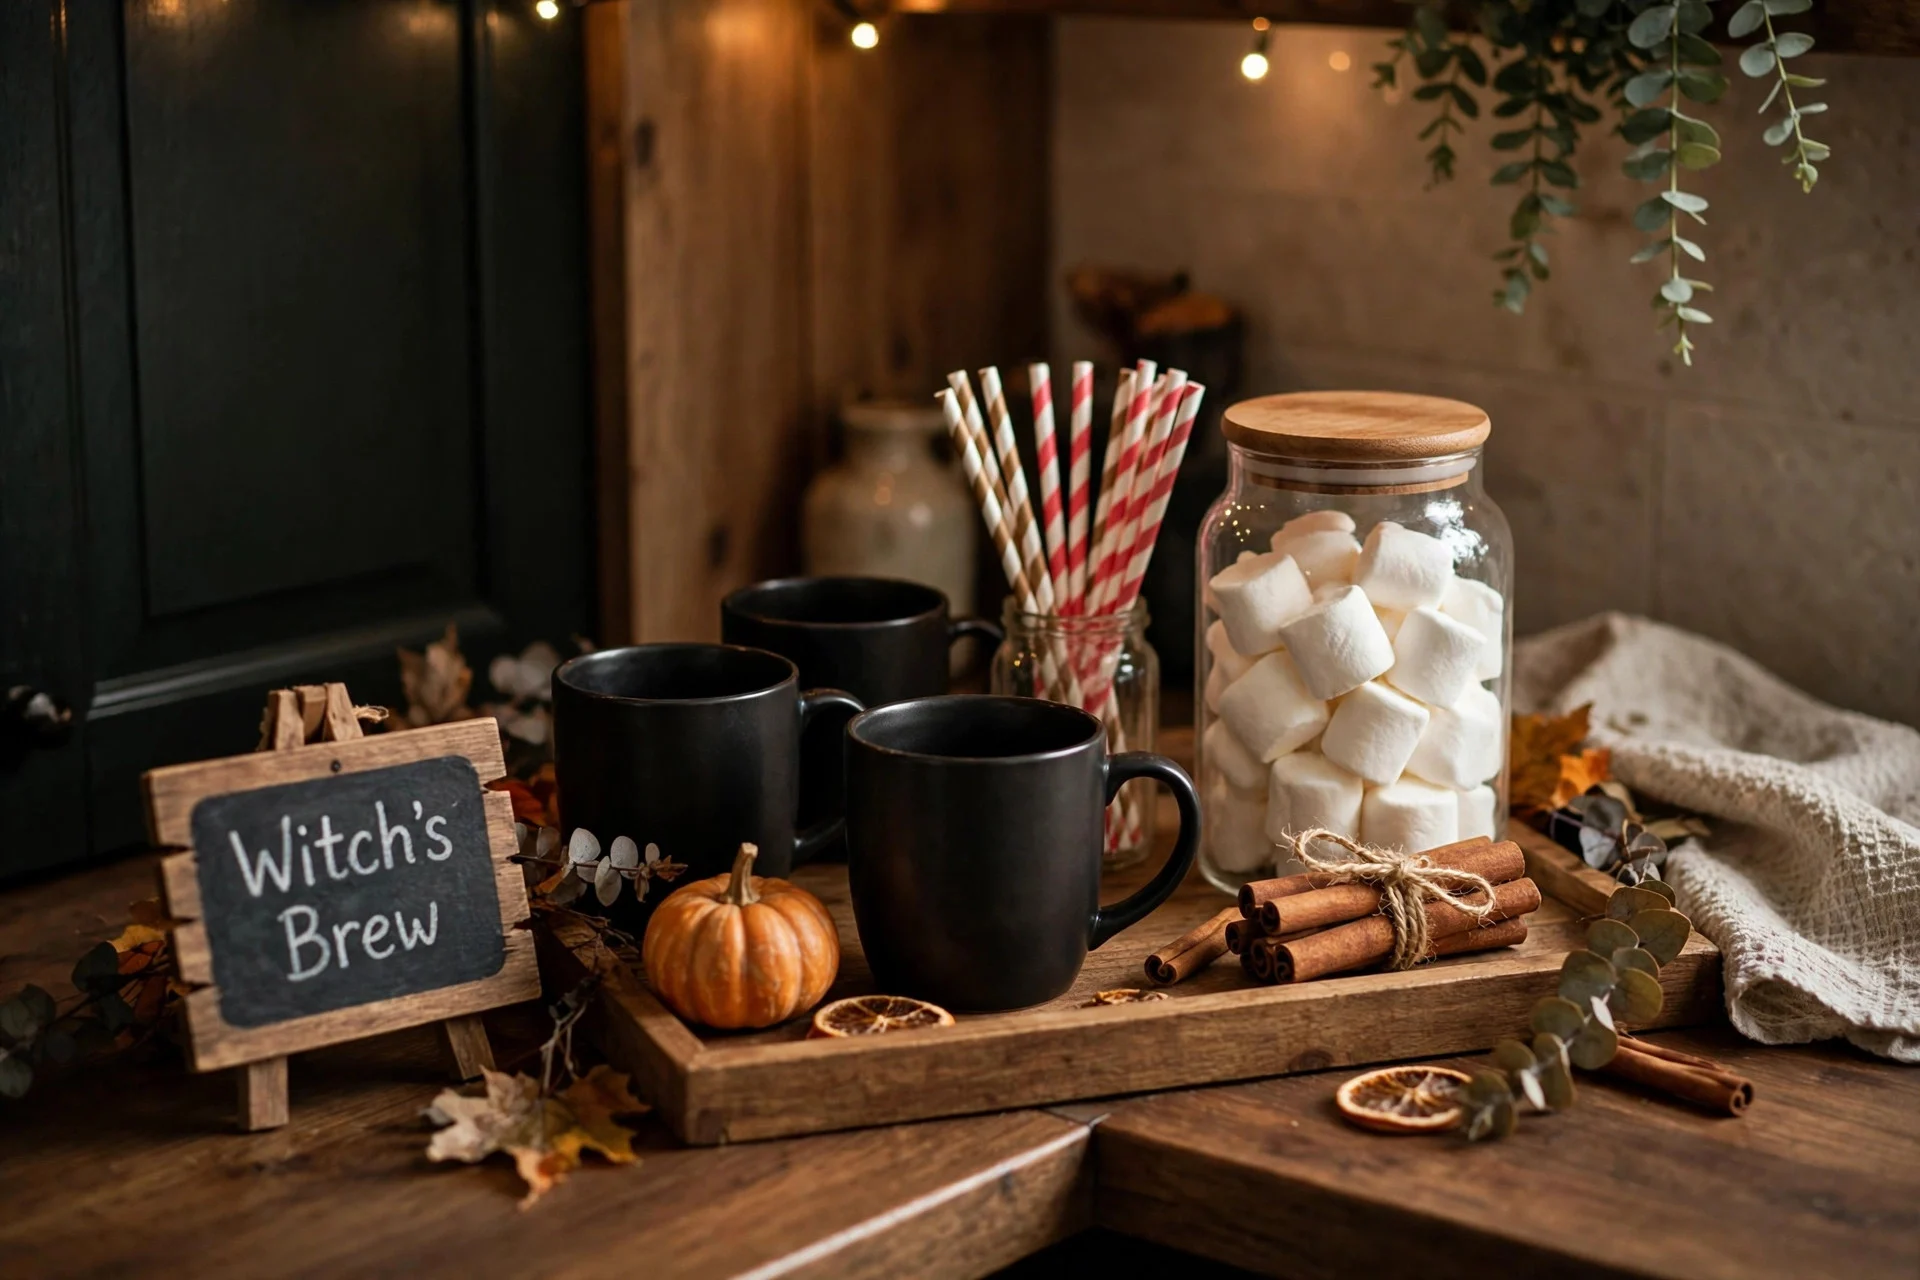
Corral your mugs, cocoa mix, marshmallows, and cinnamon sticks onto one tray in an underused corner, add a small sign that says “witch’s brew,” and a functional coffee zone becomes Halloween decor. Everything on the tray gets used daily, so nothing is wasted space.
A black mug set (four for about $16 at Target) does more seasonal work than you’d expect. Add striped paper straws and a jar of ghost-shaped marshmallows — Trader Joe’s stocks them every October — and the station basically styles itself. For the full cozy effect, pair it with ideas from these Halloween table decor ideas when you host.
10. Plant a Witch’s Herb Garden
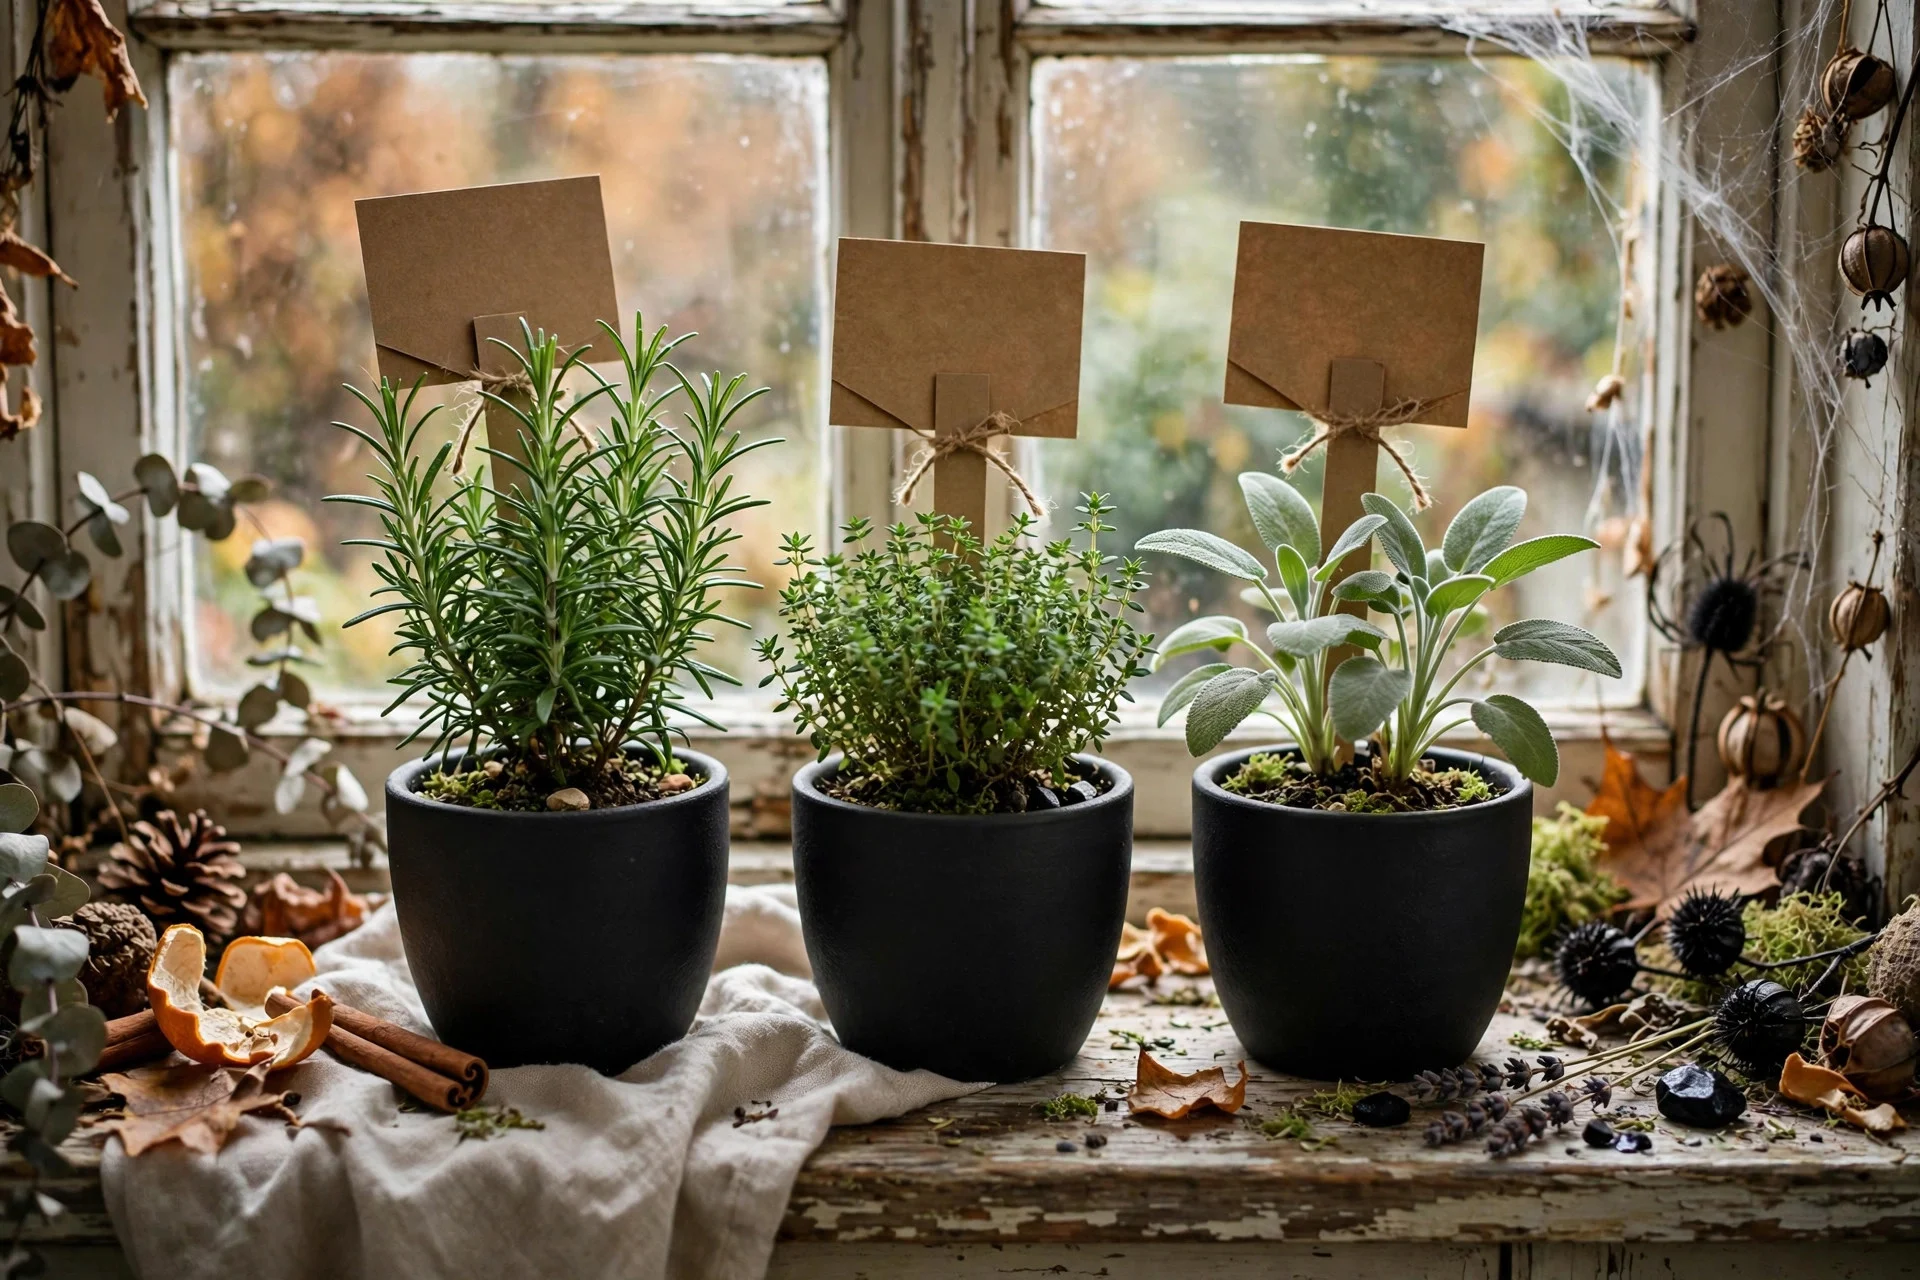
Three small pots of live herbs — rosemary, thyme, sage — in matte black pots become a “witch’s garden” with nothing but plant markers. Write “eye of newt (rosemary)” and “dragon scale (thyme)” on kraft-paper tags. It sits on the windowsill, costs about $12 total, and you cook with it all month.
This is my favorite kind of Halloween decorating: the kind you eat. The herbs need the sill’s light anyway, the black pots look seasonally perfect, and unlike a plastic cauldron, nothing here goes in a landfill on November 1st.
11. Use a Ghost Utensil Crock
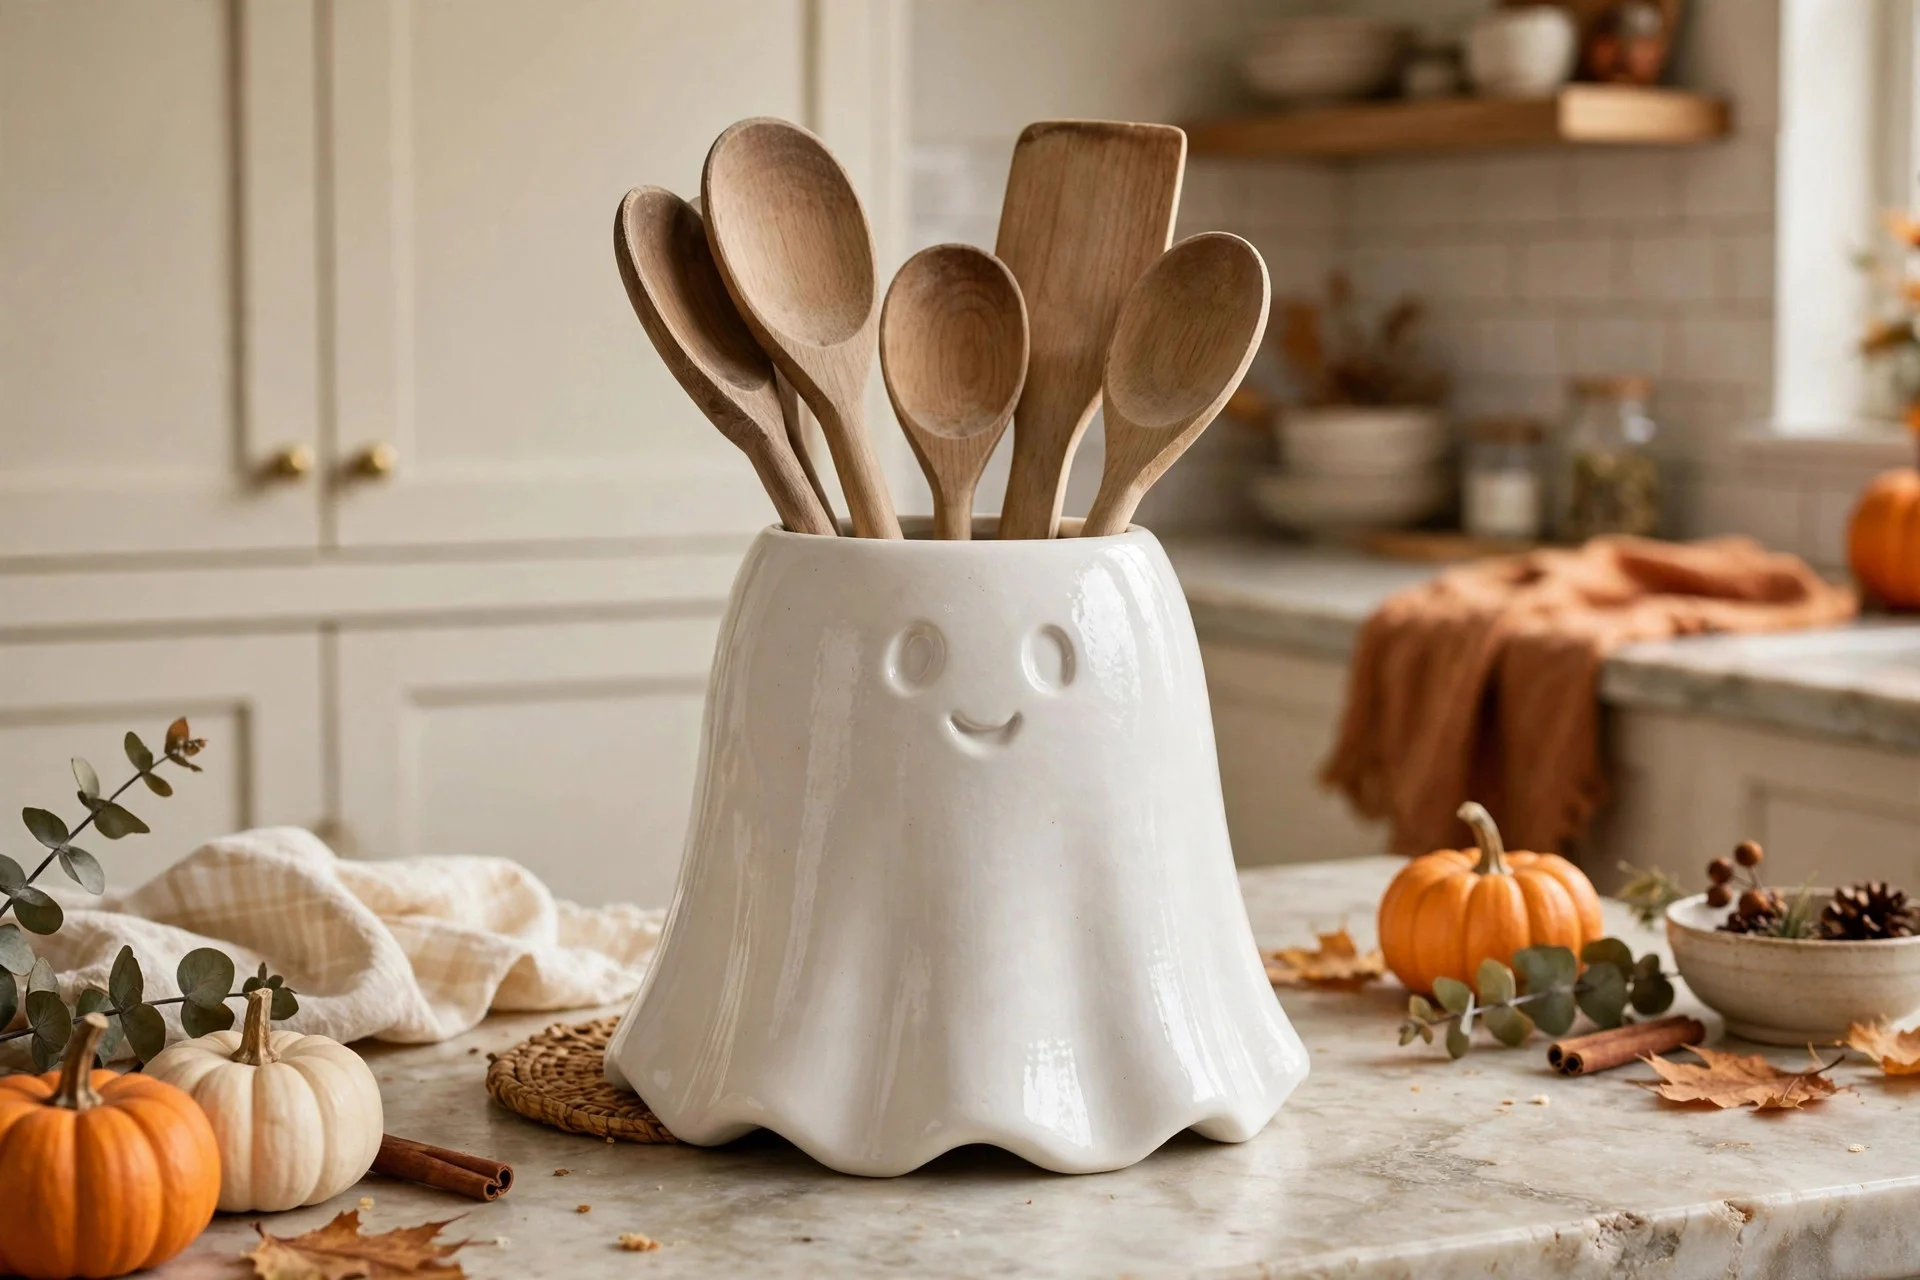
Your utensil crock occupies counter space 365 days a year, so make October’s version do the decorating. A white ceramic ghost crock — HomeGoods has them around $10 — holds the same wooden spoons and spatulas while reading unmistakably Halloween.
Keep the silhouette simple. The cute ghost-face ones age better than the gory ones, and white ceramic matches everything. When the season ends, swap it back and store the ghost with your October bin. One-for-one swaps like this are how small kitchens stay decorated and functional.
12. Line the Window Sill With Paper Silhouettes
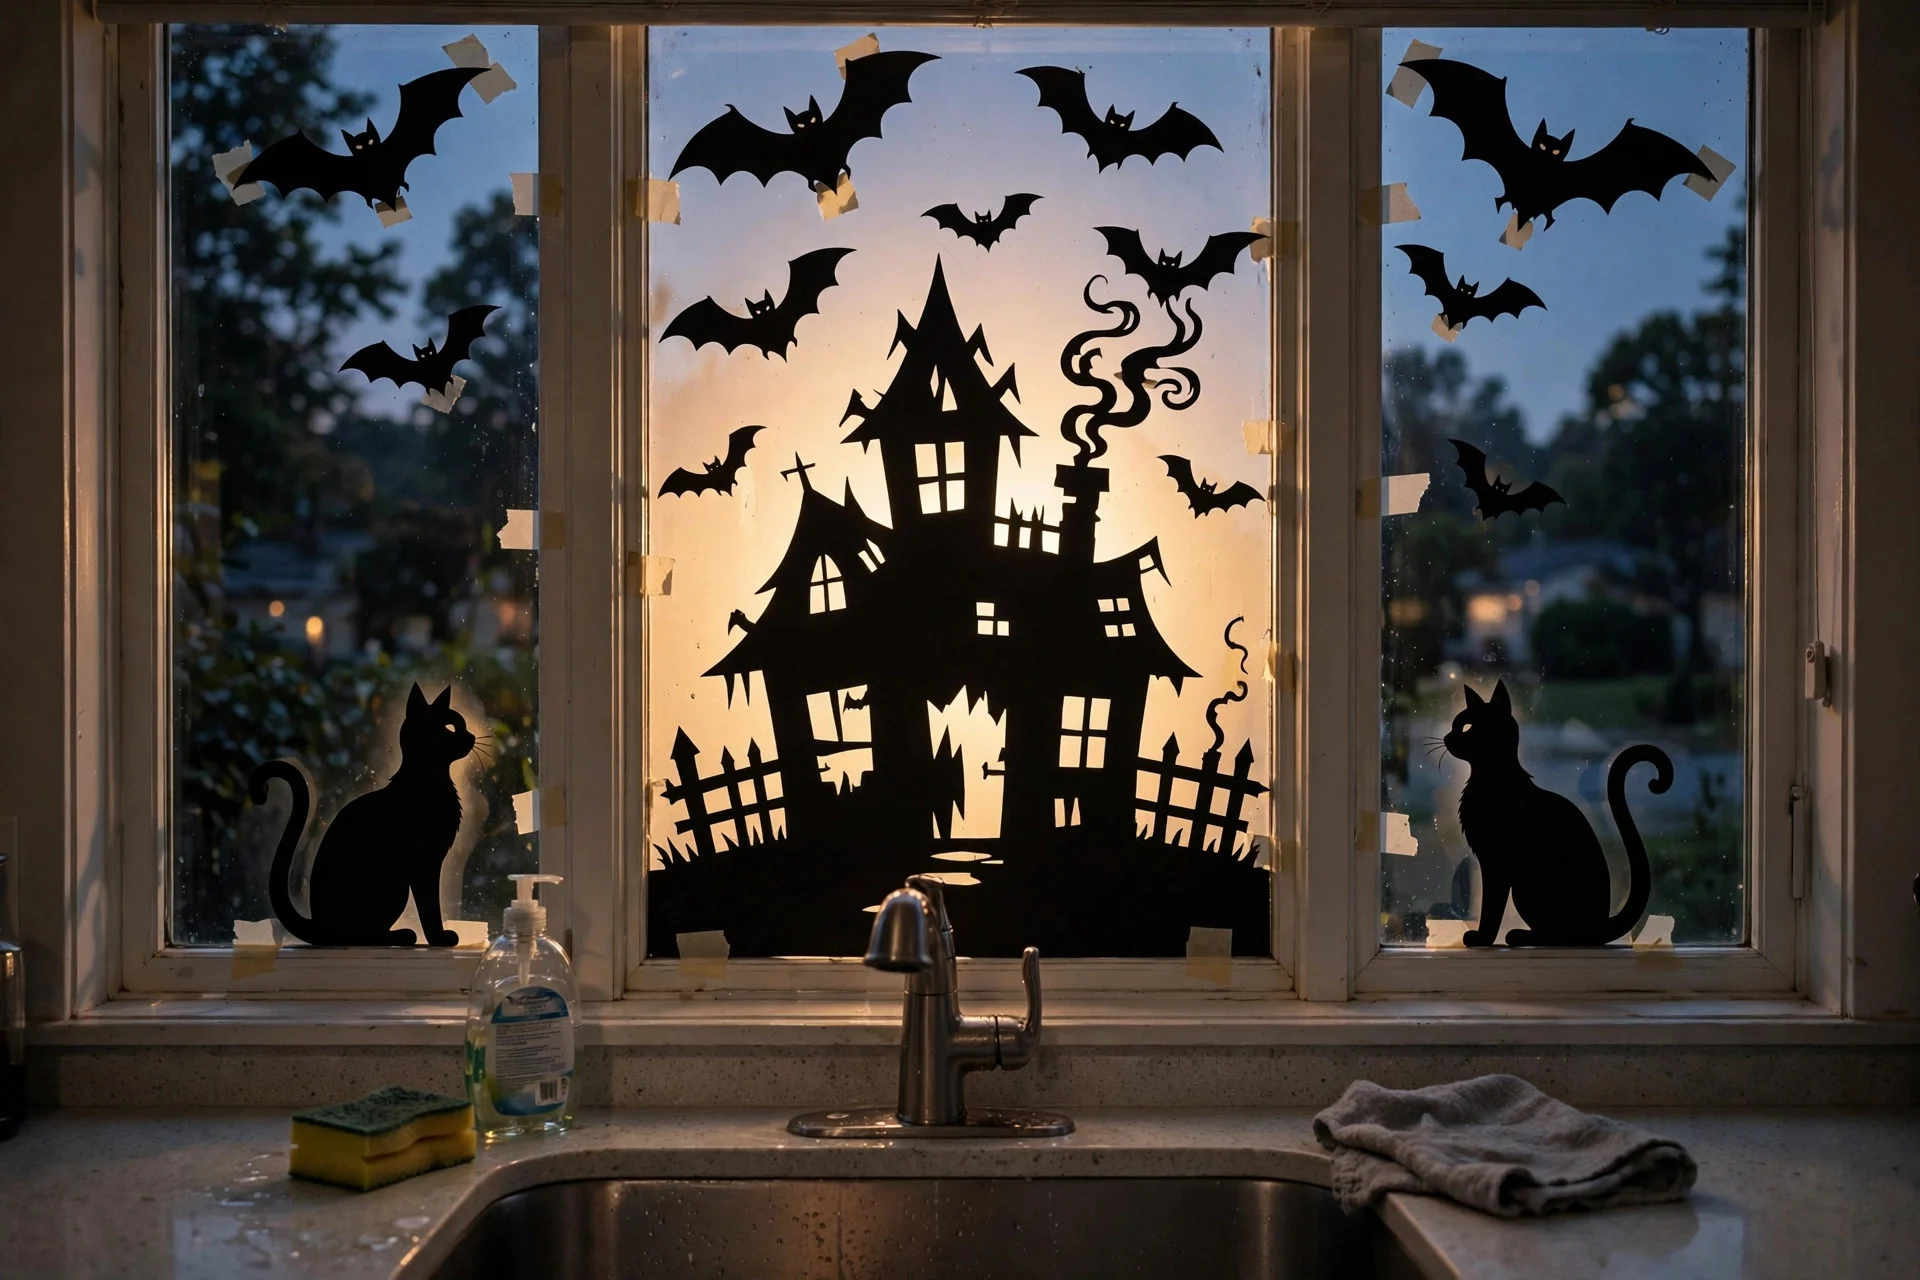
The window sill above the sink is dead space in most kitchens — too narrow for plants, too visible to ignore. Cut black cardstock into bat, cat, and haunted-house silhouettes (free templates are everywhere online), tape them to the glass from the inside, and backlight does the rest. At night they glow like a shadow play.
Total cost: one sheet of black cardstock, about a dollar. Tape them low on the glass so they don’t block your view, and use painter’s tape — it peels off glass cleanly. I redo mine every year with the kids; the 2023 haunted house with the crooked chimney is still my favorite.
13. Tuck Fairy Lights Under the Cabinets
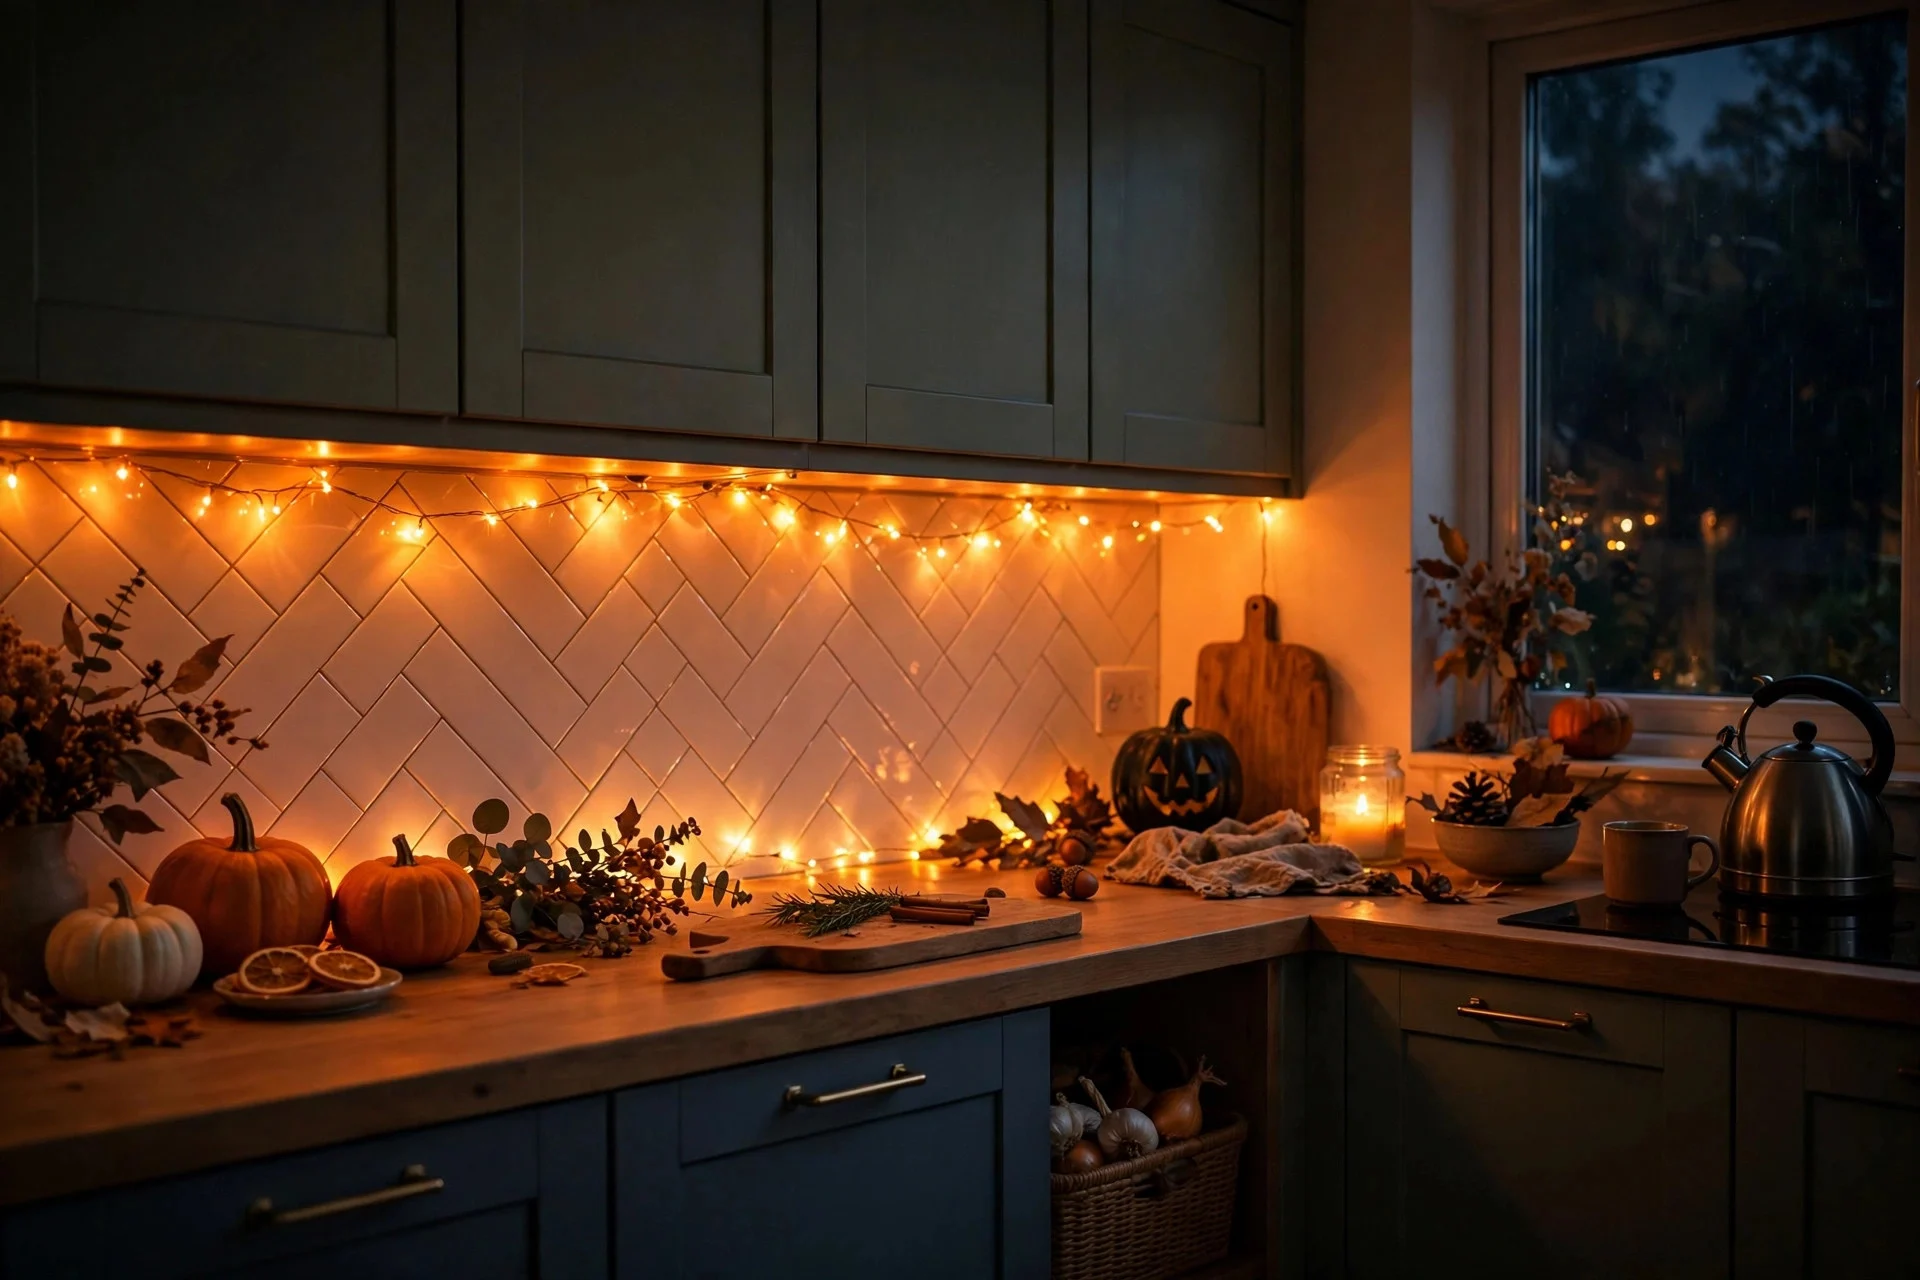
Under-cabinet lights take up literally zero counter space and transform the kitchen after dark. A 10-foot strand of warm orange micro-LEDs (about $8, battery pack hidden behind the coffee maker) tucked along the cabinet lip casts a pumpkin-glow across the whole backsplash.
Use the adhesive clips that come in the box, not tape — tape fails in kitchen humidity by week two. Set them on a timer so they click on at dusk. Paired with the faux pumpkin lantern from idea 6, your kitchen gets a layered evening glow that costs pennies to run.
14. Hang a Tiered Basket for Wrapped Candy
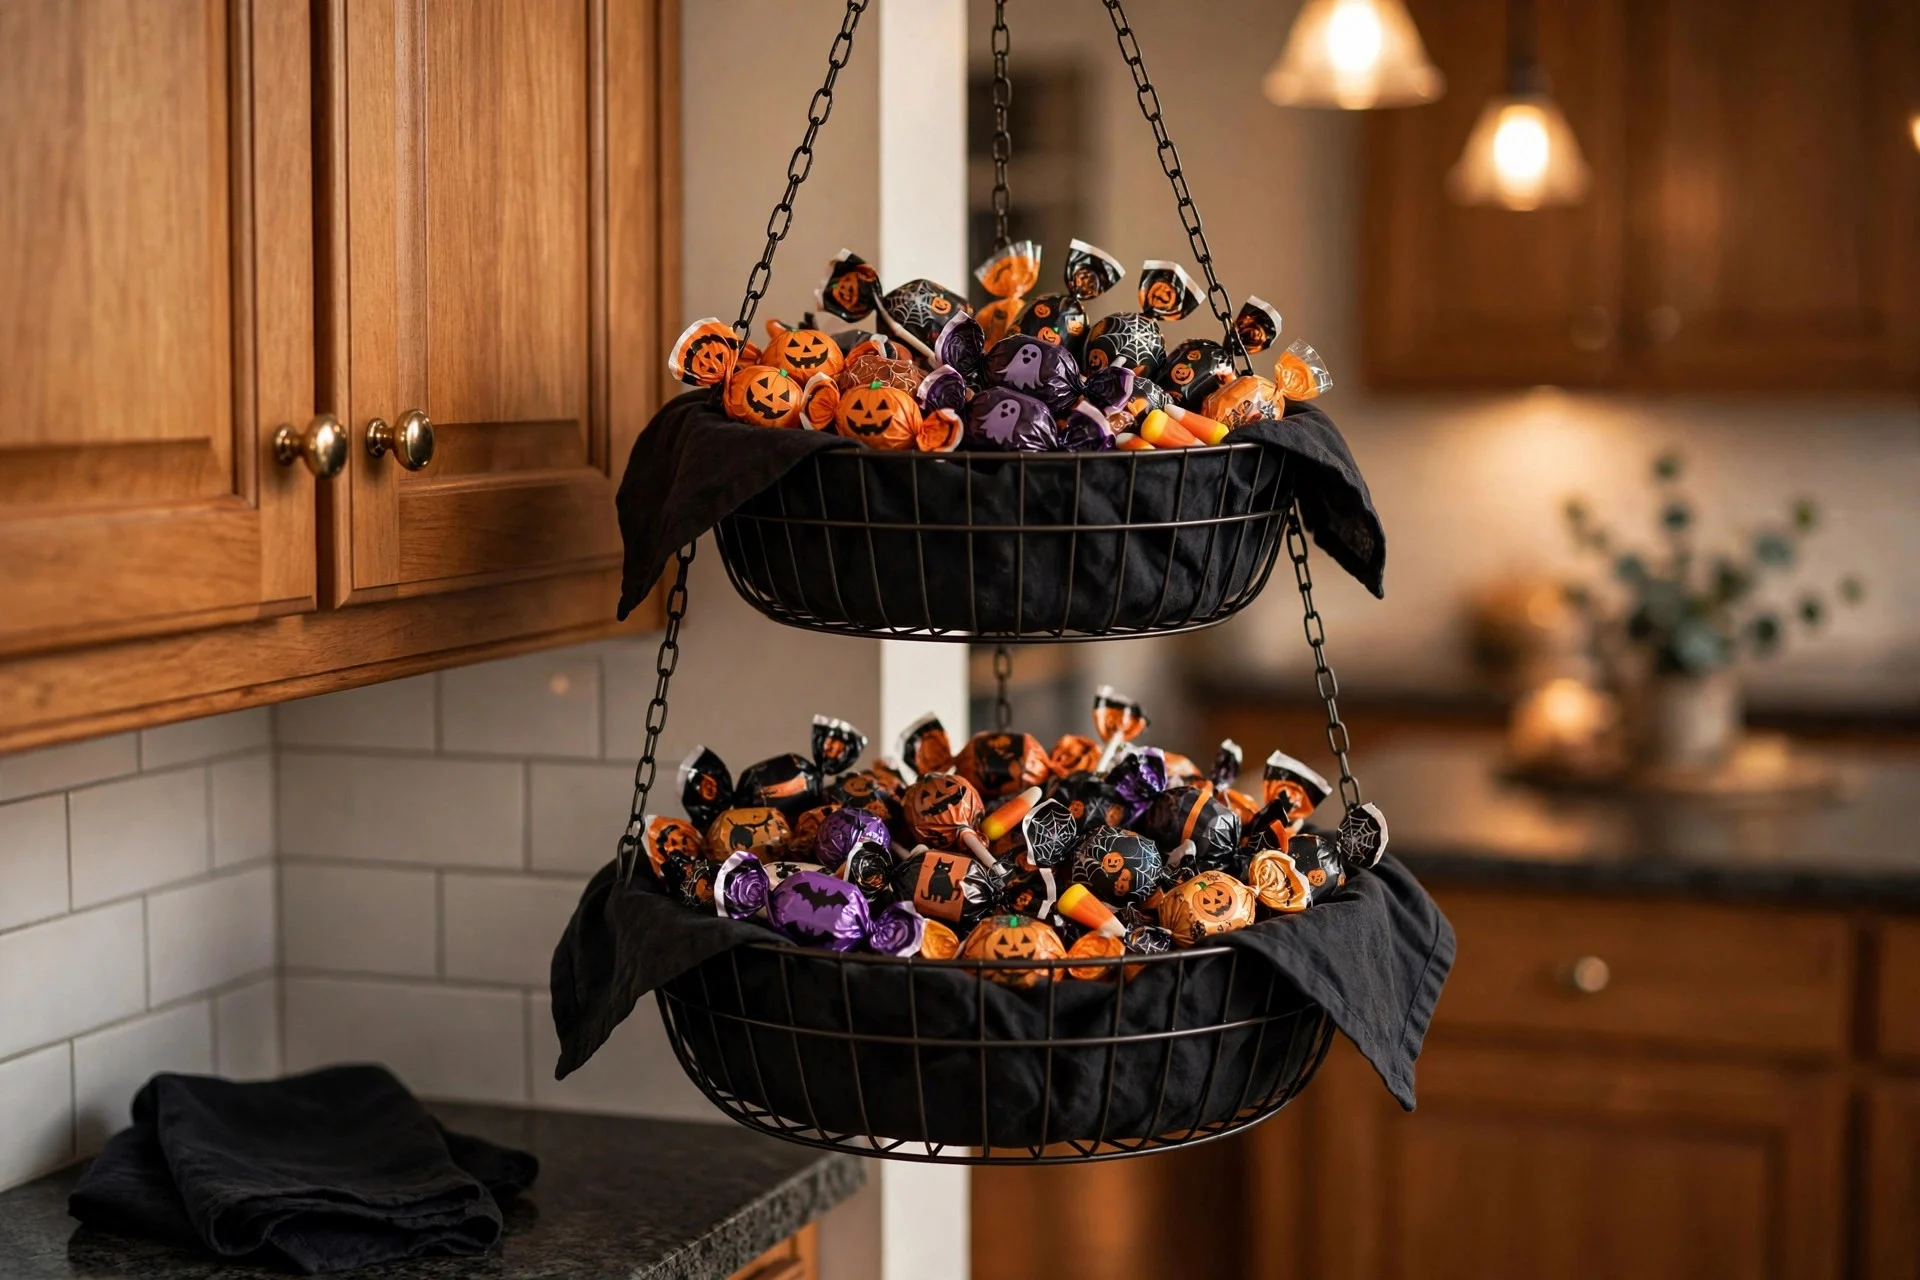
A two- or three-tier hanging basket — the kind usually sold for produce, about $14 — hooks under a cabinet or on a wall bracket and holds wrapped Halloween candy off the counter entirely. It frees a full square foot of prep space while keeping treats visible and grabbable.
Line the baskets with a black linen napkin so small candies don’t slip through the wires, and keep chocolate on the top tier (heat rises; the bottom stays cooler). When trick-or-treat night arrives, you just unhook the basket and carry it to the door. Try doing that with a carved pumpkin.
15. Swap In a Skull Soap Dispenser
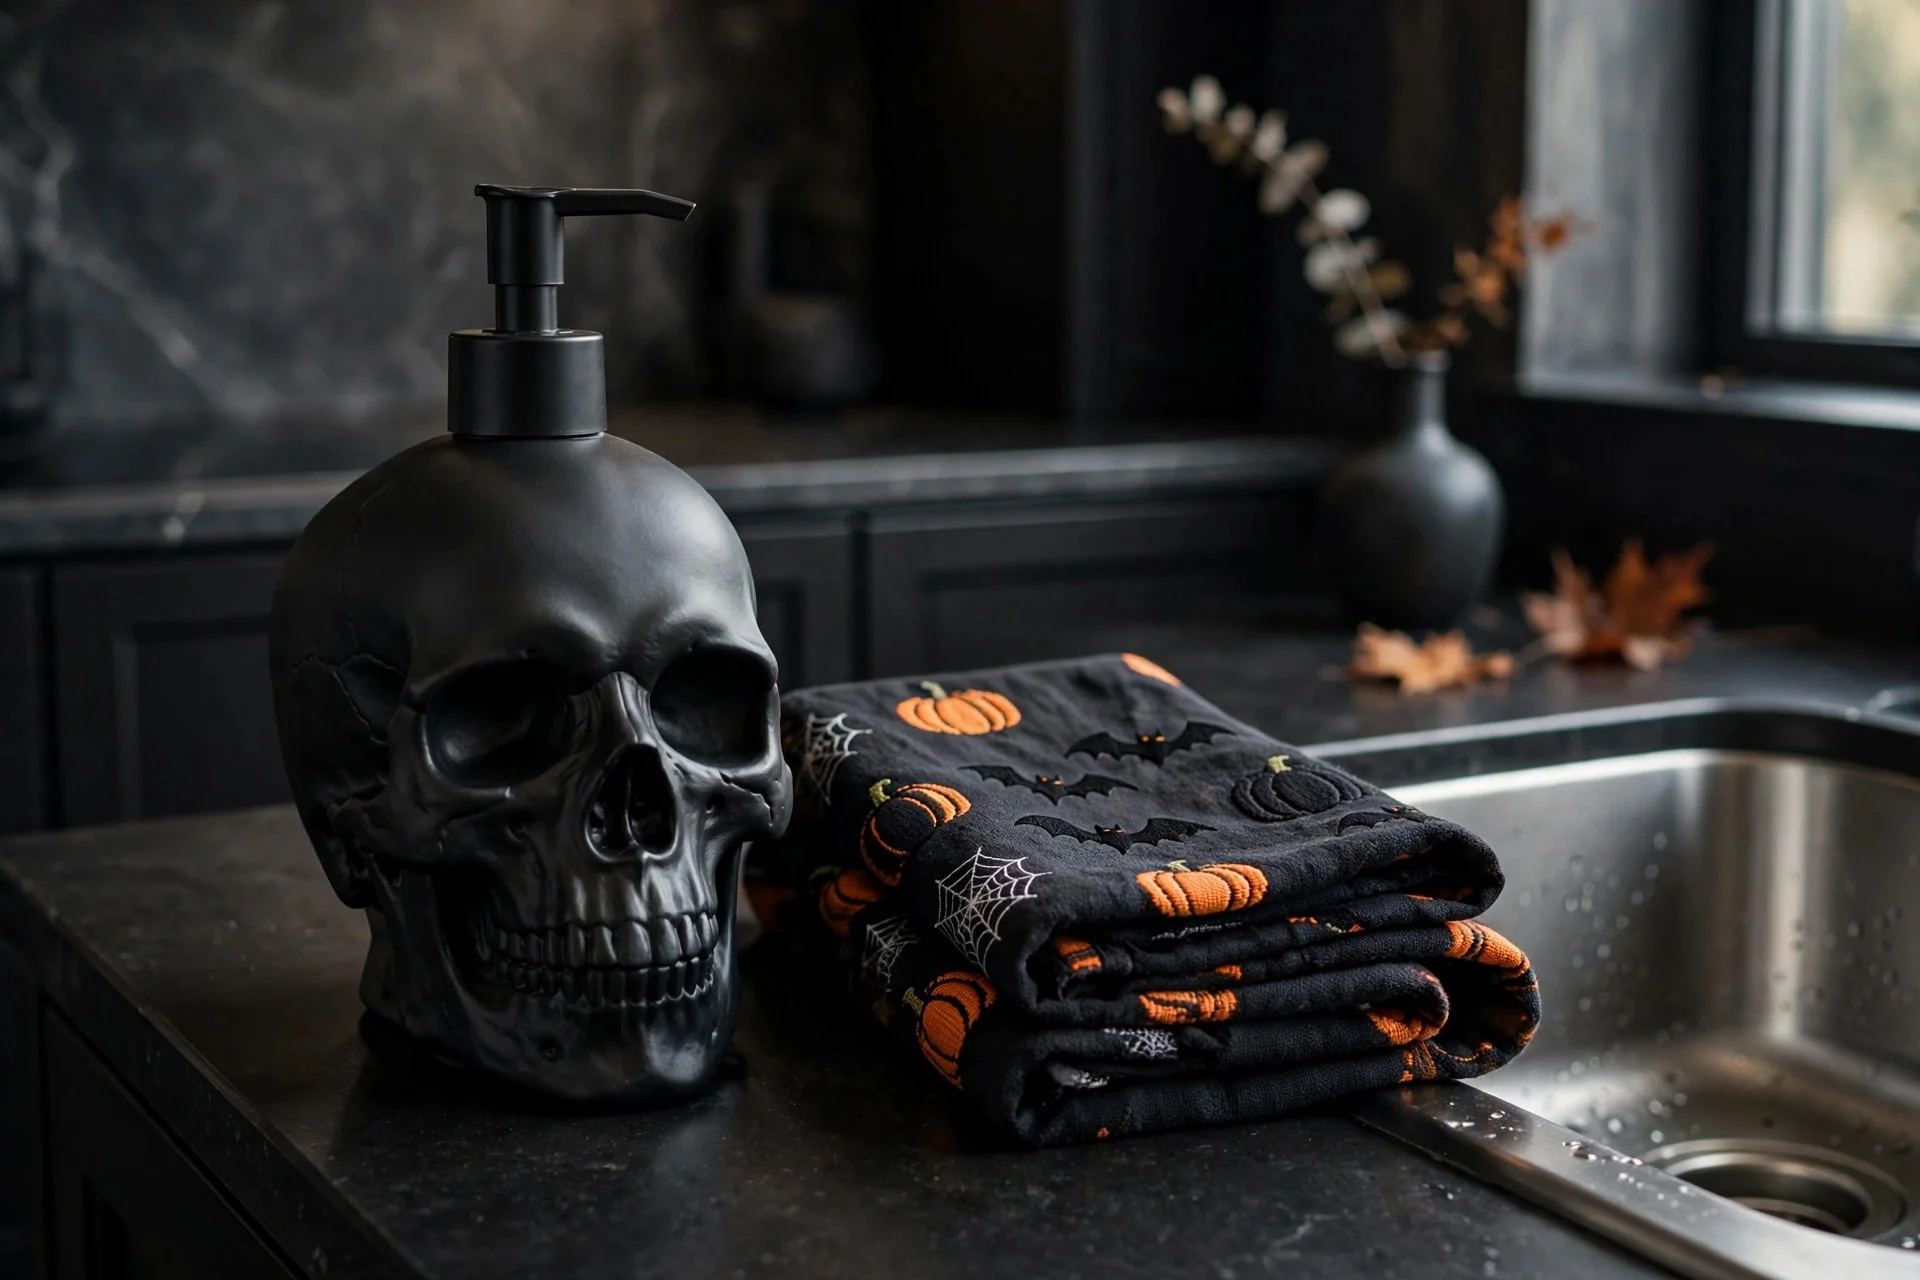
The sink area is prime Halloween real estate that most people forget. A skull soap dispenser (about $9 at Michaels or Target’s Hyde & EEK! line) replaces the bottle you’d have there anyway, and a folded Halloween hand towel finishes the vignette. Two items, zero lost function.
Fill it with your regular soap — the novelty is the bottle, not the contents. Matte black reads more “elegant Halloween” than glossy; if your kitchen leans modern, this one small swap does more than a whole shelf of orange plastic. It pairs well with the grown-up direction in these elegant Halloween decor ideas for adults.
FAQs
How do I decorate my kitchen for Halloween without losing counter space?
Go vertical and dual-purpose: tiered trays, cake stands, wall garlands, under-cabinet lights, and one-for-one swaps (ghost utensil crock, skull soap dispenser) add Halloween without subtracting a single inch of prep area.
What are the cheapest Halloween kitchen decorations?
Paper silhouettes on the window (about $1), a dish towel swap ($7), and fairy lights ($6–$8) give you the biggest visual change for the least money. Most of the ideas above land under $15 each.
When should I put up Halloween kitchen decor?
Early to mid-October is the sweet spot — close enough to feel festive, not so early you’re tired of it by the 31st. Textile swaps and lights can go up first; pumpkins and fresh herbs hold up fine for the full month.
How do I keep Halloween kitchen decor from looking cluttered?
Limit yourself to one tight color palette (black, cream, plus one orange), cap each display at six to eight items, and give every piece a job — storage, lighting, or daily use. If it only sits there, it needs to be exceptional or it goes.
Small counters aren’t a decorating handicap — they’re an editing superpower. Pick five or six of these ideas, keep the palette tight, and your kitchen will look more styled than a sprawling display twice the size. Start with the textile swap and one vertical piece; you can build from there every October.