



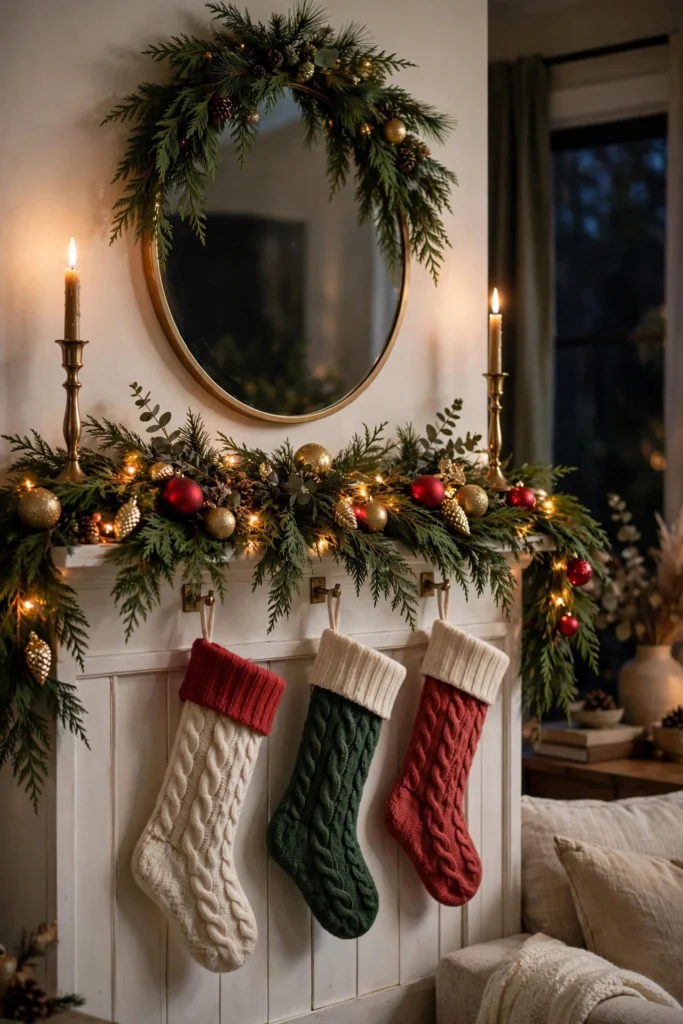
Last December I spent a whole Saturday afternoon staring at my bare mantel with a box of tangled garland at my feet, wondering why everyone else’s christmas mantel styling looked like a magazine page while mine looked like a yard sale. The problem wasn’t my taste. It was my order of operations. I used to hang the stockings first, then shove garland in behind them, then wonder why everything looked flat and crowded. Once I learned the actual sequence — clear, anchor, light, layer, then edit — the whole job took under an hour and looked twice as good.
This guide walks you through that exact order in 12 steps. It works on a standard 6-foot mantel, a narrow apartment shelf, or a big stone fireplace surround. You don’t need a designer budget; most of what I used came from Target, HomeGoods, and my own yard. Total cost for my mantel was under $80, and half of that was a garland I will reuse for years.
Step 1: Clear the Whole Mantel (Yes, All of It)
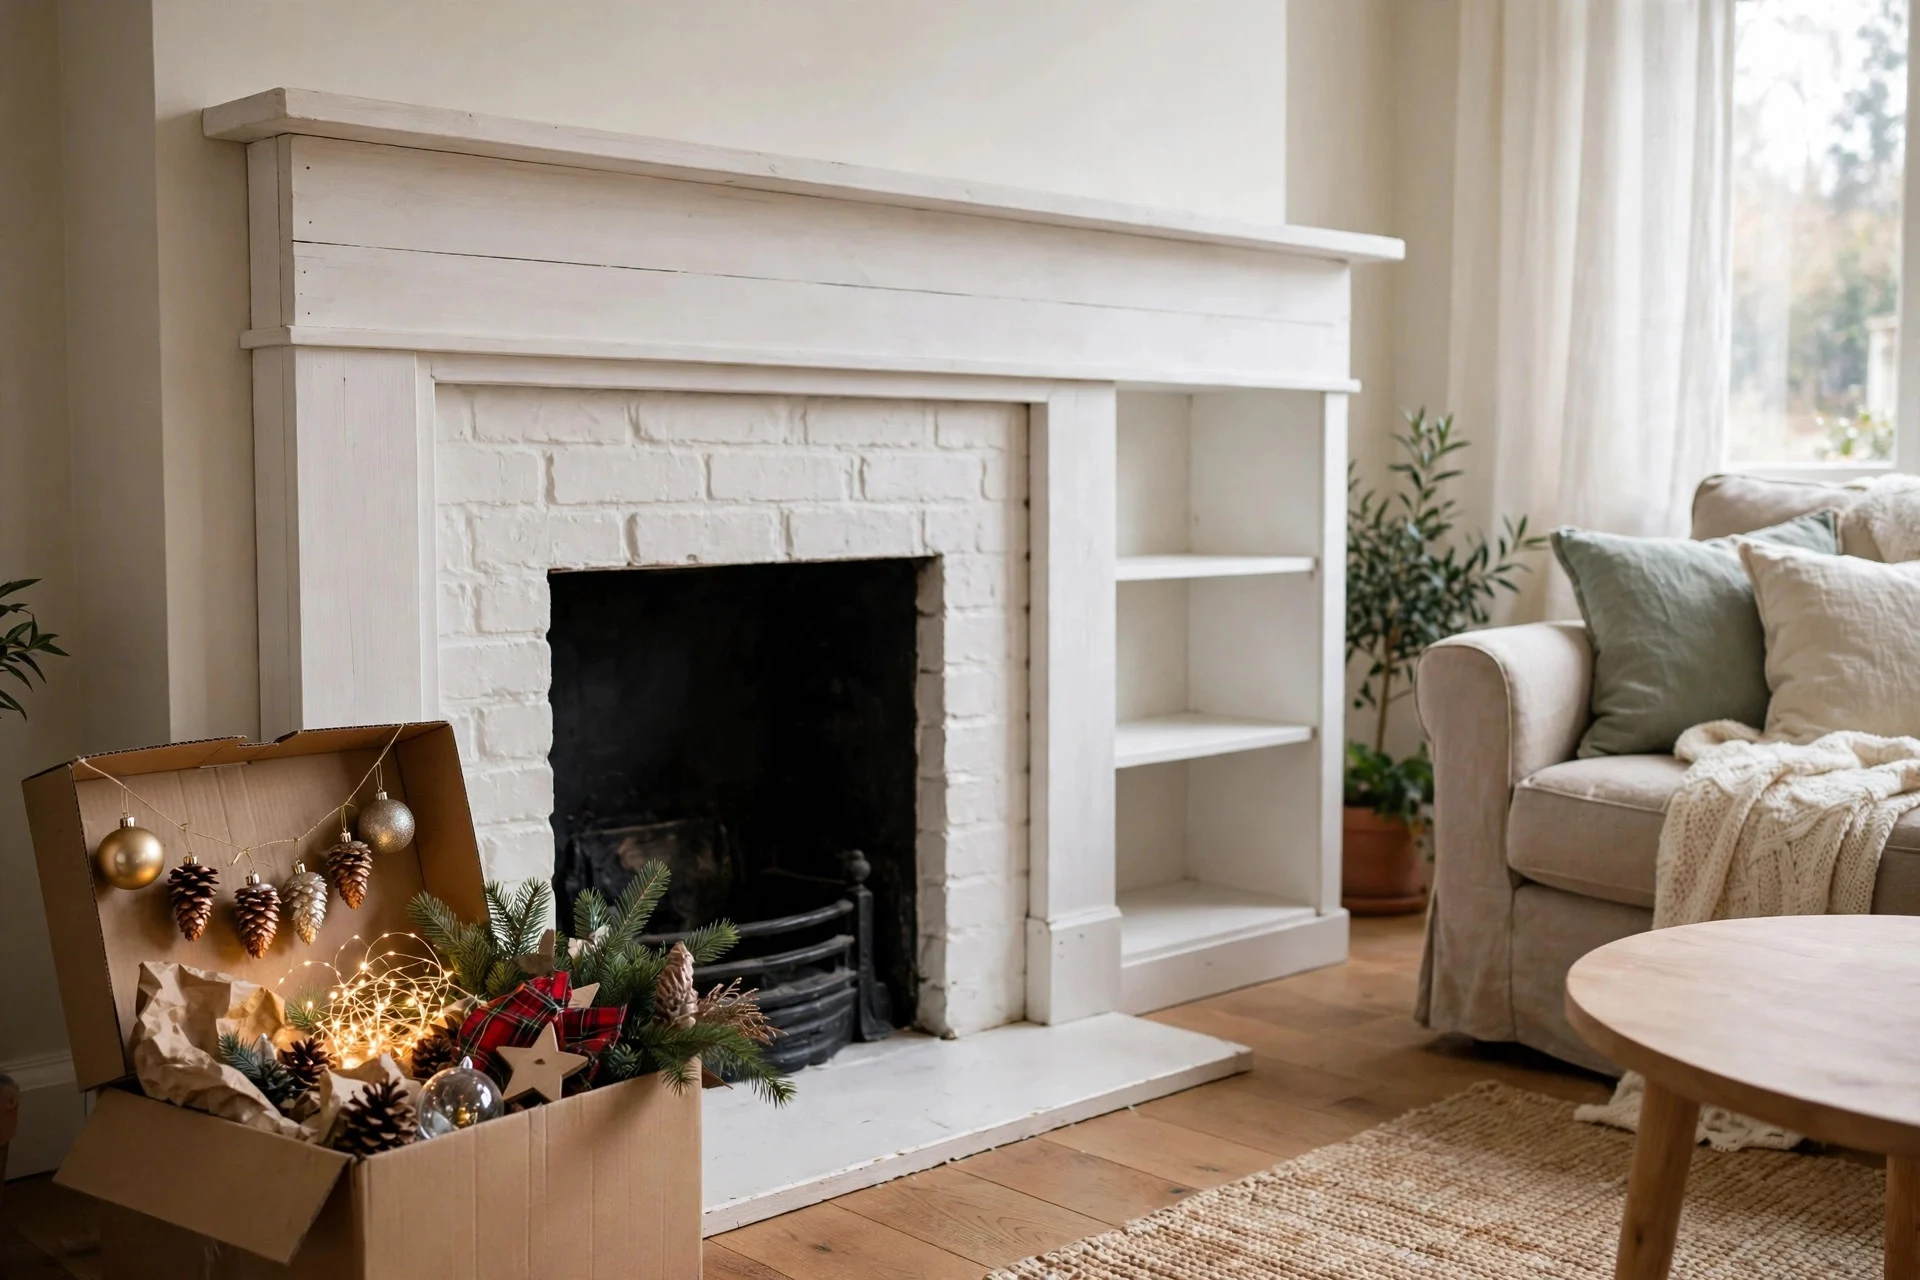
Take everything off. The family photos, the candlesticks you love, the little ceramic bird — all of it goes into a box for now. This is the step everyone skips, and it’s why most mantels look cluttered instead of styled. You need a blank surface to see what you’re working with: the actual width, the depth of the shelf, any stains or chips you might want to hide with a trailing vine. Wipe the whole thing down with a damp cloth while you’re at it; dust shows up badly under string lights. My mistake the first year was decorating around my everyday frames, and the mantel ended up looking like a shelf that Christmas had crashed into. Give yourself the clean slate. You’ll put the keepers back later if they earn a spot.
Step 2: Lay Your Anchor Garland

Your garland is the foundation everything else sits in, so choose it first and choose it generously. Measure your mantel, then buy a garland about 3 feet longer — for my 6-foot mantel I used a 9-foot cedar garland that cost $34 at Target and drapes just slightly at both ends. Lay it along the shelf and let it settle for ten minutes before you fuss with it. Faux garland needs a good fluffing: bend each branch tip outward so it looks full instead of like a green rope. If you’re deciding between real and faux, real smells incredible but dries out fast above a working fireplace. If your mantel still wears fall colors from Thanksgiving, these warm-toned Thanksgiving mantel ideas show how to make the swap without starting over.
Step 3: String the Lights Before Anything Else

Lights go in now, while the garland is still bare, because weaving them around stockings and ornaments later is miserable. For a 6-foot mantel, one 50-light strand of warm white mini lights every 3 feet of garland is plenty — I used two strands, about 100 lights total. Plug the strand in first and test it before you weave a single bulb, because discovering a dead strand at the end will ruin your afternoon. Work the wire in and out of the branches rather than wrapping it around the outside; the bulbs should peek through the greenery, not sit on top of it. Battery-operated strands with a built-in timer are worth the extra few dollars here — mine click on at 5 p.m. and off at 11 without me touching them all December.
Step 4: Set Your Focal Point Above the Mantel
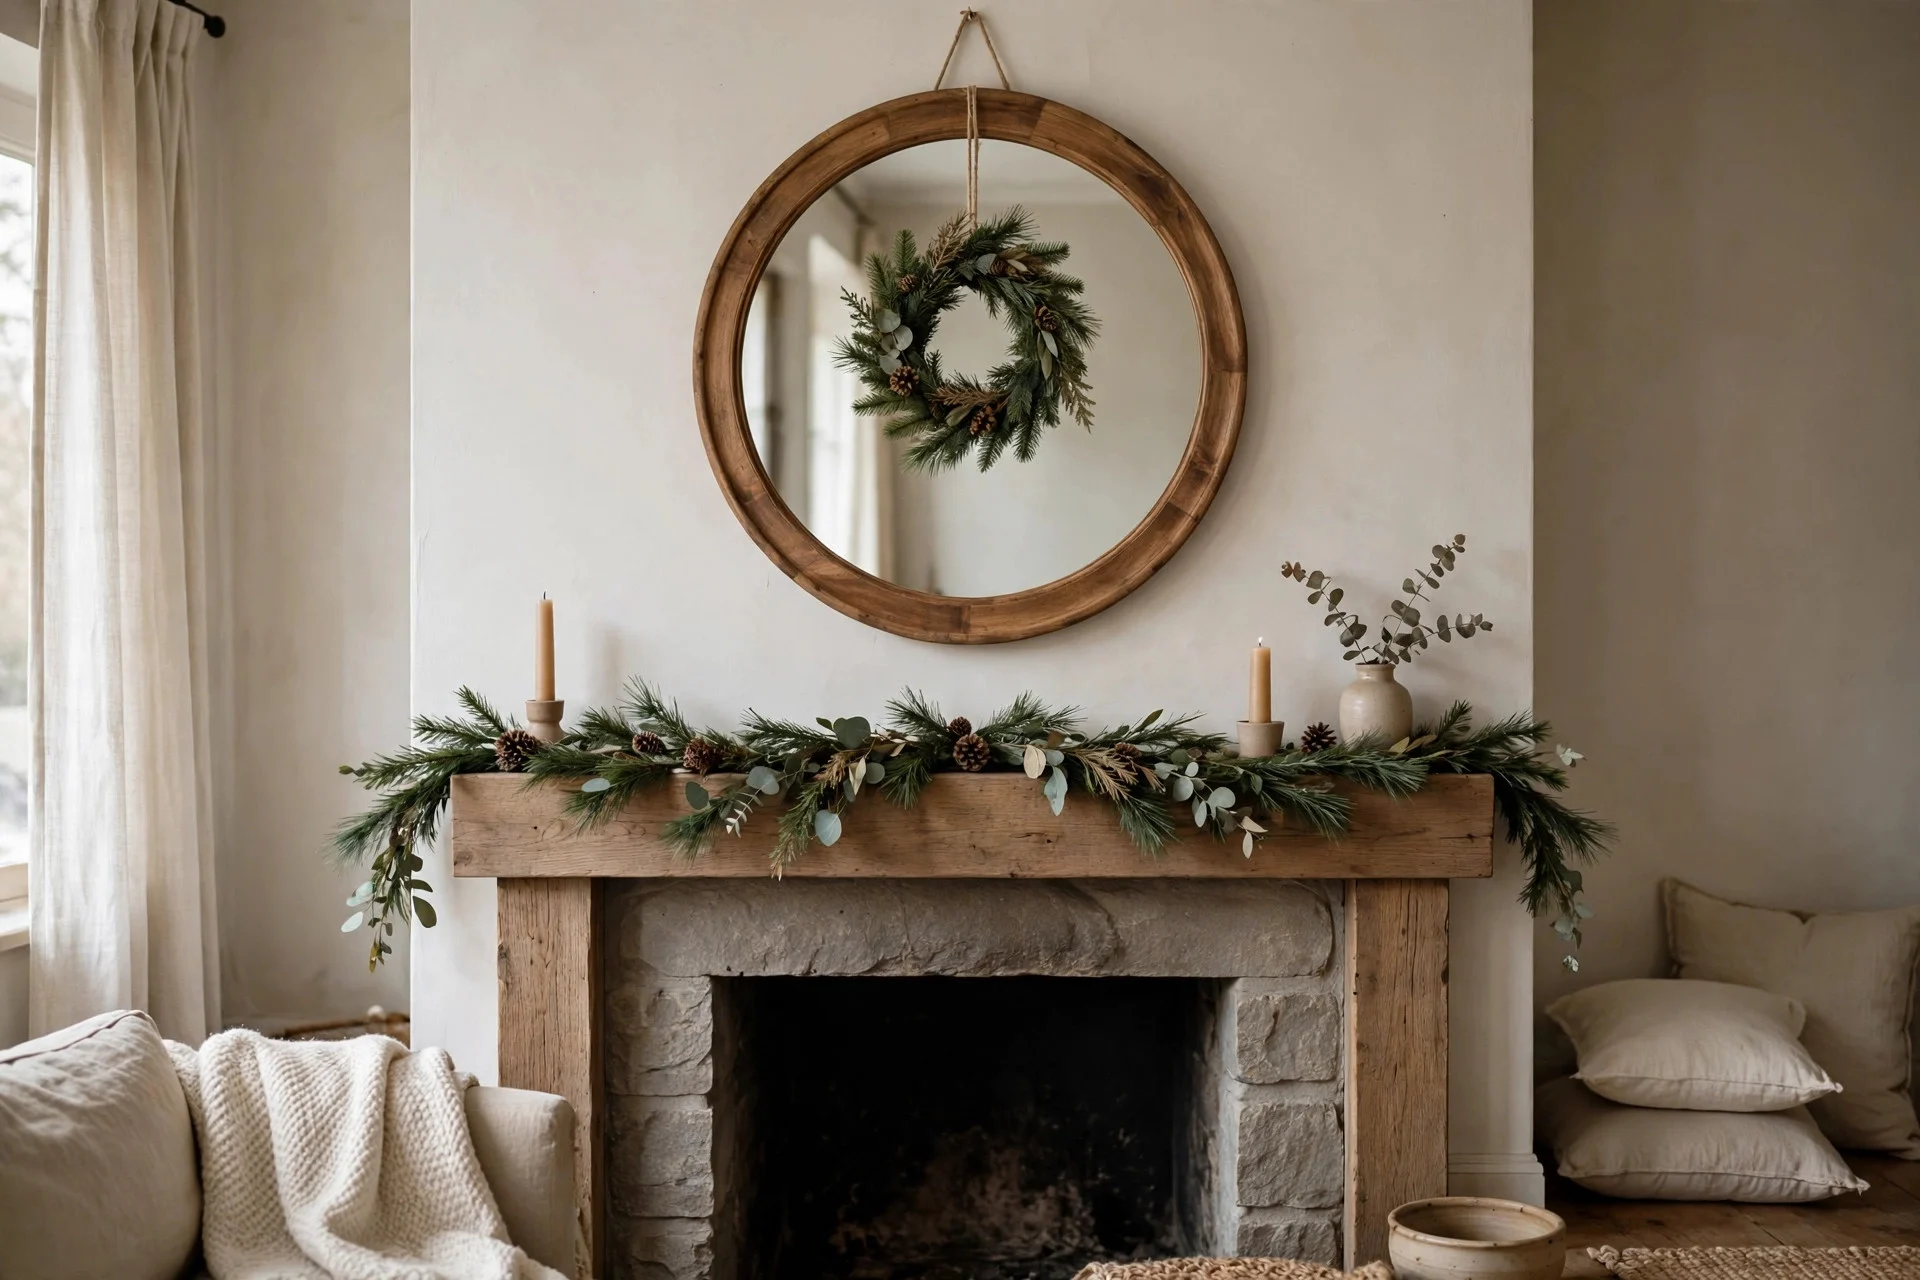
Every good mantel has one thing your eye lands on first, and it usually hangs above the shelf rather than sitting on it. A round mirror, a wreath, or a piece of art all work. I hang a simple pine wreath on the mirror that’s already there — two hooks, one on the mirror’s frame, and it takes thirty seconds. Center the focal point on the mantel, not on the wall, and hang it so its bottom edge sits 4 to 6 inches above the garland. If you rent and can’t drill, a large Command hook rated for 4 pounds holds a wreath just fine; mine survived three seasons. Keep this piece simple. The mantel itself is about to get busy, and the thing above it should be the calm center, not another competing decoration.
Step 5: Hang the Stockings

Now — and only now — the stockings go up. Use an odd number: three or five looks styled, four looks like you just counted family members. Space them 6 to 8 inches apart, measured from the center of one stocking to the next, so the garland shows between them instead of disappearing behind a row of fabric. Weighted stocking holders are non-negotiable; the cheap ones tip forward the moment a kid stuffs a stocking. Look for holders rated at least 3 pounds, and push each one as far back on the shelf as it will go. Put the kids’ stockings where little hands can reach them — mine go on the two outer holders — and keep one stocking slightly lower than the others. That tiny bit of unevenness is what makes it look styled instead of symmetrical.
Step 6: Add Height on Both Ends
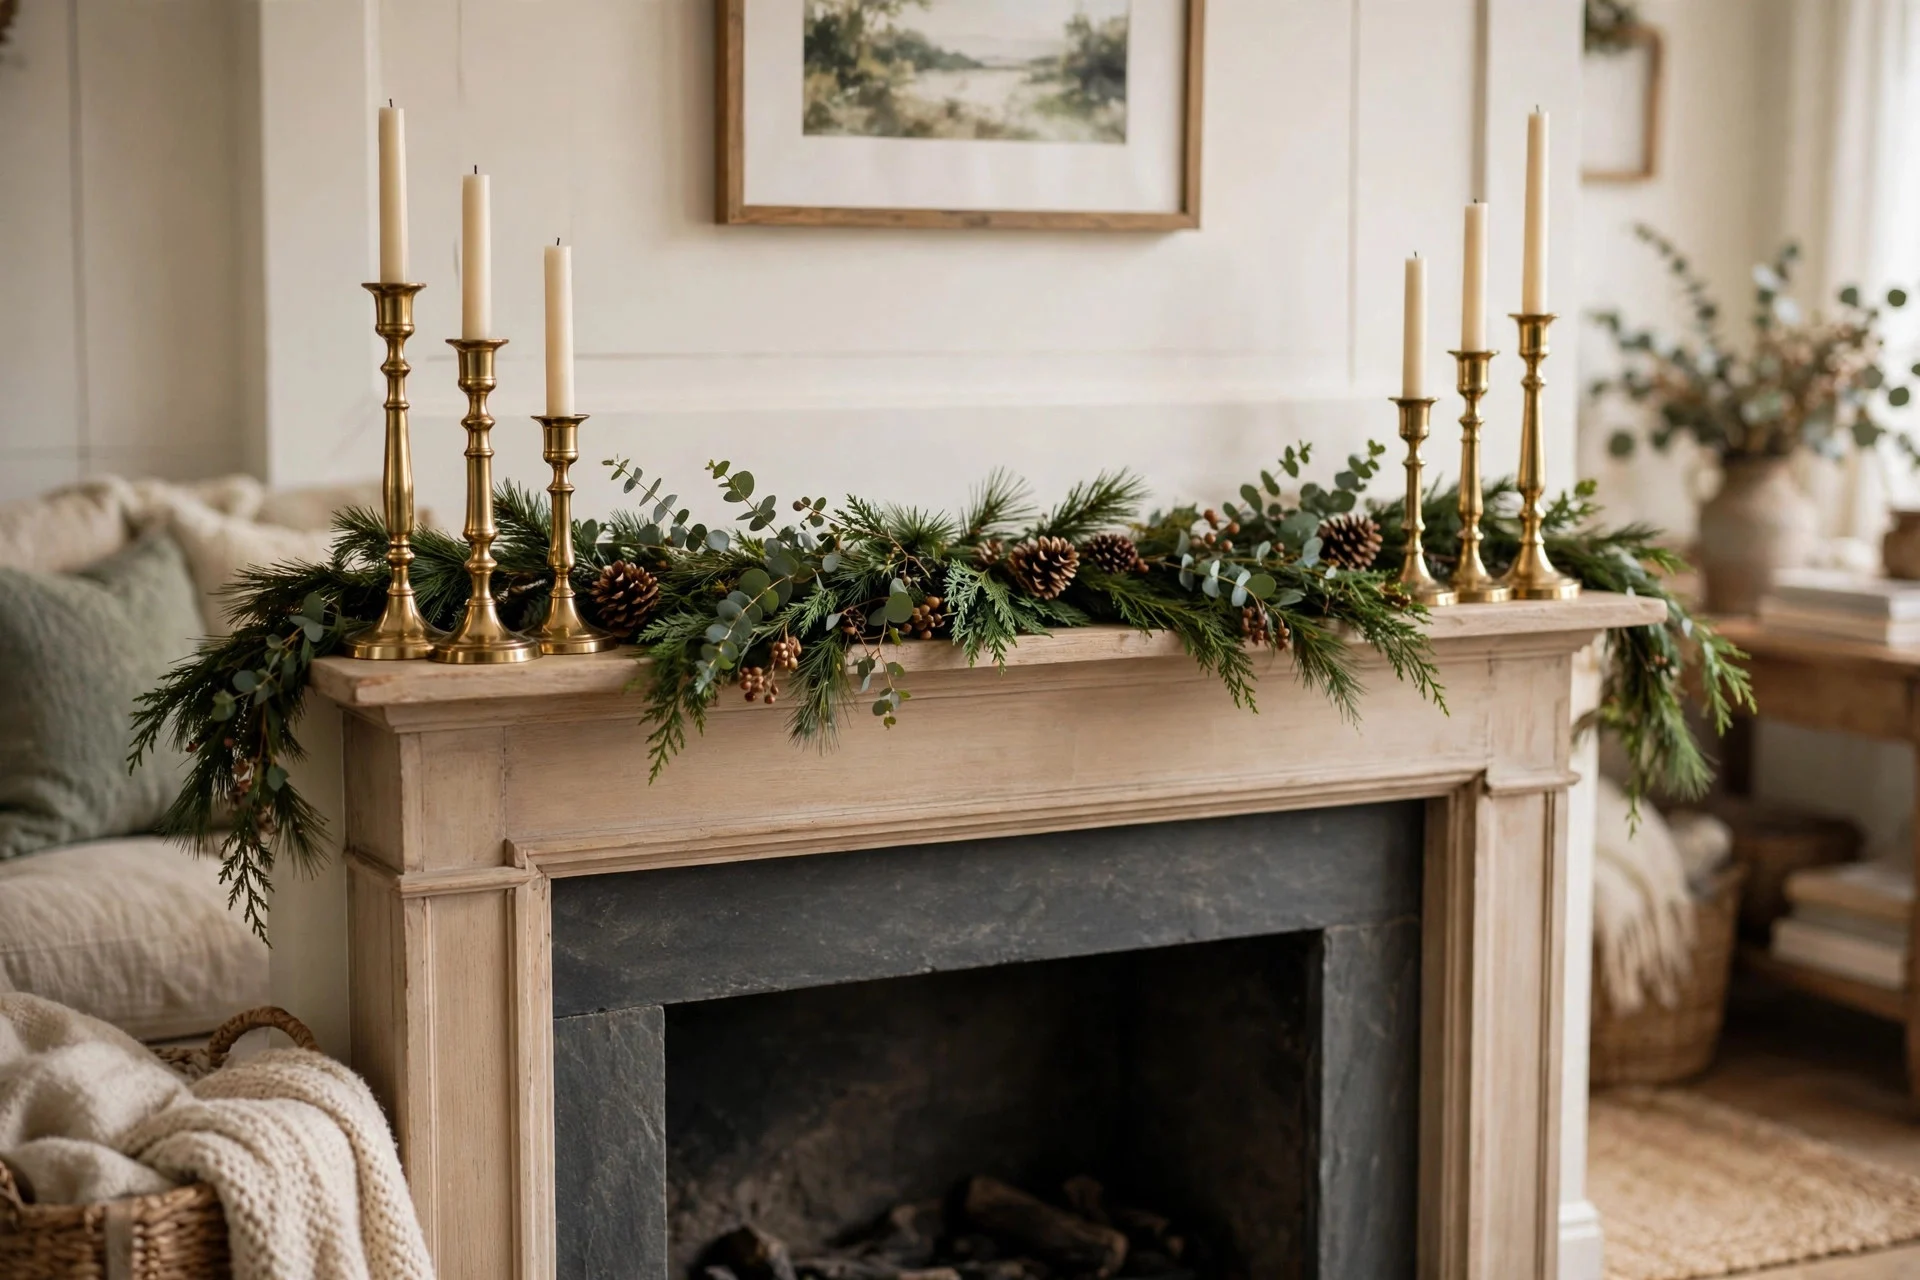
A mantel with everything at the same height looks like a police lineup. You need something tall on both ends to bookend the display: candlesticks, slim vases, or small bottle-brush trees. The rule I follow is three heights — roughly 12 inches, 9 inches, and 6 inches — grouped on one end, mirrored loosely on the other. They don’t have to match; mine are brass candlesticks I found at HomeGoods for $7 each, mixed with a $4 IKEA vase. Keep the tallest pieces at the very ends and step everything down toward the middle. One caution: if your mantel is narrow, tall pieces at the ends can look top-heavy. In that case, put the height on just one end and let the garland drape lower on the other for an asymmetric look that still feels balanced.
Step 7: Layer in Greenery Picks
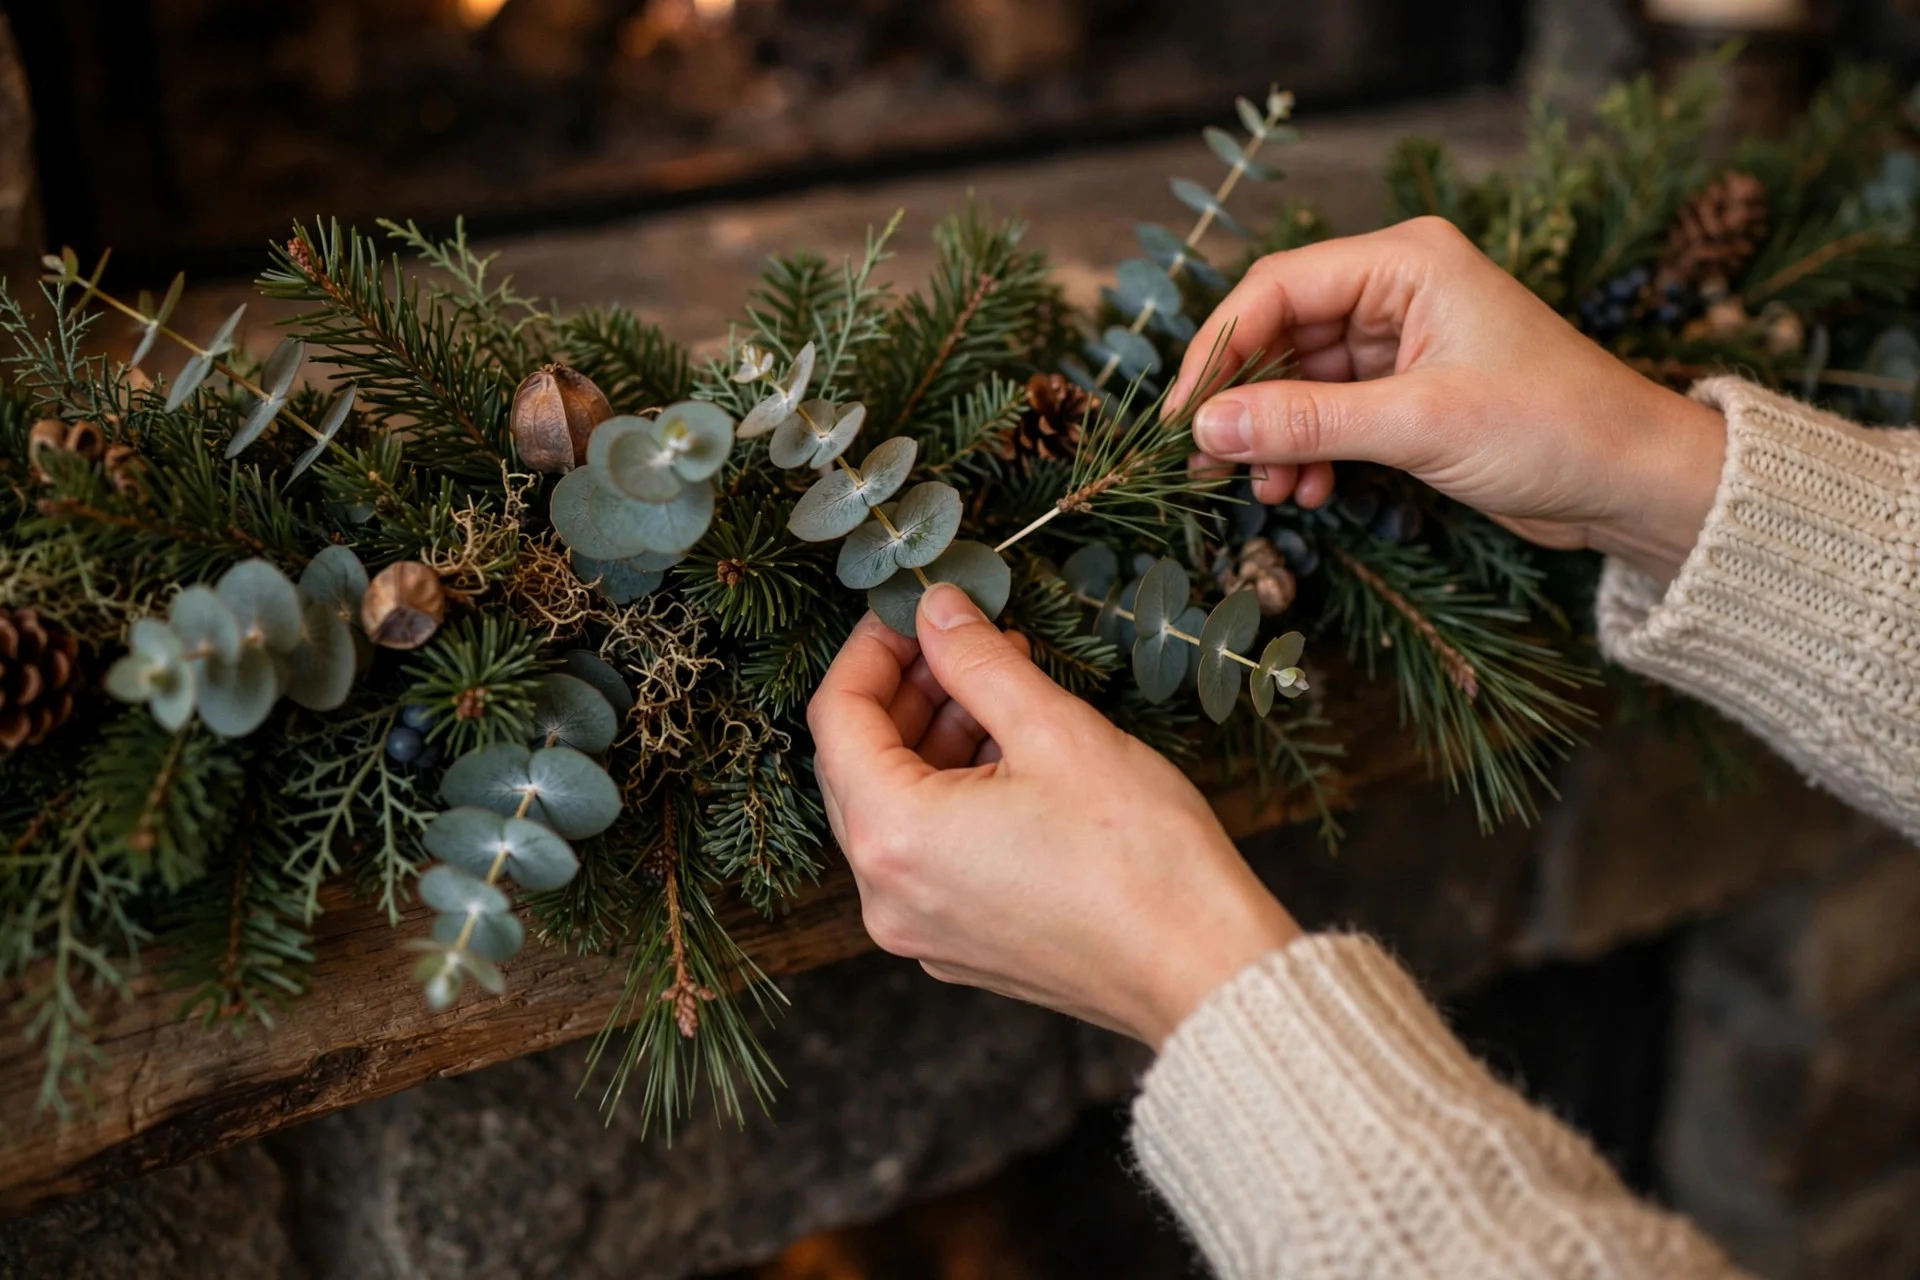
This is the step that separates a nice mantel from a great one. Greenery picks — eucalyptus sprigs, pine sprays, frosted berry stems — get poked into the base garland at angles to add fullness and variety. You need far fewer than you think: a dozen stems, clustered in groups of three, transformed my whole garland. Push each pick deep into the branches at a 45-degree angle so it looks like it’s growing out of the garland rather than lying on it. Dollar Tree sells perfectly good pine picks for $1.25 each, and Hobby Lobby runs their floral stems at 40 percent off most weeks in November. Mix two textures — something soft like cedar with something structured like pine — and the whole thing suddenly looks like a florist did it.
Step 8: Tuck in Ornaments in Odd Numbers

Pull out the baubles that didn’t make the tree and give them a second job on the mantel. Push them deep into the garland so they nestle between branches instead of perching on top — they should look half-hidden, like berries. Work in odd numbers and repeat your colors: I used clusters of three in red, gold, and champagne, spaced about a foot apart. Use shatterproof ornaments here, not your grandmother’s glass ones; mantel ornaments get knocked by stockings, pets, and curious toddlers. I learned that the expensive way in 2022. Larger baubles (3 to 4 inches) read better from across the room than a scattering of tiny ones. About nine to twelve ornaments is the sweet spot for a 6-foot mantel.
Step 9: Weave in Ribbon

Wired ribbon is the shortcut to a professional-looking mantel because it holds whatever shape you give it. Cut it into 18-inch lengths rather than wrestling with the whole spool, and tuck loops into the garland every 10 to 12 inches, twisting the wire around a branch to anchor each one. Let the cut ends trail down a few inches for movement. A 2.5-inch-wide ribbon shows up best; anything narrower disappears into the greenery. Color-wise, pick one ribbon and commit — red, champagne gold, or a deep green all work, but mixing two patterns usually looks busy. This is also the moment to carry your palette over to the tree. If you want the two to feel like one design, this guide to decorating a tree like a professional uses the same layering logic.
Step 10: Add Candles — But Keep Them Safe
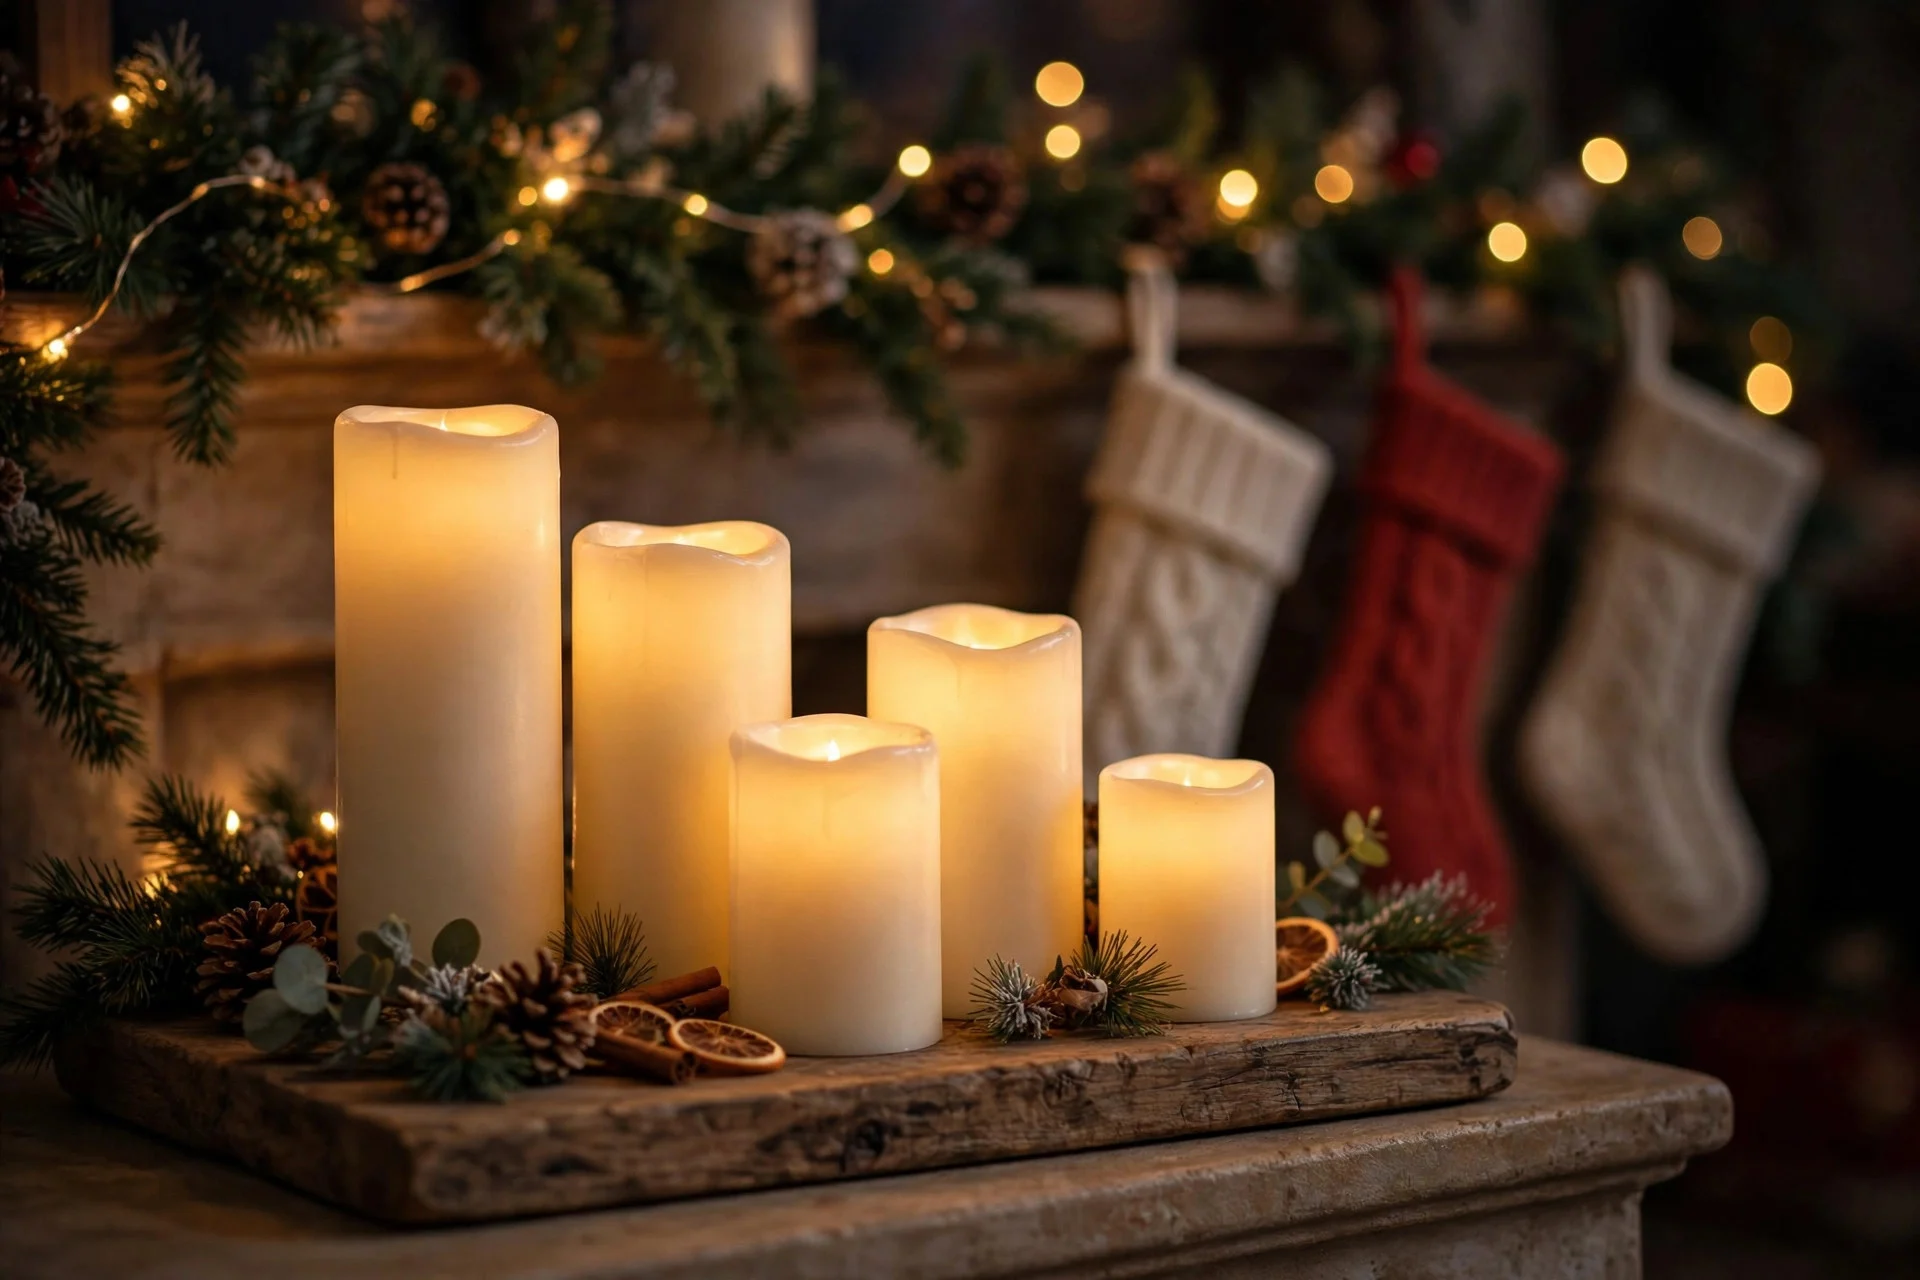
Candlelight is what makes a mantel feel magical after dark, but an open flame next to dried garland is genuinely risky. I’ll be honest: I switched to flameless pillar candles two years ago and have never looked back. The good ones have a flicker mode that fools everyone — my mother-in-law tried to blow mine out. Group them in threes on a small tray or wooden slice, varying the heights, and set the timers so they glow from dusk to bedtime. If you do use real candles, keep them at least 12 inches from any greenery, never leave them burning unattended, and skip them entirely above a working fireplace. The U.S. Consumer Product Safety Commission’s holiday decoration fire-safety guidance is worth a two-minute read before you light anything near dried pine.
Step 11: Fill the Gaps With Natural Texture

Step back and look for the thin spots — every garland has them, usually near the ends and around the stocking holders. Fill those gaps with natural texture: pinecones, dried orange slices, walnuts in their shells, cinnamon stick bundles. This stuff costs almost nothing; I collect pinecones from the park in October and dry orange slices in a 200°F oven for three hours. Tuck each piece in like you did the ornaments, deep enough that it looks embedded rather than placed. The browns and oranges warm up the whole display and give it that collected-over-time feeling that store-bought-only mantels lack. Three to five pieces per gap is enough. You’re filling holes, not building a second layer.
Step 12: Step Back and Check Your Christmas Mantel Styling
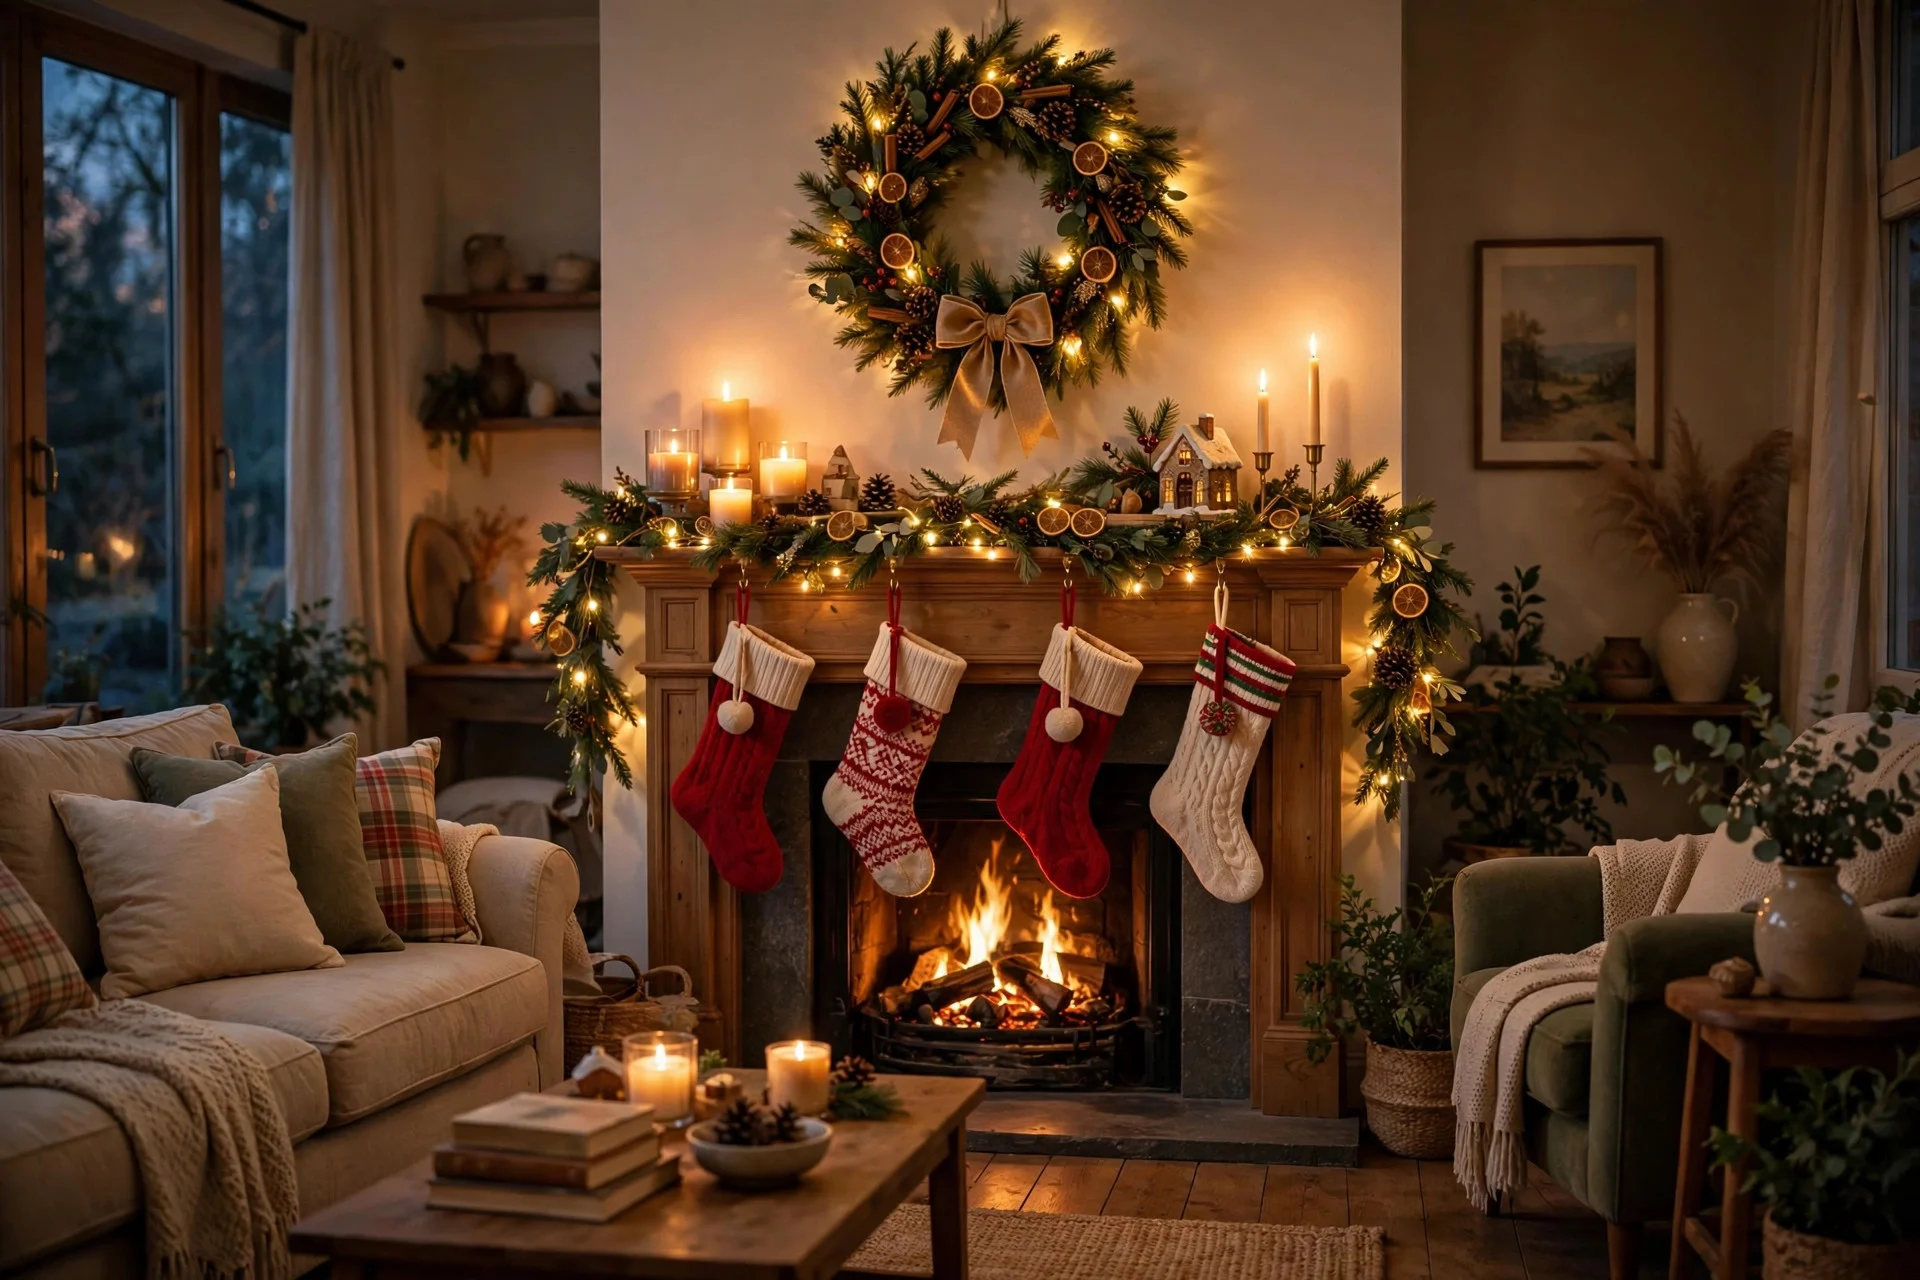
Here’s the final step, and it’s the one that matters most: walk to the doorway, take a photo of the mantel with your phone, and look at the photo instead of the mantel. A camera flattens everything and shows you what the room actually sees — the lopsided stocking, the bare patch on the left, the ornament that’s too bright. Every year my photo reveals one thing too many, and I remove a single item. Almost without fail, the mantel looks better after the edit. Plug the lights in at dusk and check the glow from your usual seat on the sofa. If one side feels heavier, shift a candlestick six inches. Then stop. A mantel that’s 90 percent perfect and finished beats one you keep fussing with until Christmas Eve.
FAQs About Styling a Christmas Mantel
How early should I decorate my Christmas mantel?
Late November, right after Thanksgiving, is the sweet spot for most people. If you use faux greenery, you can go earlier — mine goes up the weekend before Thanksgiving because I can’t wait. Save fresh garland and real pine picks for mid-December so they don’t dry out and drop needles all over the floor.
How do I hang stockings without damaging the mantel?
Weighted stocking holders are the easiest damage-free option; the good ones grip the shelf and hold 3-plus pounds. For renters, heavy-duty Command hooks on the front face of the mantel work, or you can skip hanging entirely and drape stockings over a decorative ladder beside the fireplace.
How many lights do I need for a 6-foot mantel?
About 100 to 150 mini lights — that’s two standard 50-light strands. Warm white reads cozier than cool white in a living room. If your mantel is longer than 6 feet, add one strand per extra 3 feet of garland.
Real or faux garland — which is better for a mantel?
Faux wins above a working fireplace because real garland dries out fast in the heat and becomes a fire concern. Faux also survives the whole season without shedding. Real garland looks and smells better, so use it on a non-working fireplace or a console table, and mist it every few days.
My mantel is only 4 feet wide. Will this still work?
Yes — just scale it down. Use one statement piece on a single end instead of bookending both sides, hang three stockings instead of five, and let asymmetry do the work. A narrow mantel actually styles faster because there are fewer decisions to make.
Once the mantel is done, carry the same palette to the rest of the room — these Christmas living room ideas show how to tie it together — and don’t forget the outside of the house with porch decor that boosts curb appeal.