



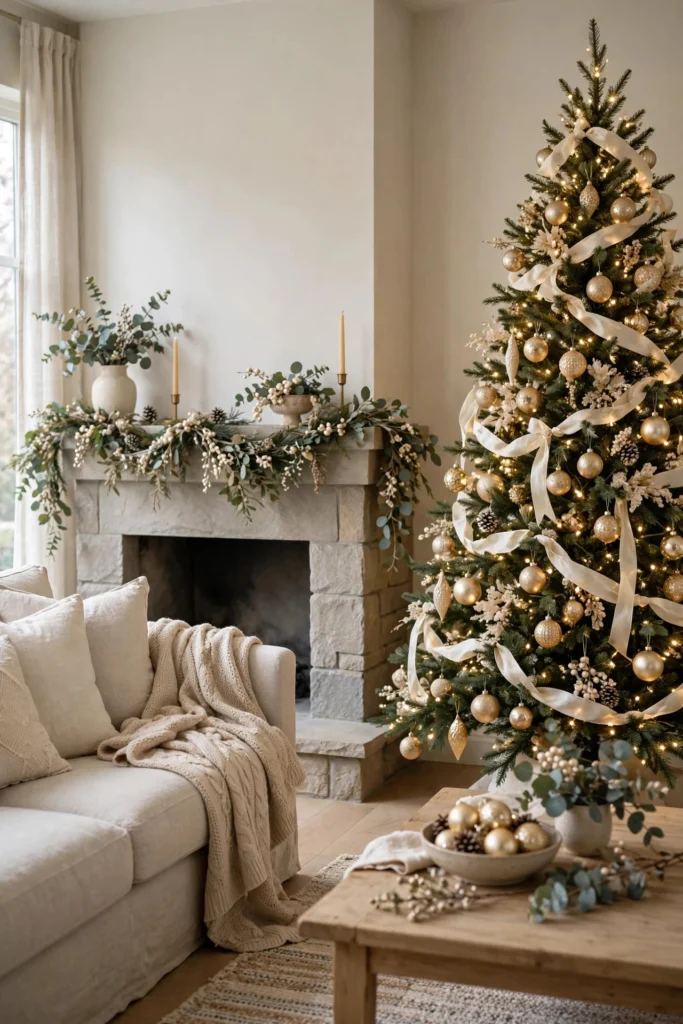
There’s a house in my neighborhood that I think about every December. Gorgeous craftsman, beautifully kept lawn — and every year it looks like a Christmas light factory exploded on the roof. Blinking icicles, six colors of net lights, a Santa that waves mechanically. My kids love it. Every adult I know winces at it.
Tacky isn’t about the amount of lights. It’s about chaos: clashing colors, sagging lines, five different ideas fighting each other. The houses that look stunning with Christmas lights decorating all follow the same quiet rules — one color temperature, clean lines, even spacing, and restraint in the right places. Here are the 14 rules, zone by zone, so your house lands on the right side of that line this year.
1. Pick One Color Temperature and Commit to It
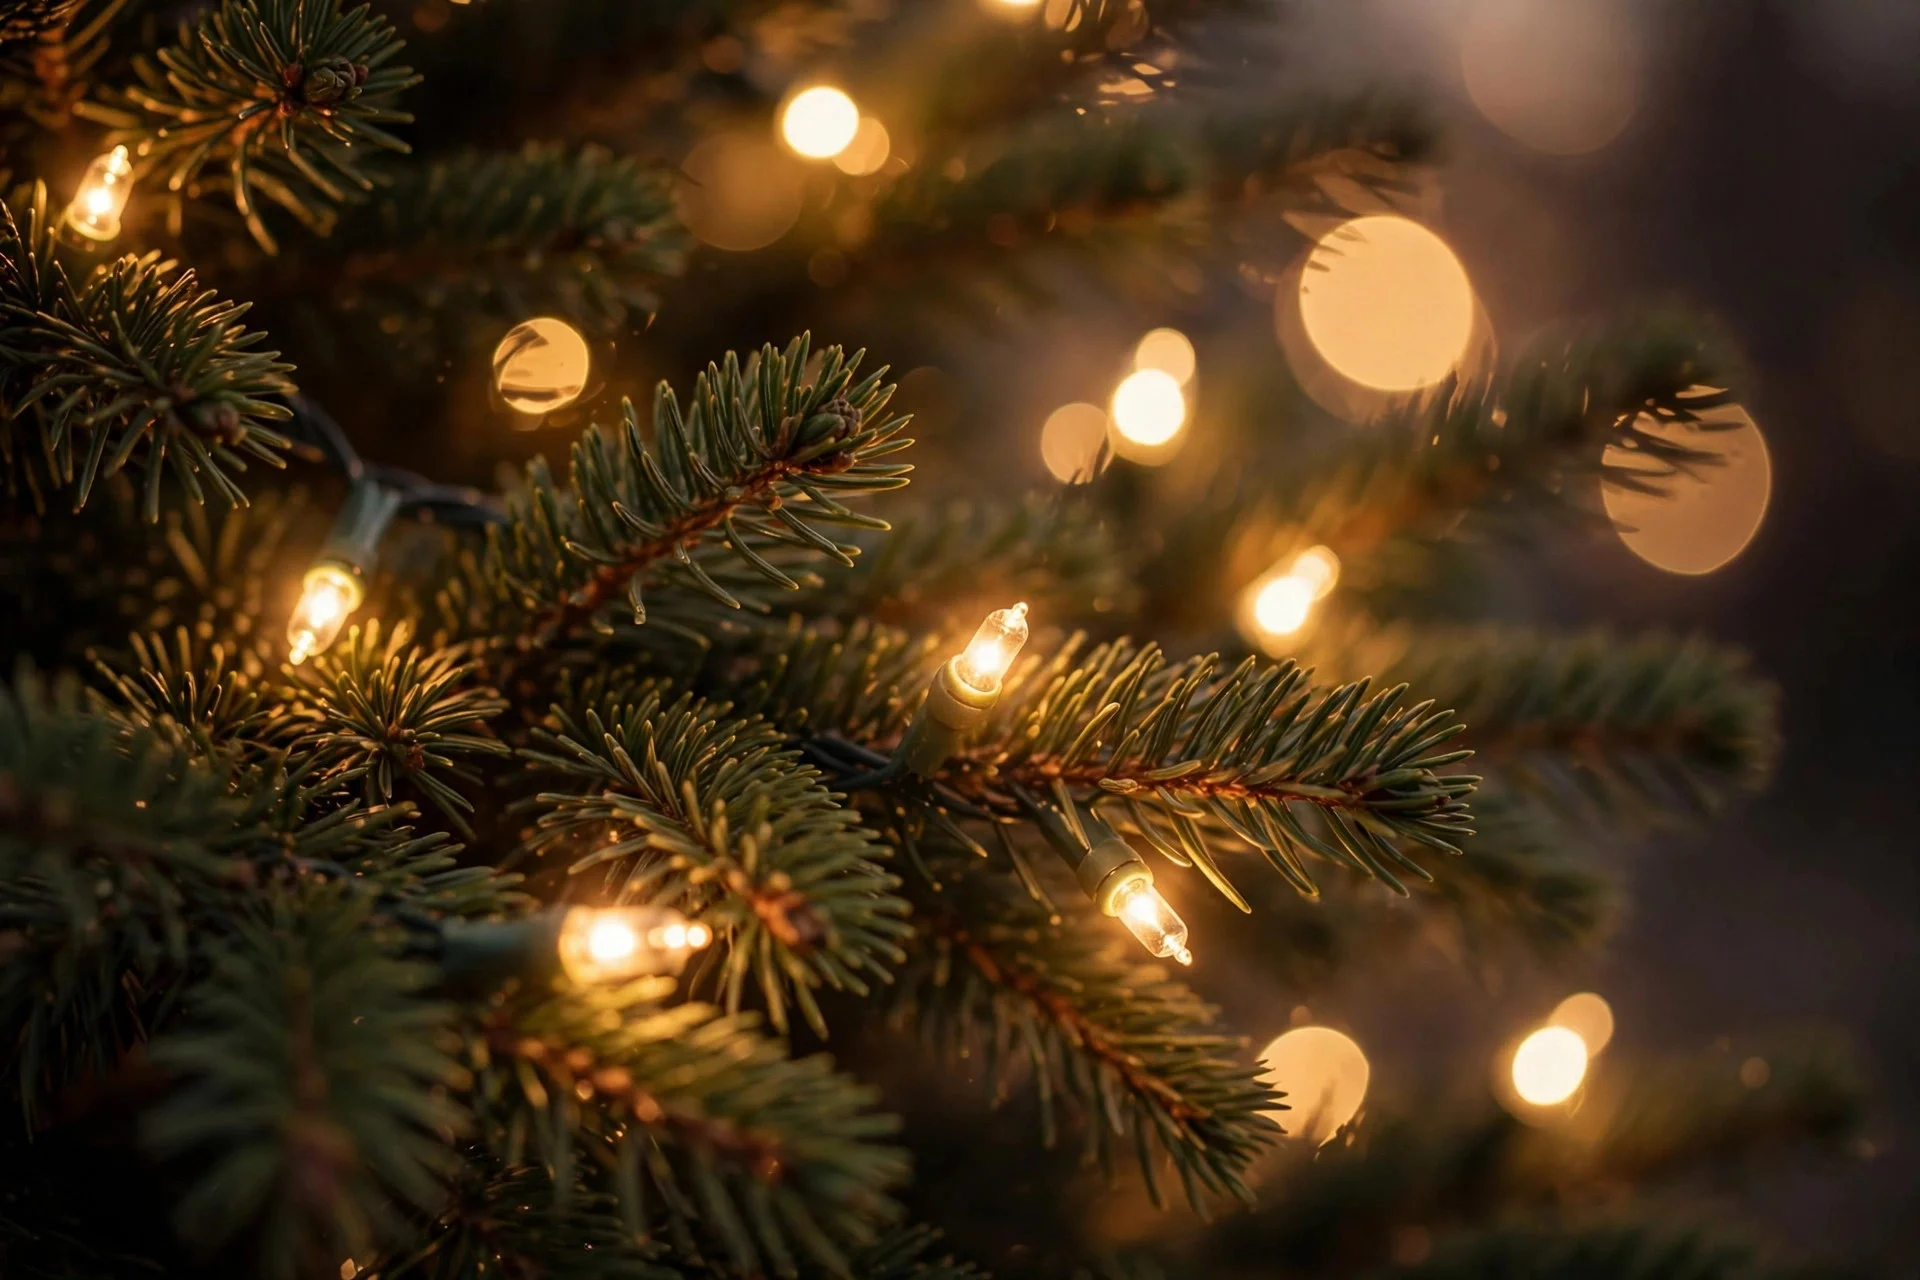
This is rule zero, and it fixes about 80% of tacky lighting single-handedly. Choose warm white (around 2700K) or cool white — not both, and definitely not mixed with red, green, and blue unless you’re going for a full vintage-multicolor theme on purpose. Multicolor lights aren’t inherently tacky; they’re tacky when they’re an accident. Steps: check the box before you buy — “warm white” varies wildly between brands. Buy one test strand, plug it in at night next to last year’s lights, and compare. If they clash, replace the odd ones out now. I spent one December living with mismatched warm whites that were actually cool white, and it bugged me every single evening. Don’t be me — test first.
2. Measure Before You Buy a Single Strand
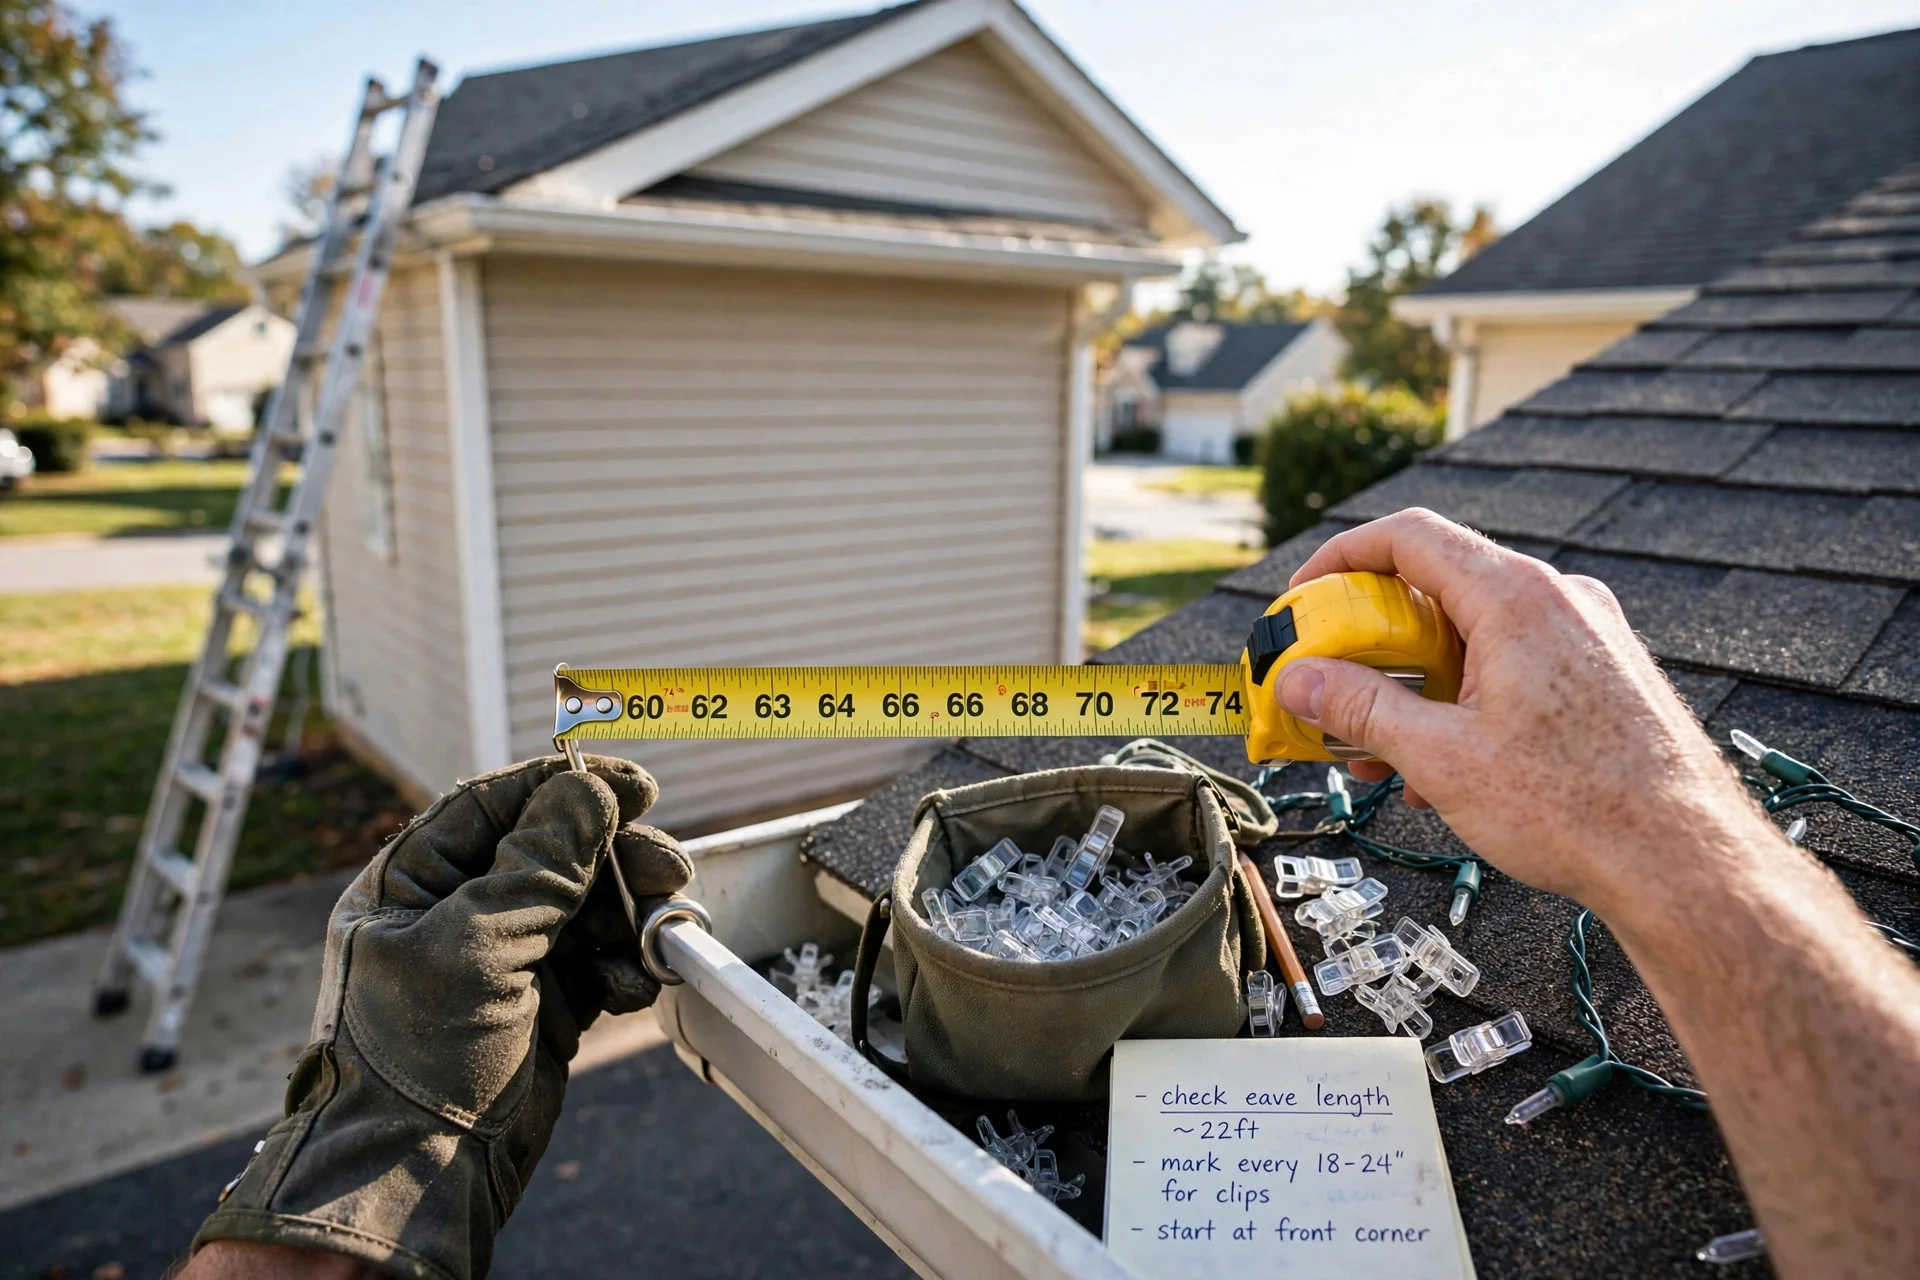
The fastest way to get a sagging, gap-filled mess is guessing how many lights you need. Walk your roofline, porch, and windows with a tape measure in daylight, write down every length, and add 10% for drape and connections. Then buy accordingly — most outdoor LED strands are 25 to 66 feet, so the math is easy. Steps: measure each section separately. Round up to the nearest strand length rather than splicing mid-run if you can. Keep your receipt for the extra strand you didn’t need. I once bought lights in October, guessed, and ended up with a six-foot gap above the garage that I “fixed” by stretching the last strand tight. It looked like a guitar string. Measure. It’s a twenty-minute job.
3. Keep the Roofline to One Clean Line
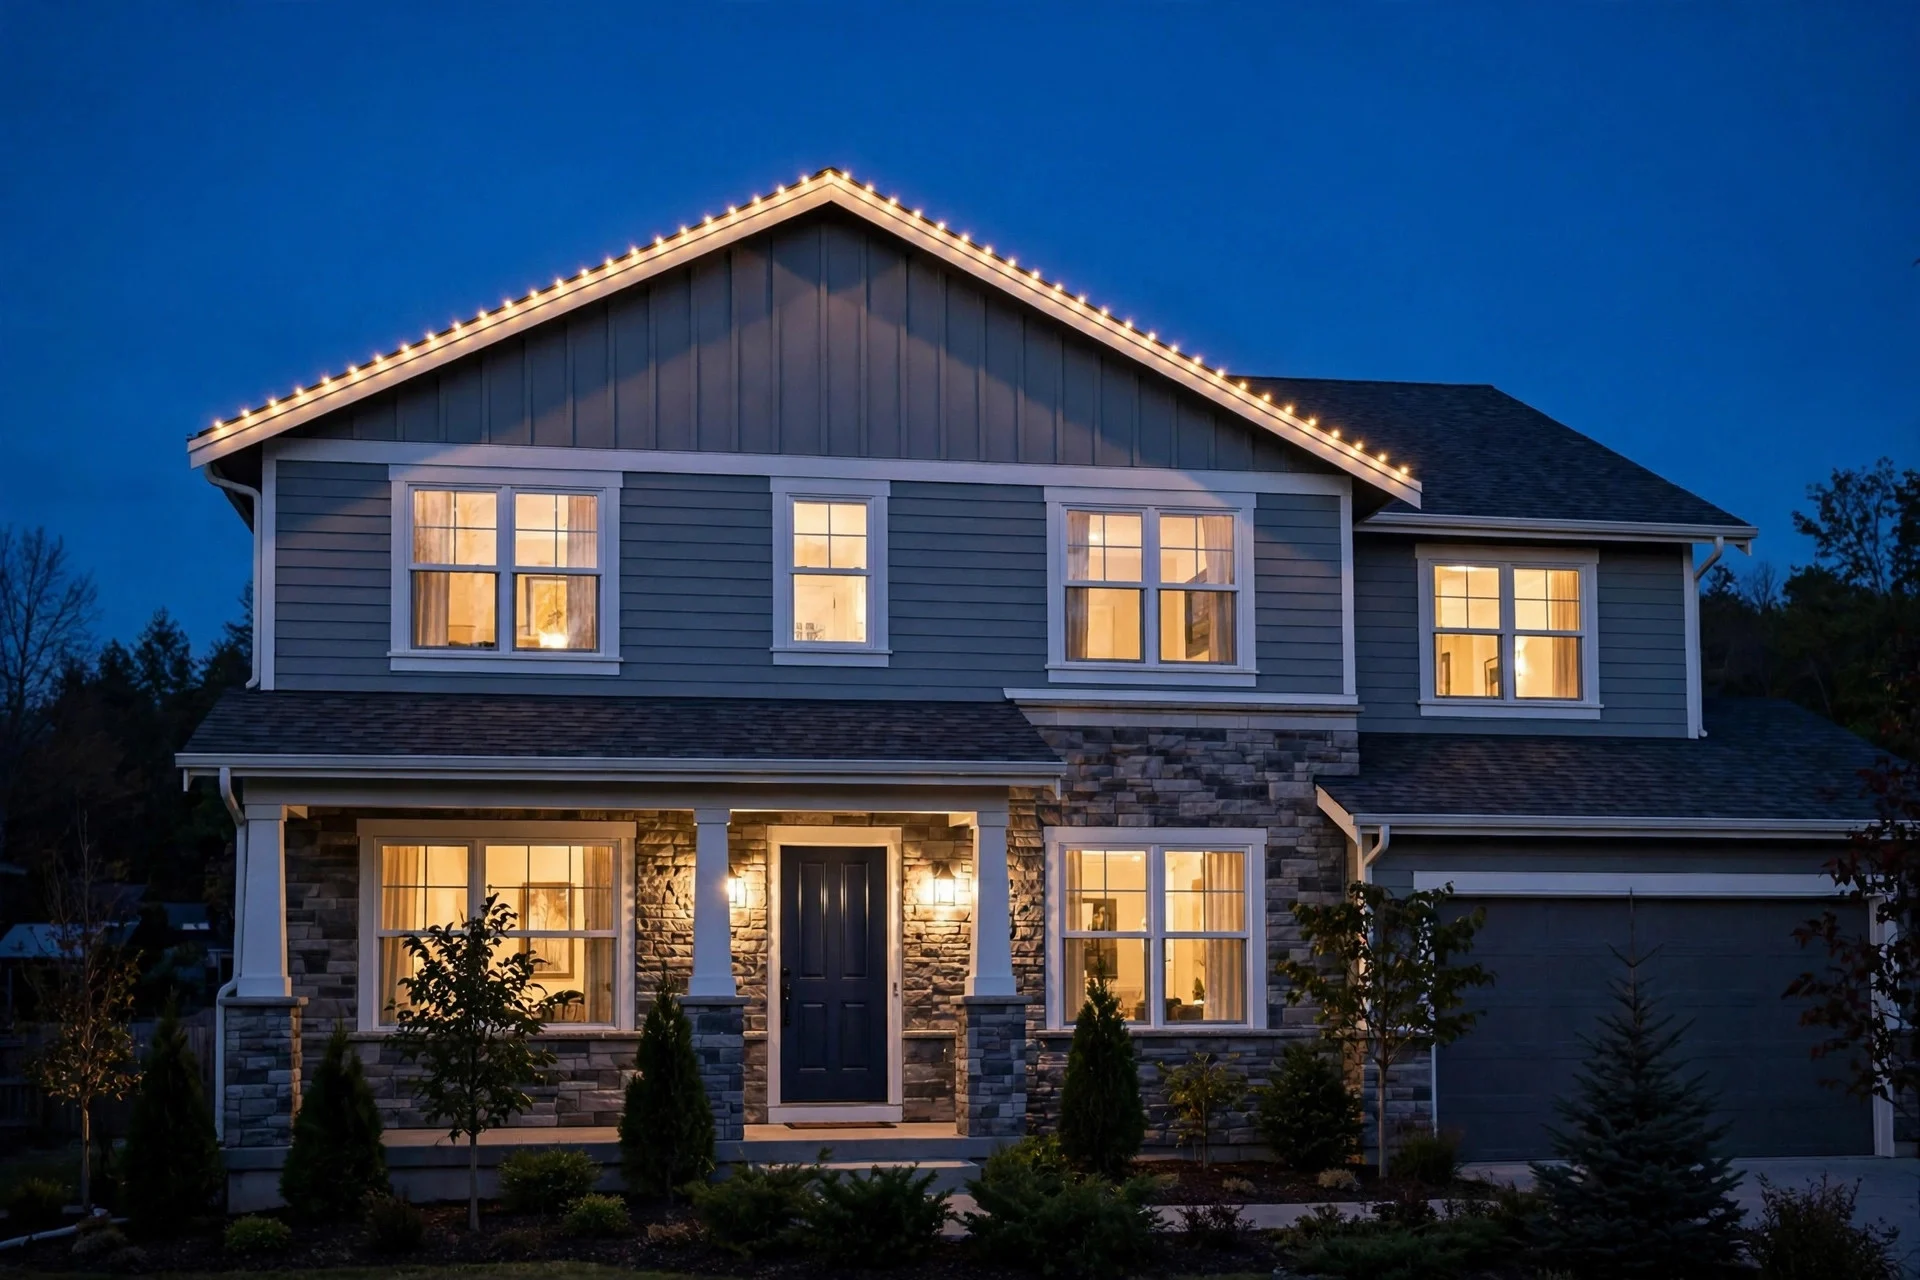
A single straight line along the roofline looks ten times more expensive than three zigzagging rows. This is the single biggest difference between the stunning houses and the chaotic ones. Steps: use proper light clips — the all-in-one clips that grip the shingle edge, about $8 for a bag of 100. Hang in daylight, not at dusk when you’re rushing. Stand across the street when you’re done and check the line: if it dips or jogs, fix it now. Keep the line at the edge of the roof or along the gutter, never both. And skip the icicle lights here unless your whole house commits to them — one lonely icicle strand above a straight-line house looks like a mistake.
4. Frame Windows With a Clean Outline, Not a Blob
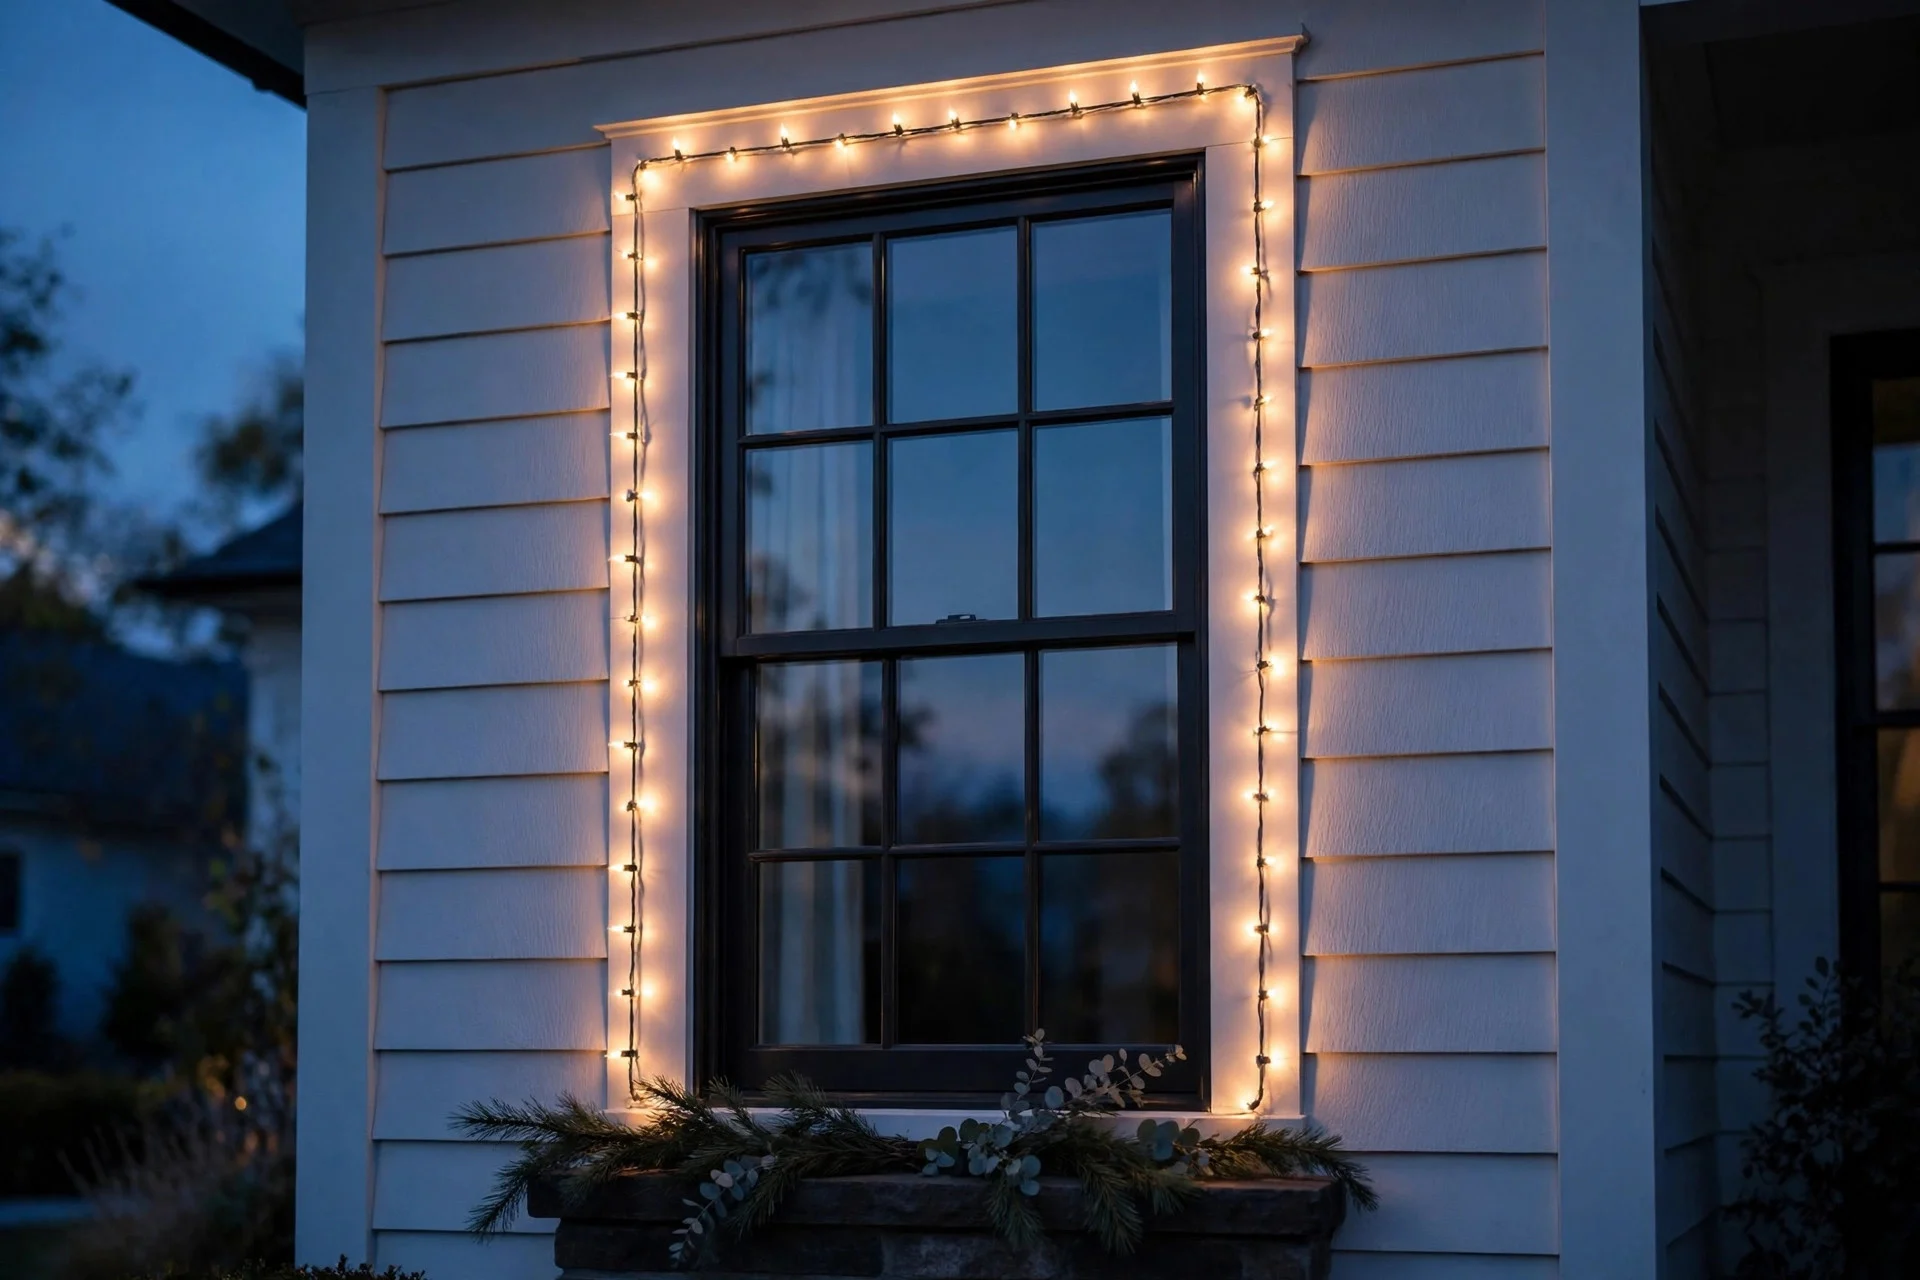
Windows look best with one tidy rectangle following the frame — tight corners, no sagging, no extra loops. Steps: measure the perimeter of each window. Use small adhesive or suction clips at each corner and every foot along the edge. Run the strand snug; if it sags, add more clips, don’t pull it tighter. Light only the front-facing windows, and consider skipping upstairs windows entirely if your roofline already carries the display — too many lit elements compete with each other. My front windows each take one 25-foot strand with a little to spare. From the street it reads as clean and deliberate, which is exactly what you want. For the rest of your entryway, my Christmas porch ideas show how to make the door area match.
5. Cover Bushes With Net Lights, Evenly
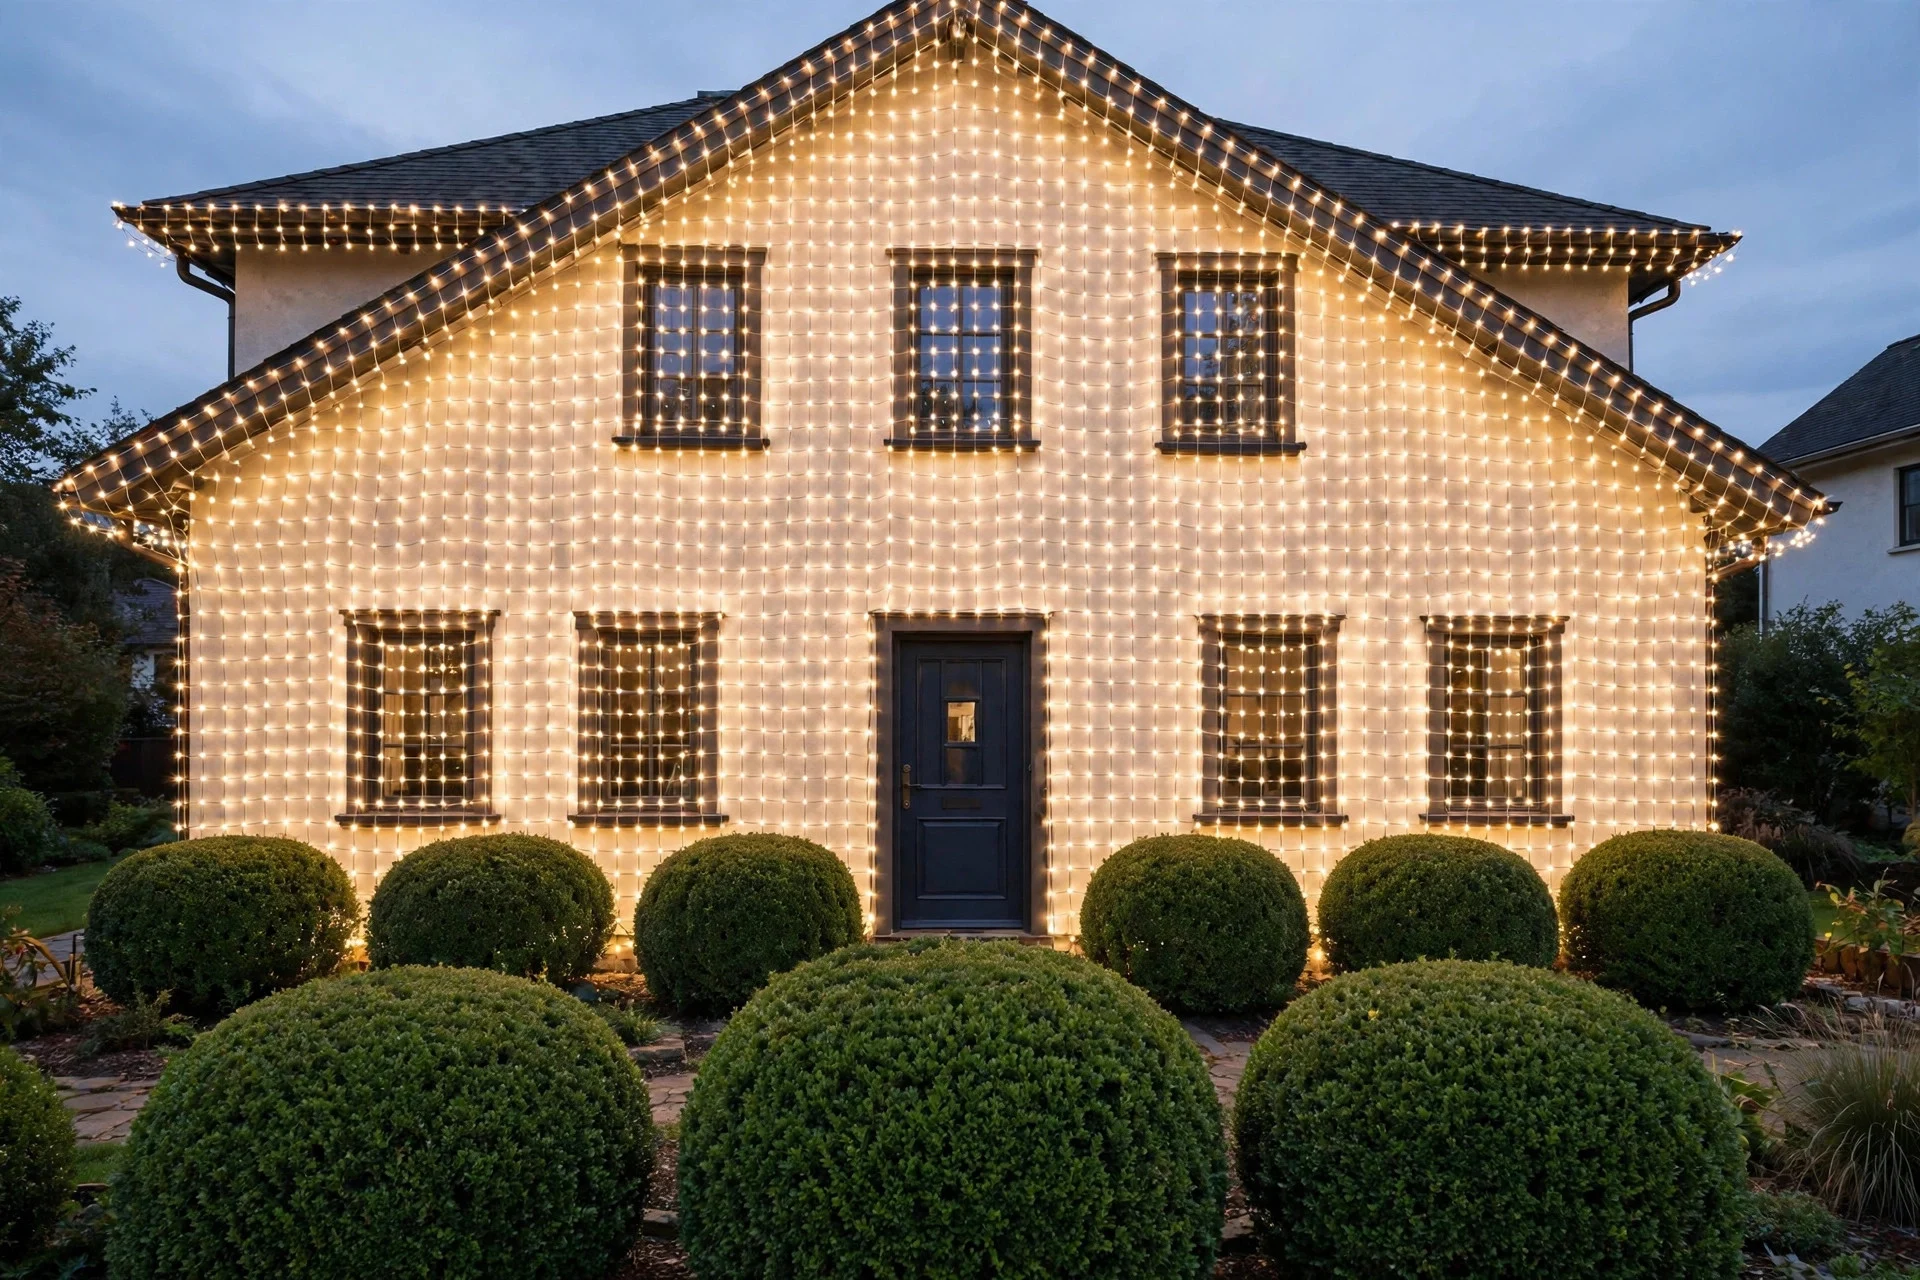
Net lights were invented specifically so bushes don’t look like someone threw spaghetti at them. Drape the net over the bush and adjust until there are no dark patches — that’s the whole trick. Steps: buy nets sized for your bushes (4×6 feet covers most shrubs). Center the net, then walk around and tug the corners until the coverage is even. Overlap nets slightly rather than leaving gaps between them. One color, one net style, all bushes matching. The houses that look bad here are the ones with a net on one bush, a spiral wrap on another, and a random strand on the third. Uniformity is the look. It takes maybe ten minutes per bush once you’ve done it once.
6. Wrap Porch Columns in a Neat Spiral
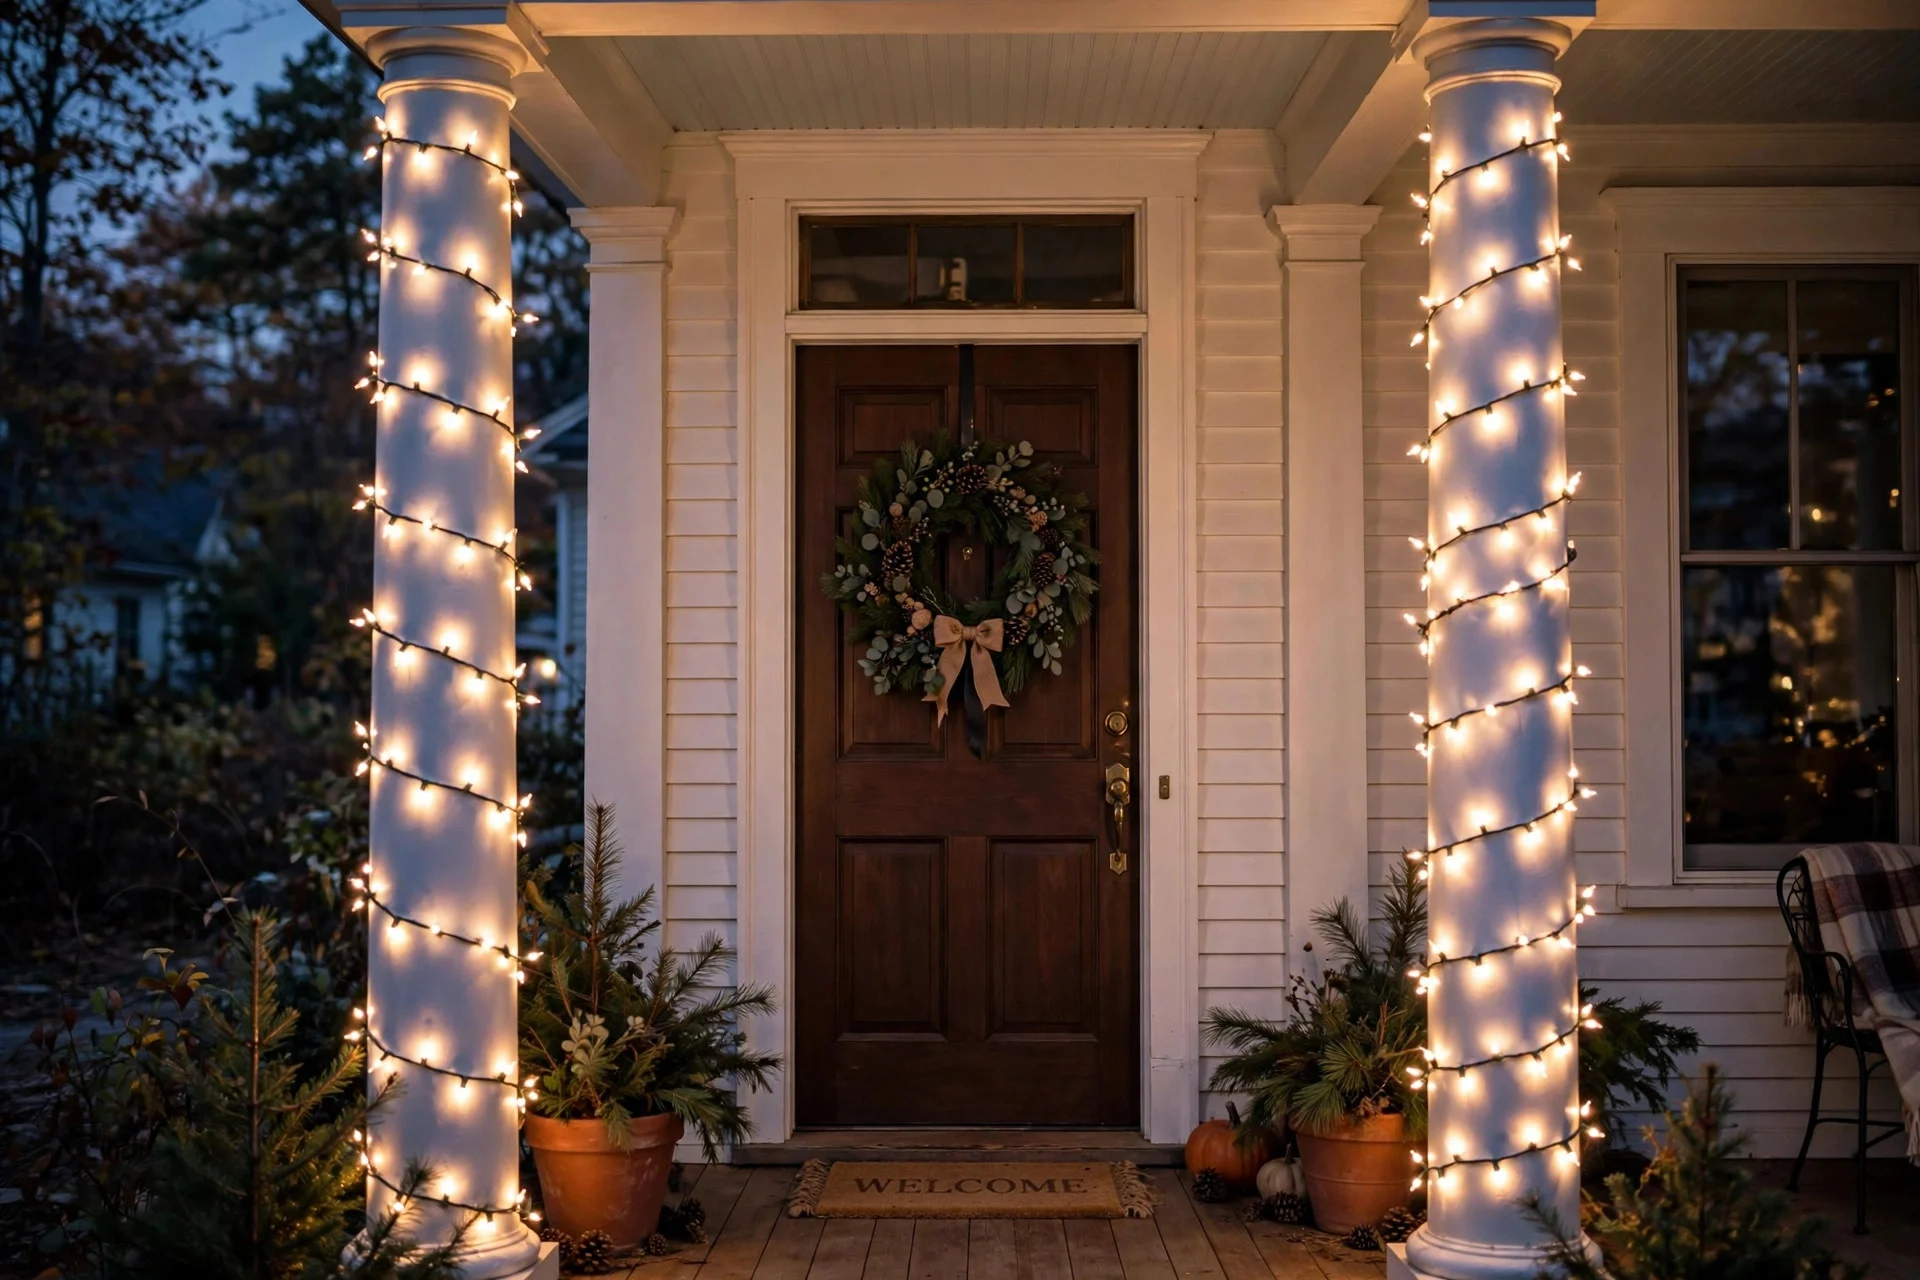
Two columns wrapped in the same even spiral is one of the classiest moves in Christmas lights decorating. The key word is even: mark your spacing before you start. Steps: measure the column circumference and decide your gap — three to four inches between wraps looks best. Start at the top and work down so gravity helps. Secure with a dab of removable outdoor adhesive or discreet zip ties at the back where nobody sees them. Both columns must match exactly — same lights, same spacing, same start point. I use a piece of painter’s tape on the back of each column as a starting marker. It takes about fifteen minutes per column and looks like you hired someone.
7. Add Lights to the Wreath — But Keep Them Subtle
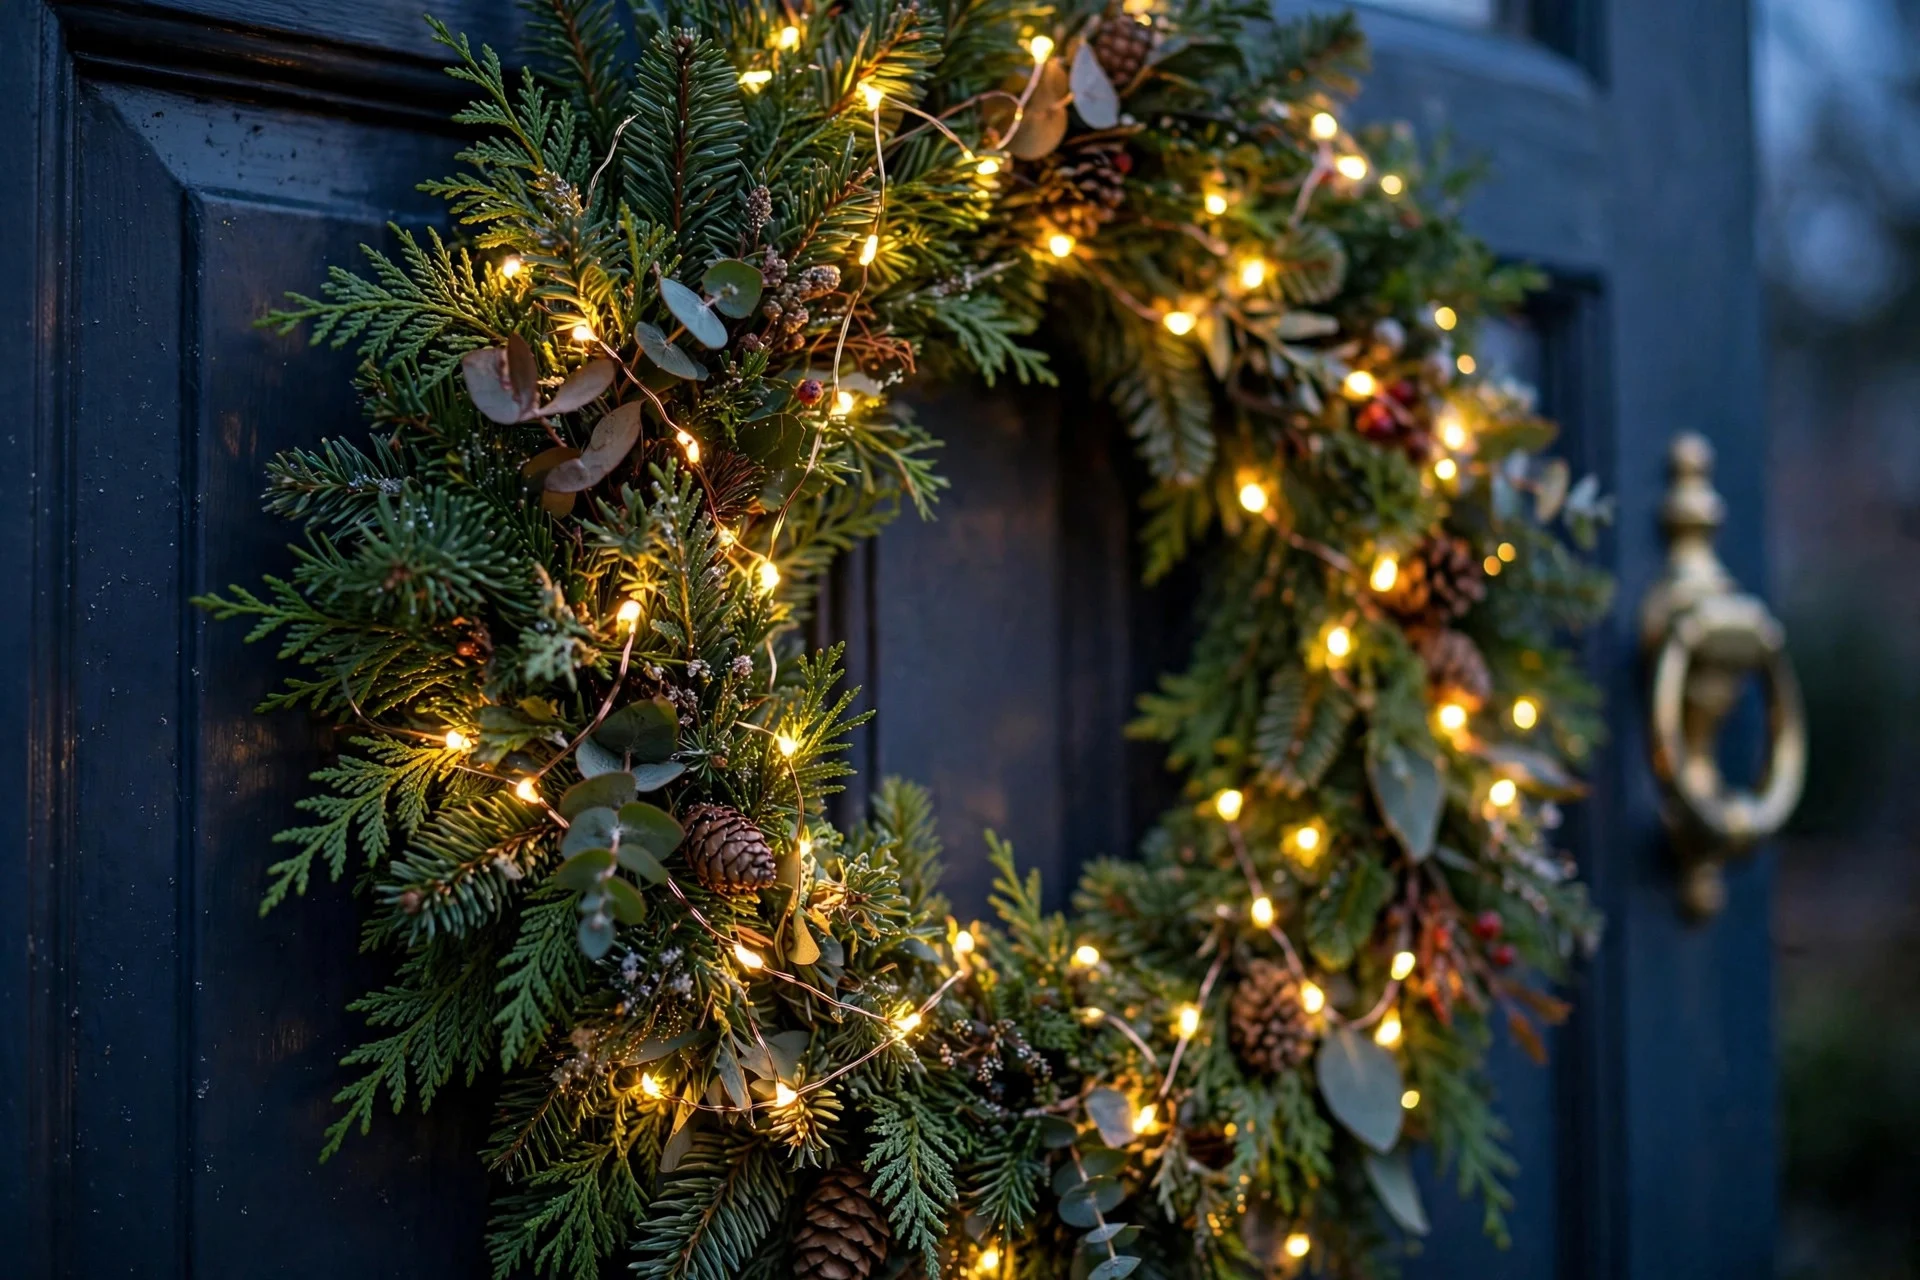
A wreath with a little light woven through it glows softly and looks custom. A wreath stuffed with a whole strand looks like it’s on fire. Steps: use a short battery-operated fairy strand — 20 lights is plenty for a 24-inch wreath. Weave it through the greenery so individual points of light peek out, not one bright clump. Hide the battery pack behind the wreath at the back. Turn it on with the rest of your display on a timer. This is the kind of detail that makes guests say “oh, that’s nice” without knowing why. My wreath lights are the one thing I never skip, even in years when I scale everything else back. The tree inside gets the full treatment — my tree decorating guide covers getting those lights evenly distributed, which is half the battle indoors too.
8. Wrap Yard Trees Trunk and Lower Branches Only
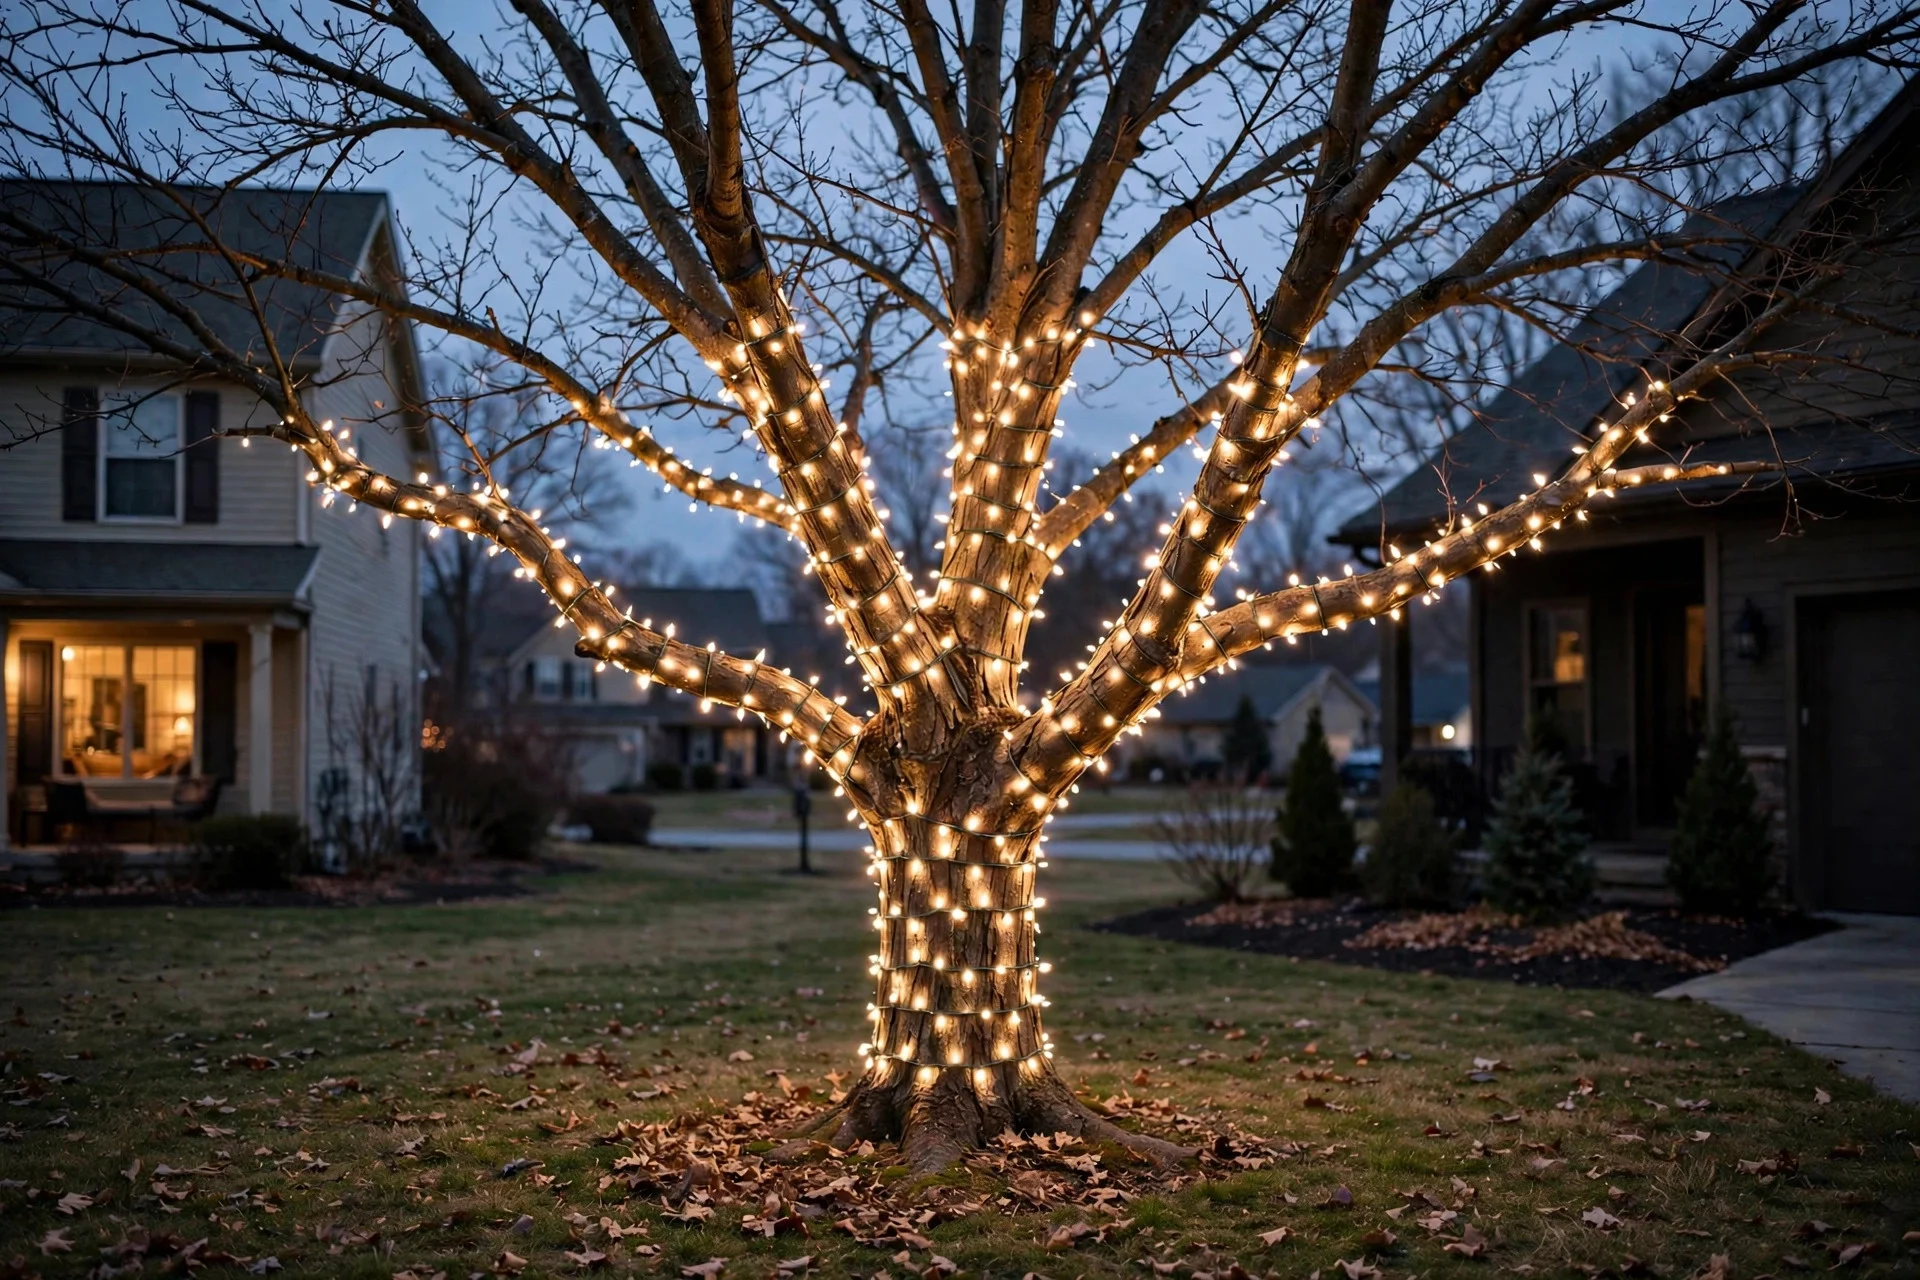
Wrapping a whole tree to the top looks incredible in magazines and exhausting in real life. The sweet spot: trunk plus the first few feet of lower branches, wrapped evenly. It reads as intentional and elegant from the street. Steps: use a long strand (100+ feet for a medium tree). Start at the base of the trunk and spiral up with consistent spacing. Extend a few feet out along the lowest branches, wrapping each one a few times. Stop where the branches get thin — sparse lights on thin twigs look scraggly. One tree, done well, beats three trees done halfway. I do the maple in my front yard every year and leave the rest dark. The contrast actually makes the lit one look better.
9. Weave Lights Through the Mantel Garland

Inside the house, the mantel is where most people overdo it. A garland with lights woven through at even intervals, stockings hung with space between them, and nothing else. Steps: lay the garland first, then weave the light strand in and out so lights sit on top of the greenery every six inches or so. Plug it into the same timer as everything else. Keep the stockings simple and evenly spaced — one per person, no extras crammed in. The mantel should look like a calm exhale, not a yard sale. My living room follows the same less-is-more approach; the full room treatment is in my Christmas living room ideas, which keeps the lights warm and the surfaces clear.
10. Drape Fairy Lights on the Dining Chandelier
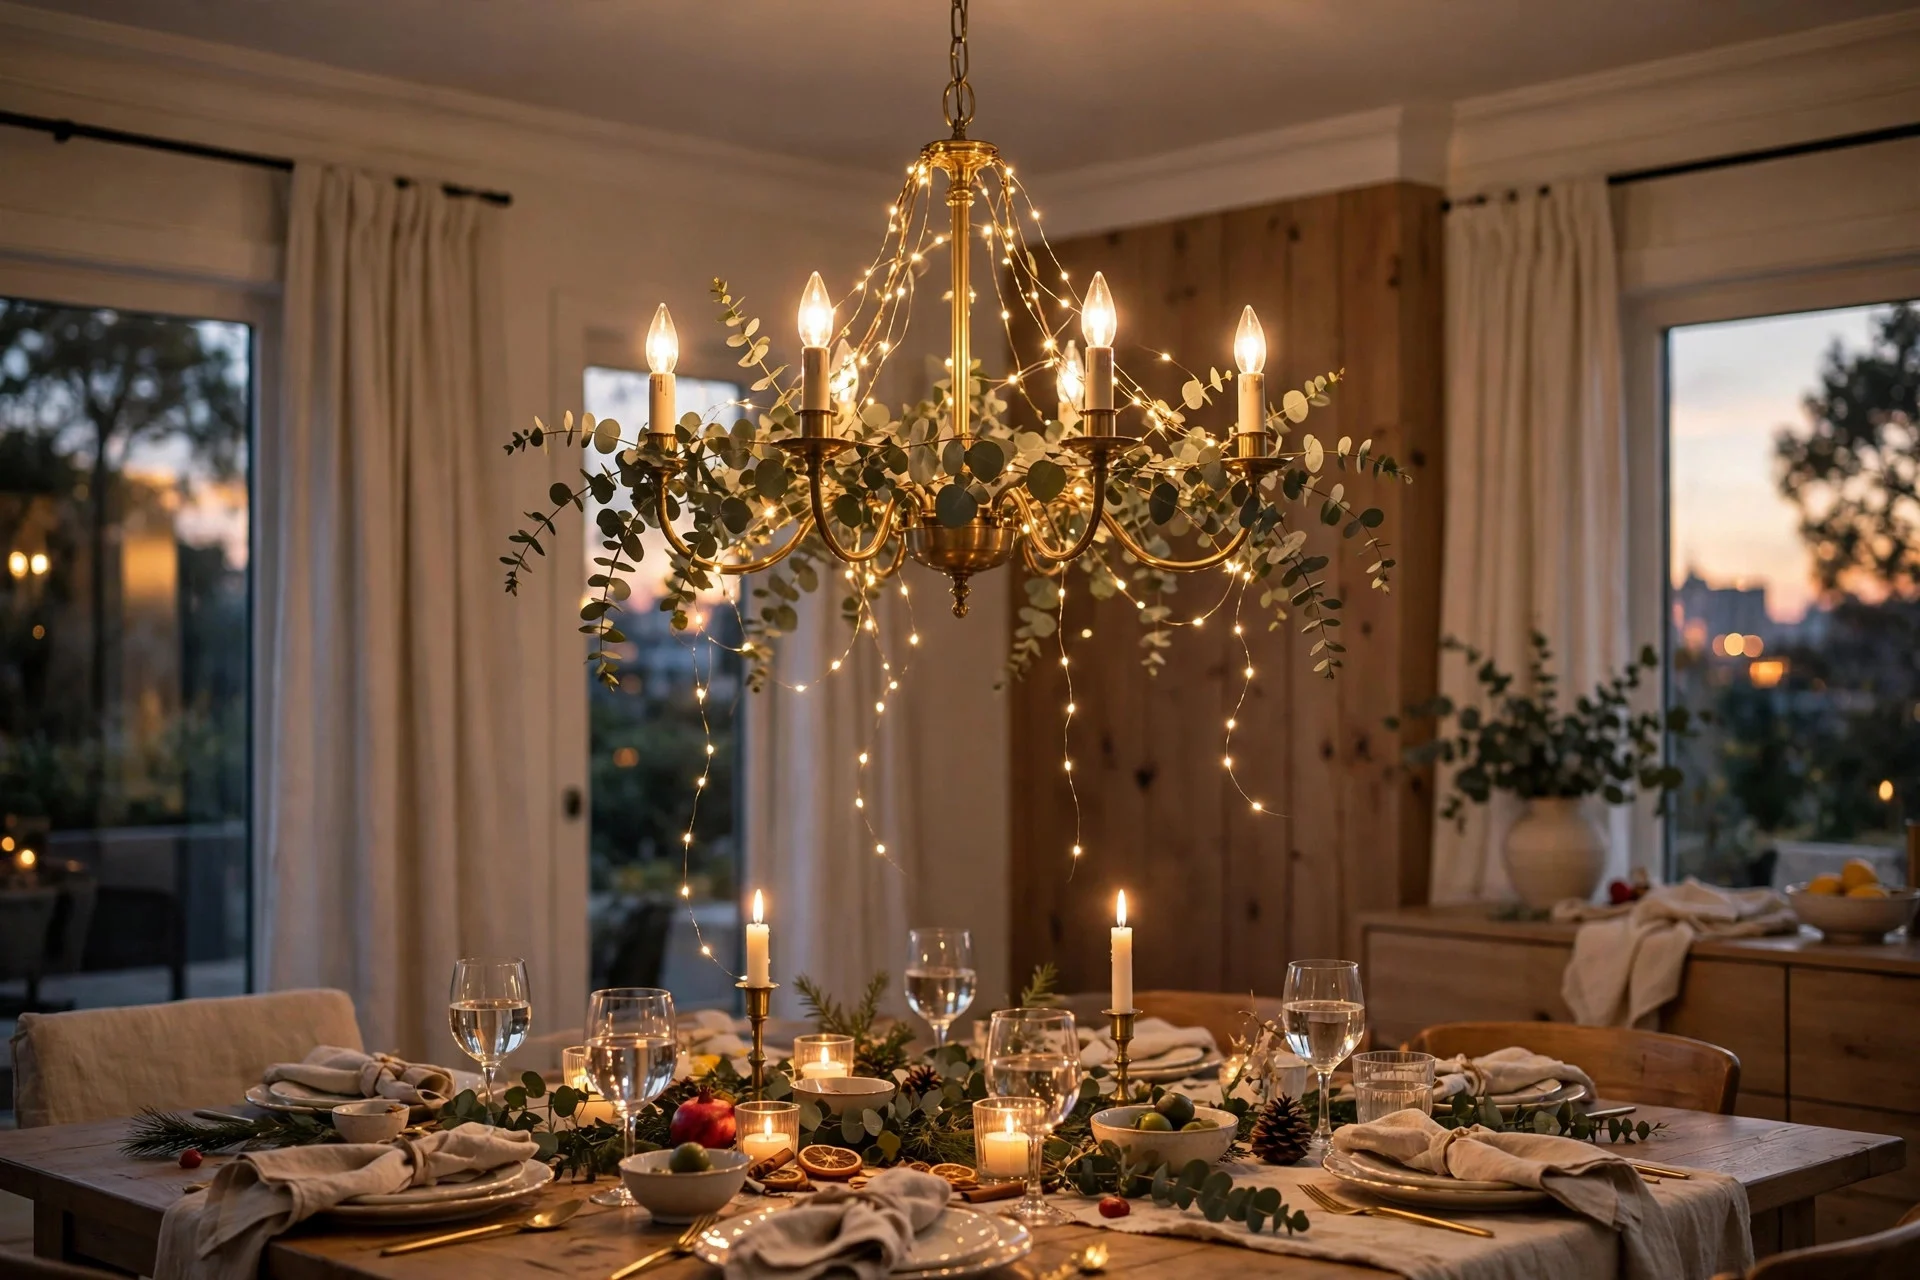
A chandelier draped with fine fairy lights turns an ordinary December dinner into something special, and it takes five minutes. Steps: use the thin copper-wire fairy strands — they’re nearly invisible in daylight. Drape them loosely over the chandelier arms, letting them fall a few inches. Tuck in a few eucalyptus sprigs if you want greenery. Battery pack hides on top of the fixture. Only do this if your chandelier is the room’s focal point; if you already have a statement centerpiece on the table, the chandelier lights might compete. Mine stays up from the first weekend of December through New Year’s, and it’s the one decoration my teenagers have never asked me to take down early.
11. Put Fairy Lights Behind Sheer Curtains

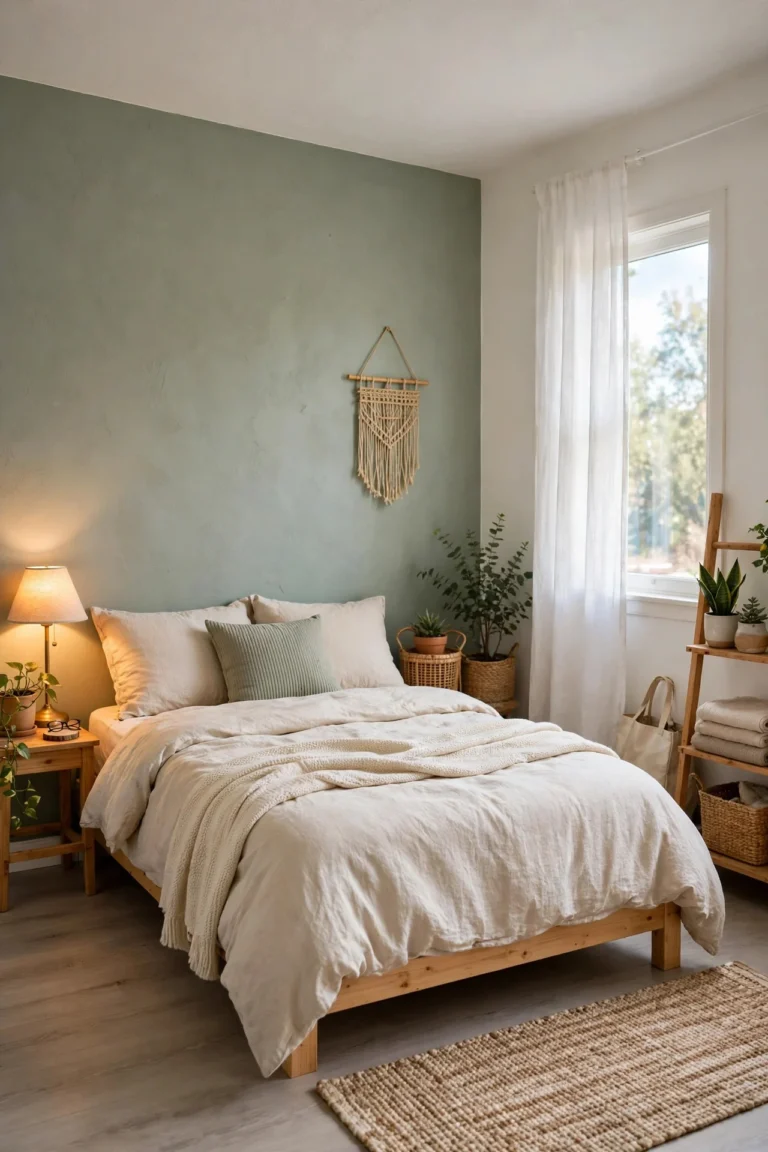
This is the bedroom trick that photographs beautifully and costs almost nothing. Hang a curtain rod or command hooks, drape sheer curtains, and string fairy lights behind them. The sheer fabric diffuses the light into a soft glow with no visible bulbs. Steps: mount the lights first on the wall or window frame. Hang the sheers in front. Use warm white only — cool white behind sheers looks like a hospital. Keep the lights to one window, not every window in the room. It works in living rooms too, but the bedroom is where the effect feels most magical. If your bedroom lighting generally needs help, my bedroom lighting guide covers the fundamentals that make any decorative light look better.
12. Light the Staircase Garland, Don’t Overstuff It

A staircase garland with lights woven through is a classic for a reason — it frames the whole entryway. The mistake is adding too much: garland plus lights plus ribbon plus ornaments plus bows equals visual noise. Pick garland and lights, add ribbon or ornaments but not both. Steps: secure the garland to the banister with zip ties or floral wire every 18 inches. Weave the light strand through so it sits on top. If you add ribbon, use one wide ribbon in a single color, looped loosely — not five thin ones. The staircase is a walkway, so tuck every plug and wire to the inside of the railing where nobody trips. My garland is faux (real garland sheds on stairs all month), and nobody has ever guessed.
13. Line the Pathway With Evenly Spaced Stakes
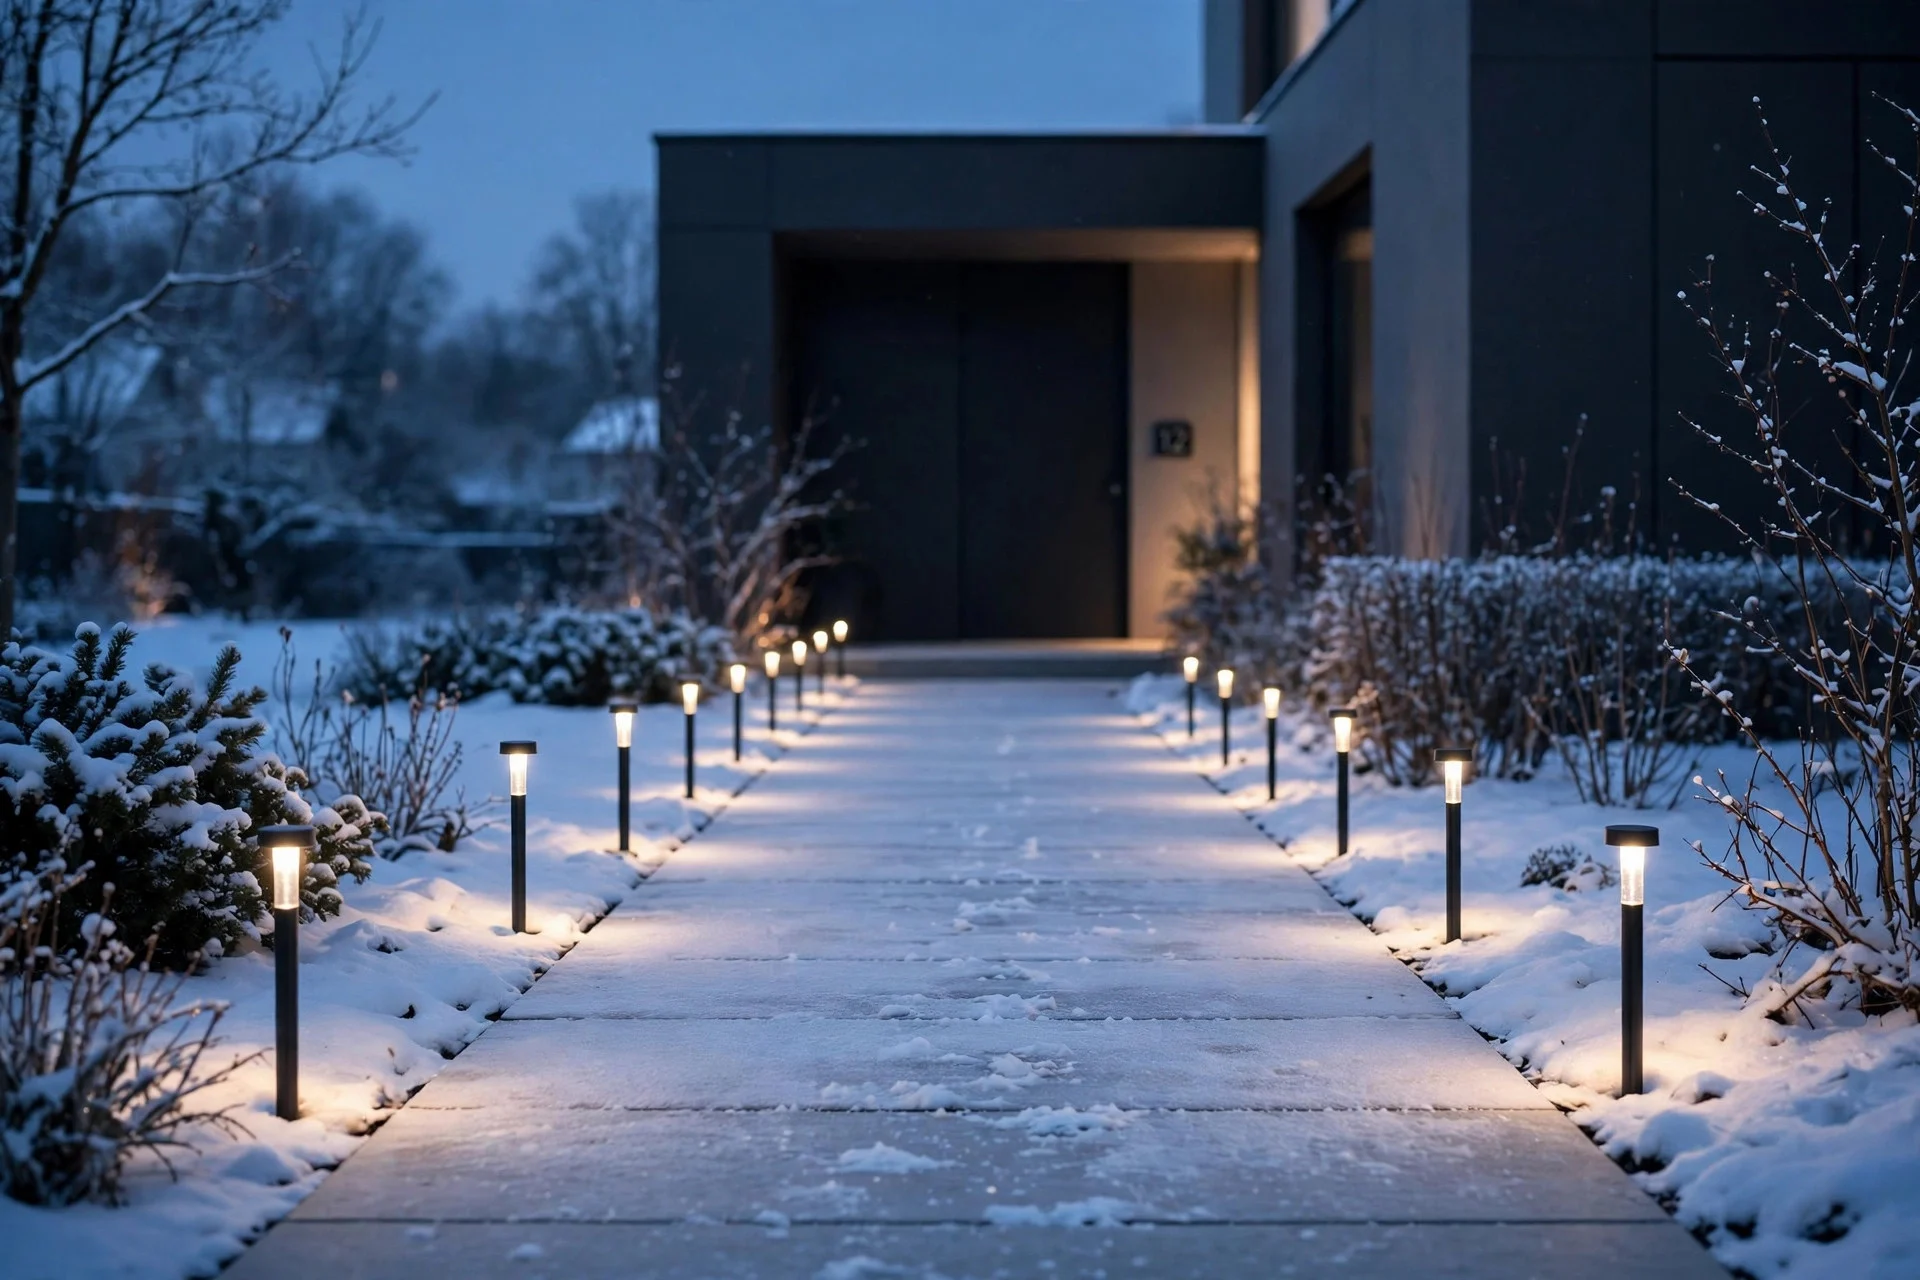
Pathway lights guide the eye — and actual guests — to your front door. The tacky version is random: mixed stake styles, uneven gaps, half of them leaning. The classy version is boring in the best way: identical stakes, identical spacing, both sides. Steps: measure your walkway and divide by the number of stakes so the gaps are equal — usually every three to four feet. Push every stake to the same depth so the heights match. Use all the same style: all lantern stakes or all simple globes, never a mix. Solar ones are fine if they get enough daytime sun; otherwise go plug-in. I set mine out the same weekend as the roofline lights so the whole front reads as one plan, not three separate ideas.
14. Put Everything on Timers and Turn It Off at Night
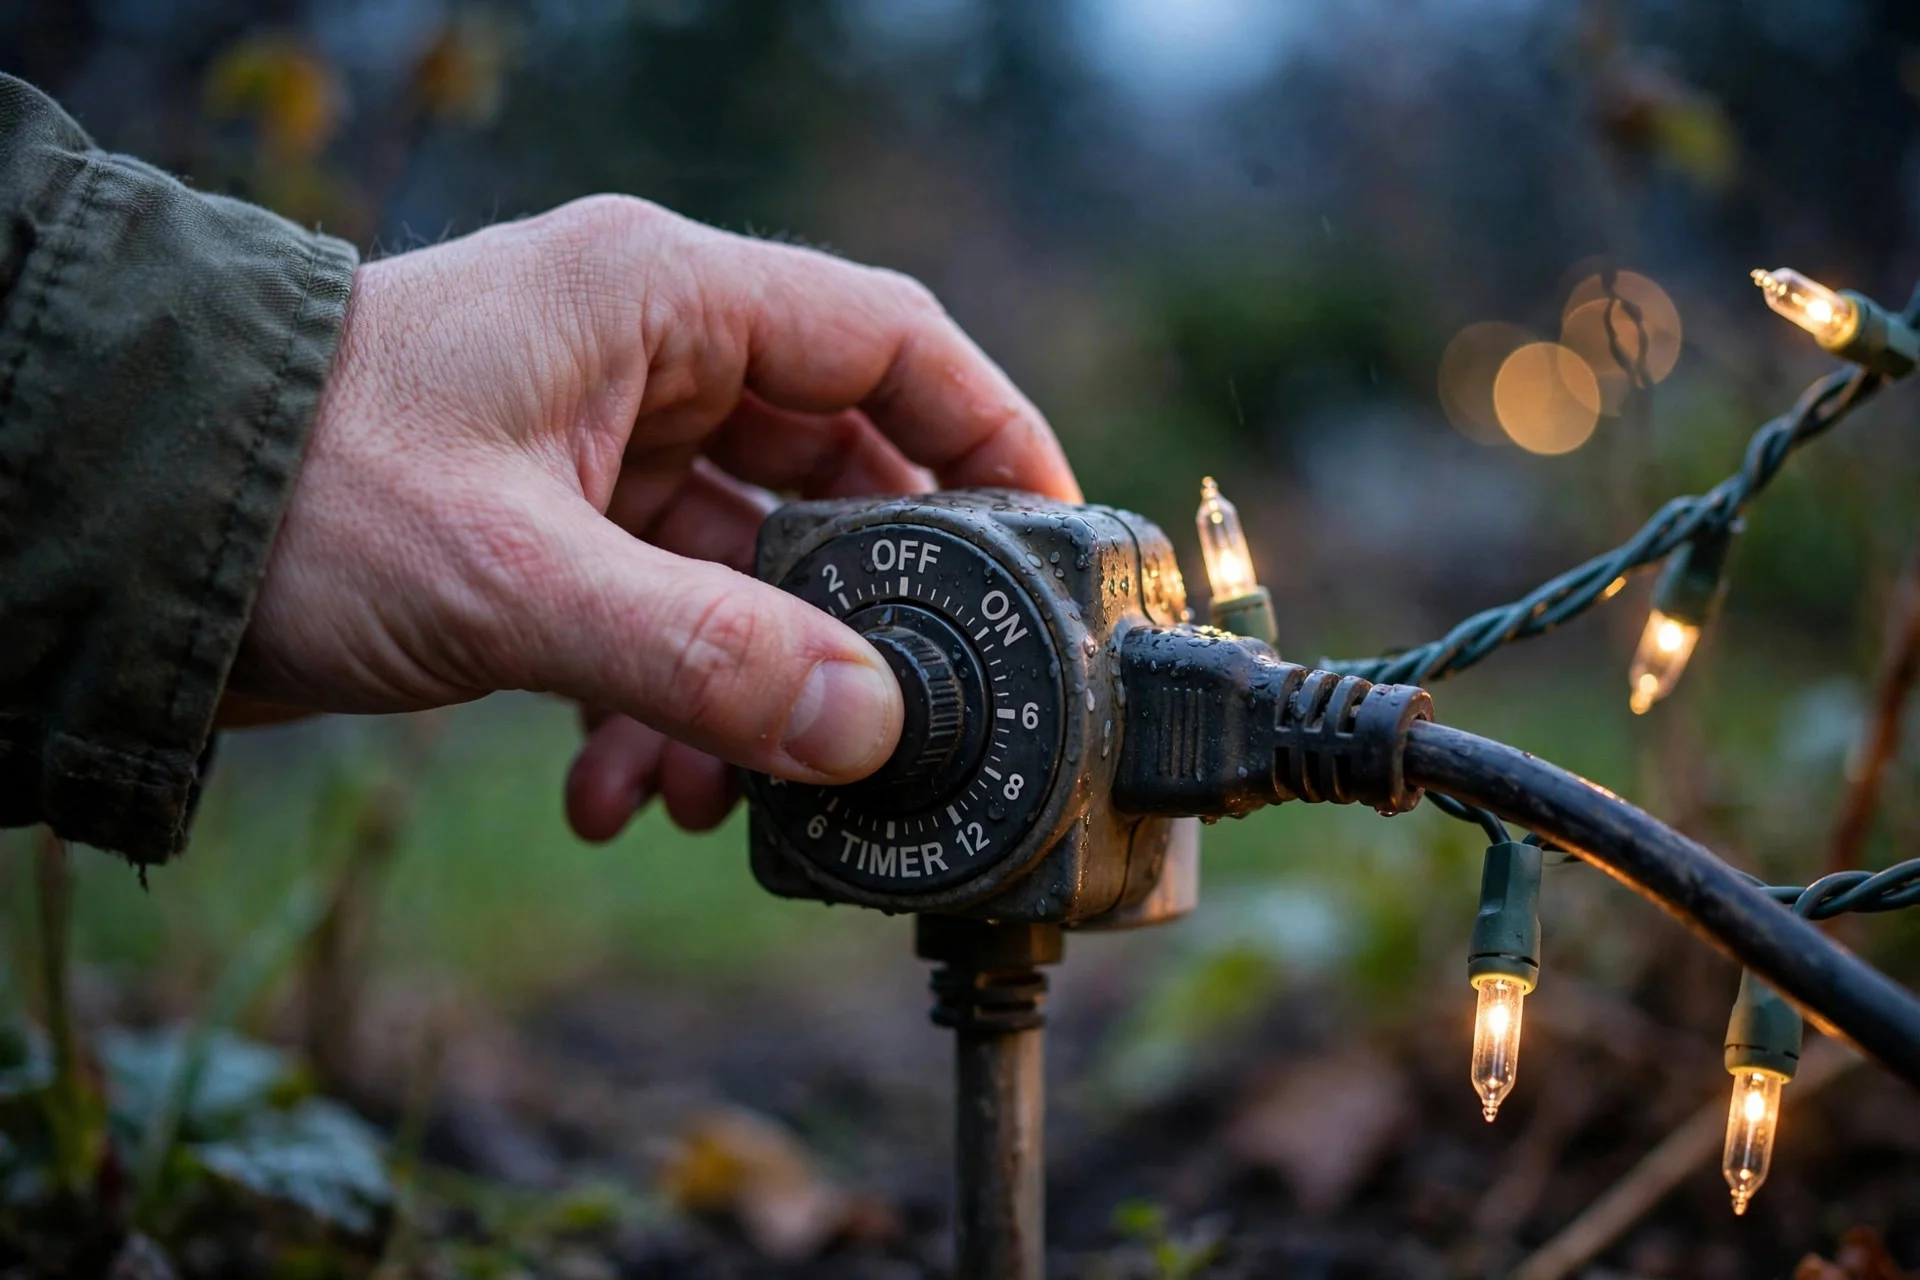
Nothing says tacky like Christmas lights blazing at 3am — and nothing says thoughtful like a display that turns itself off at midnight. Timers also save you the daily trudge outside in the cold. Steps: get an outdoor-rated timer plug (about $12) or a smart plug rated for outdoor use. Set on at dusk — 4:30 or 5pm in December — and off at 11pm or midnight. Put indoor lights on their own timer with the same schedule. LED lights cost very little to run, but the timer isn’t about the electric bill; it’s about the house looking intentional instead of forgotten. The Electrical Safety Foundation International also recommends turning all decorations off before bed — it’s safer, and your neighbors will thank you.
Frequently Asked Questions
How many colors of Christmas lights should I use outside?
One. Either all warm white, all cool white, or all multicolor as a deliberate vintage theme. The vast majority of tacky-looking displays come from accidentally mixing color temperatures or adding one multicolor element to an all-white house.
Are LED Christmas lights better than incandescent?
For most people, yes. LEDs use a fraction of the electricity, stay cool to the touch, and you can connect far more strands end-to-end safely. Incandescents have a slightly warmer glow that some people prefer on the tree, but outdoors the difference is negligible and LEDs are the safer choice.
How do I keep outdoor lights from sagging?
Use proper clips — not staples, which damage the wire — and place a clip every 12 inches or so. Hang in daylight when you can see what you’re doing, then check from the street. If a section sags, add clips rather than pulling the strand tighter.
When should outdoor Christmas lights go up and come down?
Most people hang them the weekend after Thanksgiving and take them down in the first week of January. Hanging them a weekend early is fine as long as you don’t turn them on until after Thanksgiving — lit houses in mid-November read as eager, not festive.
Is it safe to leave Christmas lights on all night?
It’s safer to turn them off. Use a timer so they shut off around midnight, inspect strands for cracked or frayed wires before hanging, plug outdoor lights into GFCI-protected outlets, and never run cords under rugs or through windows.

2 Responses