


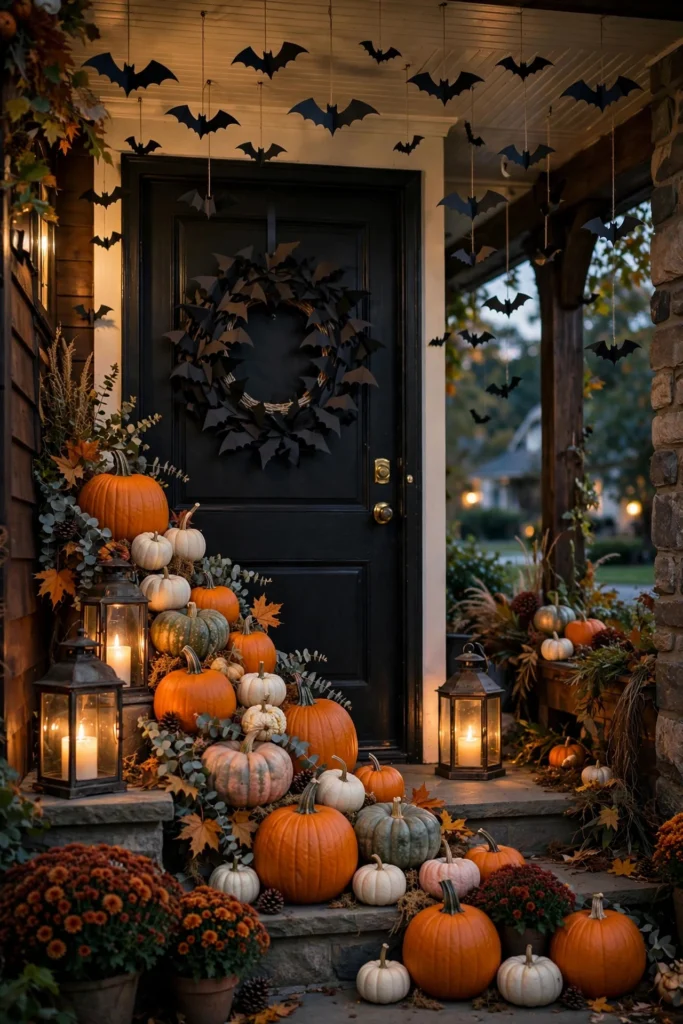
Two Halloweens ago my neighbor’s Halloween entryway got shared in three different neighborhood Facebook groups, and honestly, it was not even that elaborate. It was a black door, a pile of pumpkins at different heights, a wreath with bats on it, and lanterns. That is it.
That is the whole game with a Halloween entryway: you are not decorating a room, you are designing a photo backdrop that people happen to walk through. The difference between a nice porch and one guests photograph is about fifteen intentional choices — the camera angle, the lighting at dusk, something tall on one side, something glowing at eye level.
Start With the Door: Go Dark and Dramatic

Everything starts at the door because it is the center of every photo. A black or deep charcoal door is the ideal backdrop — it makes orange pumpkins and warm lantern light pop in a way no other color does. If painting your door is not on the table, hang a dark fabric runner or even a $15 black tablecloth behind your wreath as a backdrop panel.
Hang one statement piece on the door itself: a wreath with bats, a cluster of mini skeletons, or a large spider on a web. Keep the door furniture — handles, knockers — polished or painted black so they do not glint in photos.
Claim the Center: Build a Photo Backdrop Zone

Pick one wall or corner of your entryway and treat it like a photo studio backdrop. Clear it completely, then build a layered arrangement: something tall in back (cornstalks or a dried branch arrangement), something mid-height (a hay bale or stacked crates), and pumpkins spilling forward at the base.
Stick a few removable bat decals or a hanging ghost on the wall above the arrangement to fill the vertical space — bare wall above your styling is the most common reason entryway photos look unfinished. Step back and take a test photo with your phone at this point.
Light It Like a Set: Lanterns Before Bulbs
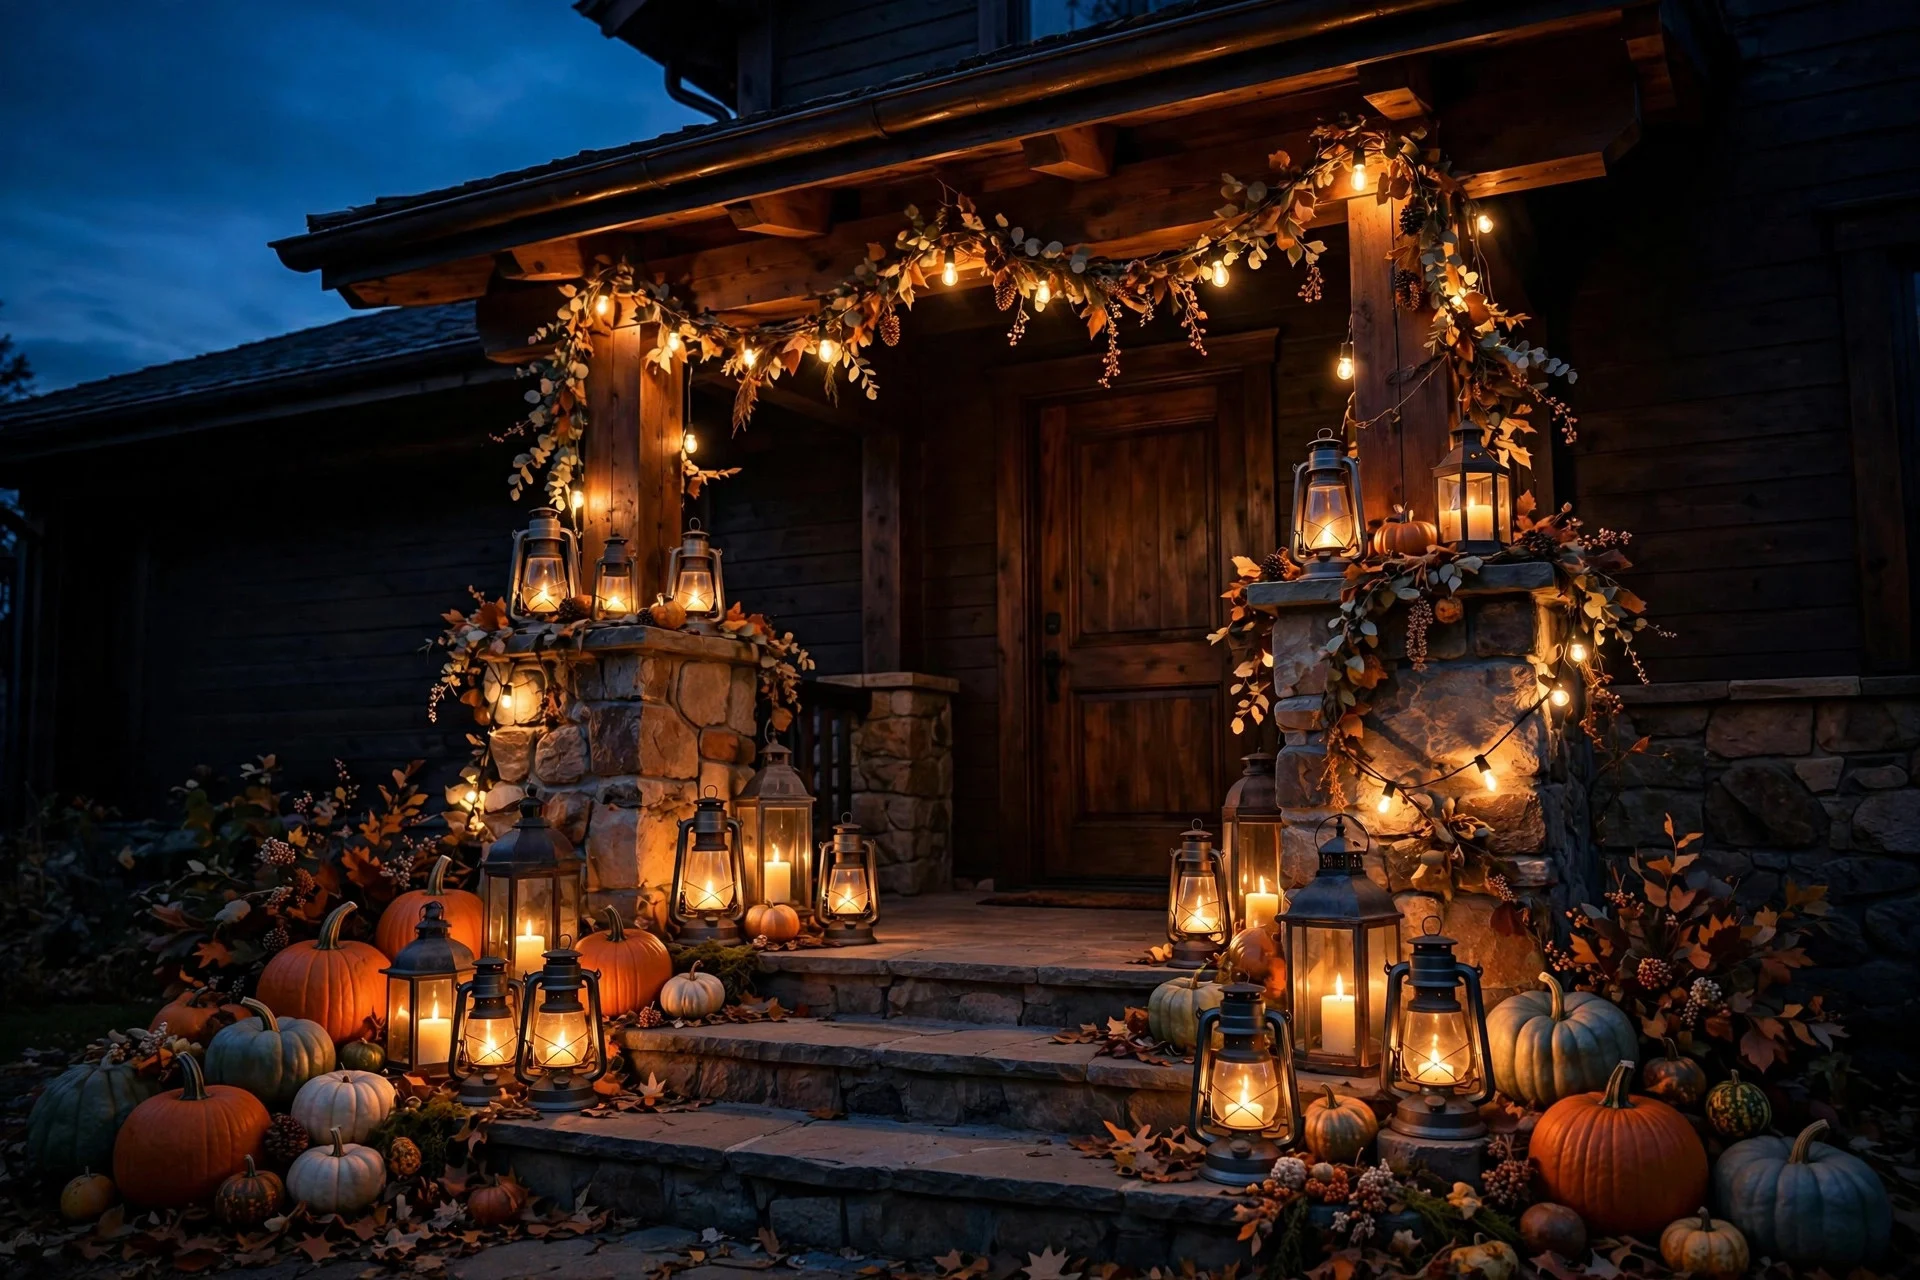
Overhead porch lights are the enemy of a photogenic entryway — they cast harsh shadows straight down and wash out all your styling. Instead, light everything from lantern level: clusters of lanterns with flameless candles at floor height, string lights woven through your arrangement, and one warm spotlight aimed at the backdrop from the side.
The magic window is dusk, the 30 minutes after sunset when the sky is deep blue and your lanterns are glowing. Time your Halloween night so this is when guests arrive, and put your lanterns on a timer starting at 6:30 pm. If you only buy one thing for this project, make it a set of outdoor-rated string lights — ours cost $22 and they transform the whole entryway.
Balance Both Sides: The Symmetry Trick
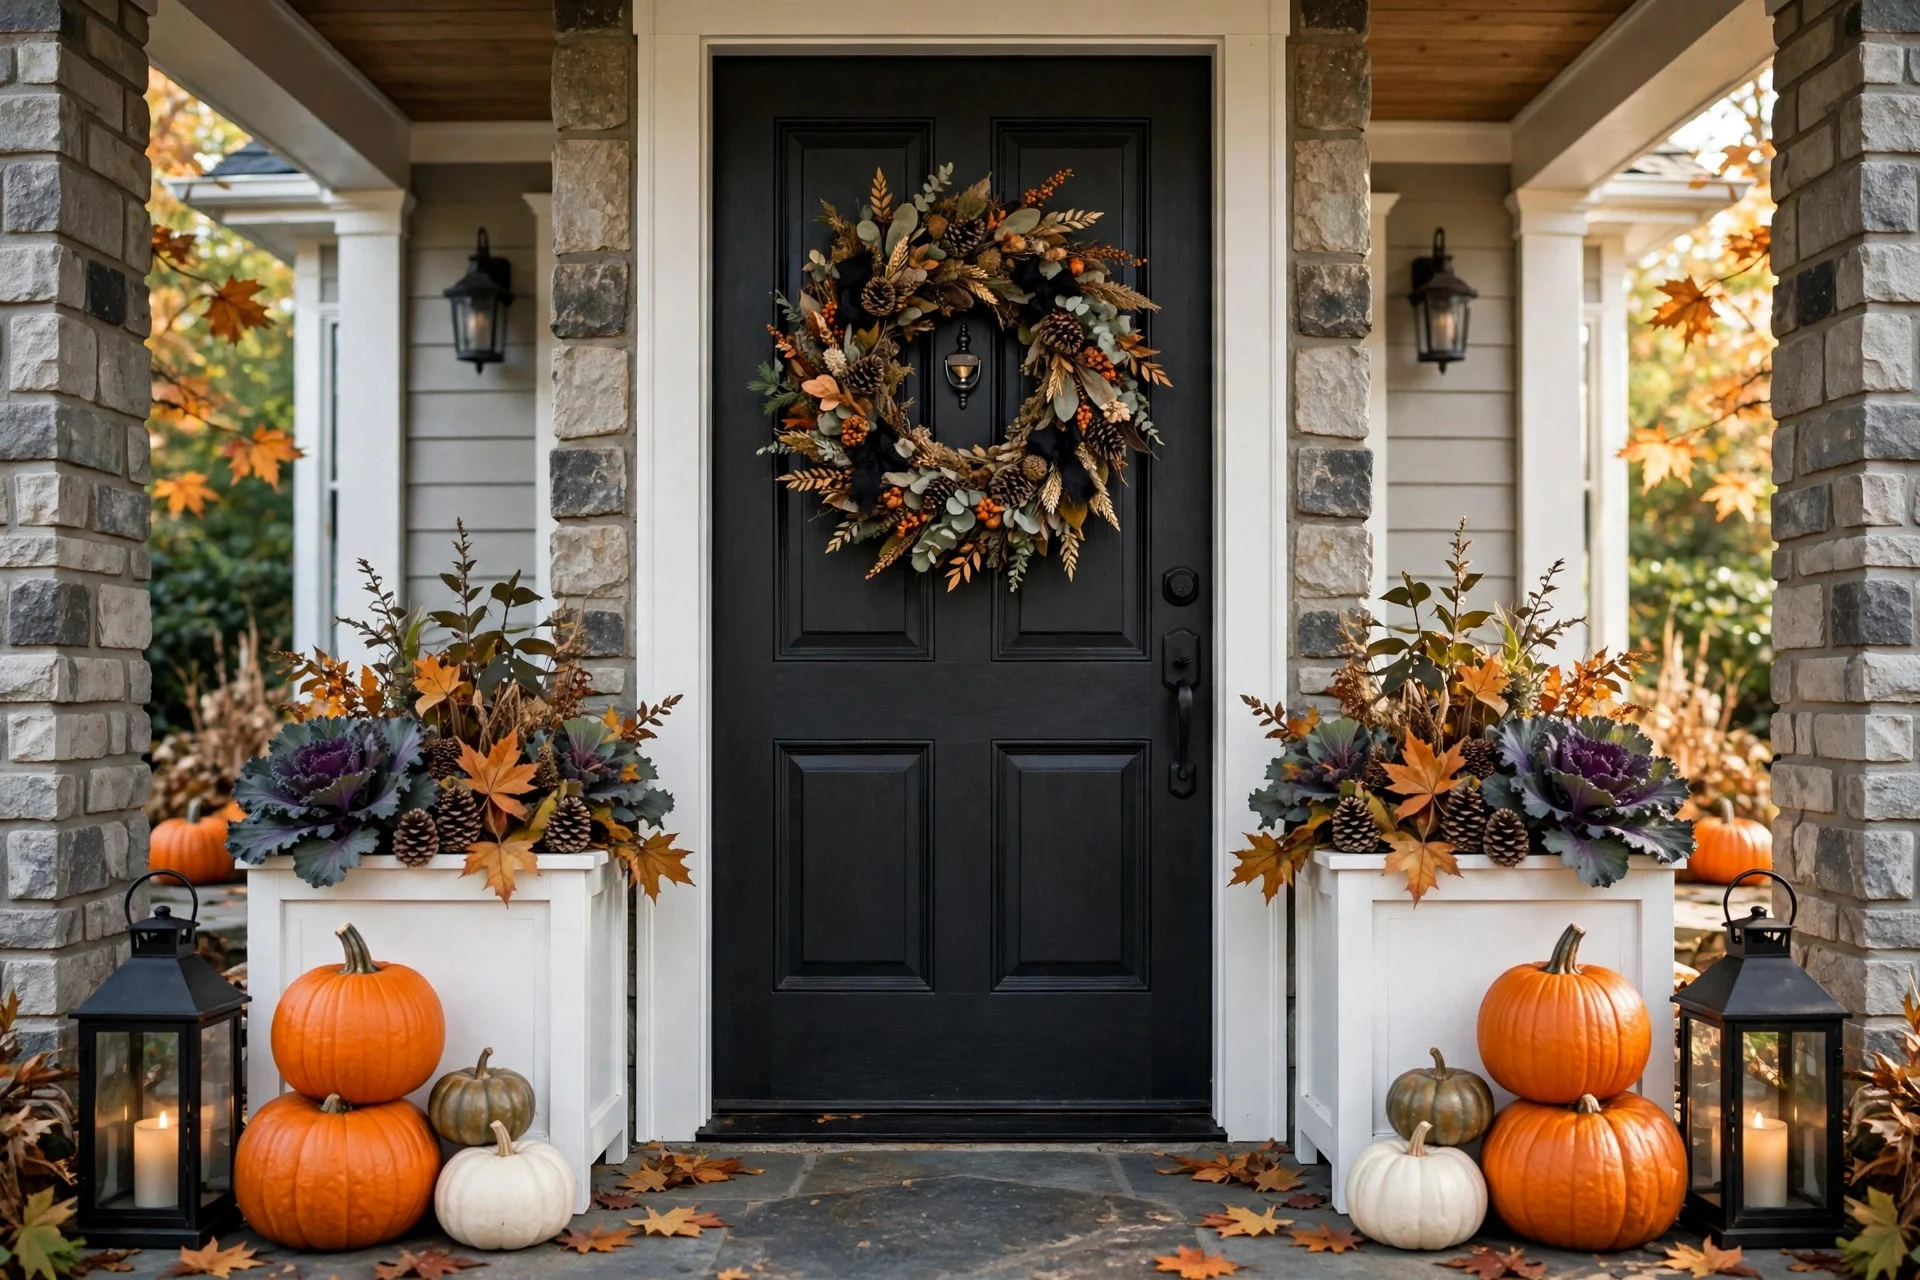
Photographs love symmetry. Place matching elements on both sides of the door — a pair of pumpkins, a pair of planters, a pair of lanterns — and your entryway instantly reads as “designed” rather than “decorated.” They do not need to be identical; they need to be balanced in height and visual weight.
I use two large black planters from Target ($12 each) flanking my door, filled with mums and a tall branch arrangement, then mirror the pumpkins in front of them. The one thing I never mirror: the wreath or door statement piece, which stays centered as the focal point. Symmetry frames it.
Play With Heights: The Pumpkin Staircase Effect

The biggest rookie mistake is putting all the pumpkins in a row on the ground. Cameras read a flat row as clutter; they read varied heights as abundance. Create a staircase of levels: the ground, an overturned crate, a hay bale, the steps themselves.
Mix real and faux here. Faux pumpkins (the carveable foam kind) go up high where nobody touches them, since they are light. Heavy real pumpkins anchor the bottom of the arrangement where wind and curious kids are a factor. Our guide to cute non-scary Halloween decor has great pumpkin-cluster ideas if you want the softer side of this look — the height principle works exactly the same way.
Layer Textiles: Runners, Throws, and Pillows
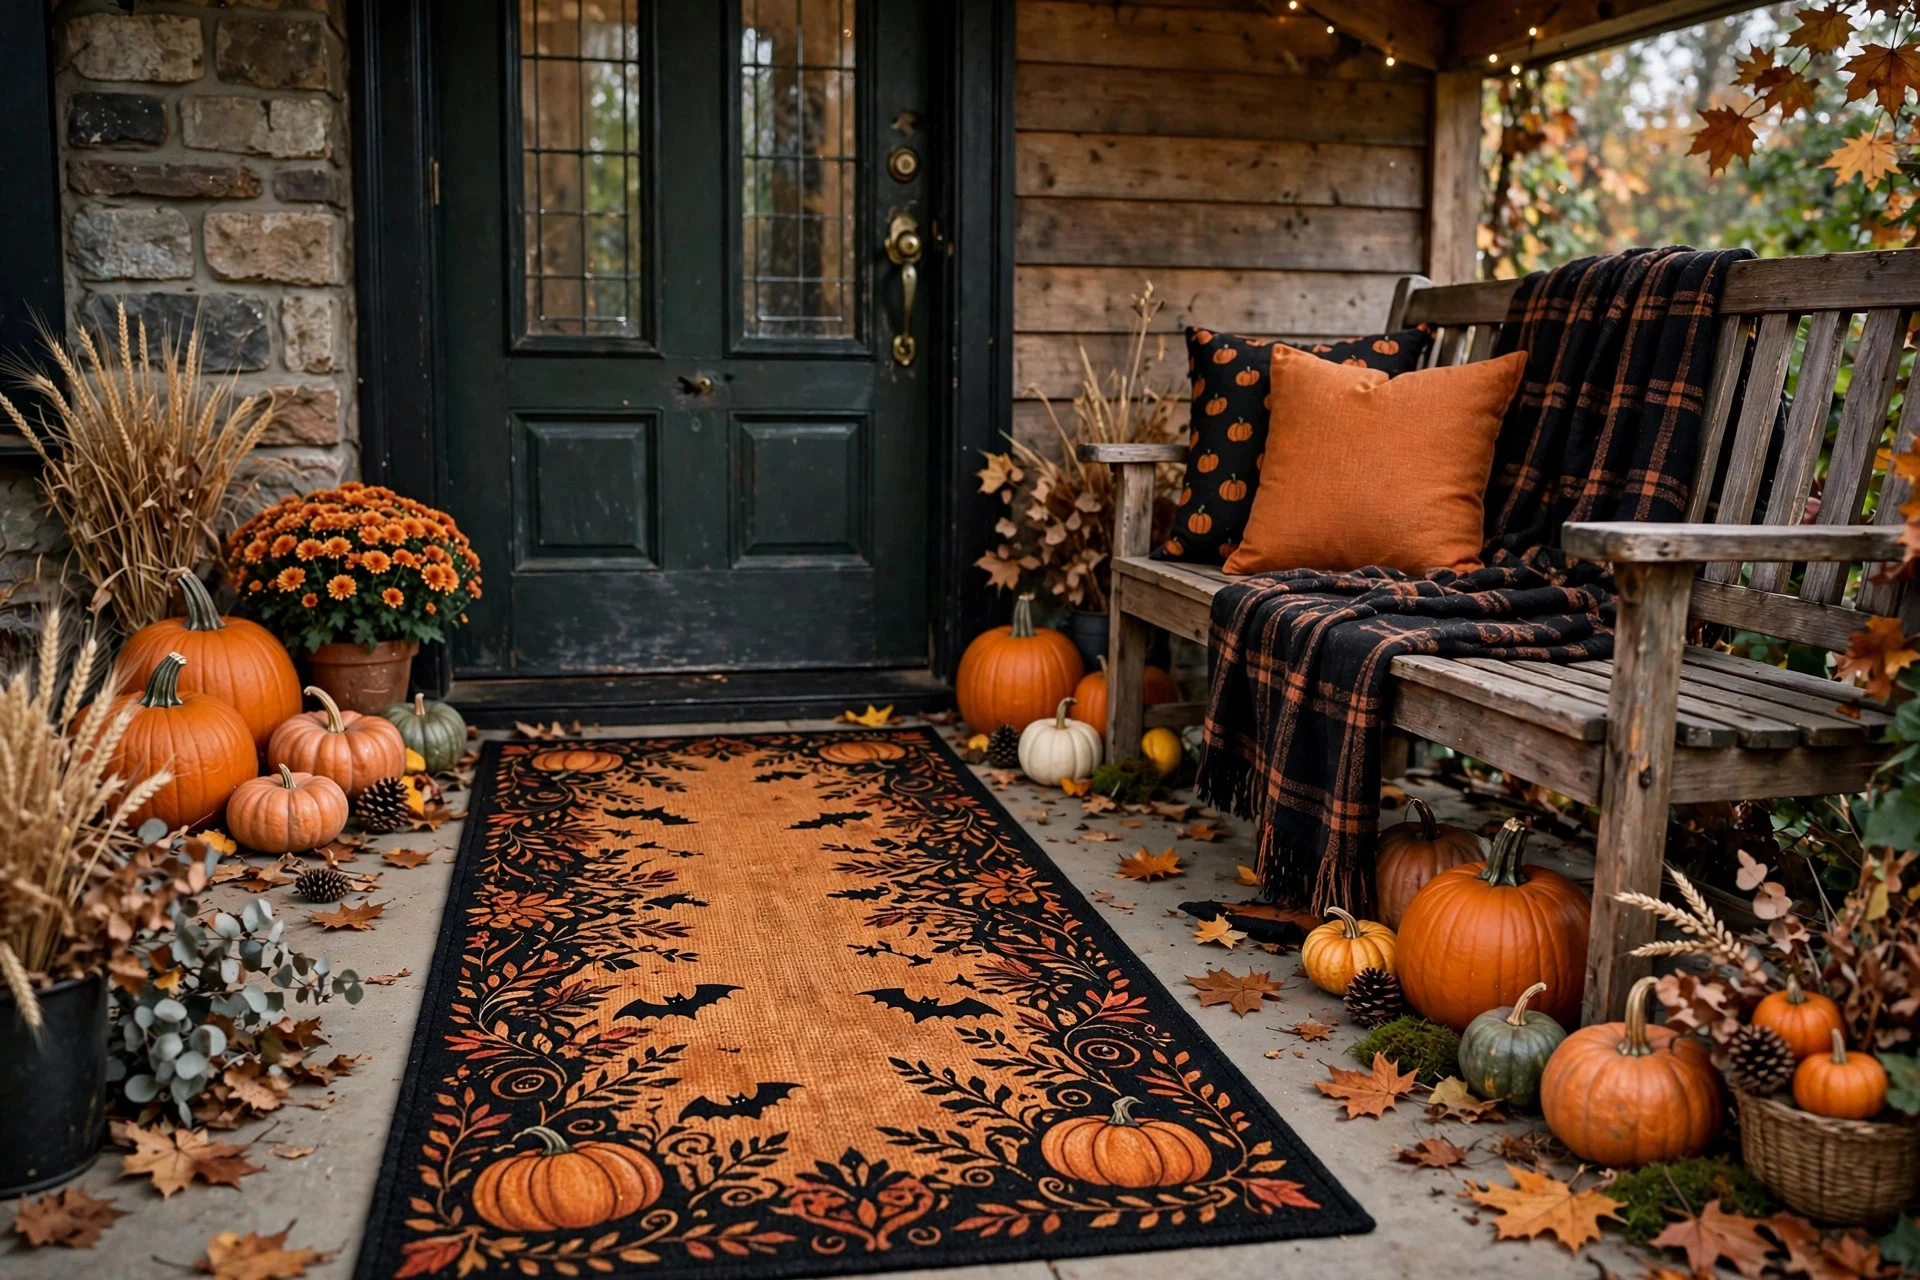
An entryway without textiles looks like a store display; with textiles it looks like a home. Lay a runner rug from the steps to the door (a dark patterned outdoor rug, $25 to $40), drape a black or rust throw over a bench or crate, and tuck two outdoor pillows into the arrangement.
This is also the cheapest way to introduce your color scheme beyond orange. A mustard-and-black plaid throw, a deep purple pillow, a charcoal runner — these pull the whole entryway together the way a rug pulls a living room together. Choose outdoor-rated fabrics so one rain does not ruin them, and shake everything out weekly.
Add a Star: One Life-Size Figure Steals the Show

Every photogenic entryway has one thing that makes guests say “come look at this.” A life-size skeleton leaning on the porch railing, a witch stirring a cauldron by the door, a grim reaper in the corner. This is the money shot — the thing in every photo that is not the people.
Pose it like a person. Lean it casually, tilt the head, put a pumpkin in its hands — stiff and centered looks like a store mannequin; relaxed looks like a character. HomeGoods and Spirit Halloween have excellent articulated skeletons for $30 to $60 that survive multiple seasons. Anchor it well (fishing line to the railing) so it does not become a wind casualty mid-party.
Hang Things at Eye Level: Bats, Ghosts, and Lanterns
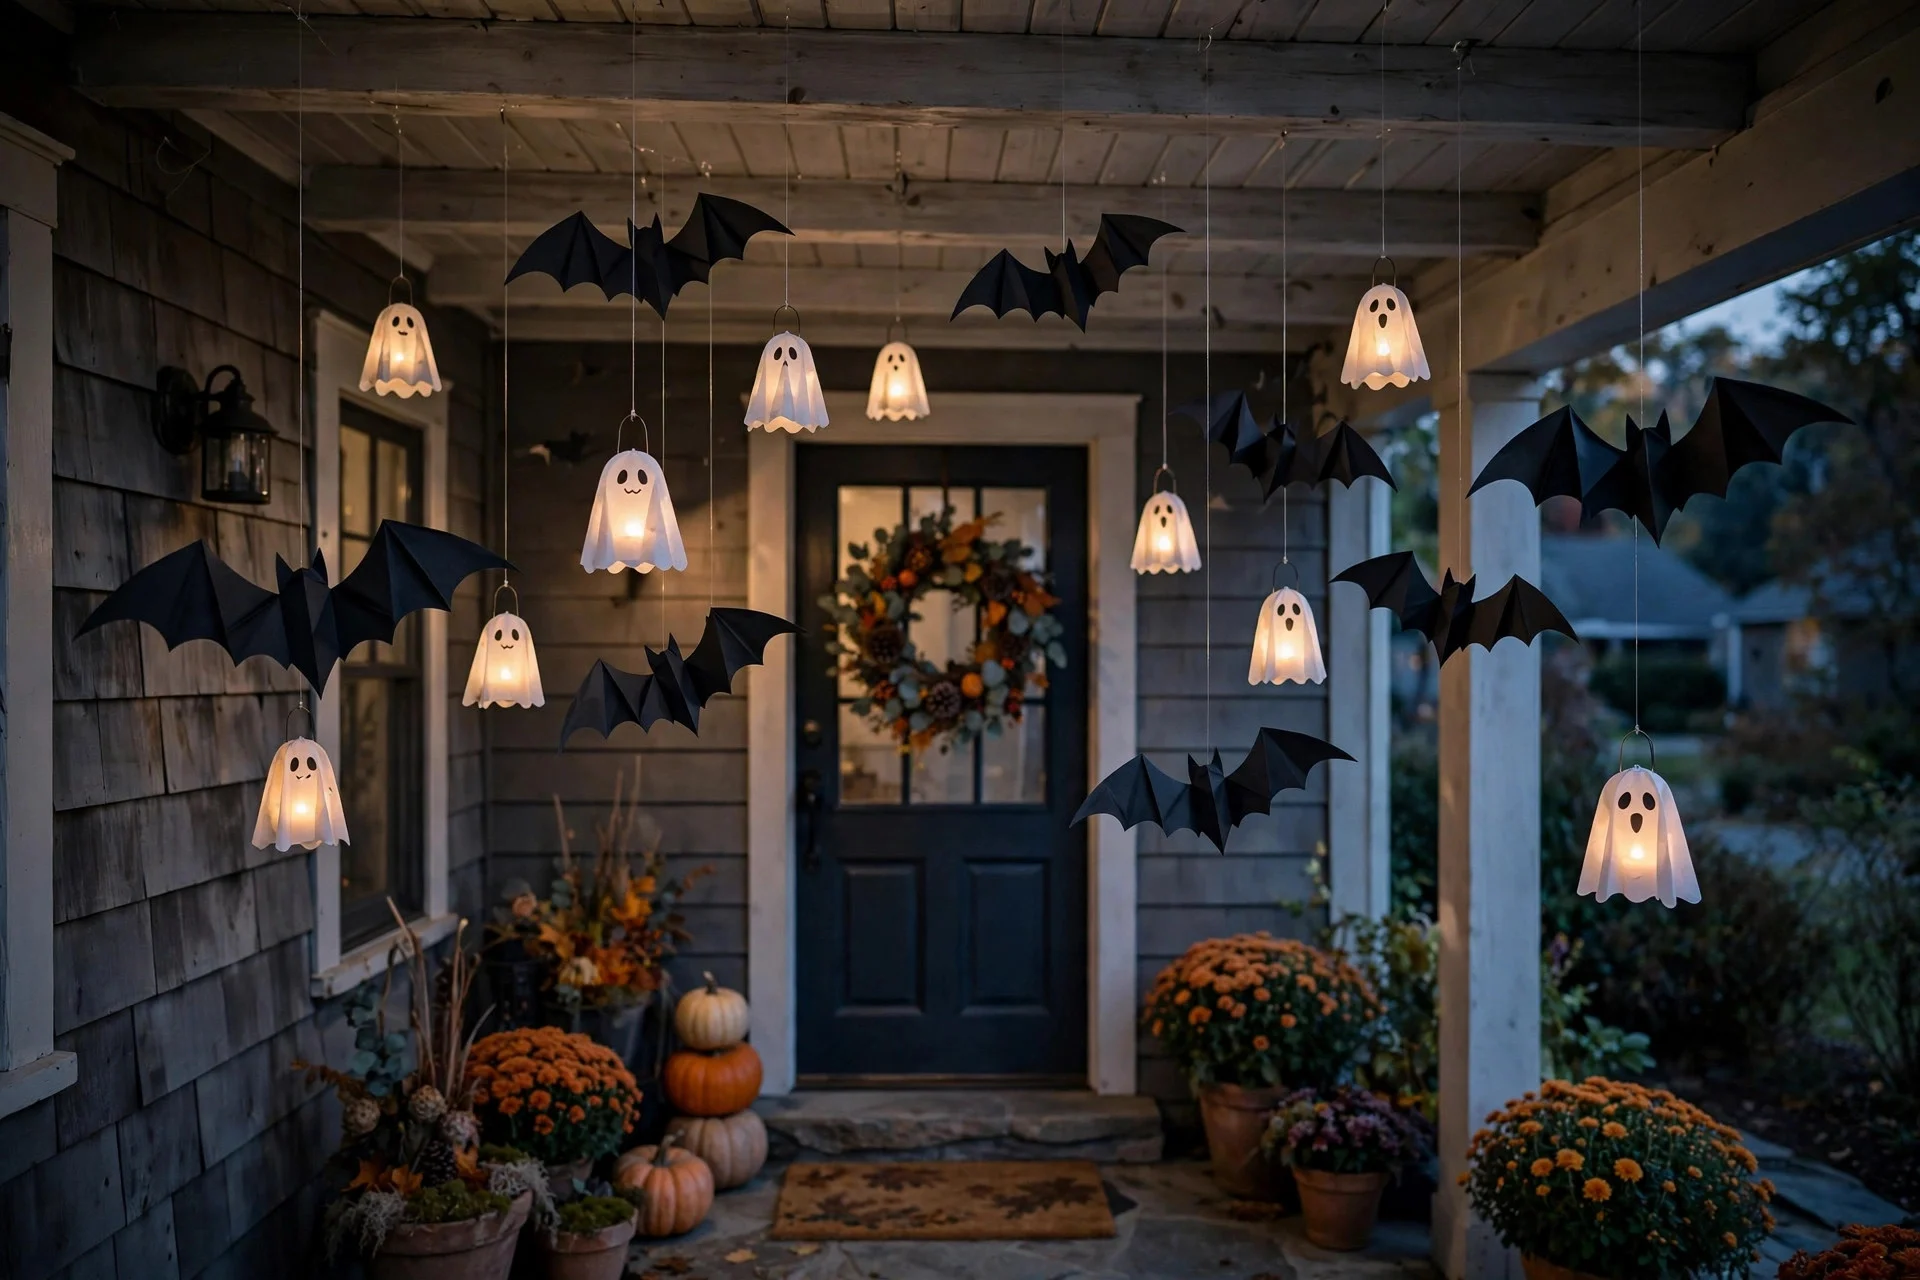
Most entryways are decorated from the ground up and completely forget the air in between. Hang things where faces are: paper bats strung on fishing line across the porch ceiling, floating candles at head height, a cluster of hanging lanterns.
The fishing line trick is what makes this work — invisible support means the bats look like they are flying. Hang them at staggered heights, some at 6 feet and some at 7, so they do not form a line. Battery tea lights inside hanging glass jars create floating glows that guests cannot stop photographing.
Dress the Ceiling: Bats Swarm Overhead
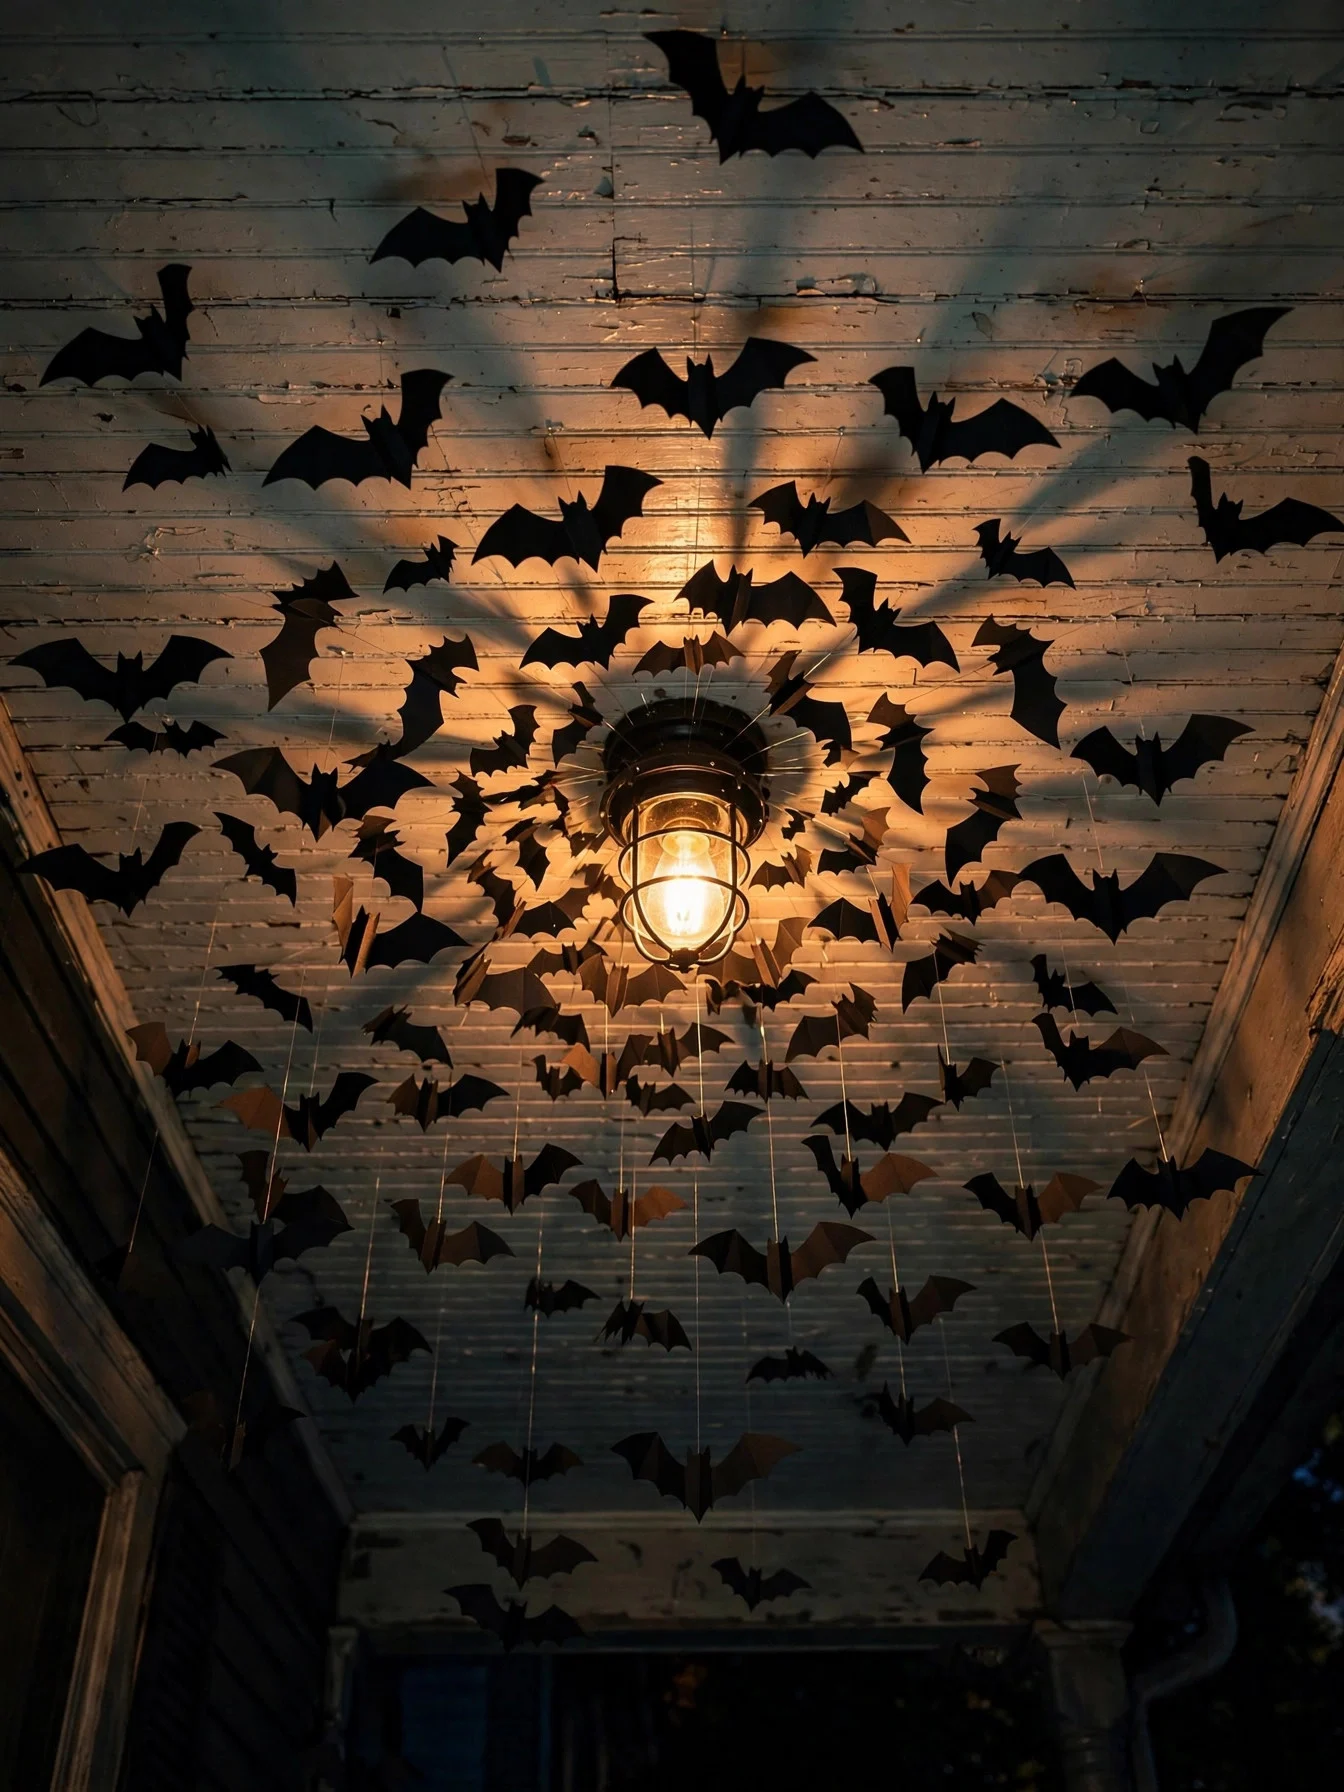
If your porch has a ceiling or overhang, this is free real estate most people ignore. Cover it with a swarm of paper bats — 30 to 50 of them, stuck on with removable adhesive dots — radiating outward from the light fixture like they burst out of it.
The ceiling treatment is what turns “nice porch” into “whoa.” It frames every photo taken looking at the door, and it is visible from the street at night when the porch light is on. Use the flat paper bat cutouts rather than 3D ones; they lie flush, survive wind, and read clearly from a distance.
Wake Up the Senses: Scent and Sound

Photos are the goal, but scent and sound are what make the entryway memorable in person. A cinnamon broom ($6 at any grocery store in October) leaning by the door perfumes the whole entryway.
Keep both subtle. The scent should be a whisper when guests arrive, not a Yankee Candle explosion. The sound should be barely noticeable until someone comments on it. I set my speaker volume so it is only audible within six feet of the door.
Style the Doorstep: The Candy Station Moment
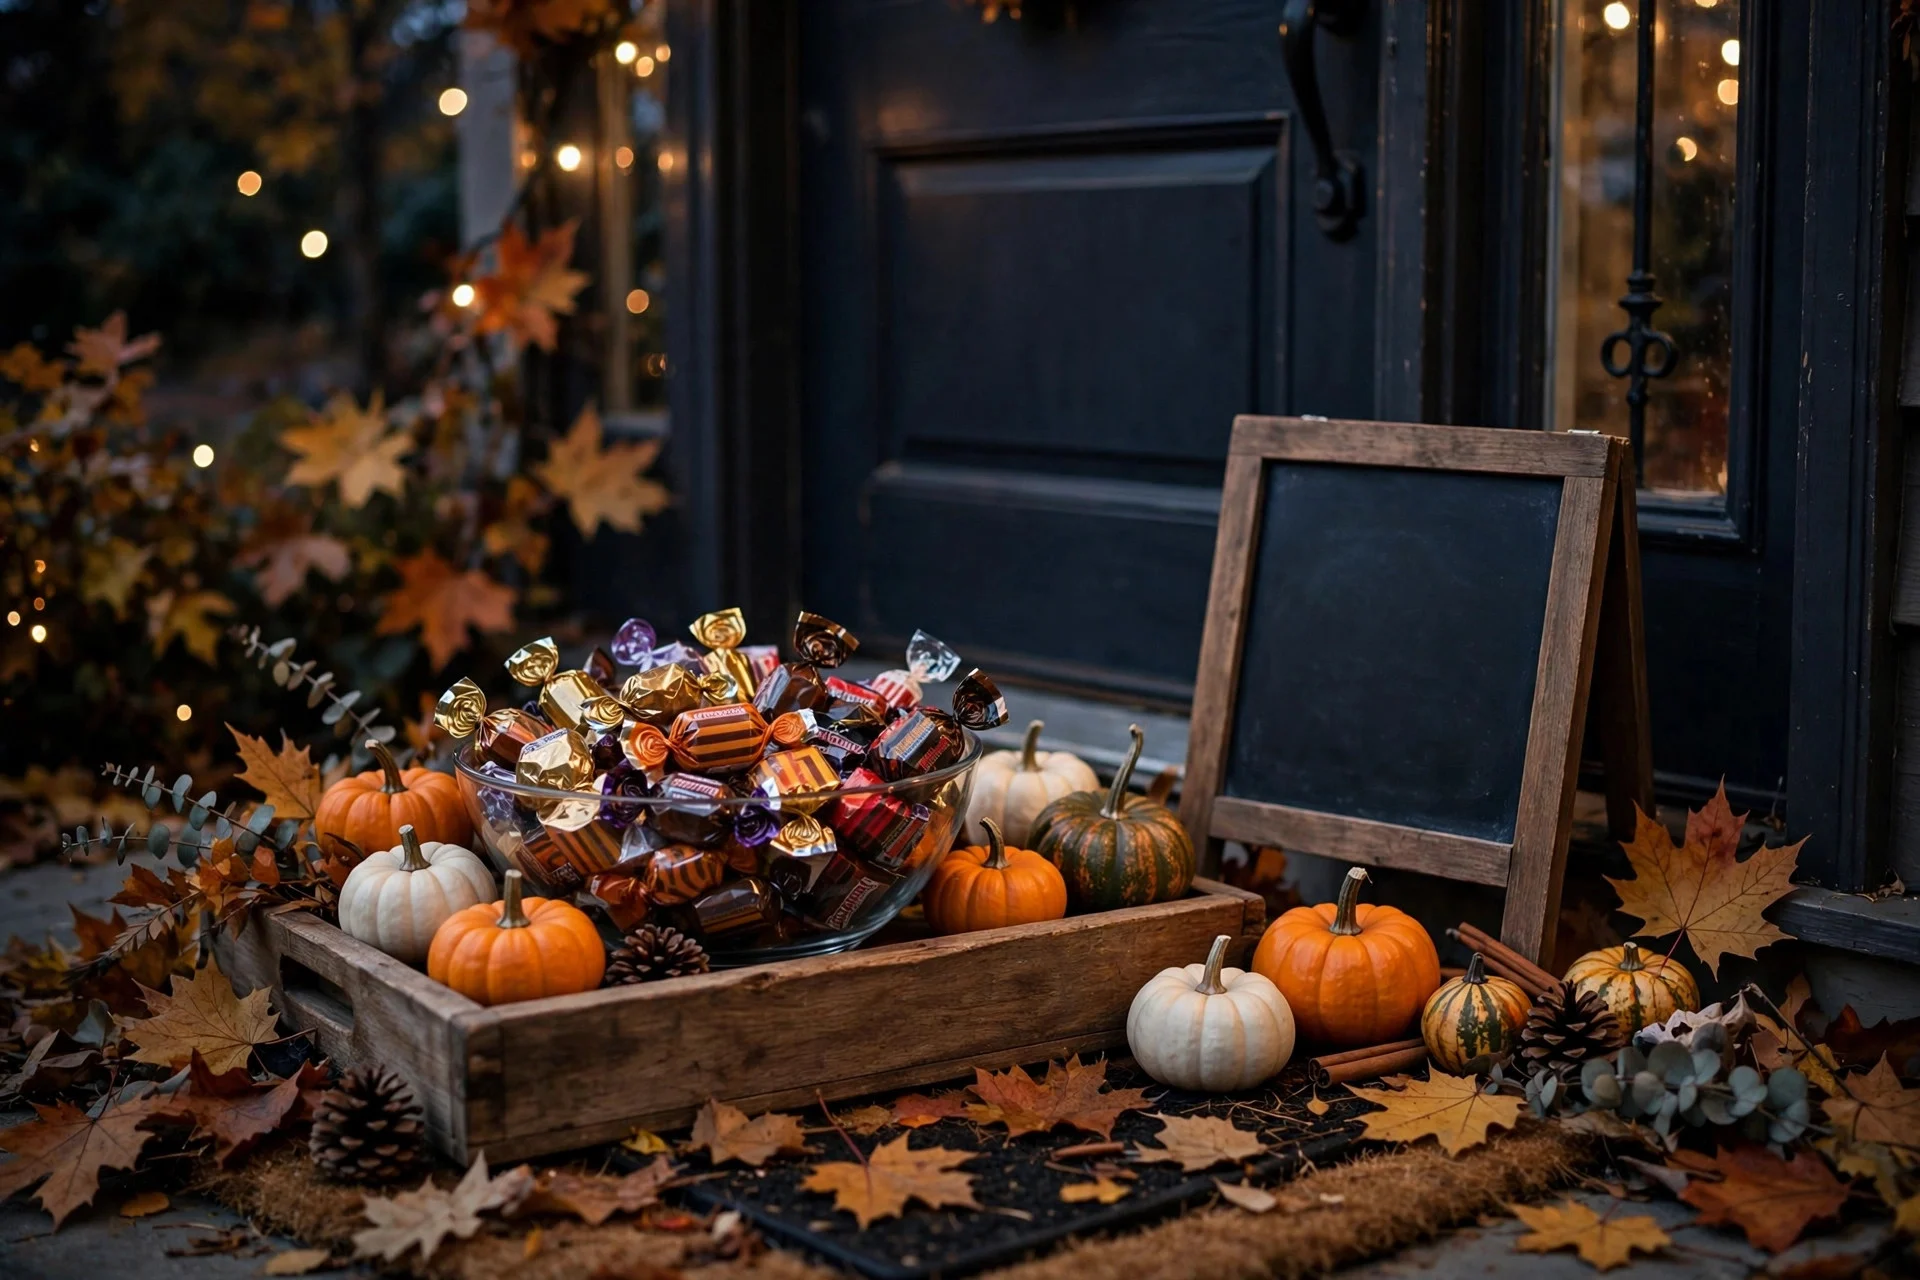
The candy bowl is the most-photographed object on Halloween night and the most neglected. Do not just put out a plastic bowl.
Place the candy station to one side of the door, not in front of it — you want the door itself clear for photos. Keep a refill stash inside the door so the bowl never looks picked-over in evening photos. And skip the giant Costco bag on the porch; pour the candy into the bowl and hide the packaging.
Bring In Nature: Mums, Branches, and Dried Corn

All the plastic and foam in the world needs one organic element to feel real. Hardy mums in deep rust, burgundy, and gold are the classic choice — $5 to $8 each at any nursery, and they bloom right through October.
Dried branches spray-painted black and stuck in a heavy planter add height for pennies; add a few hanging ornaments (mini skulls, bats) and it becomes a Halloween tree. Cornstalk bundles lashed to porch posts frame the whole entryway. These natural pieces also transition you into Thanksgiving — swap the bats for pinecones in November and half your work is done. For a full fall look, see our cozy fall living room ideas for the indoor version of this palette.
Create a Cozy Corner: The Bench Vignette

If you have a bench, chair, or even a sturdy crate, style it as a sitting vignette. Two outdoor pillows (one orange, one black), a folded throw, a lantern on the seat, a pumpkin underneath.
Angle the bench slightly toward the door rather than parallel to the house; it photographs better and feels more inviting. Put your best-looking pumpkin at the base of the bench legs, not on the seat — the seat is for people.
Plan for Night: Dusk vs. Dark Photography
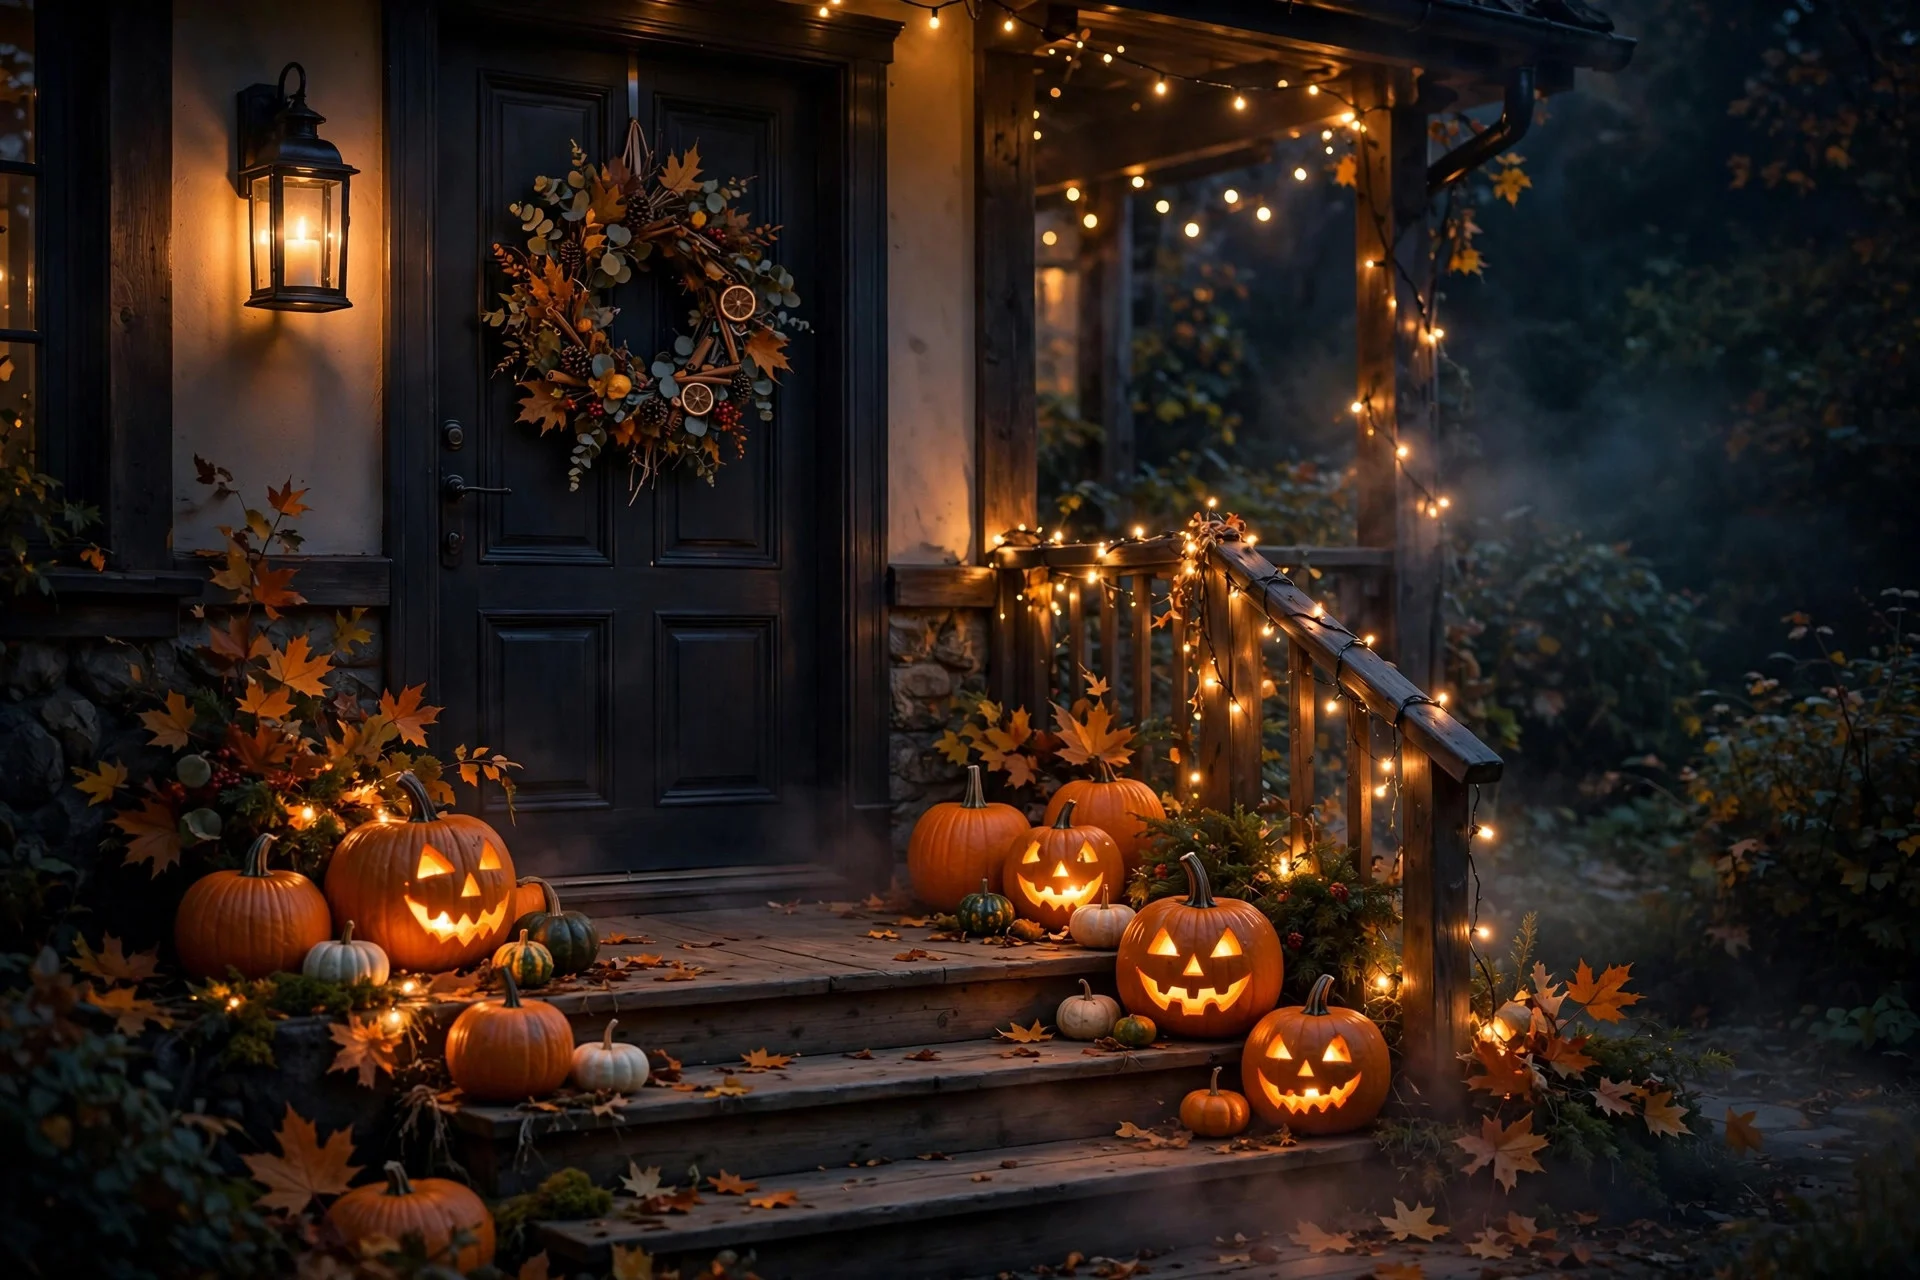
Your entryway needs to work in two completely different light conditions, and most people only plan for one. At dusk (blue hour, roughly 6:30 to 7:00 pm in late October — check your exact local sunset on the Old Farmer’s Almanac sun calculator), the sky provides a gorgeous backdrop and your lanterns glow against it — this is peak photo time. In full dark, only your own lighting exists, so it needs to carry the whole scene.
For dusk, keep the overhead porch light OFF and let the lanterns do the work; the contrast with the blue sky is what makes photos magical. For full dark, turn the porch light on but swap the bulb for a warm-toned one (2700K), which flatters both faces and pumpkins. Put everything on timers so the transition happens automatically.
The 10-Minute Reset: Keep It Photo-Ready All Night
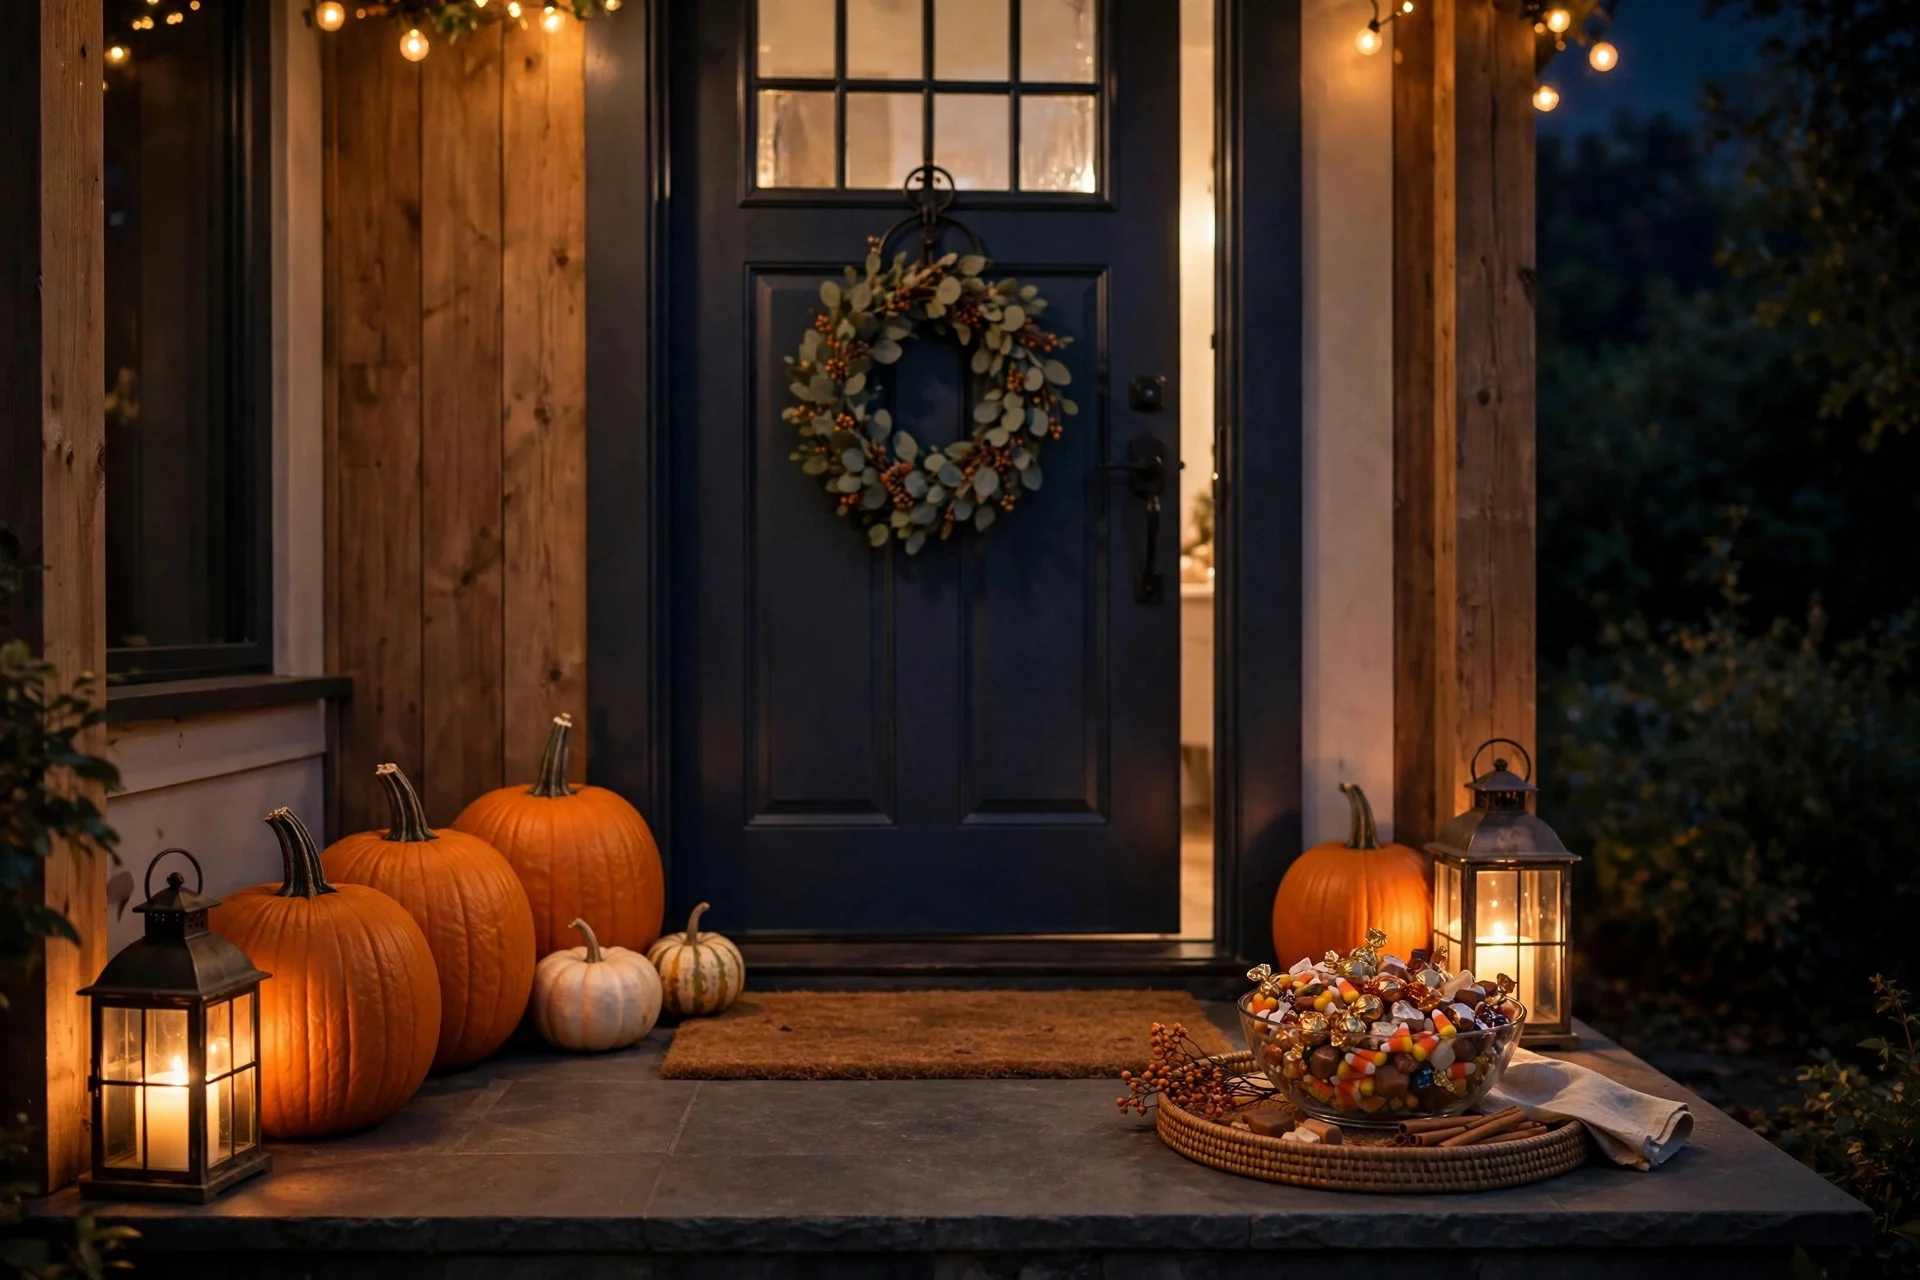
Here is the secret nobody talks about: a great Halloween entryway on the morning of October 31 is easy. A great one at 9 pm, after 200 trick-or-treaters, is a system.
Every hour, step outside for a two-minute reset: straighten the pumpkins kids have kicked, refill the candy bowl, pick up wrappers, relight any candles that blew out. The entryway in the last photo of the night should look like the first. Assign this job to one person — a teenager earning their candy, ideally — and your entryway stays photo-ready from the first guest to the last.
FAQs
How much does it cost to style a Halloween entryway?
A photo-worthy entryway costs $75 to $100 at the minimum (wreath, pumpkins, lanterns, rug) and $200 to $300 for the full layered look with a life-size figure and textiles. Shopping dollar stores and reusing fall basics like mums and crates keeps costs at the low end without looking cheap — our dollar-store guide shows how.
When should I decorate my entryway for Halloween?
Put the durable base layer out in the first week of October — wreath, pumpkins, mums, planters — so you enjoy it all month. Add the delicate and electronic pieces (hanging bats, projectors, sound) in the final week.
How do I make my Halloween entryway look good in photos?
Three things matter most: symmetry (balanced elements on both sides of the door), layered heights (never a flat row), and warm light at lantern level instead of overhead. Take test photos with your phone at dusk — the camera reveals lopsided arrangements your eyes miss.
What if my entryway is tiny or I live in an apartment?
Focus on the door itself and the immediate floor: a wreath, two stacked pumpkins, a lantern, and a doormat fill a small entryway completely. The hanging elements and symmetry tricks scale down perfectly. Our guide to decorating a small apartment for Halloween covers renter-friendly versions of all of this.
How do I keep Halloween decorations from being stolen or damaged?
Anchor everything — fishing line ties, heavy planters, and placing valuables behind the railing line rather than at the curb. Bring small, expensive items (like a nice candy bowl) inside when you go to bed.