


Photo: @curtis-adams-1694007 via Pexels
Kitchen Island Decor Ideas for Real-Life Kitchens
A kitchen island in a real house is not a display counter. It holds school bags at 3 p.m., a laptop at 5 p.m., dinner prep at 6 p.m., and a pile of post that nobody admits to leaving there. The islands that look good in photos usually fail this test, because they were styled once and never used again. The fifteen ideas below were chosen for the opposite reason: they survive mess, small rooms, and people who cook in a hurry. Each one keeps the island working first and looking good second, which turns out to be the same thing when the room is in daily use.
One warning before you start. An island only works if you can walk around it. The National Kitchen and Bath Association recommends work aisles of about 42 inches for one cook and 48 inches where two people cook, with walkways no tighter than 36 inches, as explained in Fine Homebuilding’s guide to kitchen island dimensions.
1. One Tray That Catches the Daily Pile
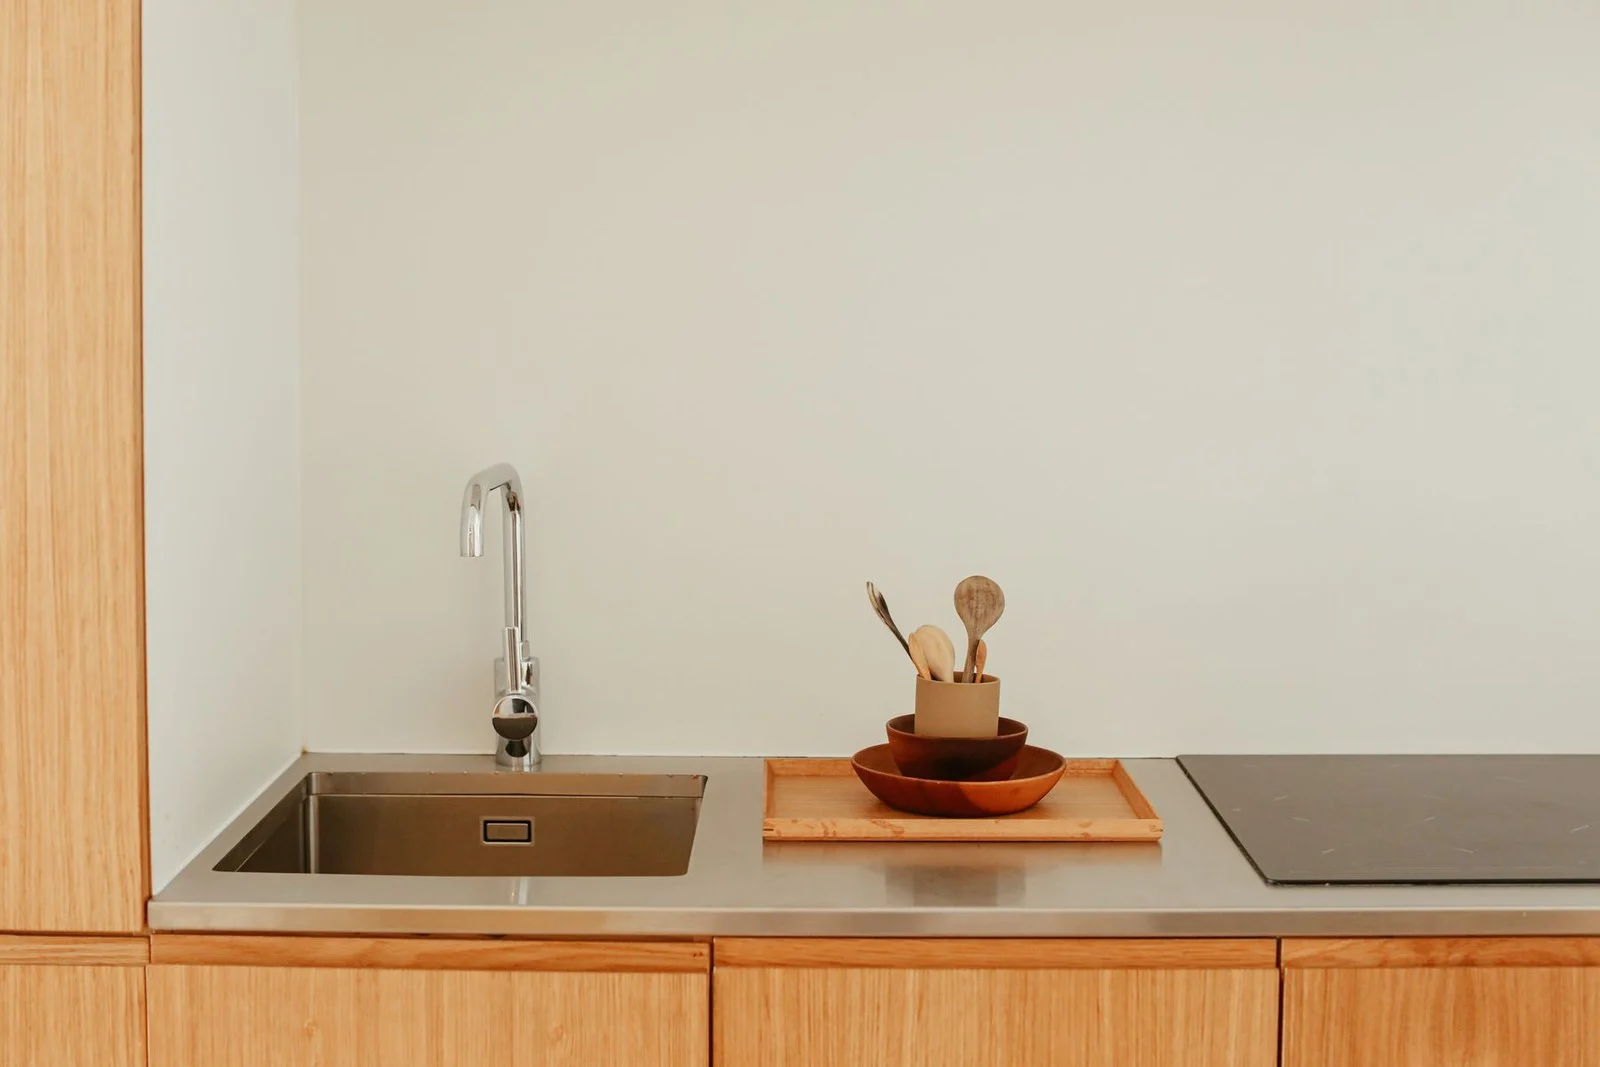
Photo: @cup-of-couple via Pexels
Every island collects a daily pile: keys, post, a phone charger, sunglasses, the thing somebody meant to take upstairs. A single tray gives that pile a border. Everything that lands on the island goes in the tray, and the rest of the surface stays clear for cooking. The tray works because it asks for almost nothing. Nobody has to file anything away, they just drop it in a box with edges.
I use a wooden tray that fits the end of the island, and the rule in our house is simple: if it does not fit in the tray, it does not live on the island.
2. Stools That Tuck All the Way Under
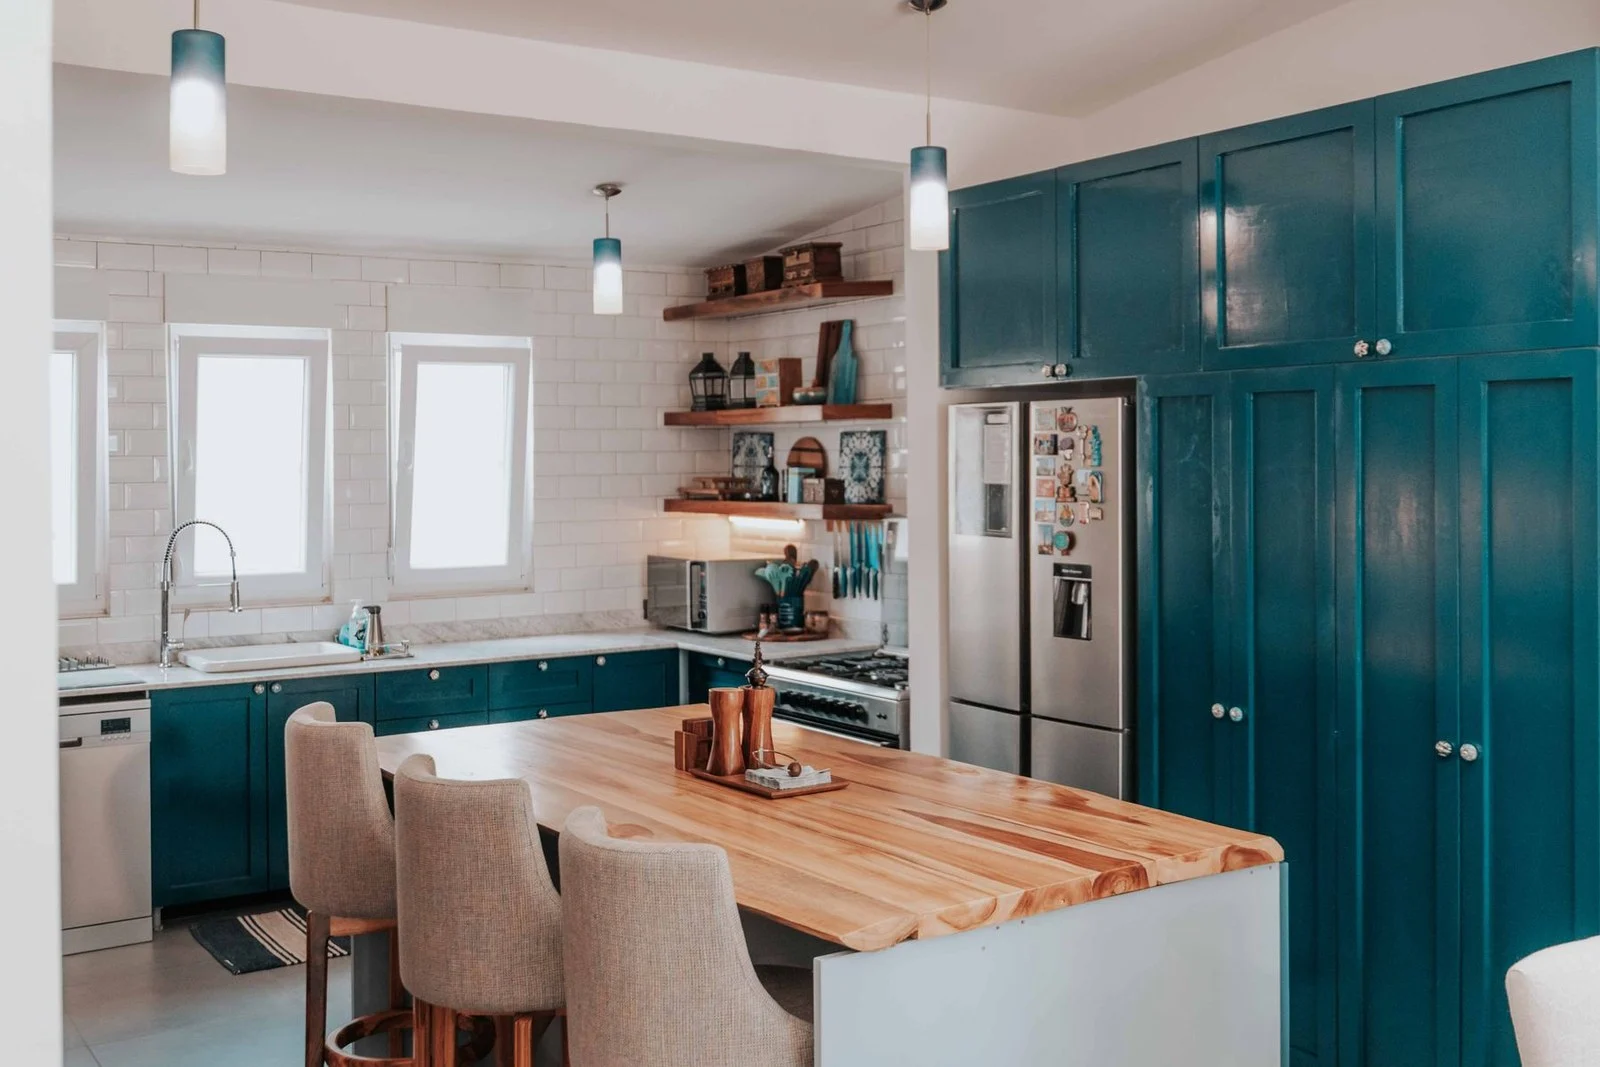
Photo: @keeganjchecks via Pexels
Stools are the fastest way to shrink a kitchen. A stool left out in the walkway turns a 42-inch aisle into a 30-inch obstacle course, and in a small kitchen that is the difference between a room that flows and one that frustrates. Backless stools that slide fully under the overhang solve it, because when nobody is sitting, the island looks and moves like it has no seating at all.
Measure the overhang before you buy. You need enough knee room that people actually sit comfortably, usually 12 to 15 inches of overhang, and a stool height that leaves a hand’s width between seat and counter. Our guide to kitchen decor for small counters makes the same point in miniature: fewer pieces, placed well, read as more intentional than a crowded surface.
3. A Cutting-Board Station That Stays Put
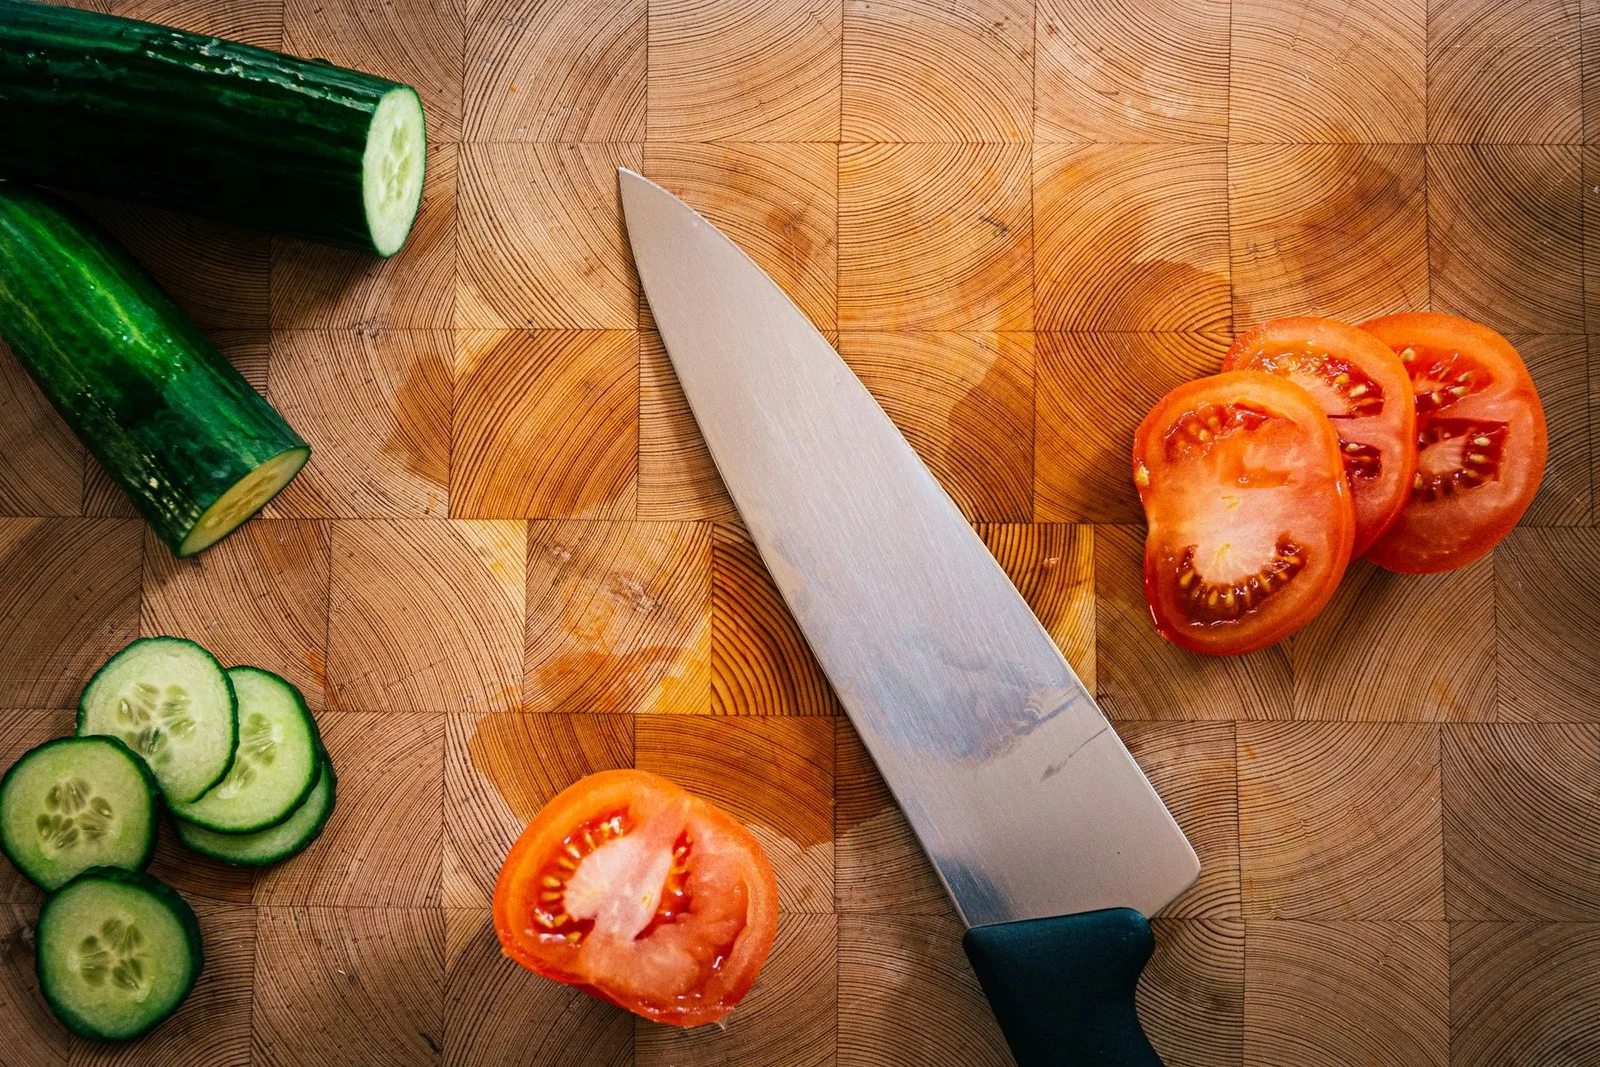
Photo: Teemu Matias via Pexels
In a working kitchen, the island is where vegetables get chopped, and a cutting board that slides around is a small daily annoyance that adds up. Give the board a permanent home on the island: a damp tea towel underneath, or a board with rubber feet, parked in the same corner every time. Add a small knife block or a magnetic strip nearby, and the prep zone assembles itself in seconds.
Keep the prep corner separate from the seating end. Raw chicken juices and homework do not mix, and a board that lives at one end keeps the other end clean for eating.
4. One Open Shelf for the Cookbooks You Actually Use
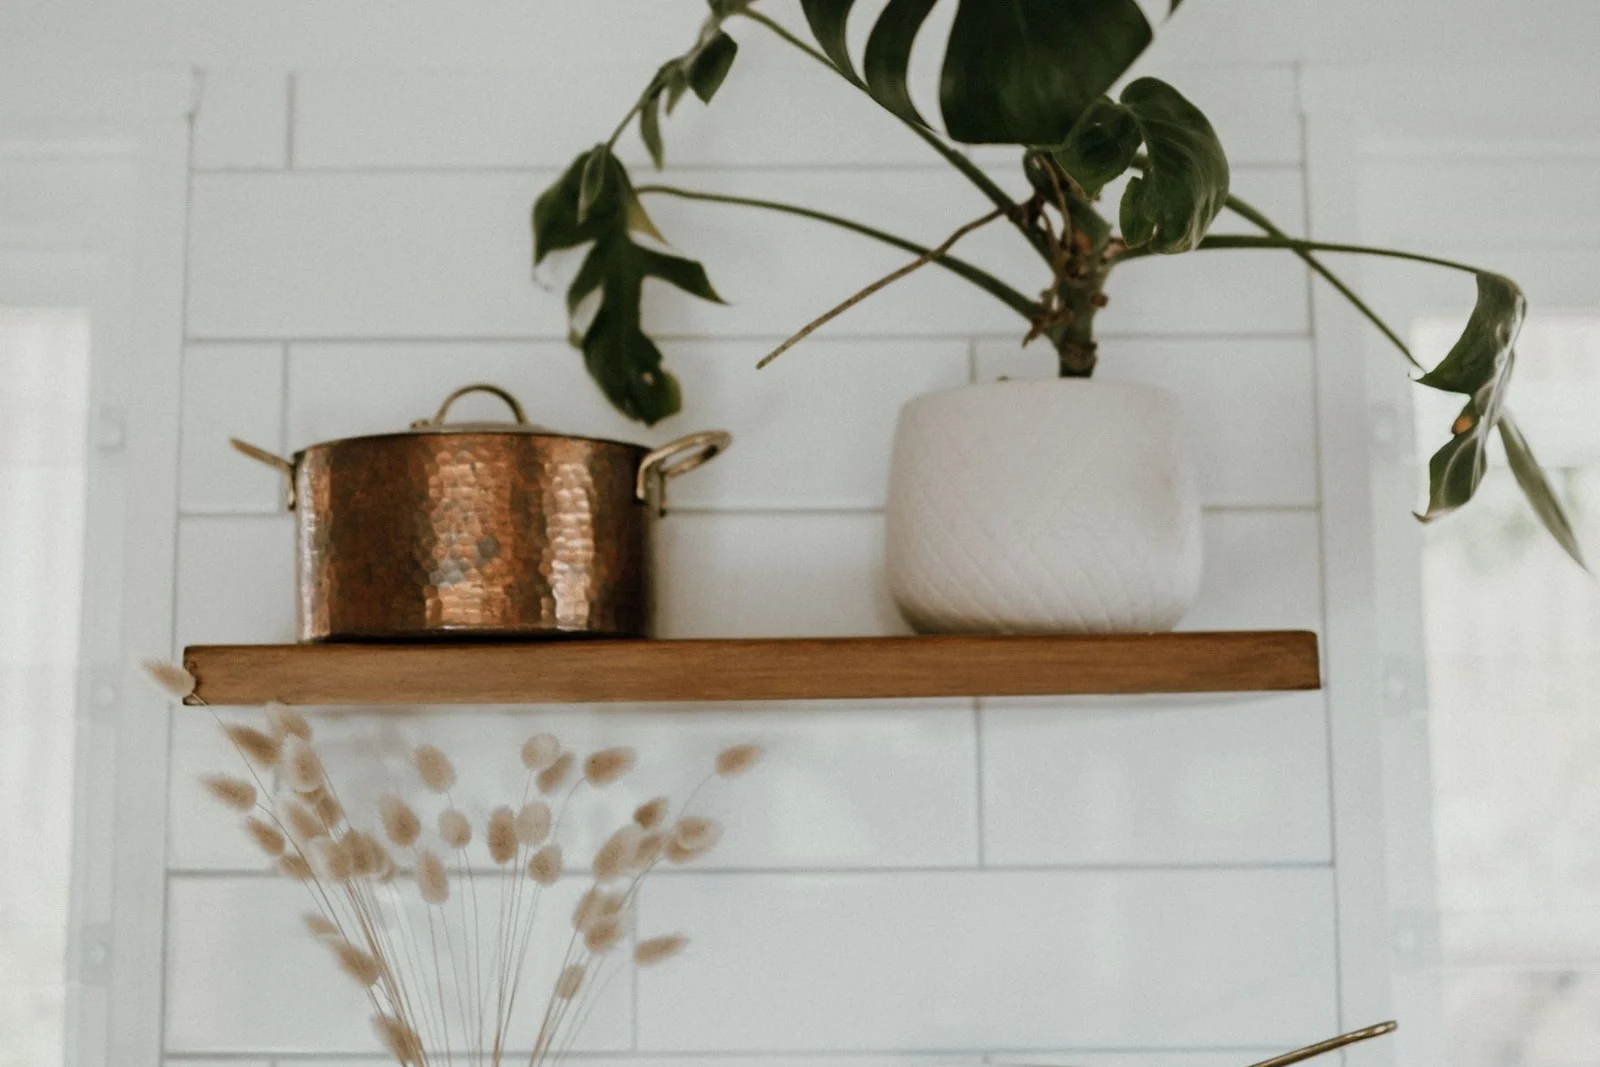
Photo: @taryn-elliott via Pexels
Most cookbooks live in a cupboard and never come out. Pick the three or four you cook from weekly and give them a home on a shelf at the island end, or on the island itself if it has open shelving. A cookbook you can see is a cookbook you use, and a shelf of five well-chosen books looks better than a cupboard of forty untouched ones.
Be honest about which books earn the spot. The beautiful baking book you open twice a year can live on a higher shelf. The weeknight book with the stained pages belongs at hand height.
5. A Fruit Bowl That Earns Its Footprint
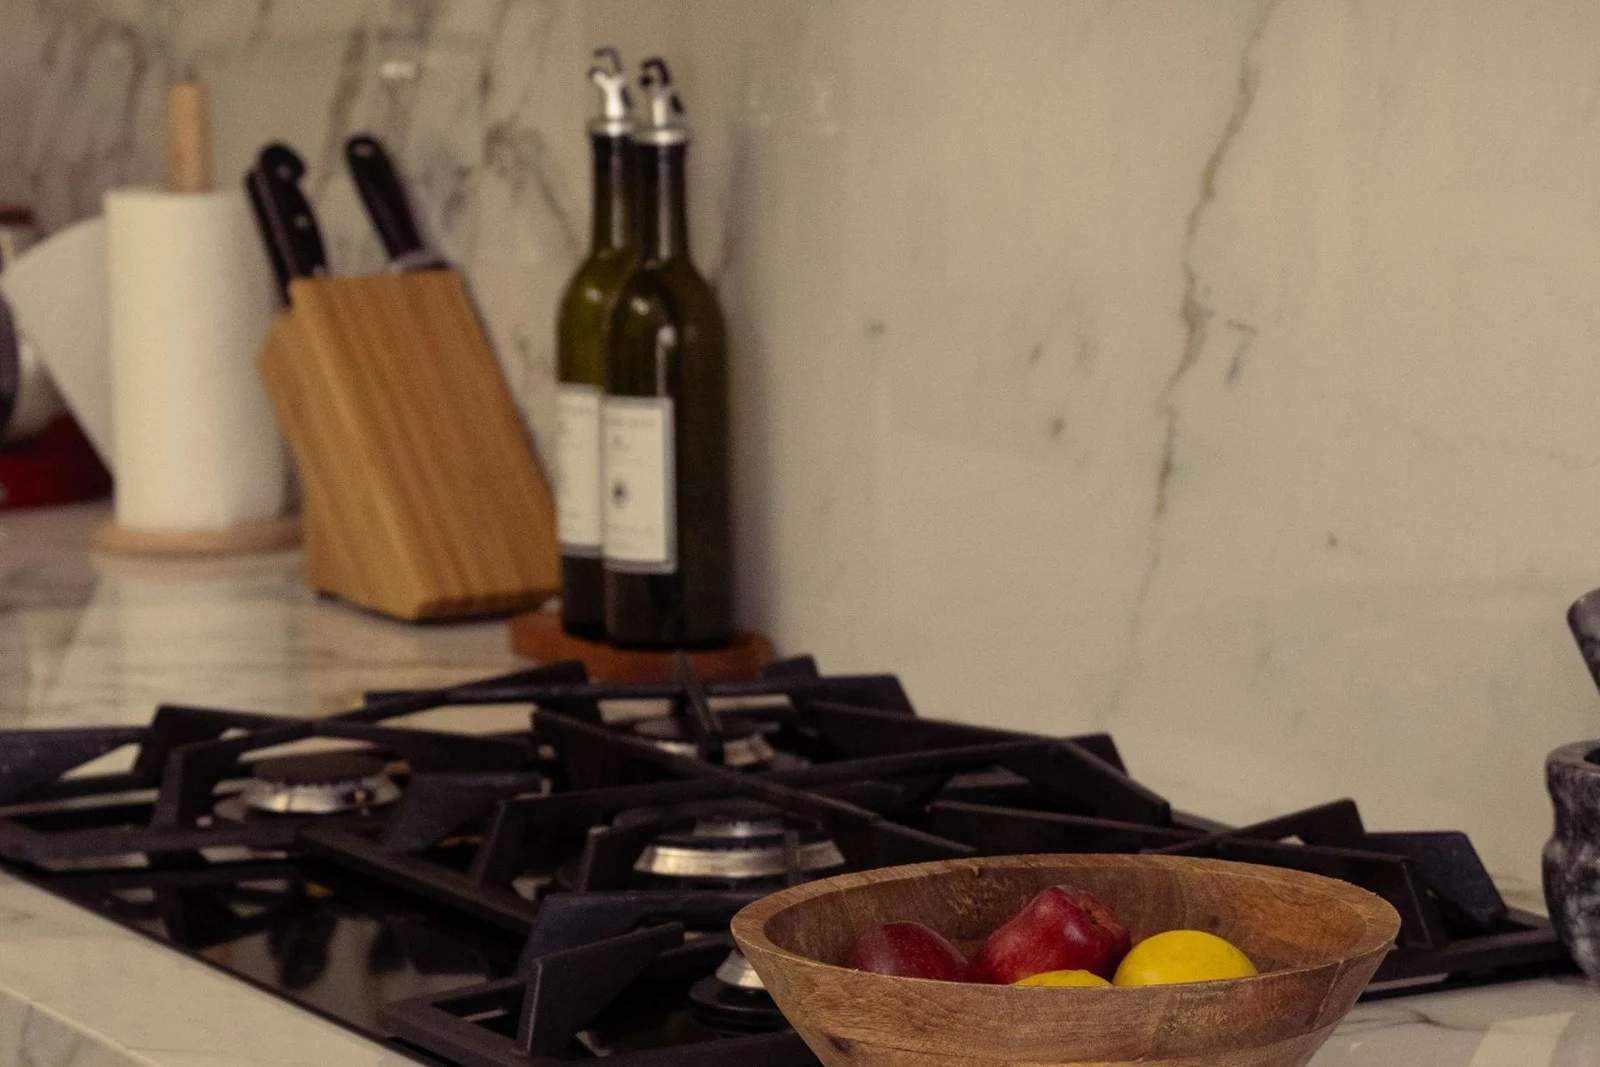
Photo: Merve via Pexels
A fruit bowl is the classic island decoration, and it works only when the fruit actually gets eaten. A bowl of apples and oranges that turns over weekly is decor that feeds people. A bowl of decorative lemons gathering dust is just an obstacle in the prep zone. Choose one bowl, keep it modest, and refill it from the fridge rather than buying a second bowl’s worth of fruit to display.
Place the bowl where it does not block the chopping zone: the far end of the island, or the corner nearest the seating.
6. A Coffee Corner on the Island End
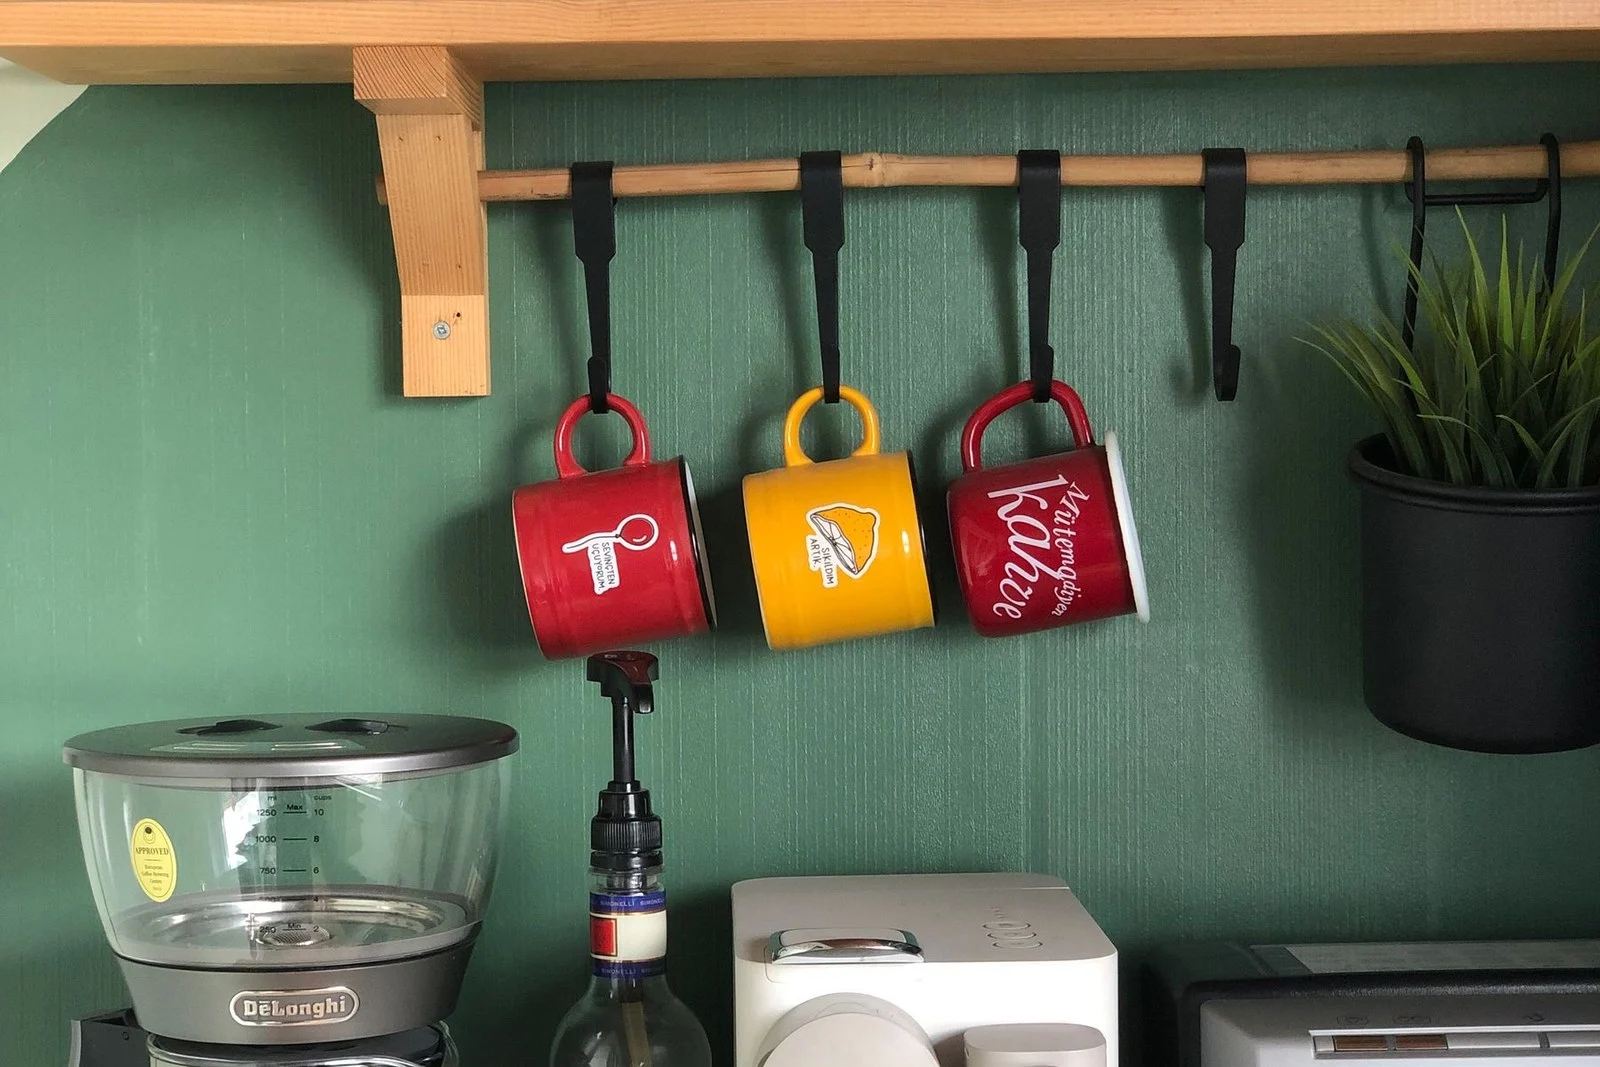
Photo: @Nerosable via Pexels
Morning kitchens run on coffee, and a small coffee corner at the island end keeps the machine, mugs and beans in one place instead of scattered across every surface. A tray under the machine catches drips, a row of hooks or a small shelf holds the daily mugs, and the whole routine happens in one square foot. It also keeps early risers out of the cook’s way, since coffee and breakfast prep stop competing for the same counter.
Keep it tight. Two or three mugs, not twelve, and the beans you are actually using, not the full collection.
7. A Laptop Zone With a Charger Basket

Photo: @jakubzerdzicki via Pexels
Islands are homework desks and home offices now, and pretending otherwise just means laptops end up in the prep zone anyway. Give the laptop a defined end of the island, with a small basket for the charger and cables beside it. When work ends, the laptop closes and the basket swallows the cables, and the island goes back to being a kitchen in under a minute.
Our Christmas kitchen ideas follow the same logic in reverse, decorating only the dead zones so the work zones stay free.
8. A Bar Cart Parked at the Island End
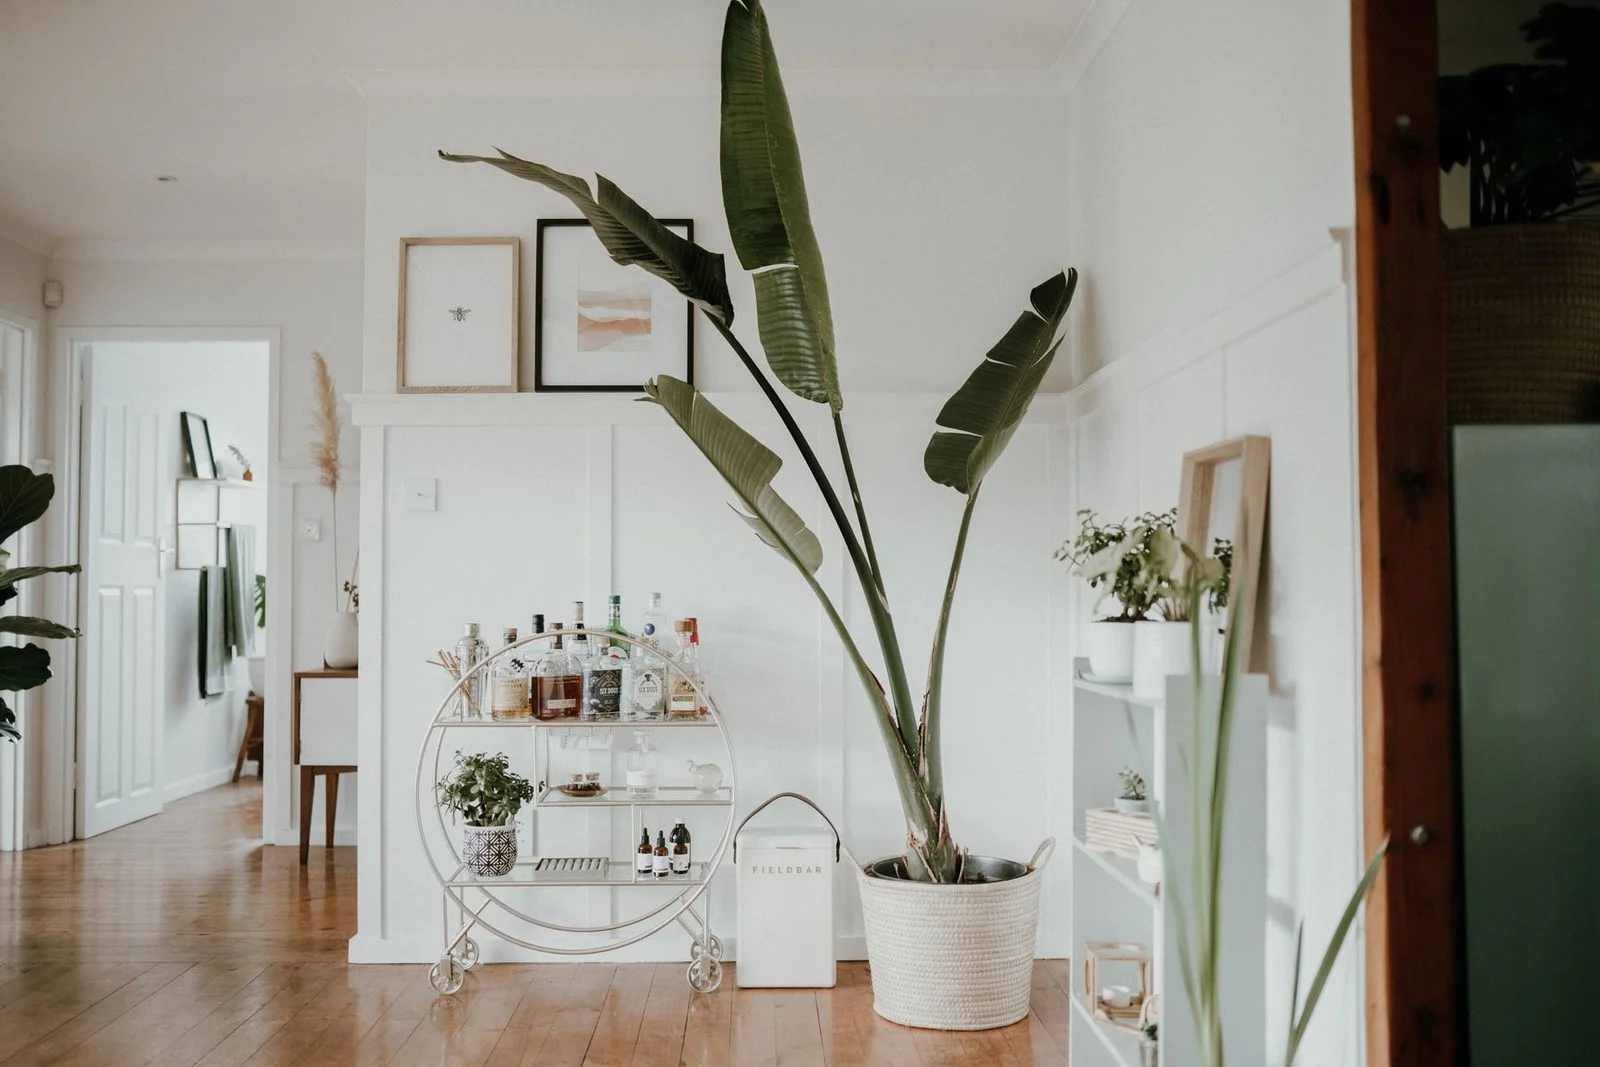
Photo: @taryn-elliott via Pexels
When the island itself is too small for everything, a slim bar cart parked at its end adds a whole extra surface without any building work. Use it as a serving station at dinner, a drinks cart when friends come over, or an overflow shelf for the things that do not fit in the cupboards. When it is not needed, it rolls against the wall and disappears.
The photo shows a cart in a living-room corner rather than beside an island, but the idea is the same: a small, movable surface that earns its place by being useful, not by being permanent.
9. Pendant Lights That Mark the Island’s Edges
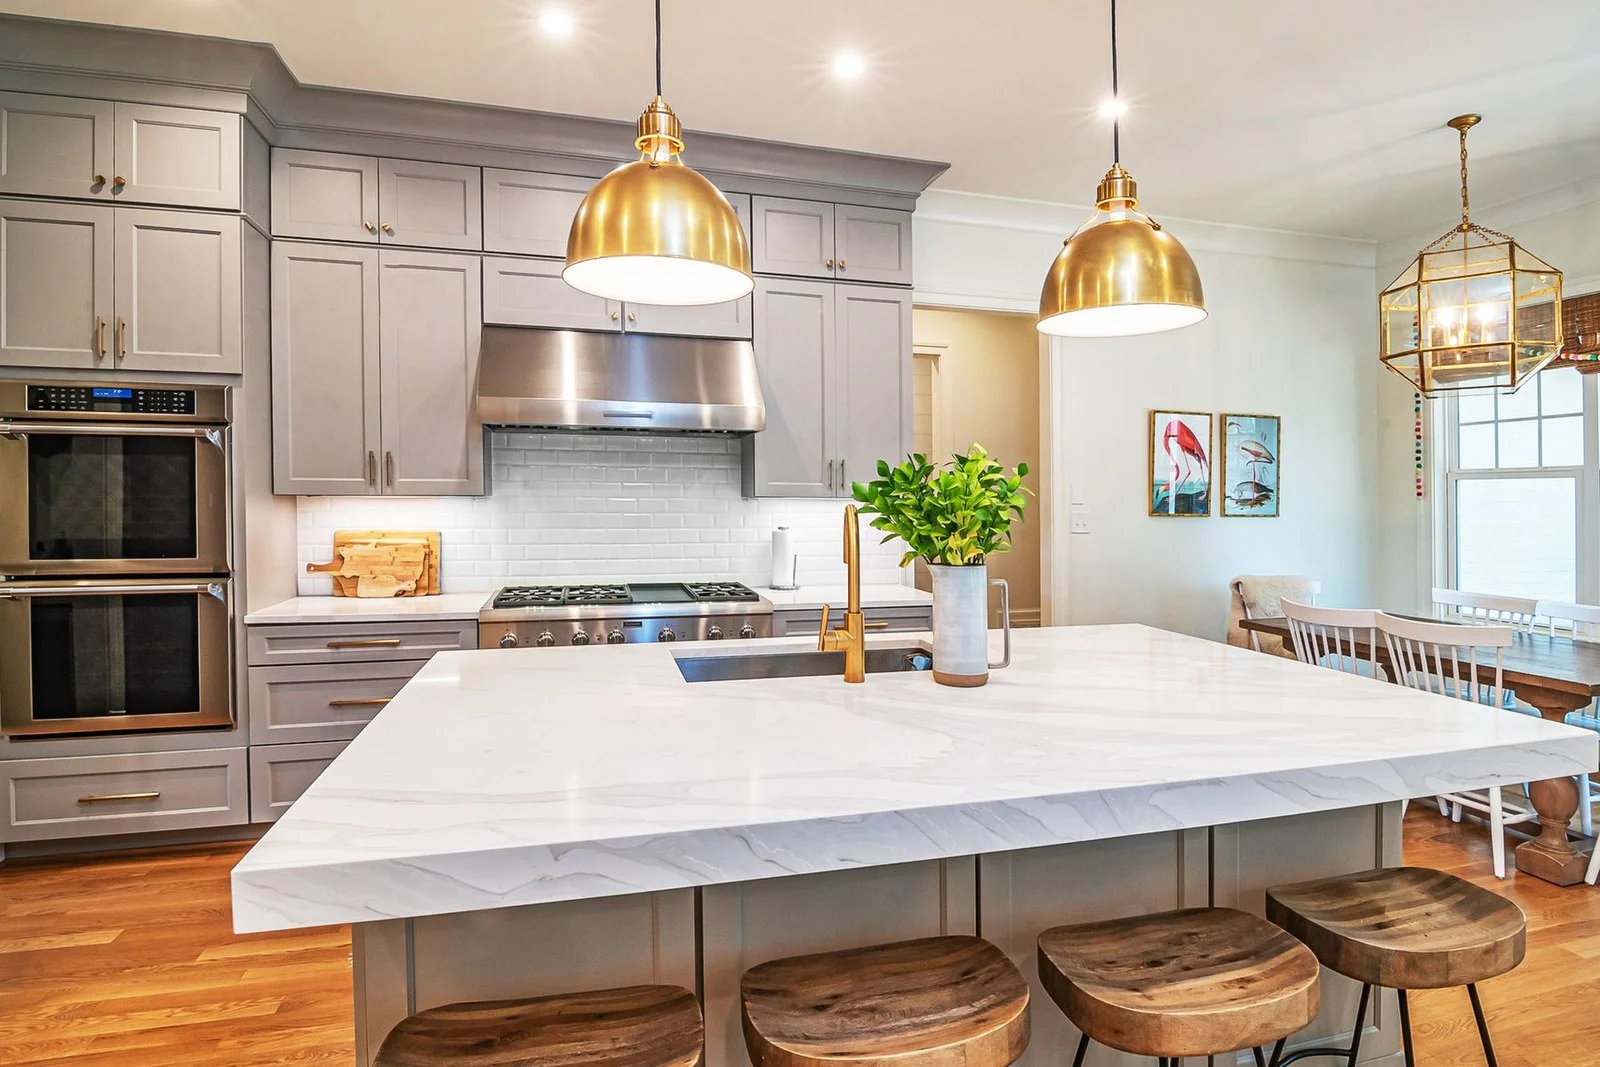
Photo: @curtis-adams-1694007 via Pexels
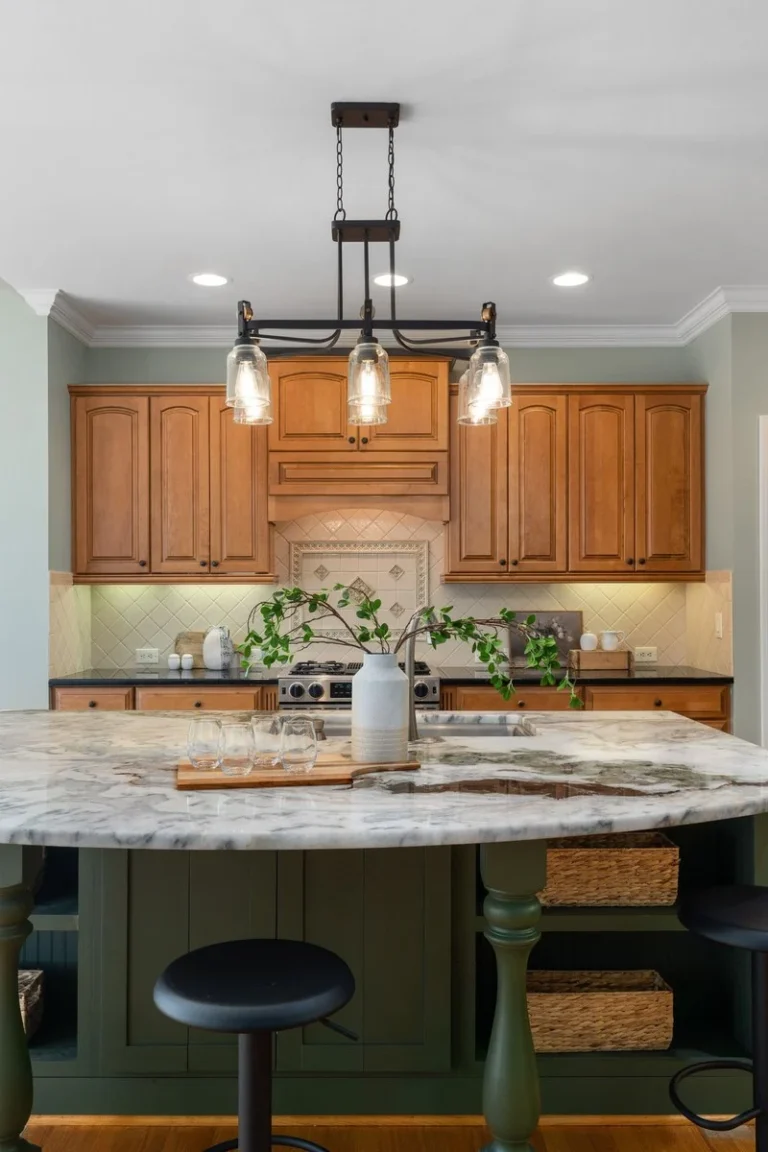
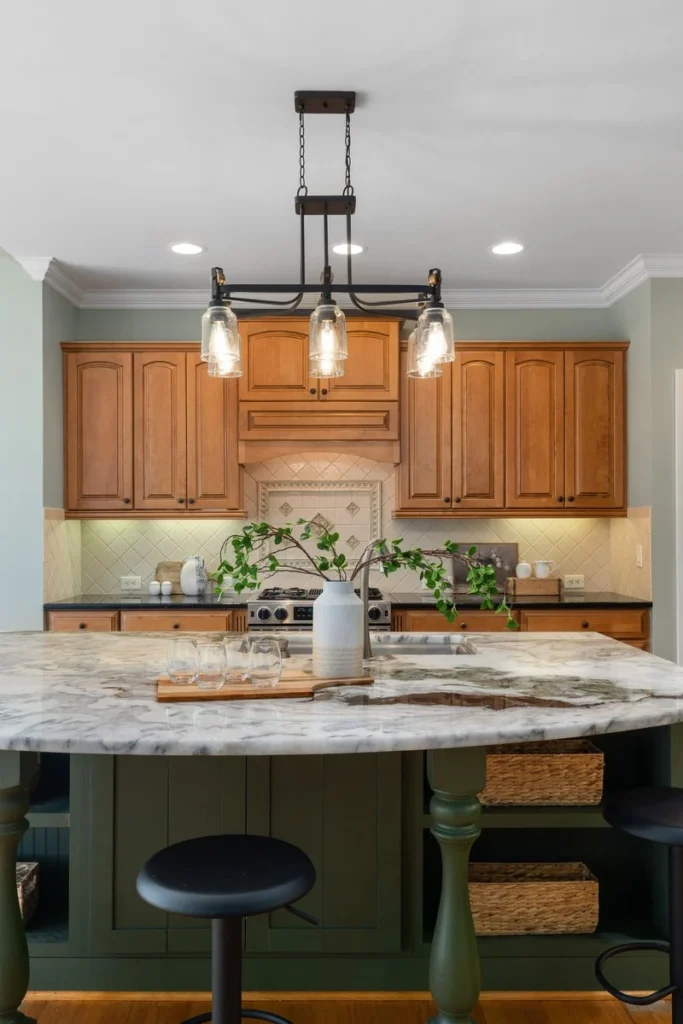
Pendant lights do more than light an island. They mark its edges, so the room reads the island as a place rather than a block in the middle of the floor. Two or three pendants, hung at the same height and spaced evenly, draw the eye along the island’s length and make the whole kitchen feel finished, even when the surface below is covered in lunchboxes.
Hang them high enough to see under, roughly 30 to 36 inches above the counter, and low enough that the light pools on the surface instead of glaring into eyes. Warm bulbs matter more than fancy shades, because island light is evening light, used for homework and conversation as much as cooking.
10. A Wood Top That Can Take a Beating
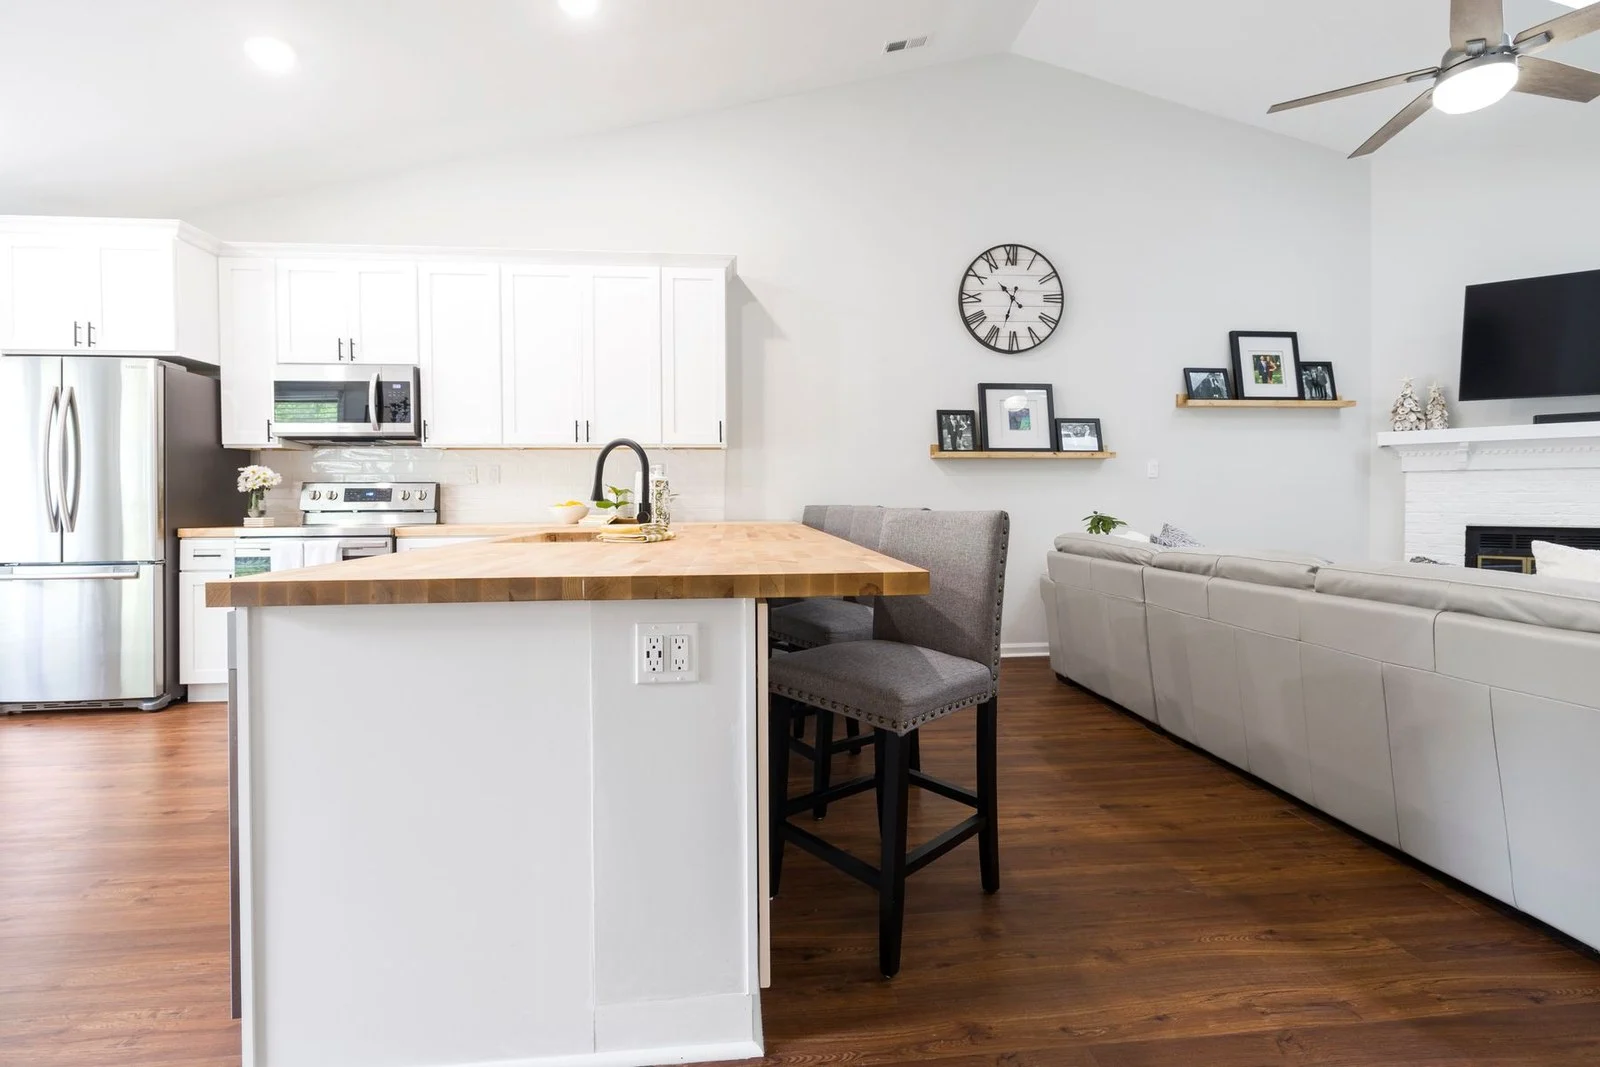
Photo: @curtis-adams-1694007 via Pexels
Marble looks wonderful and stains if you look at it wrong. A wood-topped island, or a thick butcher-block section on one end, is the honest choice for a kitchen where people actually cook. It takes knife marks, hot pans and homework with grace, and a quick sand and oil once or twice a year brings it back. Scratches on wood read as use. Scratches on stone read as damage.
You do not need to replace the whole island top. A large chopping board left permanently on one end gives you most of the benefit: a forgiving surface for prep, and a warm patch of wood that softens a room full of hard cabinets.
11. A Drawer for the Tools You Grab Daily
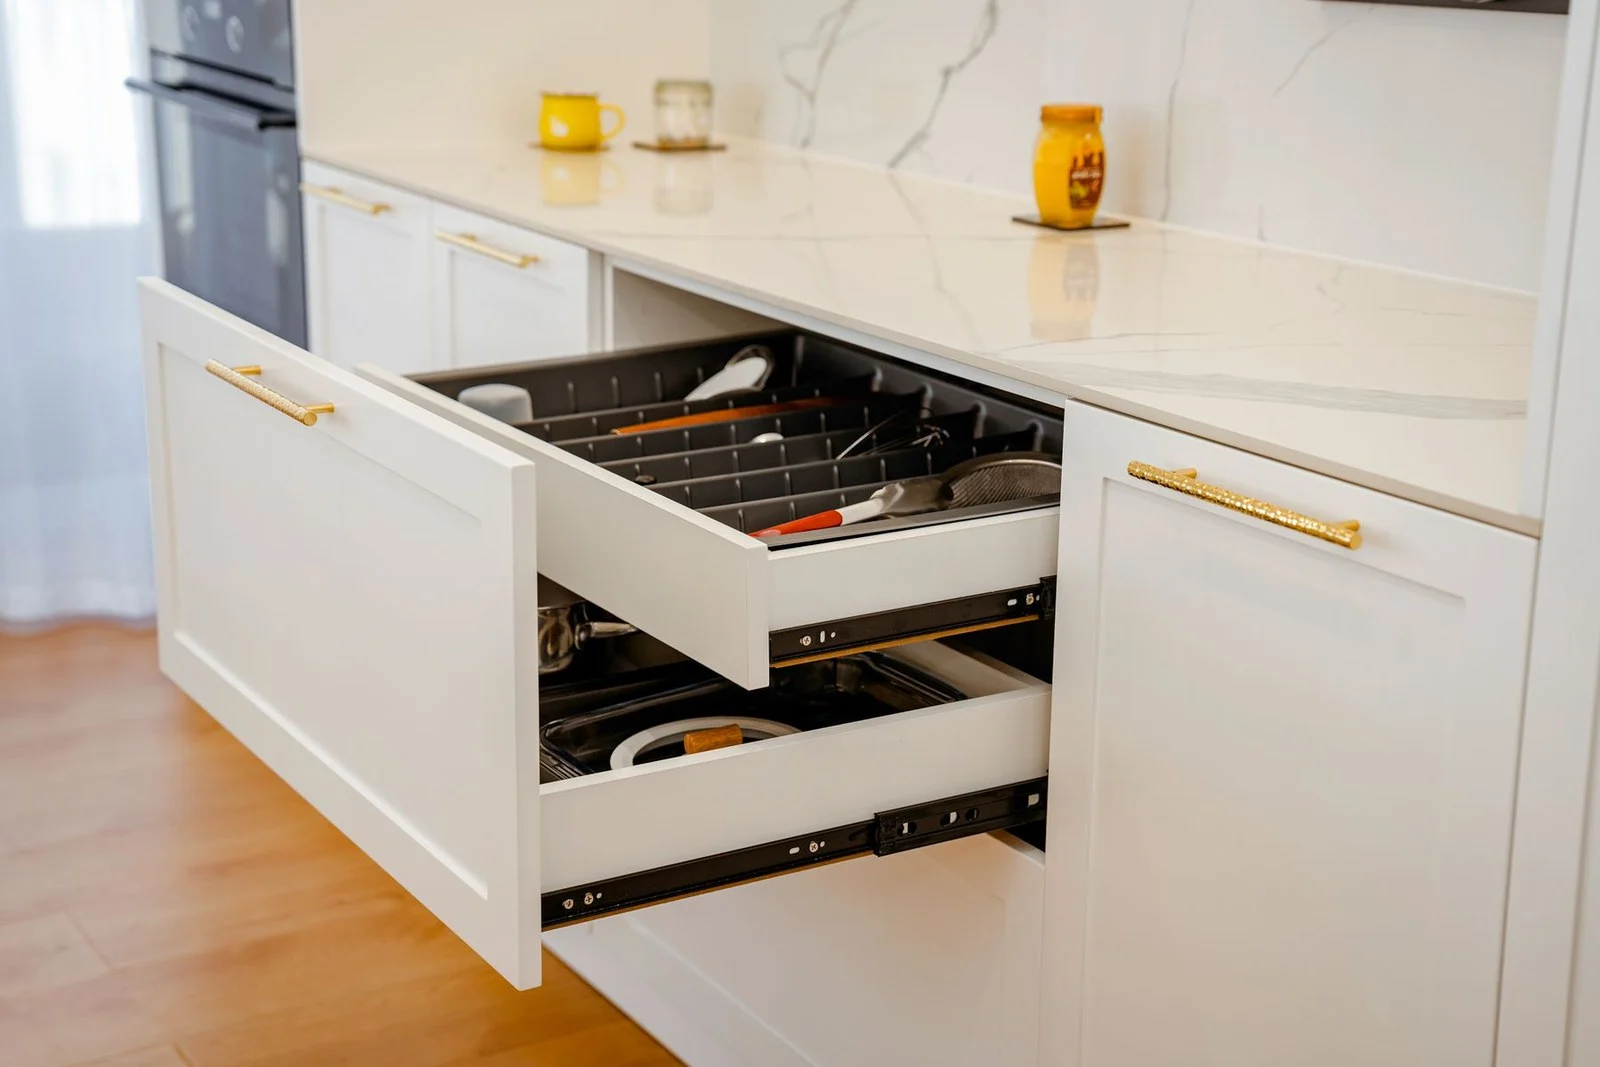
Photo: Bilguun Gantumur via Pexels
Islands usually hide the most useful drawer in the kitchen, and it gets wasted on batteries and takeaway menus. Claim one island drawer for the tools you grab every day: the peeler, the scissors, the tin opener, the measuring spoons. A simple divider or a cutlery tray keeps them from sliding into a pile, and the drawer becomes the first place you reach instead of the last.
Keep the drawer shallow and near the prep end, not the seating end, so the cook reaches it without walking around a seated diner. One drawer, one job.
12. A Snack Station Kids Can Serve Themselves From

Photo: @cottonbro via Pexels
Kids ask for snacks constantly, and an island snack station they can use themselves ends the interruptions. A low basket or a small section of the island end, stocked with the snacks they are allowed to take without asking, gives them independence and gives you back the afternoon. The photo shows a child reaching for a jar at home, which is exactly the moment this idea is built for.
Keep the station at their height and the rules simple: what is in the basket is fair game, everything else needs asking. Refill it when you unpack the shopping, not when it is already empty and somebody is hungry.
13. Herbs in Pots at the Window End
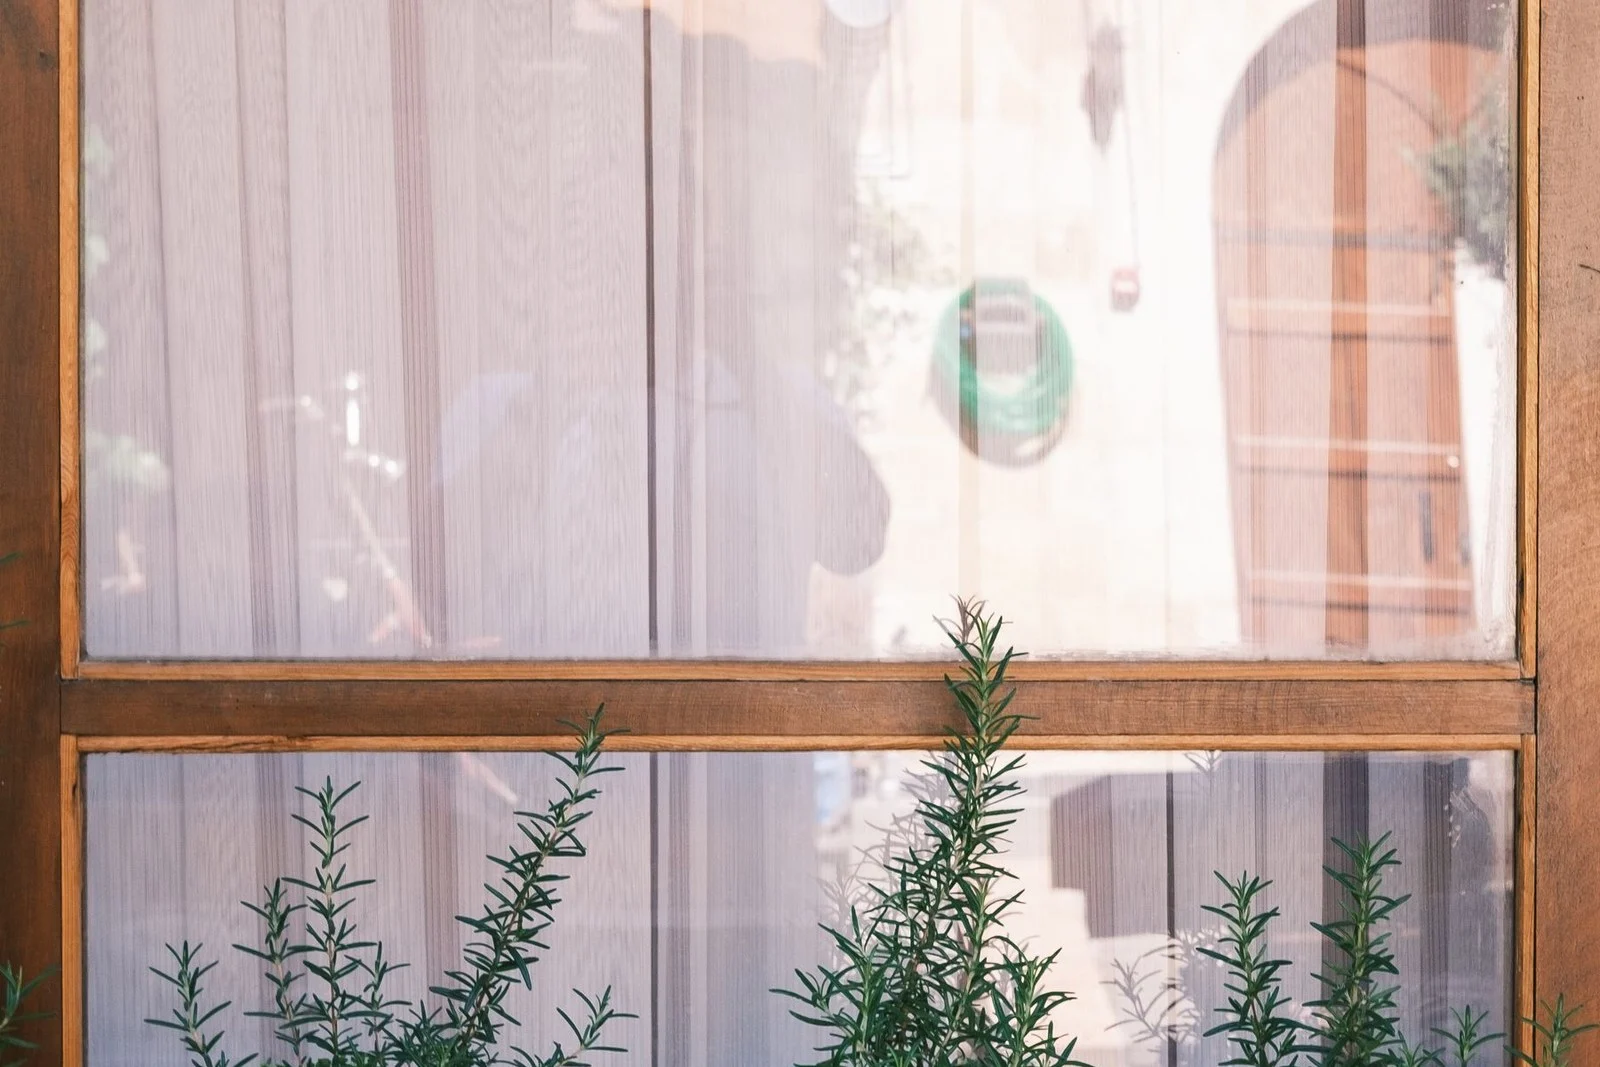
Photo: @monurblc via Pexels
A few pots of herbs at the island’s window end do three jobs at once: they smell good, they get used in cooking, and they soften the hardest surface in the room. Basil, rosemary and mint survive on a sunny sill with little attention, and snipping fresh herbs into dinner feels like a small luxury that costs almost nothing. Start with two pots, not ten, and add more only when the first two are still alive in a month.
Put the pots on a tray so watering does not stain the island top, and keep them at the end nearest the light rather than the middle of the prep zone, where they get knocked over.
14. A Two-Minute Kitchen Island Decor Centerpiece You Can Move

Photo: Sami Aksu via Pexels
An island centerpiece should take two minutes to set out and five seconds to move. A single vase with fresh flowers, a bowl of seasonal fruit, or a candle on a small tray all qualify, because when dinner prep starts, the centerpiece lifts off in one motion and the whole island is free. The centerpieces that fail are the ones glued to the spot: heavy trays, sprawling arrangements, anything that needs two hands and a plan to shift.
And when guests come, the centerpiece earns its keep twice: it makes the island look cared for, and it moves out of the way without a fuss when the food arrives. For a room that also hosts the holidays, our small dining room hosting guide uses the same movable-centerpiece logic on the table.
15. The Wipe-Down That Keeps It All Working
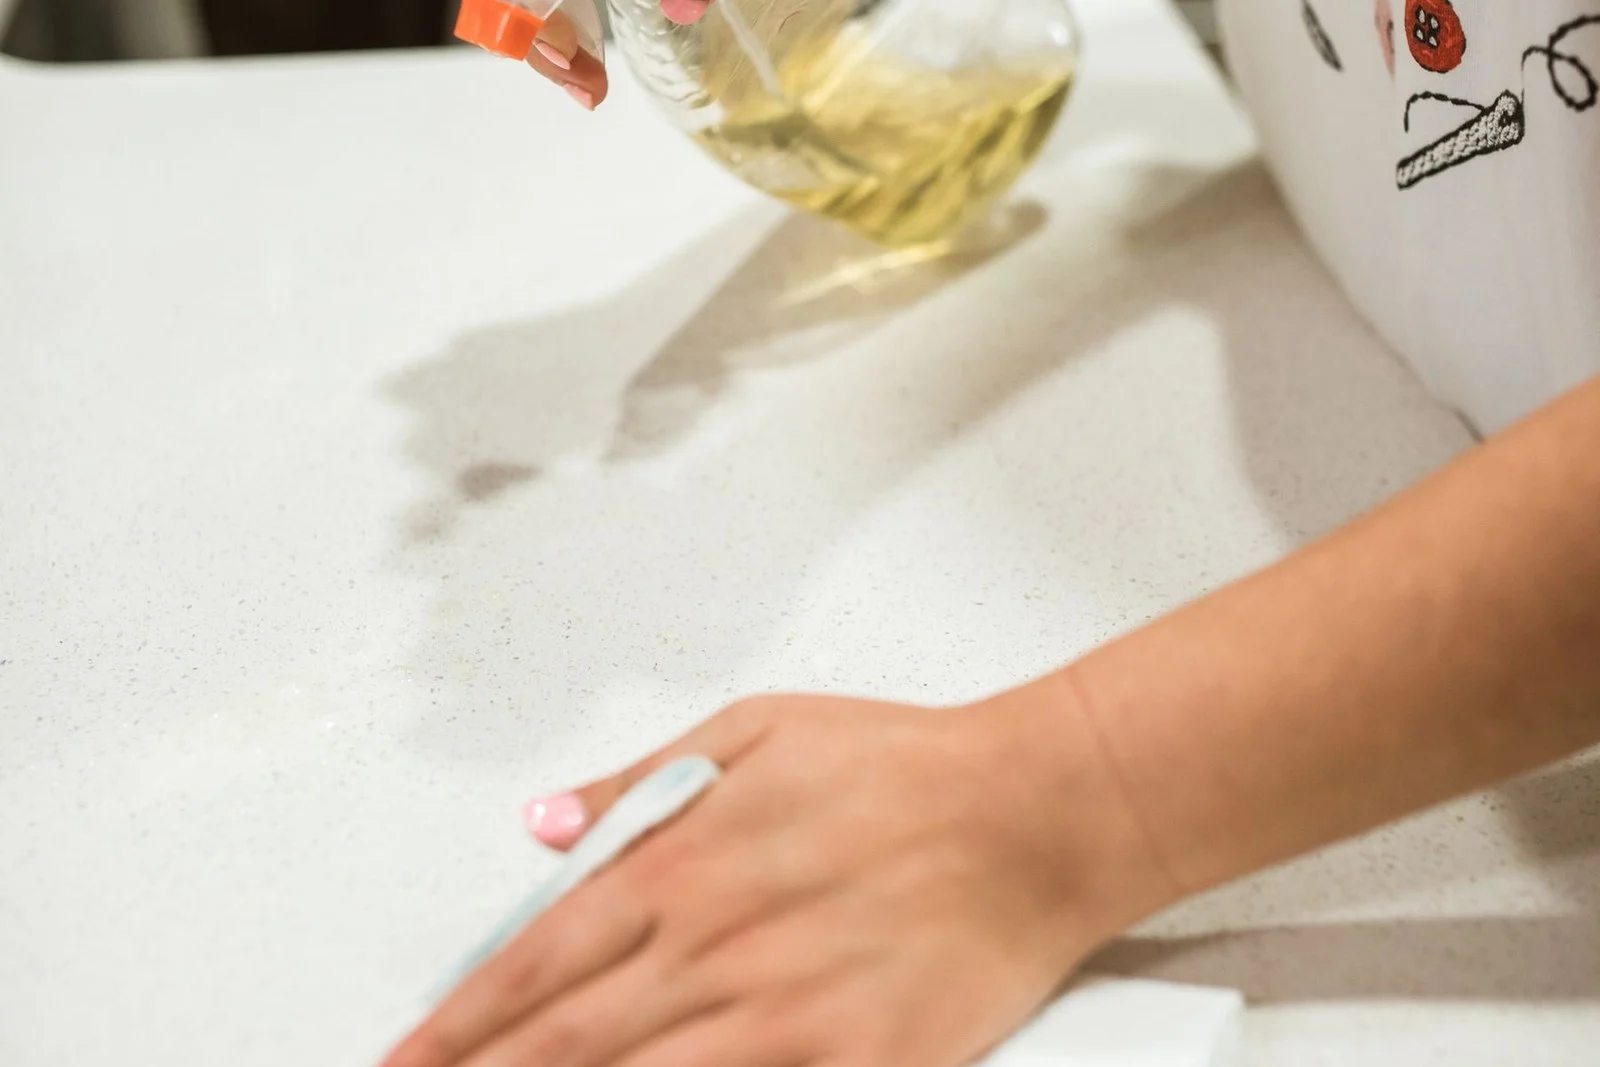
Photo: @rdne via Pexels
No island idea survives without the last one, which is not decor at all. It is a cloth, kept on the island itself, and a habit: wipe the surface when cooking ends, before the mess sets. Thirty seconds with a damp cloth beats ten minutes of scrubbing dried sauce later, and a clean island invites the next person to keep it clean, while a stained one invites the next pile.
An island that gets wiped daily stays the room’s best surface for years, whatever it is made of. That is the real secret of kitchen island decor. It is not the tray or the pendants or the vase. It is a surface that is easy to clear, easy to clean, and easy to love using, day after day.
Frequently Asked Questions
How much space do I need around a kitchen island?
Leave about 42 inches in work aisles where you cook and at least 36 inches on walkway-only sides, following NKBA guidance.
What size island works in a small kitchen?
An island as small as 4 feet long and 2 feet deep can work for prep and seating for two, as long as the aisles around it stay clear. If the aisles drop below 36 inches, skip the fixed island and use a rolling cart instead, which gives you the surface without blocking the room.
How do I keep my kitchen island from becoming a dumping ground?
Give the daily pile one tray with edges, and empty it every evening. Keep work zones and seating zones at opposite ends, and put a cloth on the island itself so the wipe-down takes thirty seconds. Systems that ask for less effort get used more often.
Are backless stools comfortable for a kitchen island?
For short sits like breakfast and homework, yes, and they tuck fully under the counter, which keeps walkways clear.
Start with the tray, the stools and the wipe-down. Those three cost little, change how the island feels within a day, and make every prettier idea after them easier to keep. A real-life kitchen island is not a showroom, and that is exactly why it deserves to be decorated well: it is the hardest-working surface in the house.