


Open shelves are honest. There is nowhere to hide a chipped mug or a stack of bowls you stopped liking years ago, which is exactly why they reward a little spring attention. Good spring shelf styling is not about buying a whole new set of dishes. It is about clearing the clutter, keeping the pieces you actually reach for, and adding a few light, fresh touches that make the whole wall feel like the season changed. I restyle my kitchen shelves every March, and it takes less than an afternoon. The goal is never perfection; it is a shelf you enjoy looking at while you wait for the kettle, with the things you use most within easy reach. Here are nine ideas that work, in the order I would do them.
1. Start by Taking Everything Off
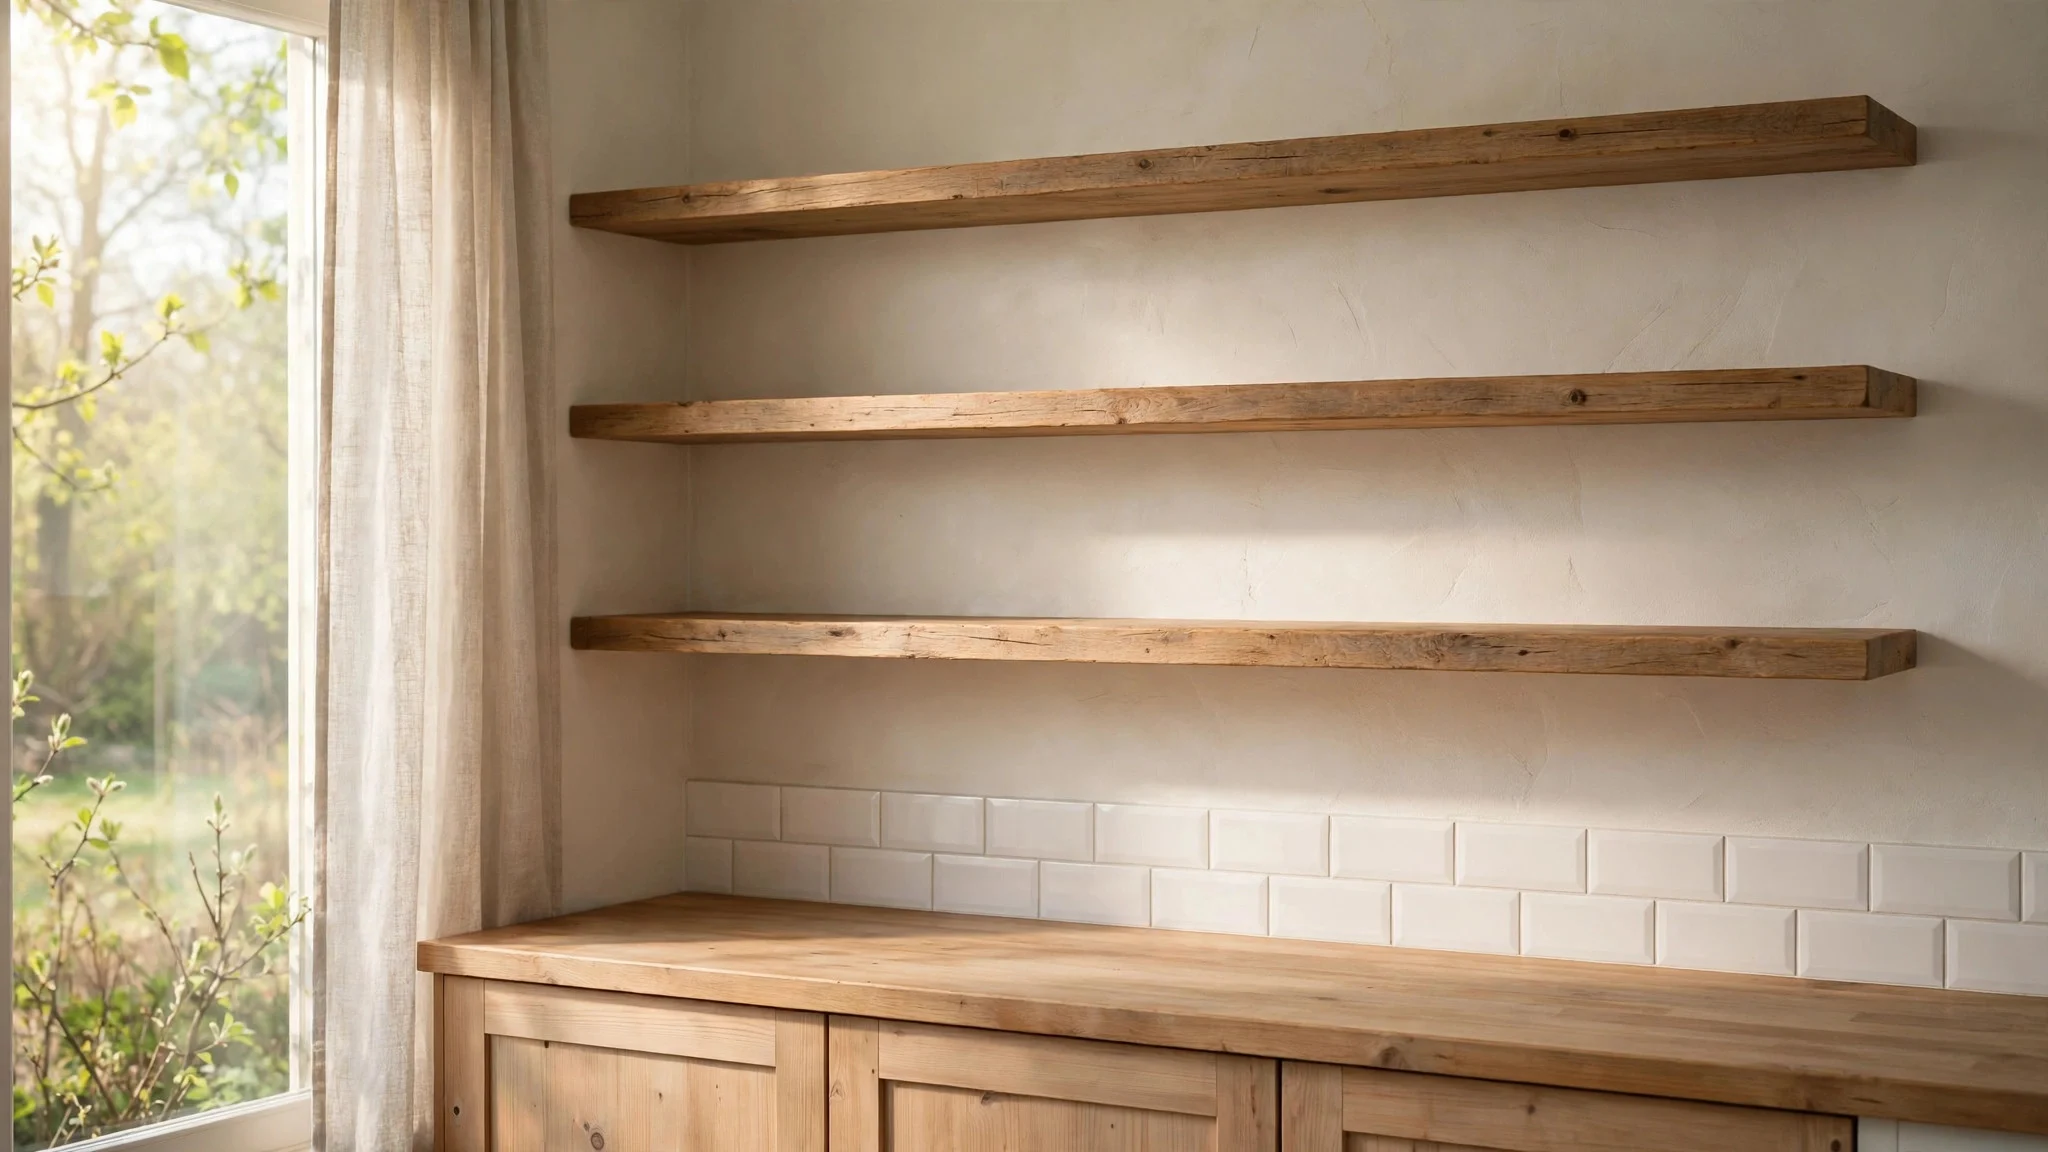
Take every single thing off the shelves before you style anything. Wipe the boards down, check for sticky rings and dust along the back edge, and look at the bare wood for a minute. An empty shelf tells you things a full one cannot: which shelf sits at eye level, where the light falls, and how much space you really have. I once skipped this step and just shuffled things around, and the result looked exactly like shuffling. Starting empty feels slower, but it is the reason the rest of this list works. Put back only what earns its place.
2. Anchor Each Shelf With One Larger Piece
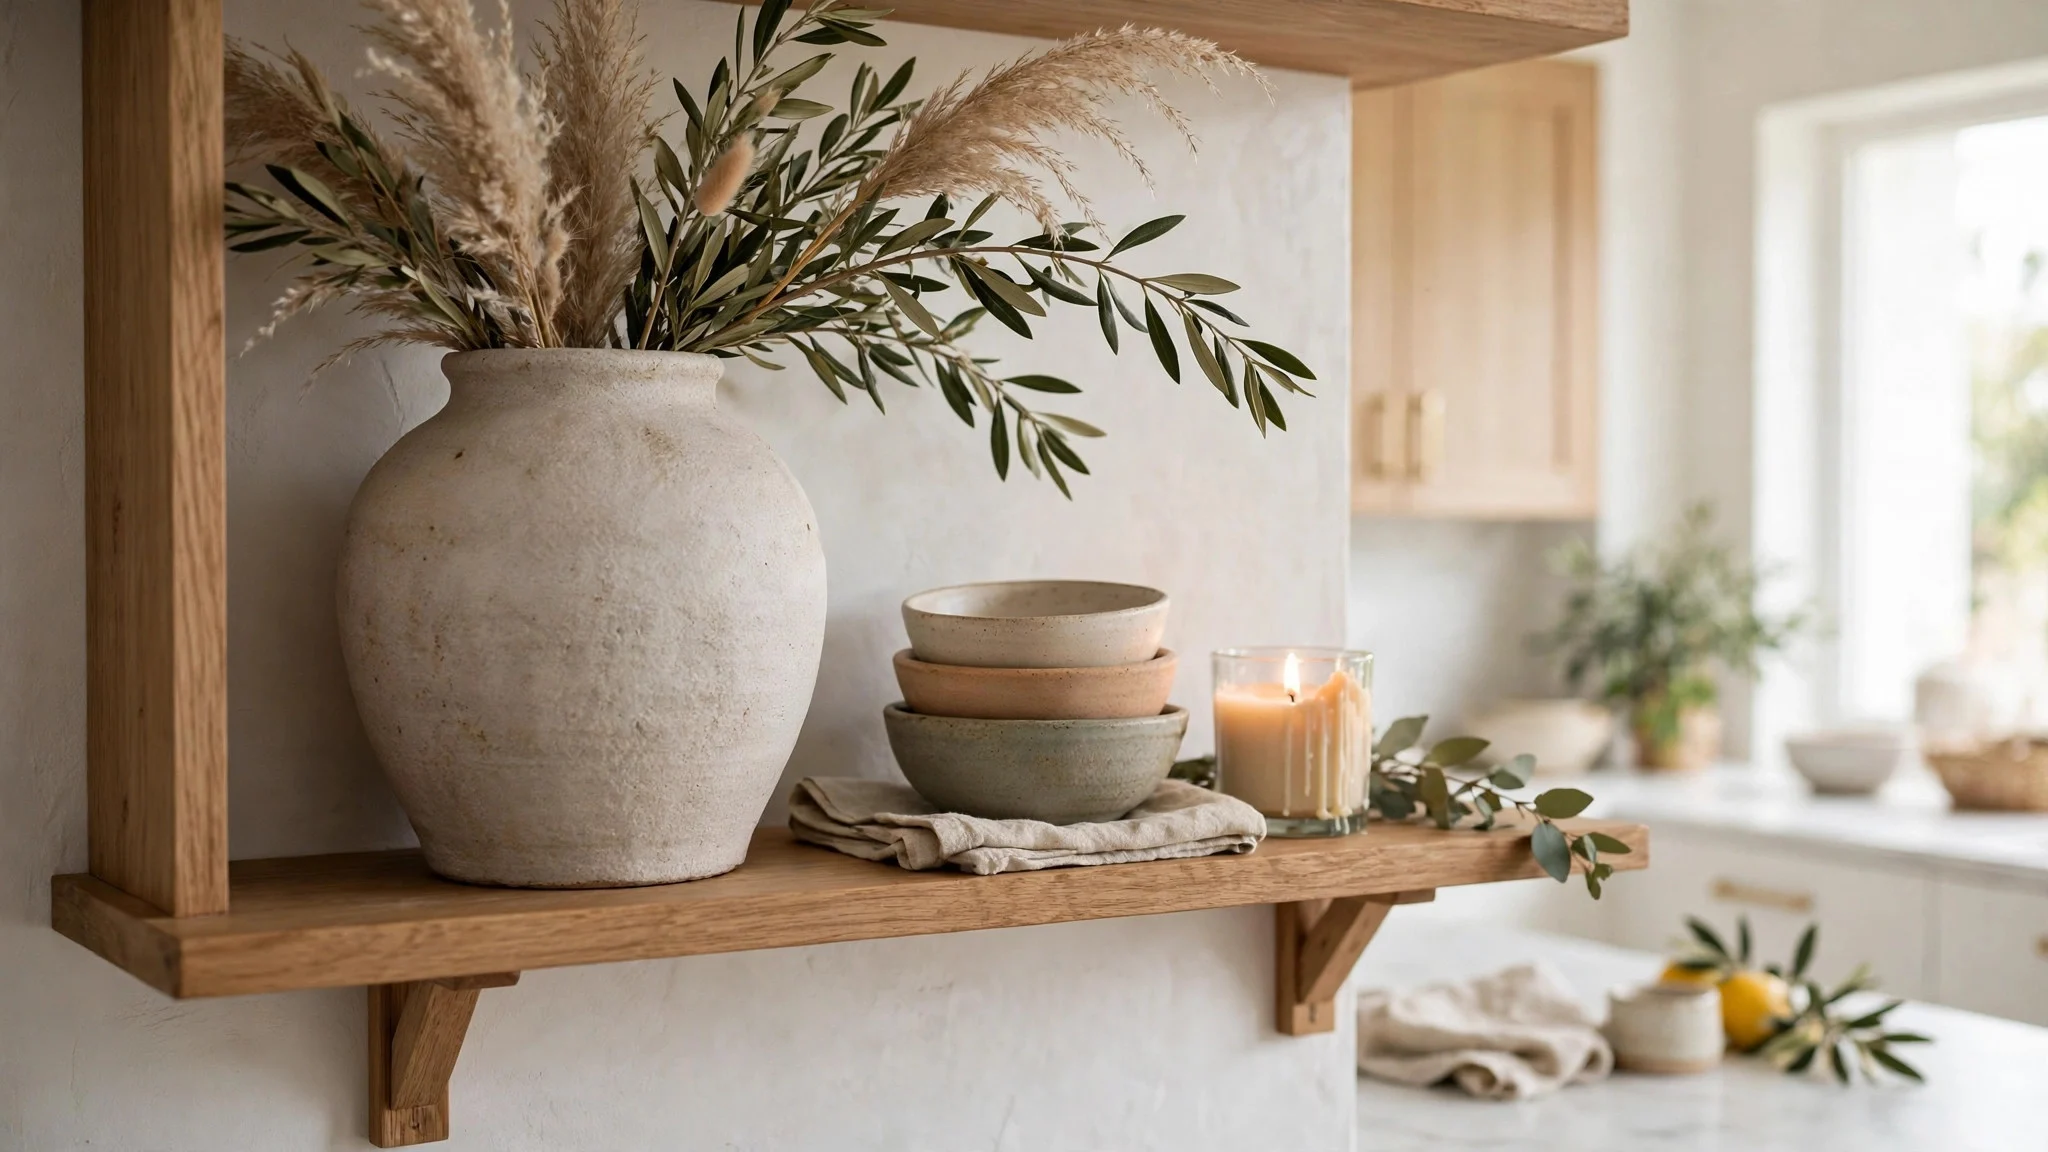
Every shelf needs one piece that anchors it, something tall enough to catch the eye first. A large vase, a stack of oversized bowls, a leaning cutting board, or a tall pitcher all do the job. Place the anchor slightly off-centre rather than dead in the middle, because a centred anchor makes the shelf look like a shop display. Then build smaller pieces around it, stepping down in height as you move away. If the anchor is a vase, tuck a small stack of bowls beside it and a candle on the other side. This one habit alone will make a shelf that previously looked like random storage suddenly look deliberate, and it costs nothing at all.
3. Stack White Ceramics for an Instant Lift
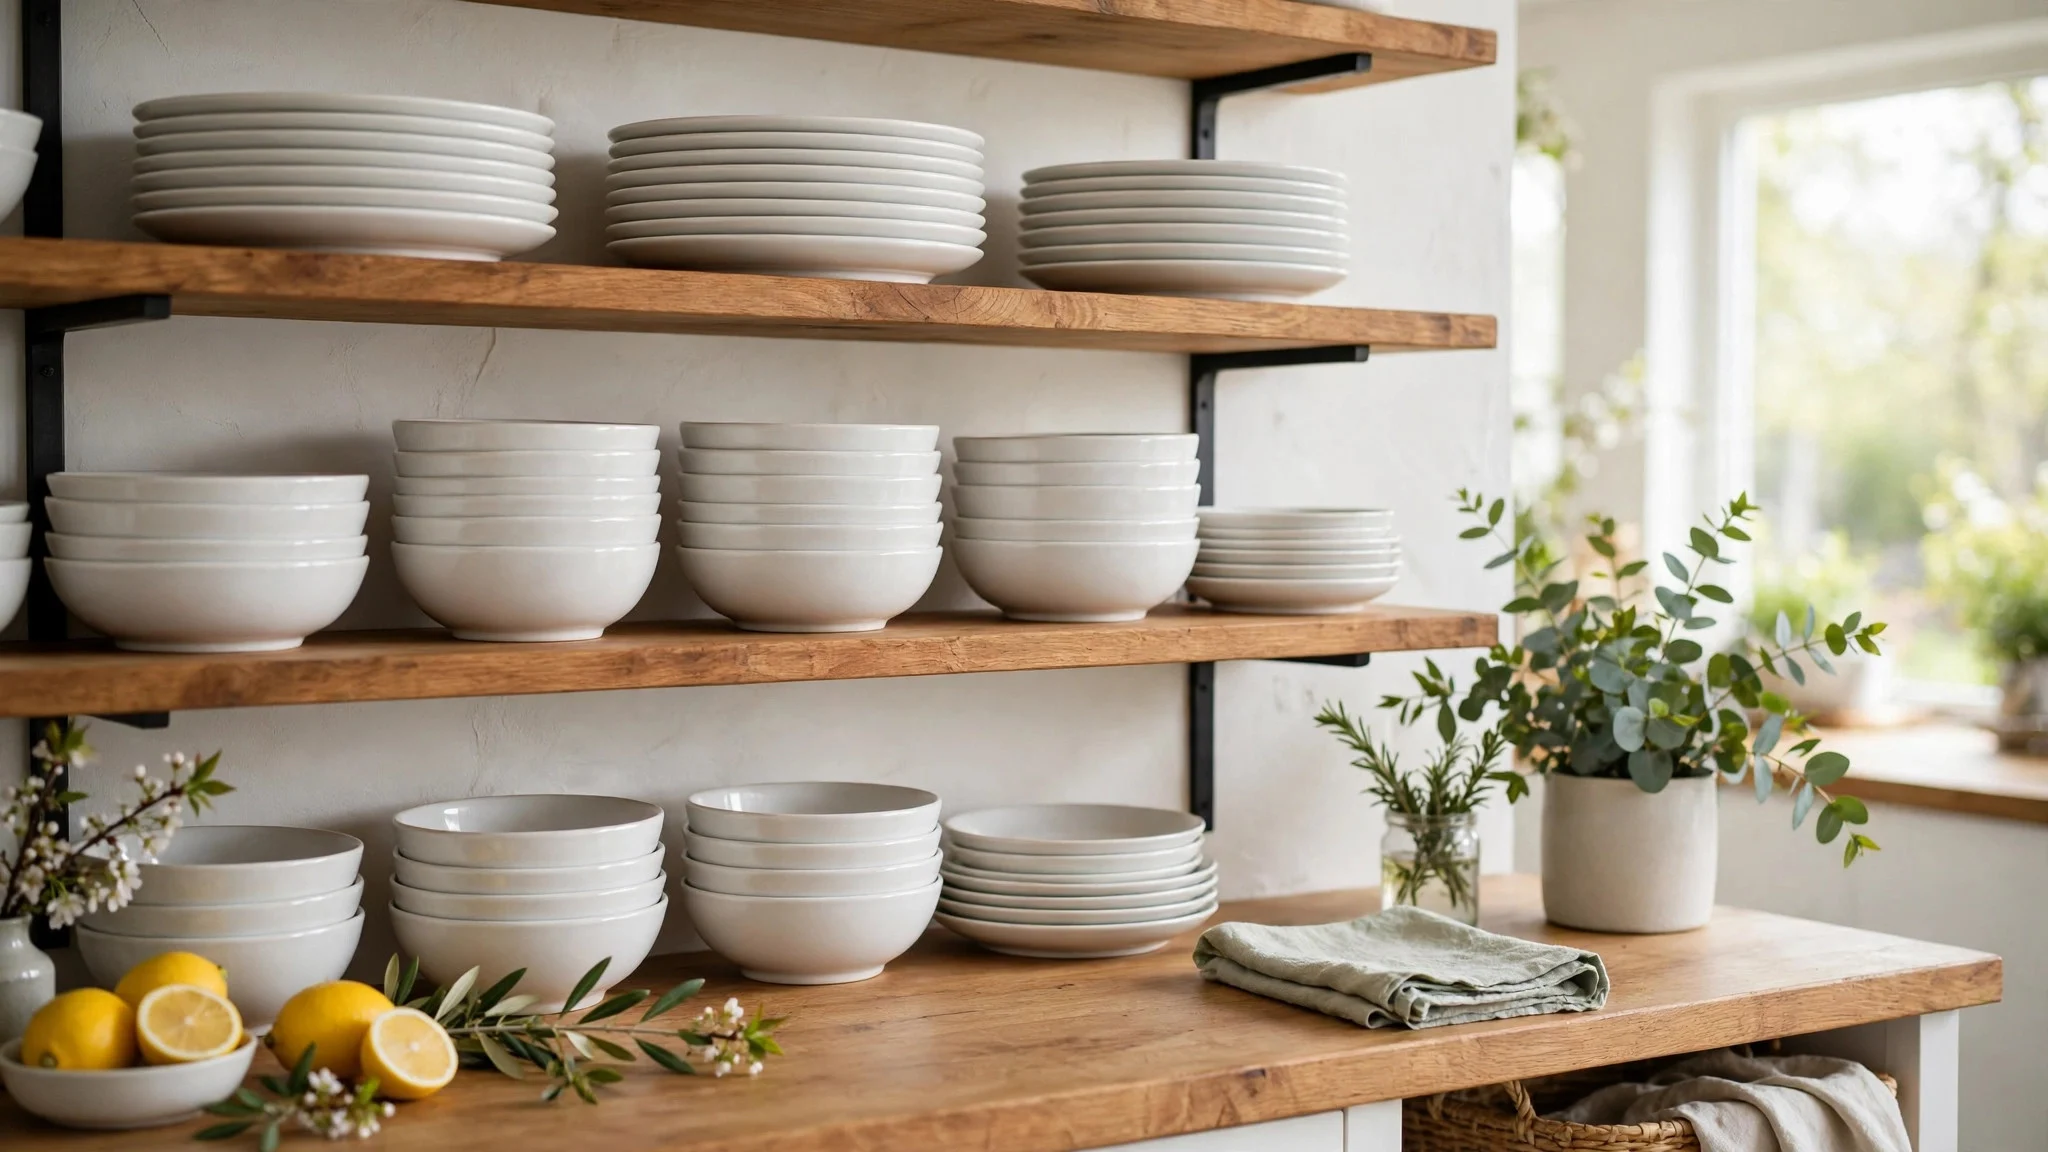
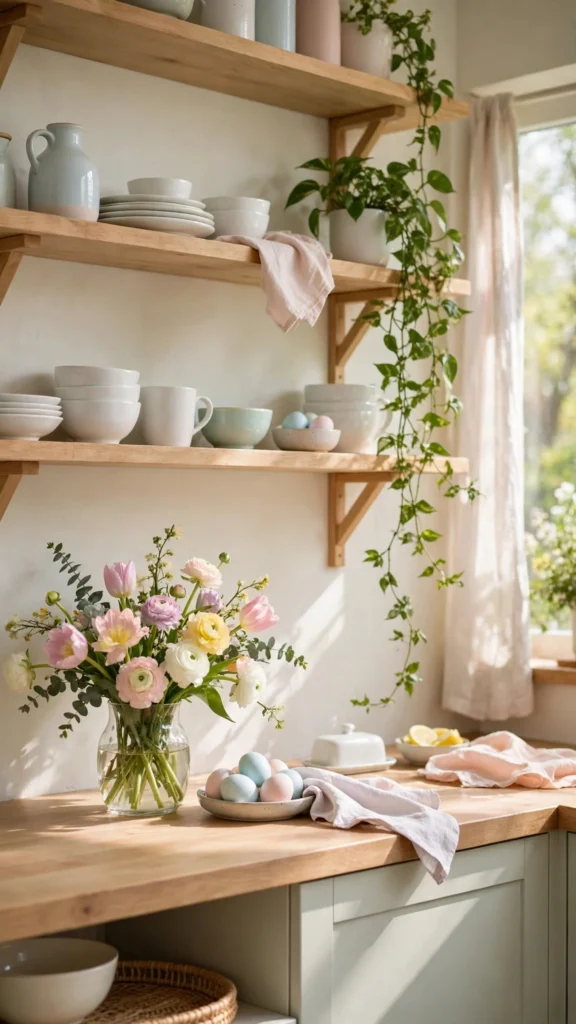
White ceramics are the easiest spring reset there is. Stack bowls in groups of three or four, line plates up on their edges in a row, and let the white do the brightening for you. If your everyday dishes are patterned or dark, do not worry — mix one stack of white bowls in among them and the whole shelf lightens. I keep a set of plain white bowls specifically for this; they cost very little, they go with everything, and they make the shelf read as fresh even when the rest of the kitchen is still in winter mode.
4. Add a Trailing Plant at the End of a Shelf
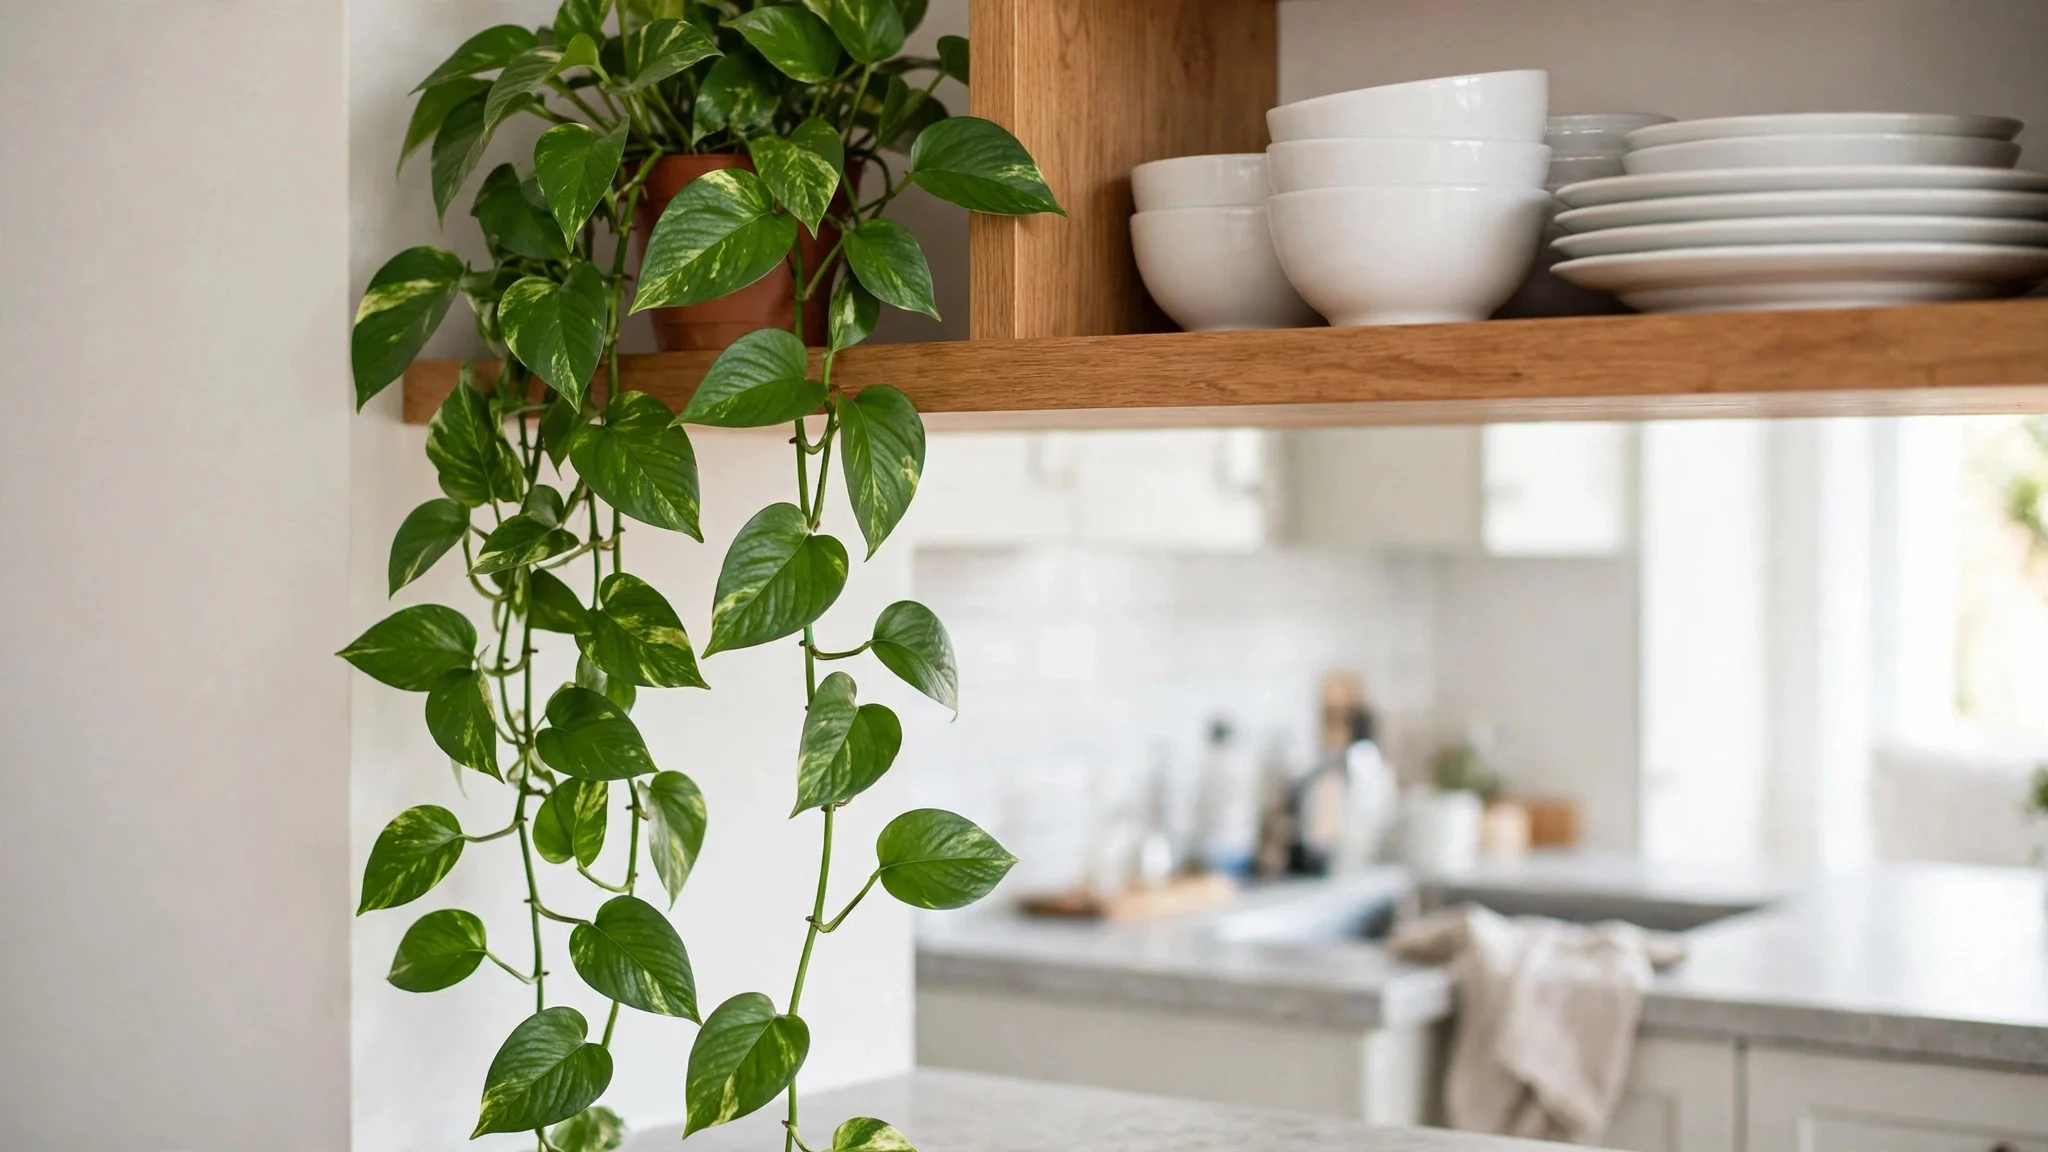
A trailing plant softens the hard lines of shelves like nothing else. Pothos is my first choice because it forgives missed watering and low light, and its leaves trail down beautifully within a few months. Set the pot at the end of a shelf, not in the middle, so the vines can hang without draping over your dishes. If you have no natural light near the shelves, a good faux trailing plant works just as well from two steps back. Check the pot itself too: a plain terracotta or cream pot looks far better than a plastic nursery pot, and it costs almost nothing to swap. The green breaks up rows of ceramics and tells the eye, instantly, that spring has arrived.
5. Mix Wood, Glass, and Ceramic Textures
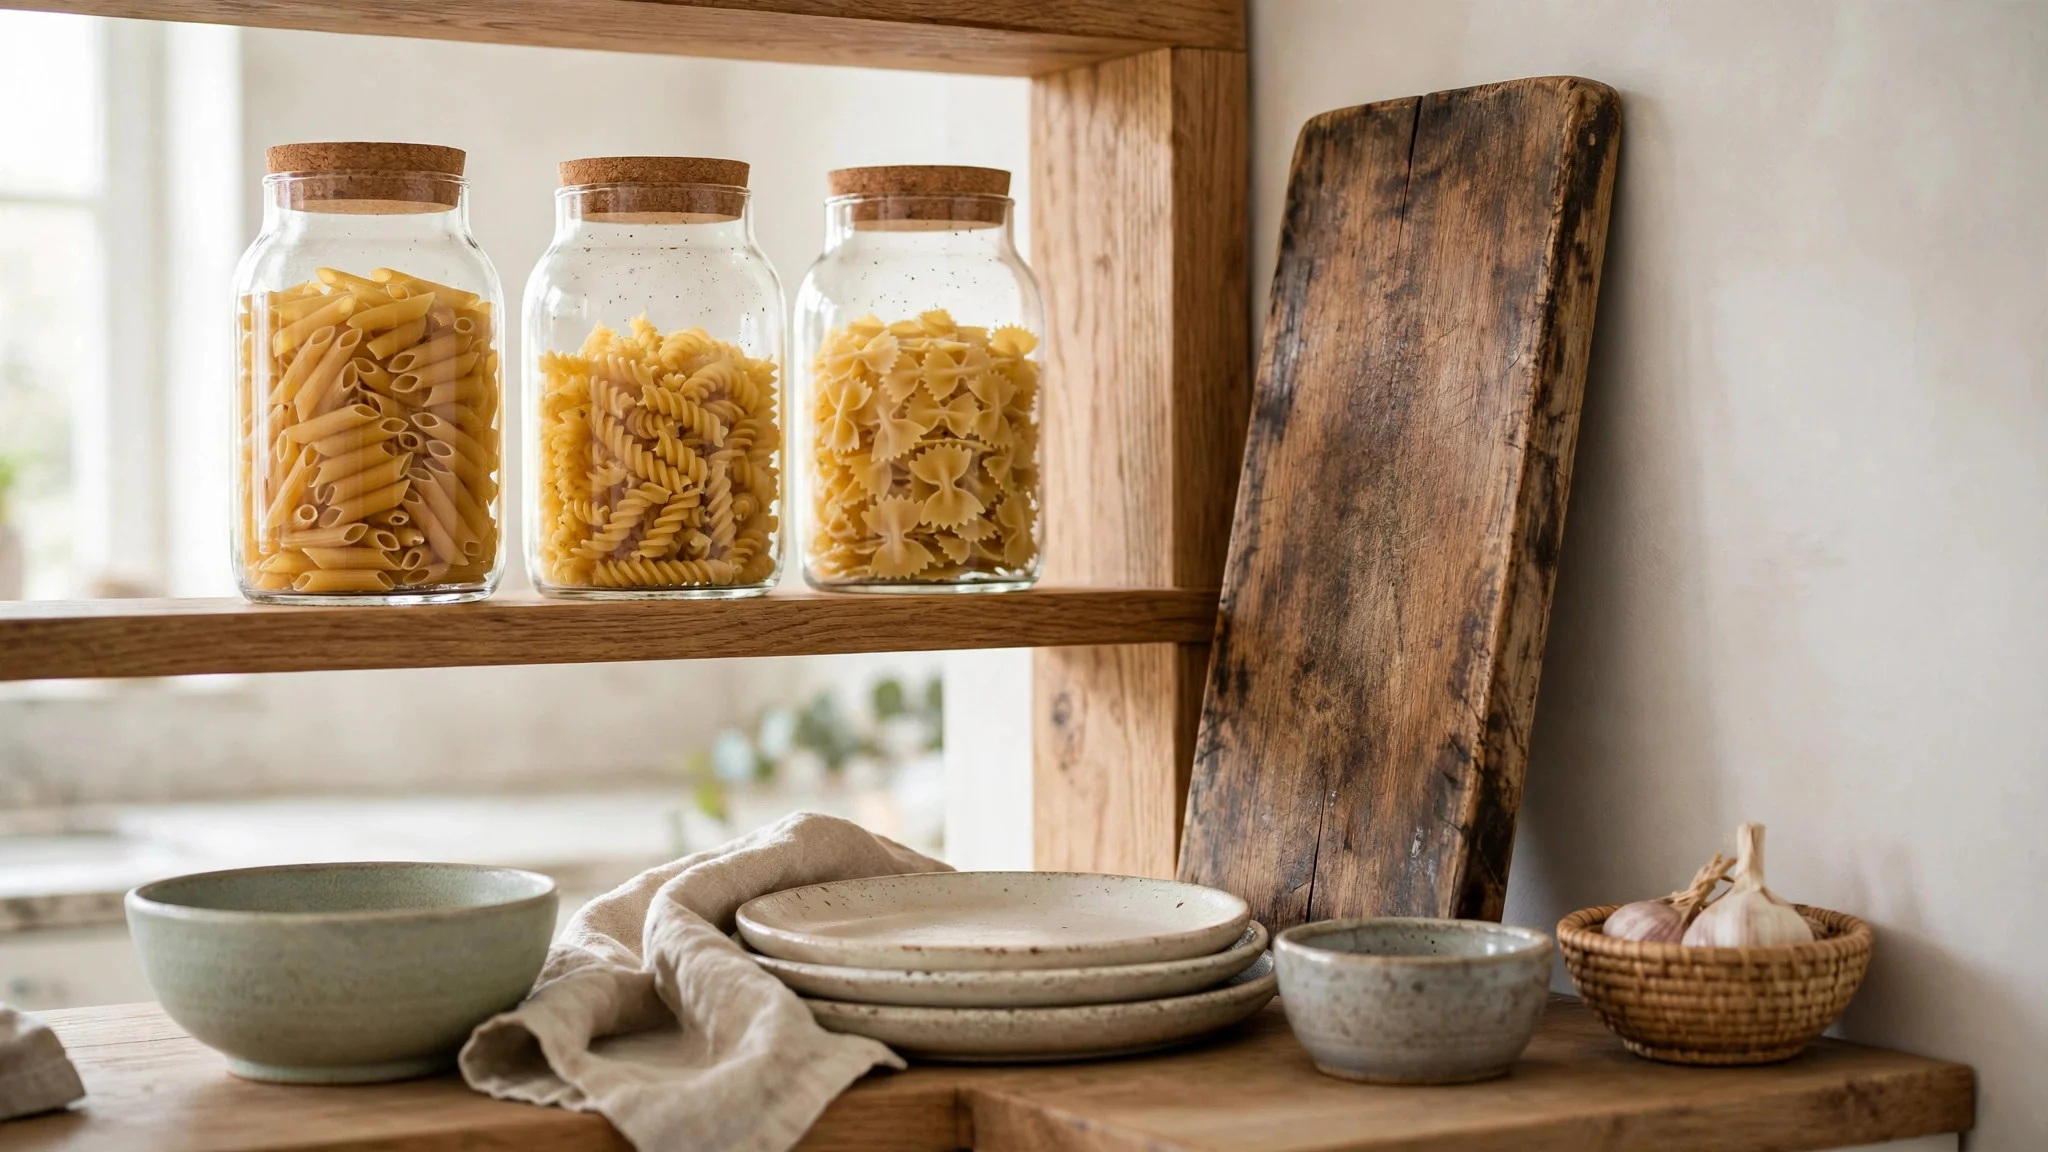
A shelf of only ceramics looks flat, however pretty the pieces are. Add a wooden cutting board leaning against the wall, a couple of glass jars filled with pasta or oats, and a small ceramic jug, and suddenly the shelf has depth. The trick is contrast: matte next to glossy, rough wood next to smooth glass. I learned this by accident when I ran out of matching dishes and filled the gap with a wooden board — it became the best-looking shelf in the kitchen. Keep the palette calm so the textures, not the colours, do the talking.
6. Group Small Pieces in Threes
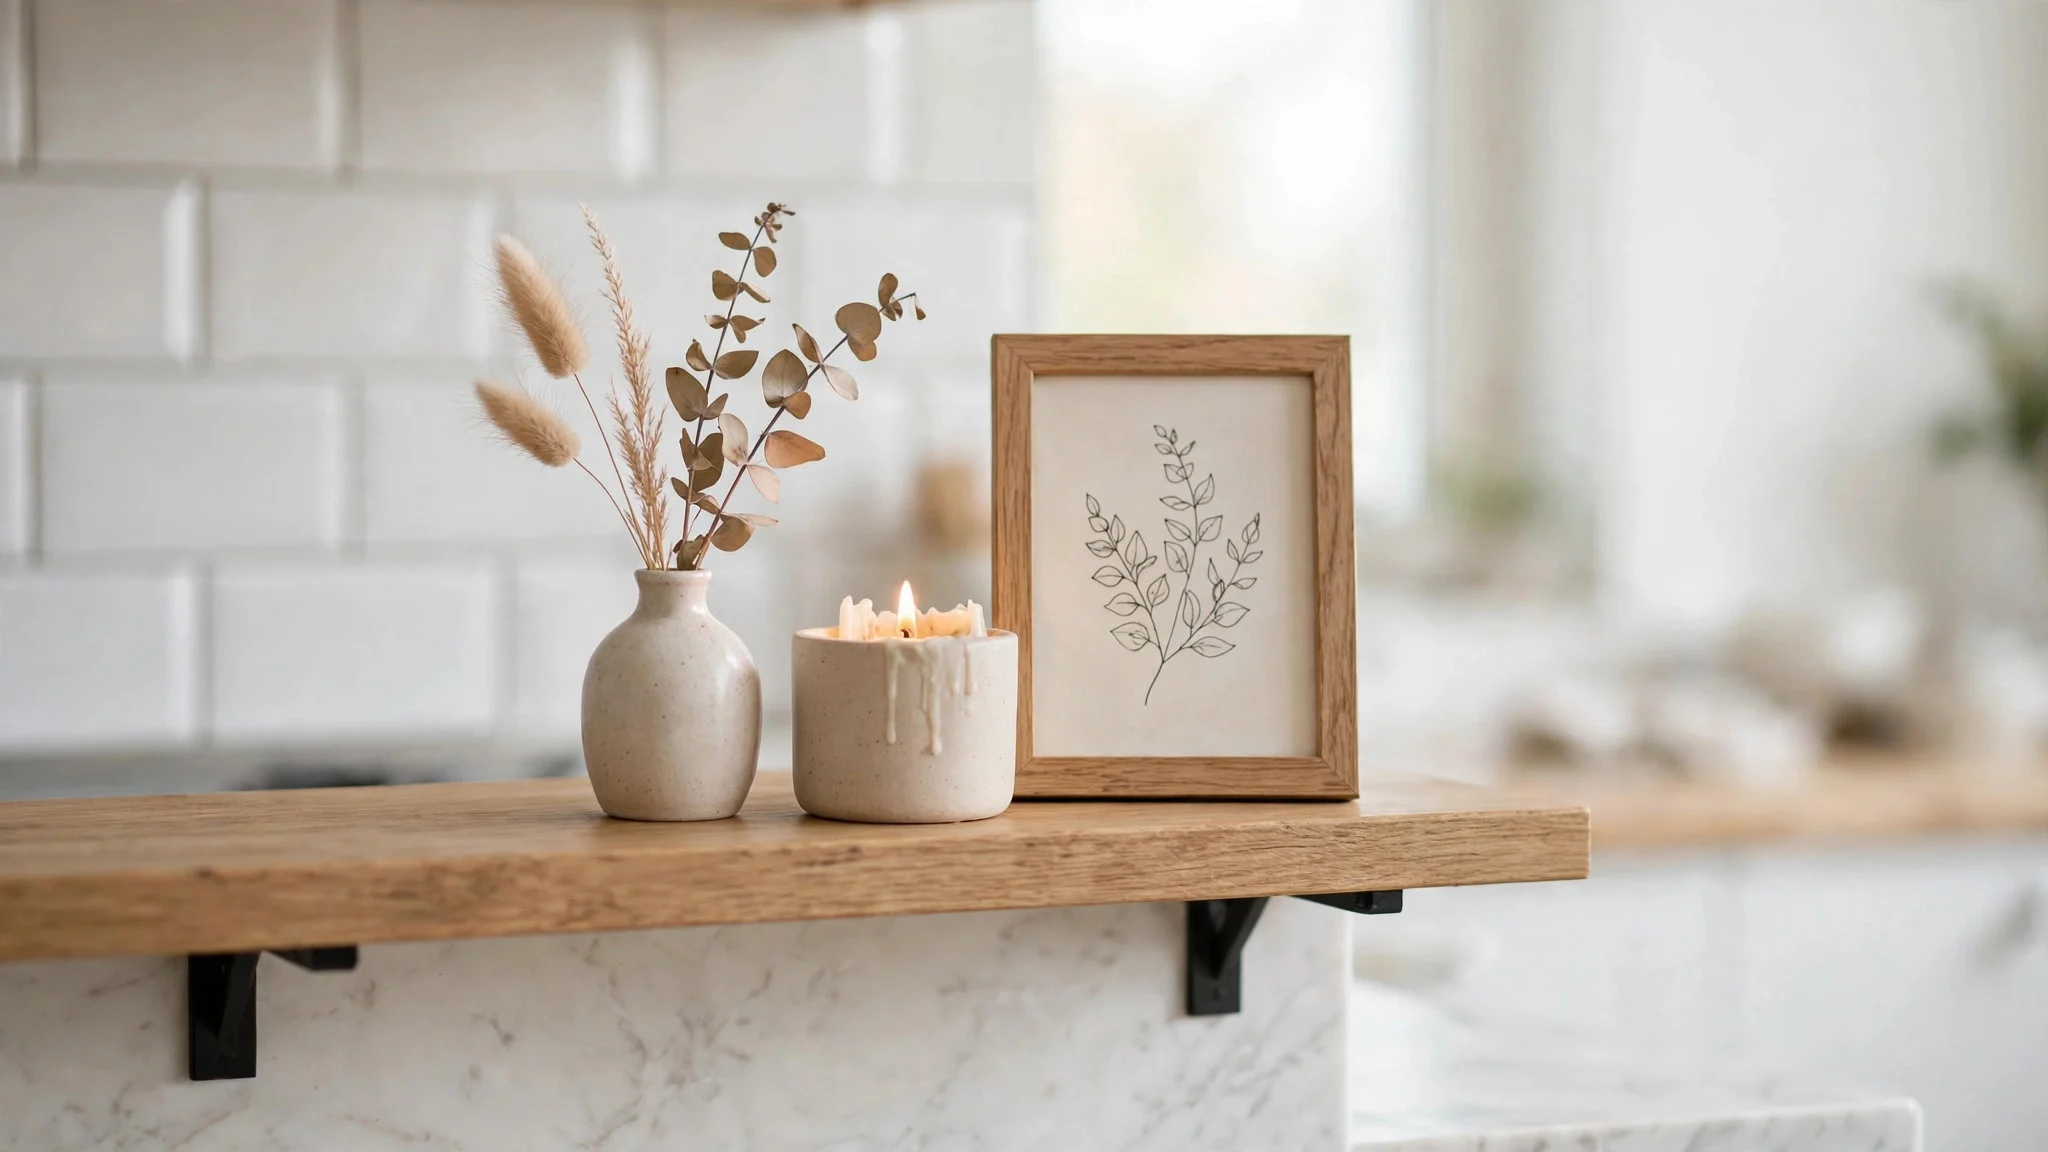
Small things scattered one by one across a shelf look like clutter. Grouped in threes, the same pieces look like a collection. Try a small vase, a candle, and a tiny framed print together, or three jars of different heights. Vary the heights within the group so the eye moves across it instead of stopping dead. A tall, a medium, and a low piece together make a natural triangle shape, which is pleasing without looking arranged. Leave a little breathing room between one group and the next; groups need space around them to read as groups. This is the styling move I use most often, and it works on bookcases and bathroom shelves too.
7. Leave One Shelf Mostly Empty
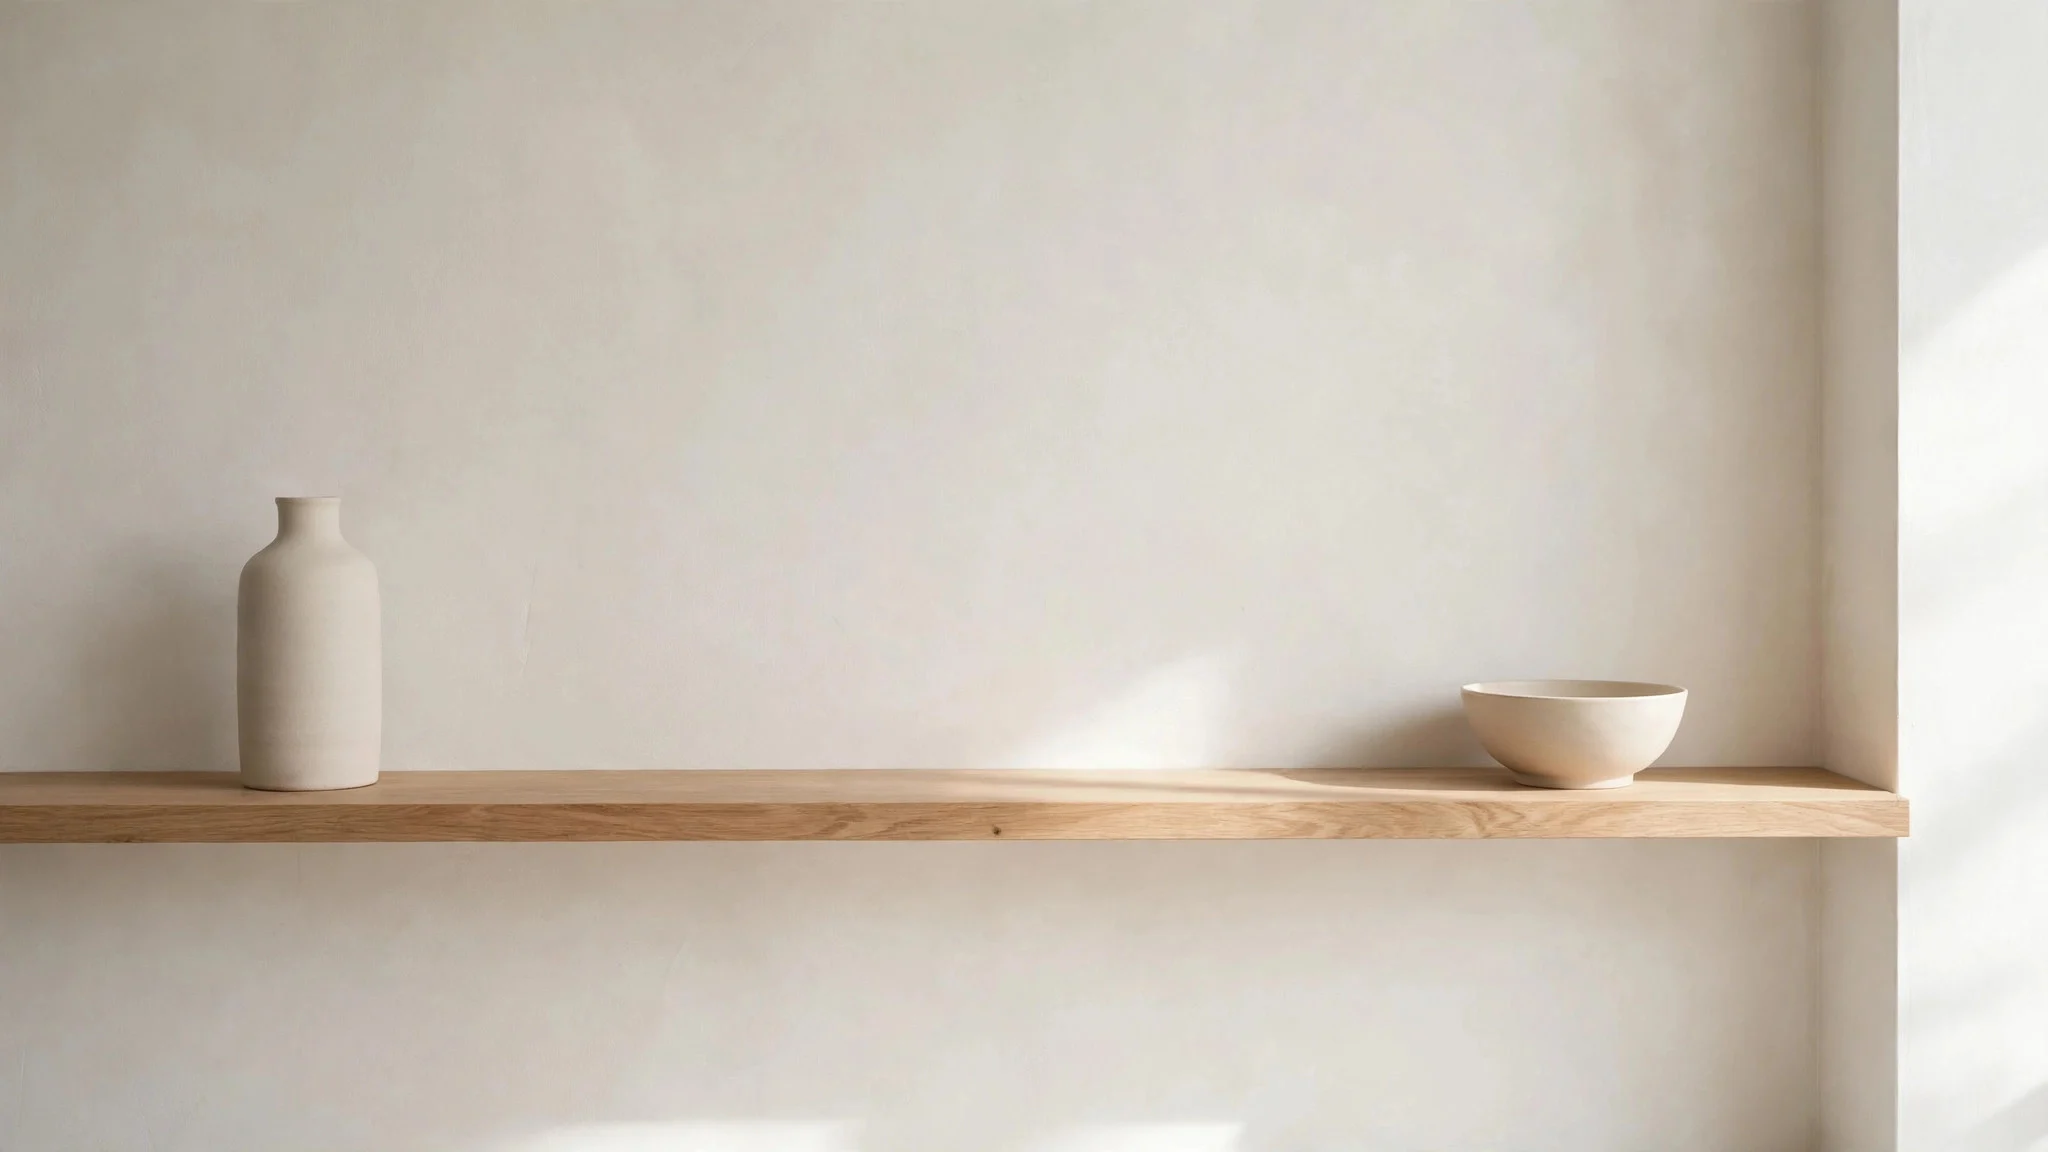
This one feels wrong the first time you do it, and that is exactly why it works. Choose one shelf — ideally the highest one — and put just two or three pieces on it, leaving the rest bare. Negative space gives the whole wall a chance to breathe, and it makes the styled shelves beside it look more intentional by contrast. A shelf crammed edge to edge reads as storage. A shelf with room reads as design. When I finally tried this, my kitchen felt bigger without moving a single wall.
8. Swap in Pastel and Spring Colour
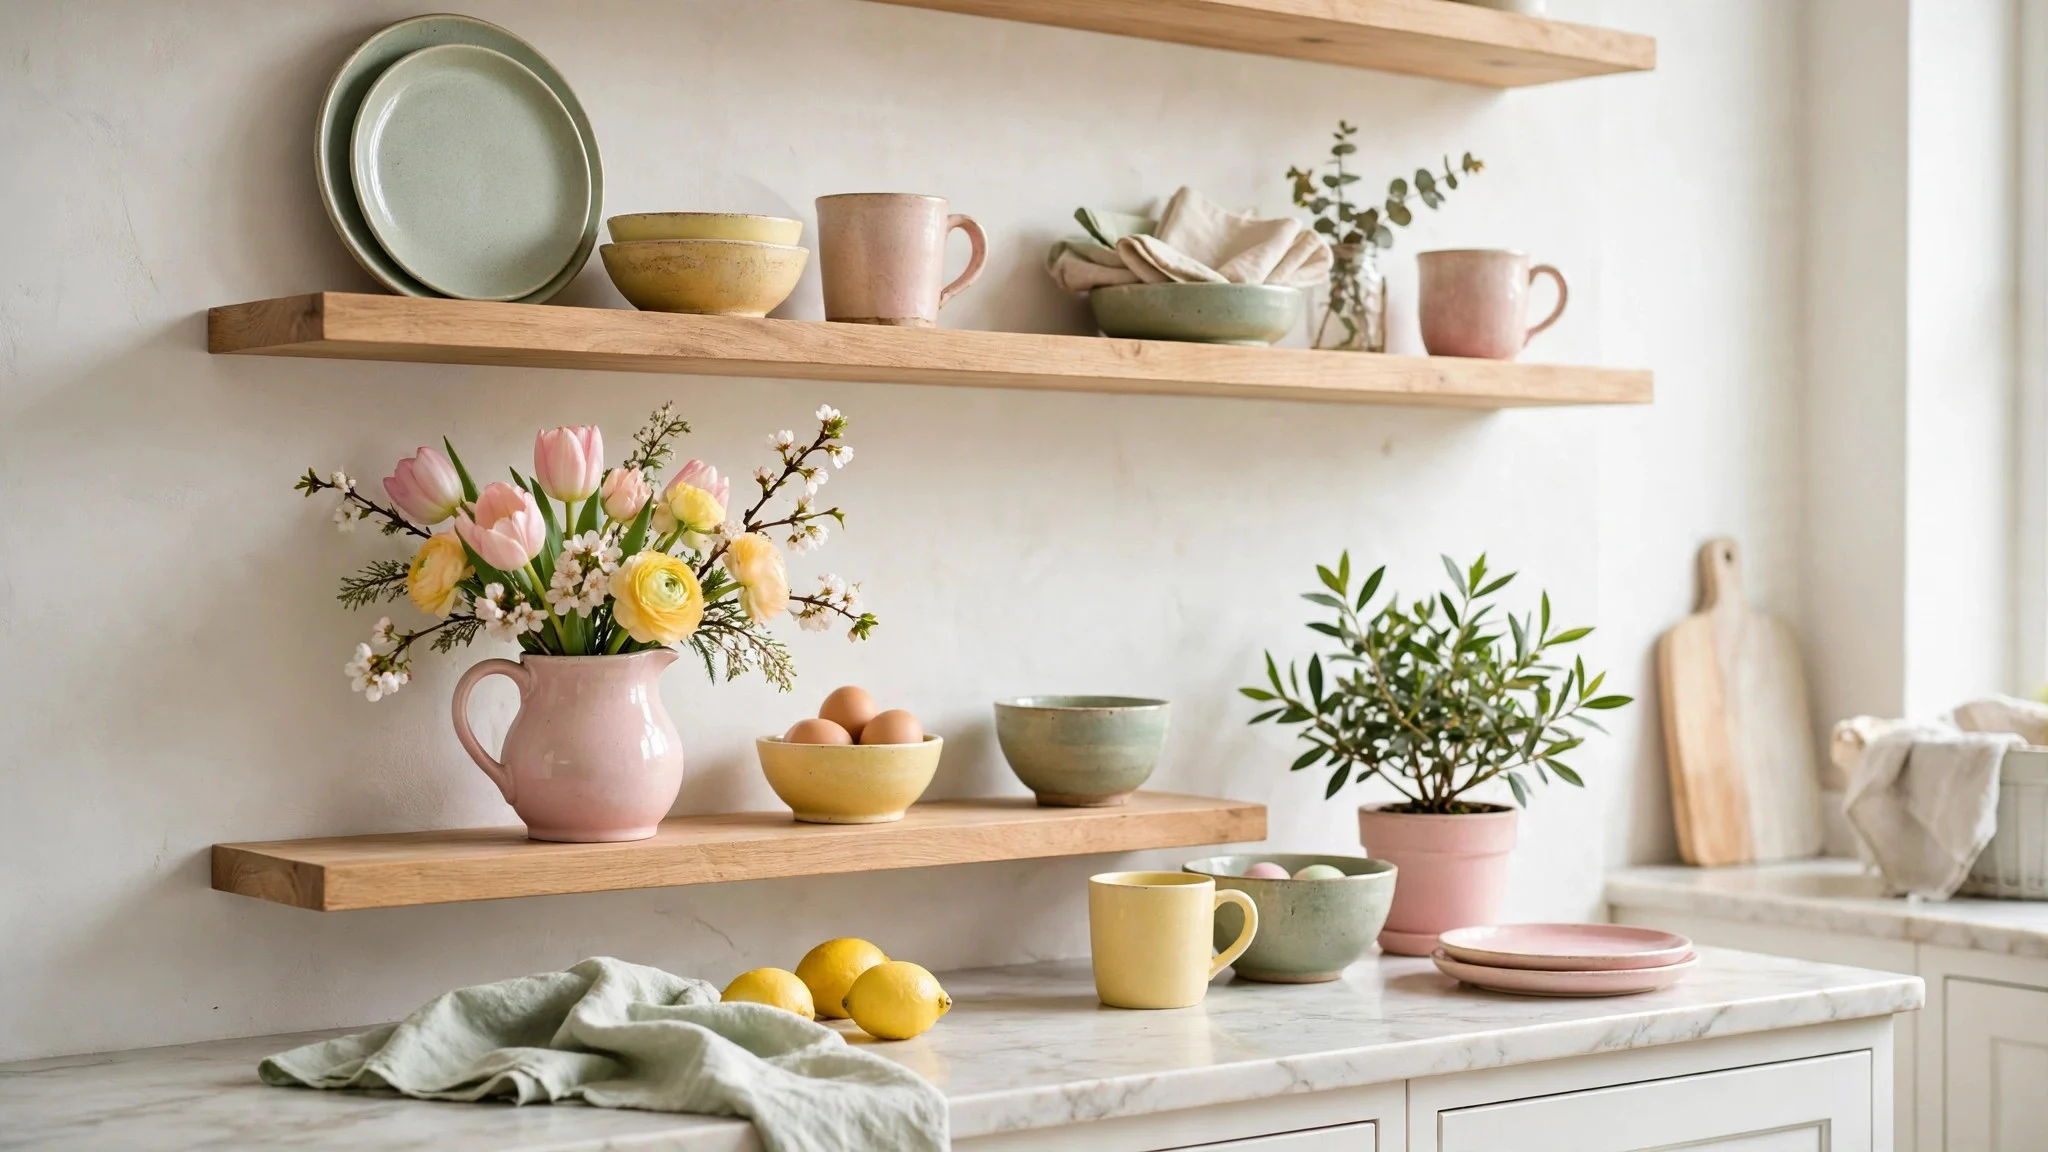
Spring colour on shelves does not have to be loud. A pale sage bowl, a butter-yellow mug, a blush pink vase with a few fresh stems — that is enough. Swap out two or three darker pieces for lighter ones and the change is obvious without the shelf looking like a different kitchen. If you love bold colour, keep it to one shelf so it feels like an accent, not a takeover. The same goes for pattern: one patterned piece per shelf is a highlight, while five patterned pieces compete with each other. A small bunch of fresh flowers on the top shelf costs a few dollars and does more for the spring feeling than any new purchase I can think of.
9. Finish With Something Personal
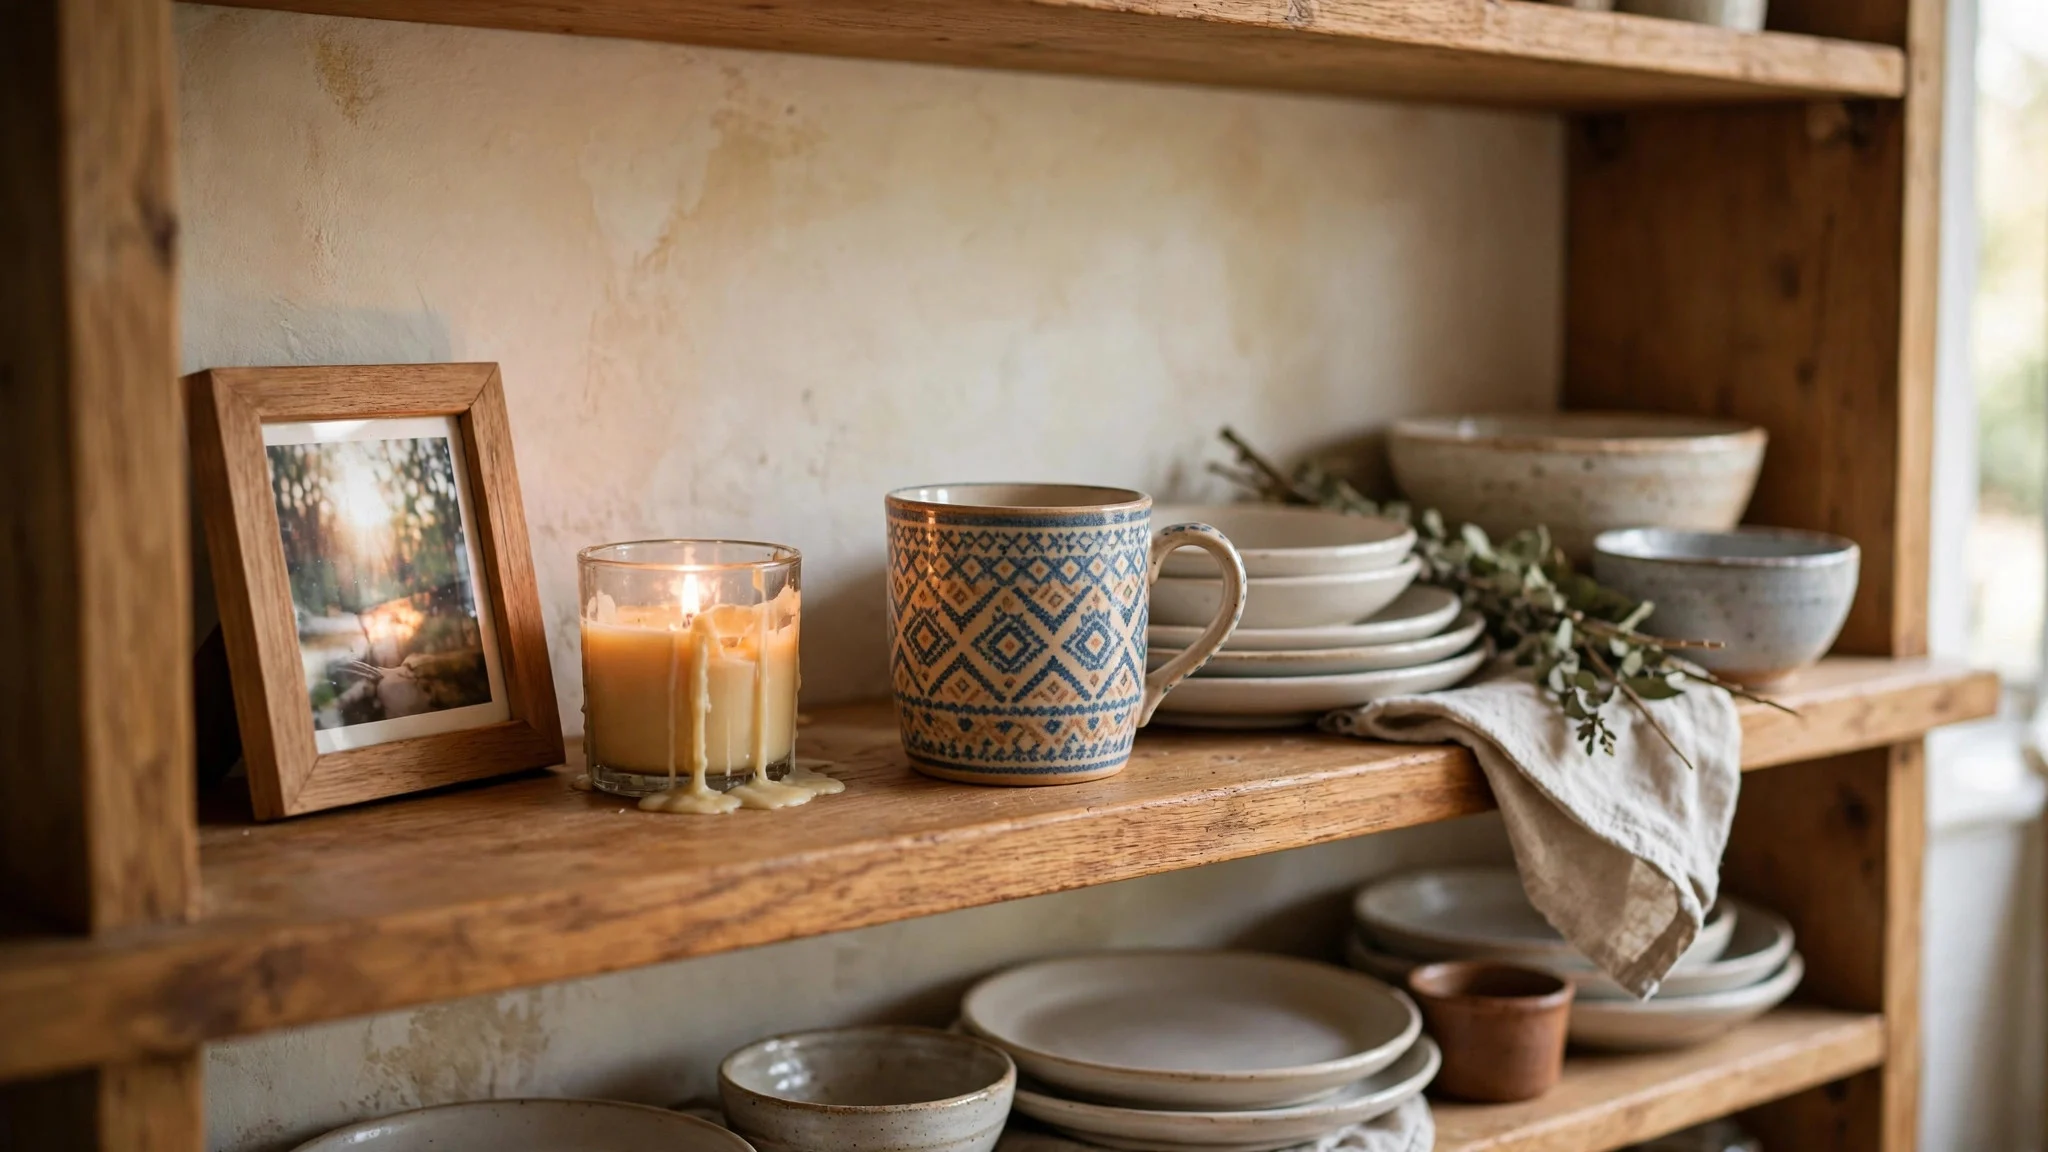
The last step is the one that makes the shelves yours. A small framed photo, a mug from a trip, a handwritten recipe card propped against the wall, a candle in a scent you love. One personal piece per shelf is plenty; more than that and the shelf turns back into a display cabinet. I keep a tiny framed photo of my grandmother’s kitchen on my lowest shelf, and it is the thing guests notice first. Nobody asks about the bowls. They ask about the photo, and then they tell me about their own grandmother’s kitchen, and the shelf has done something no styling trick can do on its own. Style the shelves well, then let one honest, personal detail keep them from looking staged.
Frequently Asked Questions
How often should I restyle open shelves?
Twice a year is plenty for most homes: once in spring and once before the holidays. A quick tidy every few weeks keeps them from drifting back into clutter between full restyles. If a shelf starts to look tired mid-season, swapping just the plant or the flowers usually revives it without a full restyle.
What should I do with pieces that do not fit the spring look?
Box them up and store them, rather than getting rid of anything you still use. Dark or heavy pieces come back into their own in autumn, and you will be glad you kept them.
Are open shelves practical in a small kitchen?
Yes, as long as you keep only everyday pieces on them. If you have to climb for a plate you use daily, that piece belongs in a cupboard, not on display.
How do I keep open shelves from looking dusty?
A quick wipe once a week handles it. Pieces you use often stay clean on their own; it is the purely decorative pieces that gather dust, so keep those to a minimum. I wipe the shelves while waiting for the kettle to boil, which turns a chore into a thirty-second habit.
That is the whole approach: start empty, anchor each shelf, mix your textures, leave some breathing room, and finish with one personal touch. If you want a gentler seasonal shift elsewhere in the house, our guide to subtle touches for every room uses the same light-touch idea, and a spring shelf styled for everyday meals pairs naturally with the ideas in setting a romantic table for two at home. Pick one shelf this weekend, try the nine steps on it, and see how much lighter the whole kitchen feels by Sunday evening, when the light comes through the window just right.