


Photo: @keeganjchecks via Pexels
A full kitchen remodel can swallow $20,000 before you blink. A smart budget kitchen update does something different: it changes what your eyes land on first. Cabinets, hardware, light, and the backsplash do most of the talking in a kitchen, and all four can be refreshed for a fraction of replacement cost. I have redone two kitchens on tight budgets now, and the second one taught me the real lesson — the rooms that look custom are not the ones with the most money in them. They are the ones where every change looks deliberate.
The 21 ideas below are ordered roughly by impact per dollar. Start at the top if your cabinets are the problem. Skip around if they are not. Most cost under $200 each, and several cost under $30. Where I give a price, it is a typical range I have actually seen in stores, not a promise — your town, your kitchen size, and your cabinet count will move the number.
Planning a Budget Kitchen Update That Looks Custom
Before you buy anything, pick one finish direction and write it down. Mine was “warm white cabinets, black hardware, wood accents.” Every later decision got checked against that sentence, which stopped me from buying a trendy brass faucet that would have fought with everything else.
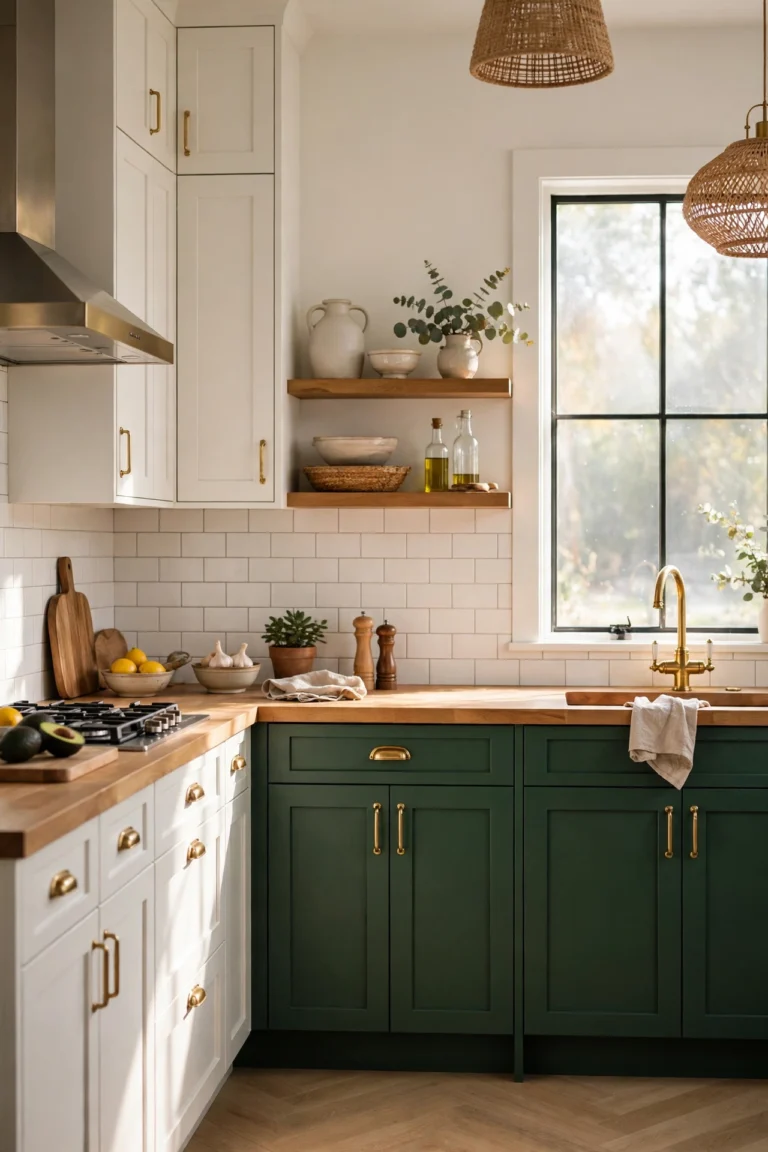
1. Paint the Cabinets Instead of Replacing Them
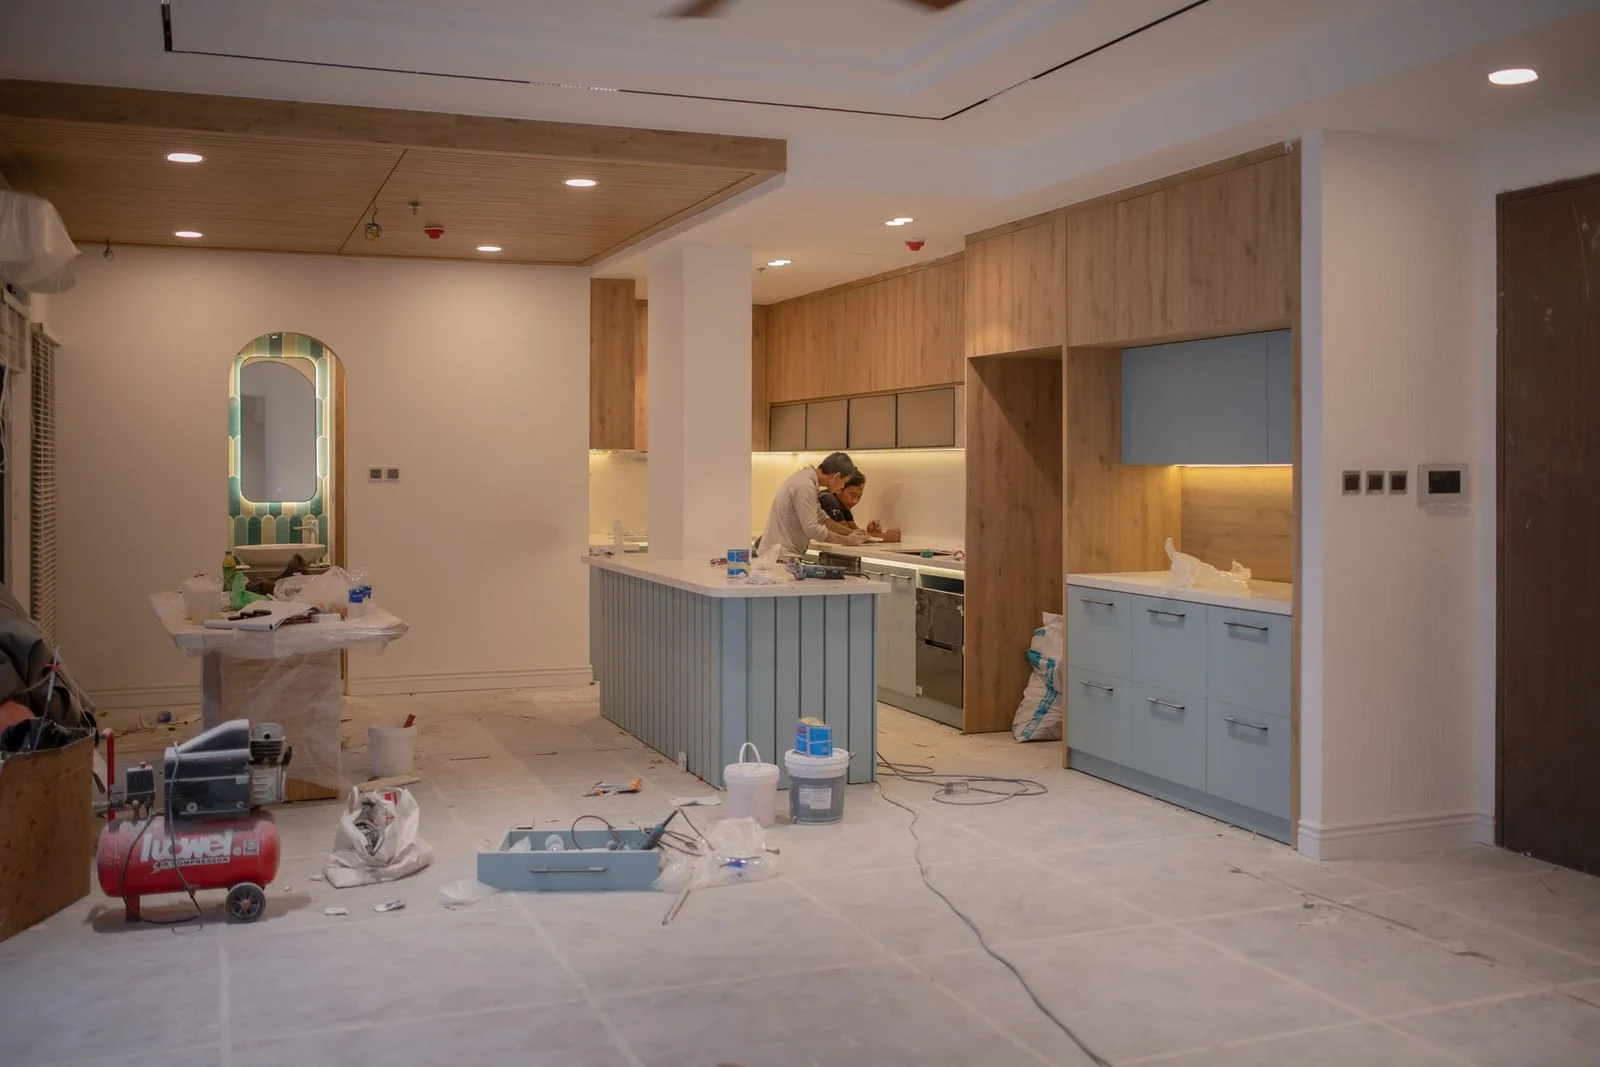
Photo: @thoinamcao via Pexels
Paint is the single biggest transformation per dollar in any kitchen. A gallon of quality cabinet paint runs about $50–$70, and most kitchens need two gallons plus primer. The work is in the prep: remove the doors, label every hinge position with painter’s tape, degrease with TSP substitute, sand lightly, and prime before you ever open the color. I rushed the degreasing on my first attempt and paid for it with peeling around the handles within a year. If you want the full step-by-step, This Old House’s cabinet painting guide walks through the prep in detail.
2. Swap the Hardware for a Whole New Feel
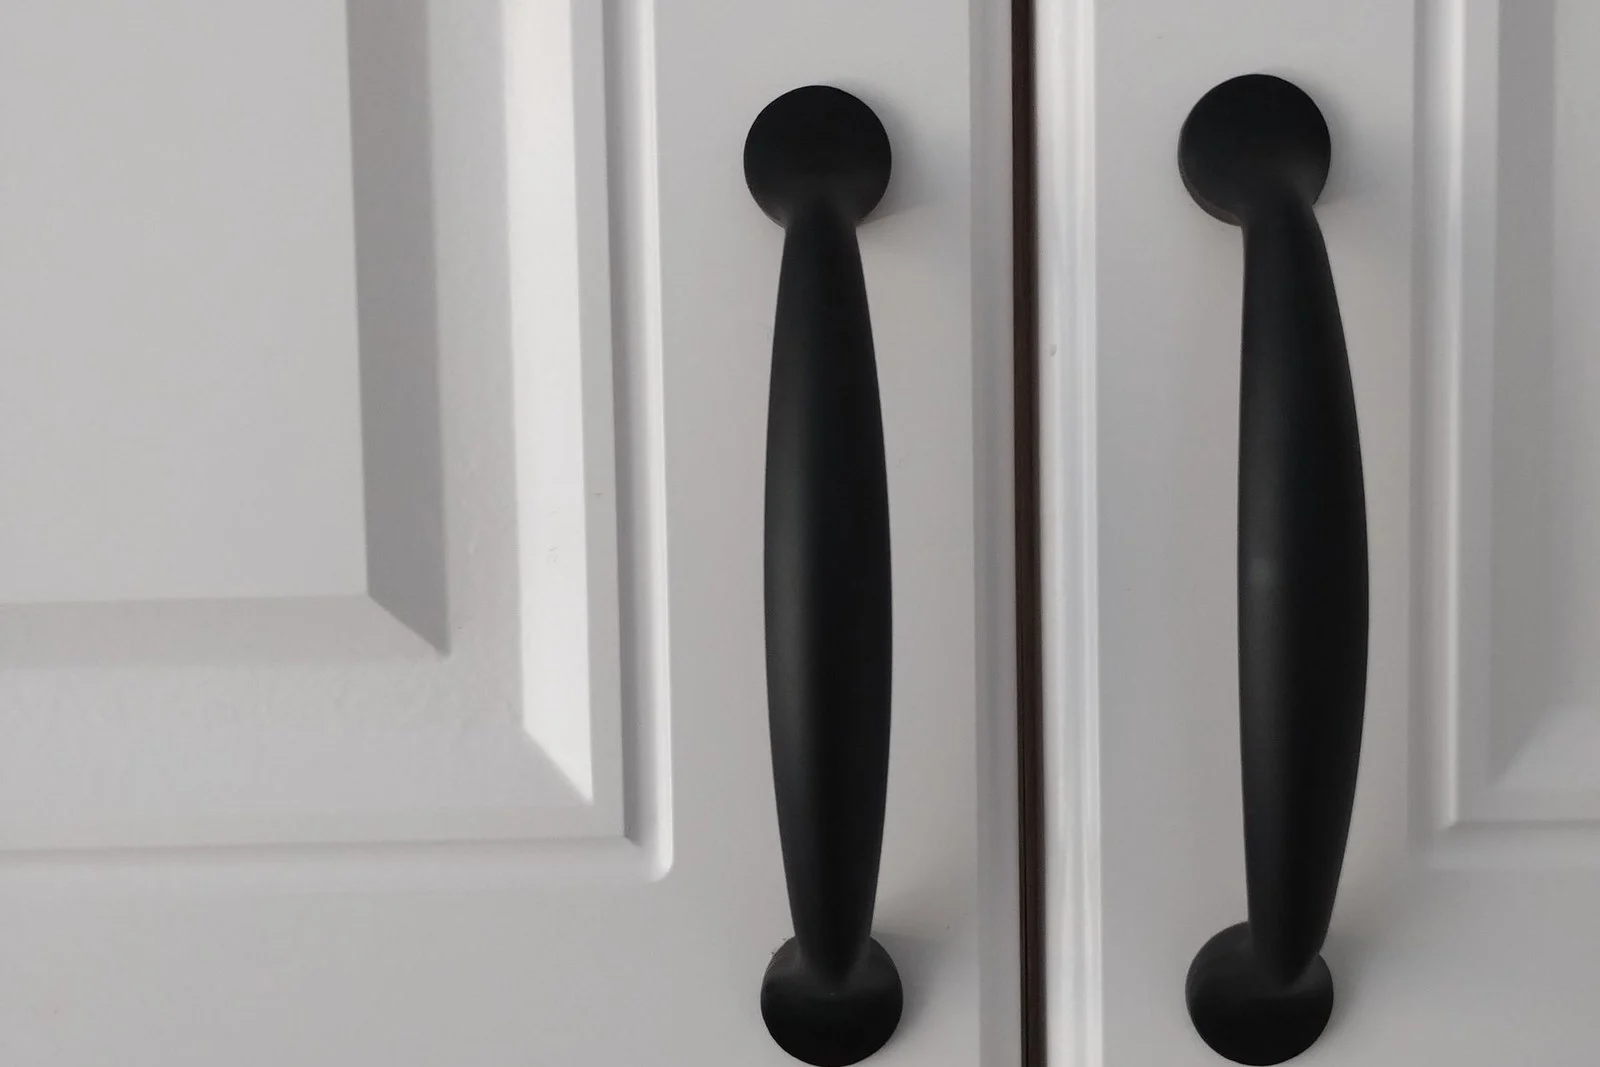
Photo: @alla-nadtochii-631992140 via Pexels
New knobs and pulls are the fastest update on this list — an afternoon, a screwdriver, and roughly $2–$6 per piece. Matte black reads modern, unlacquered brass reads warm and traditional, and chunky bar pulls make builder-grade cabinets look like they were ordered that way. Measure your existing hole spacing before ordering; switching from knobs to pulls means drilling a second hole, which is easy to hide with a small jig but annoying to fix if you guess wrong.
3. Lay a Peel-and-Stick Backsplash Over Tired Tile
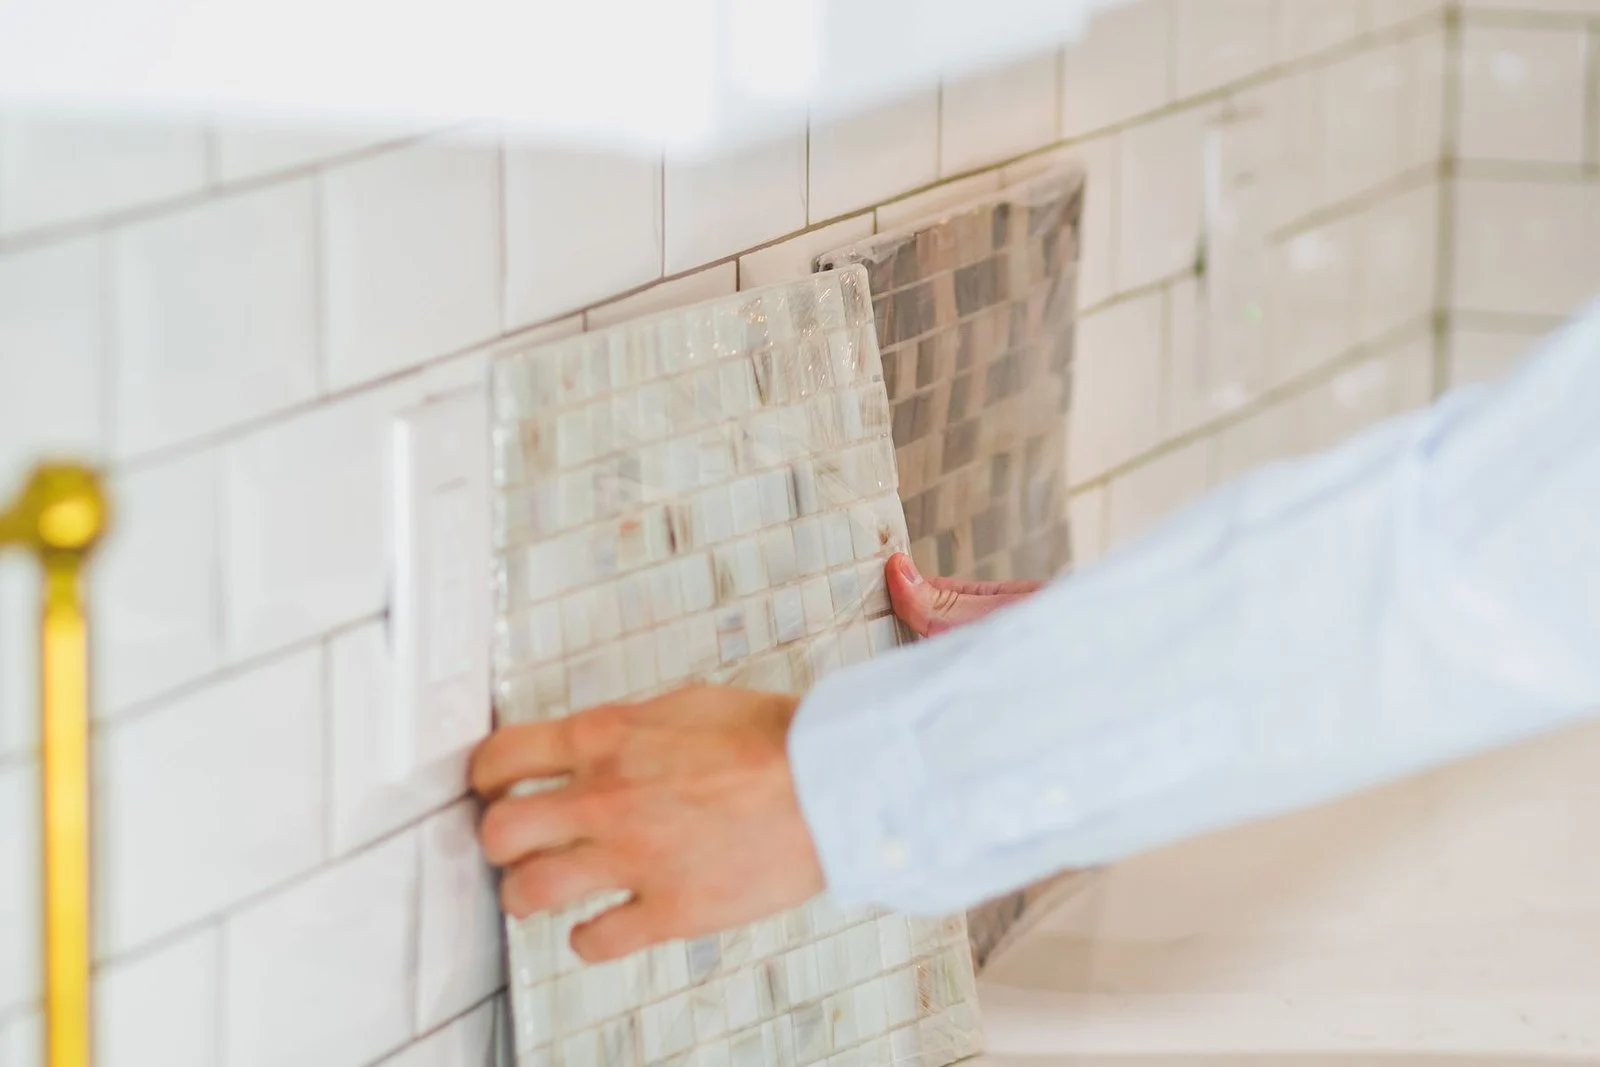
Photo: @rdne via Pexels
Peel-and-stick tiles have grown up. The better ones are thick vinyl or gel that genuinely reads as tile from two feet away, and a typical kitchen backsplash takes $40–$90 in material. Clean the old tile with degreaser first, start from the center of the stove wall so cuts land symmetrically at the edges, and use a sharp utility knife with a straightedge rather than scissors. Run a thin bead of clear caulk along sink-adjacent edges and the job lasts years longer.
4. Upgrade the Faucet and Watch the Sink Zone Change
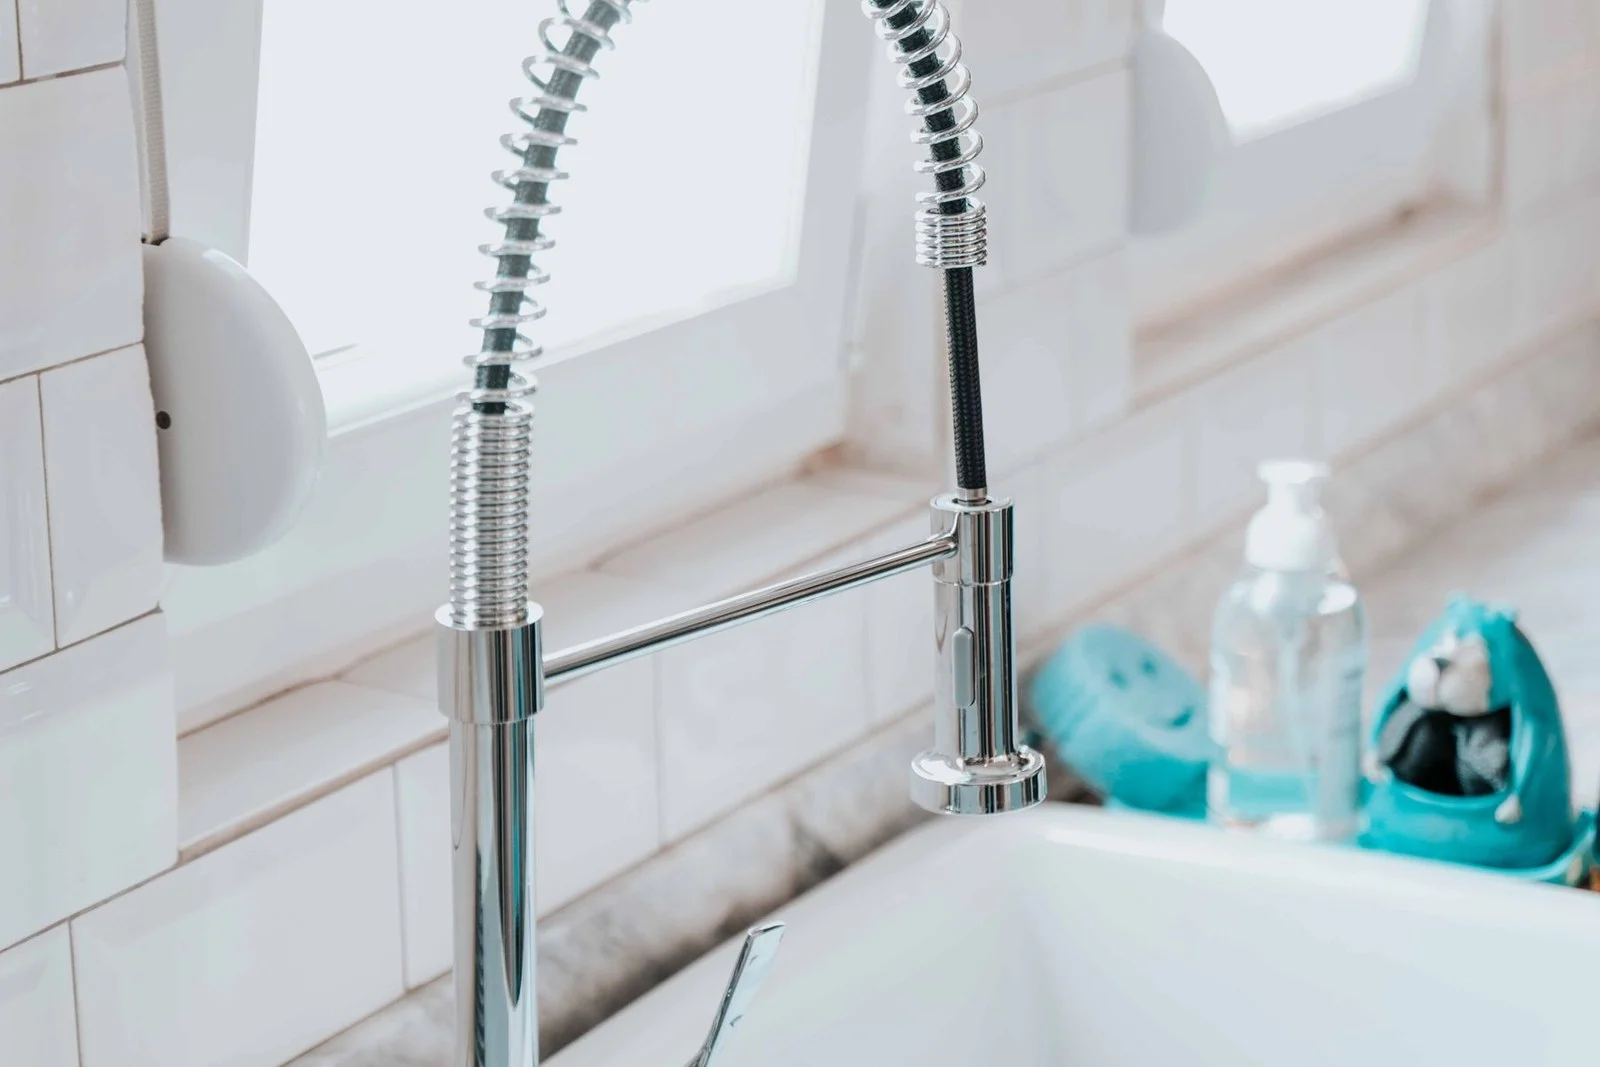
Photo: @keeganjchecks via Pexels
A faucet is jewelry for the sink, and it is one of the few updates guests actually touch. A solid mid-range faucet costs $80–$180, and most homeowners can swap one in under an hour with a basin wrench and a bucket for the drips. Match the finish to your new hardware so the room reads as one decision, not five. Before you buy, check your hole count — a single-hole faucet will not cover a three-hole sink without a deck plate, and a deck plate looks fine as long as you plan for it.
5. Take the Doors Off One Run of Uppers
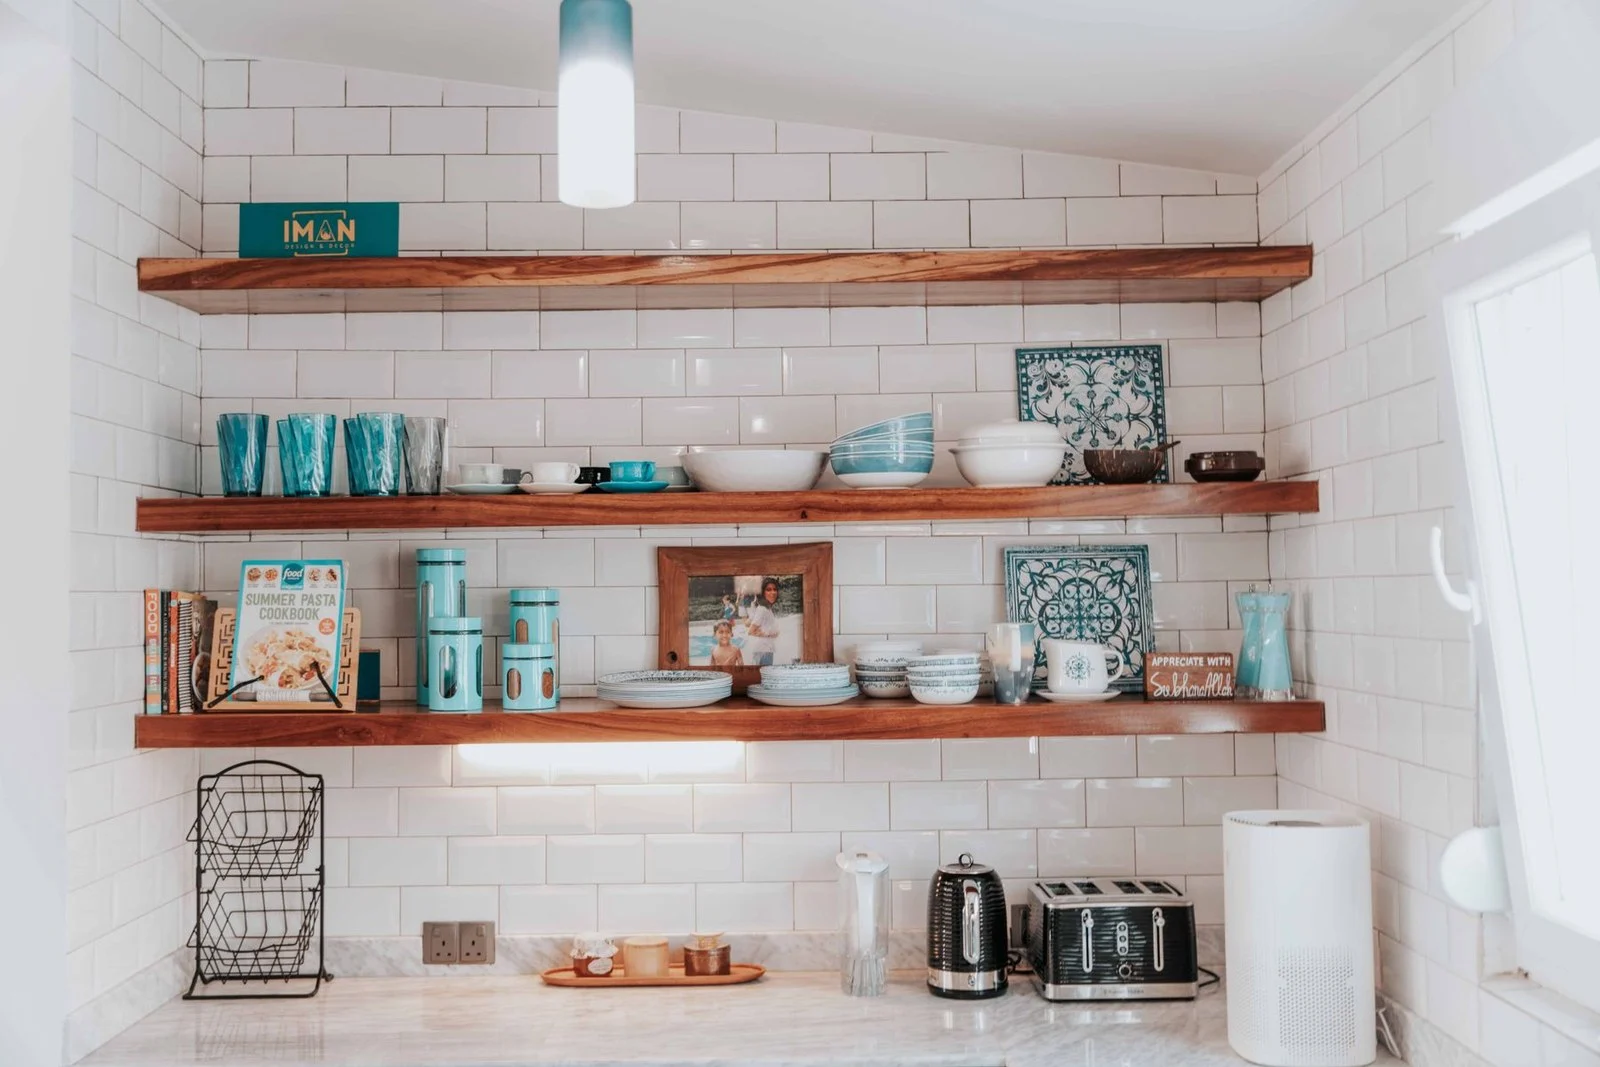
Photo: @keeganjchecks via Pexels
Removing the doors from one bank of upper cabinets gives you open shelving for zero dollars, and it changes how the whole kitchen feels. Pick the run you use least for ugly storage — dishes and glasses photograph well, cereal boxes do not. Paint or paper the cabinet interiors first (a $15 quart of paint), then style with restraint: everyday dishes on the bottom shelf, a stack of bowls above, one plant or pitcher at the end. The same “decorate the dead zones, guard the work zones” thinking works for seasonal styling too — our Christmas kitchen ideas that don’t get in the way use the same rule.
6. Add Under-Cabinet Lighting for Instant Atmosphere
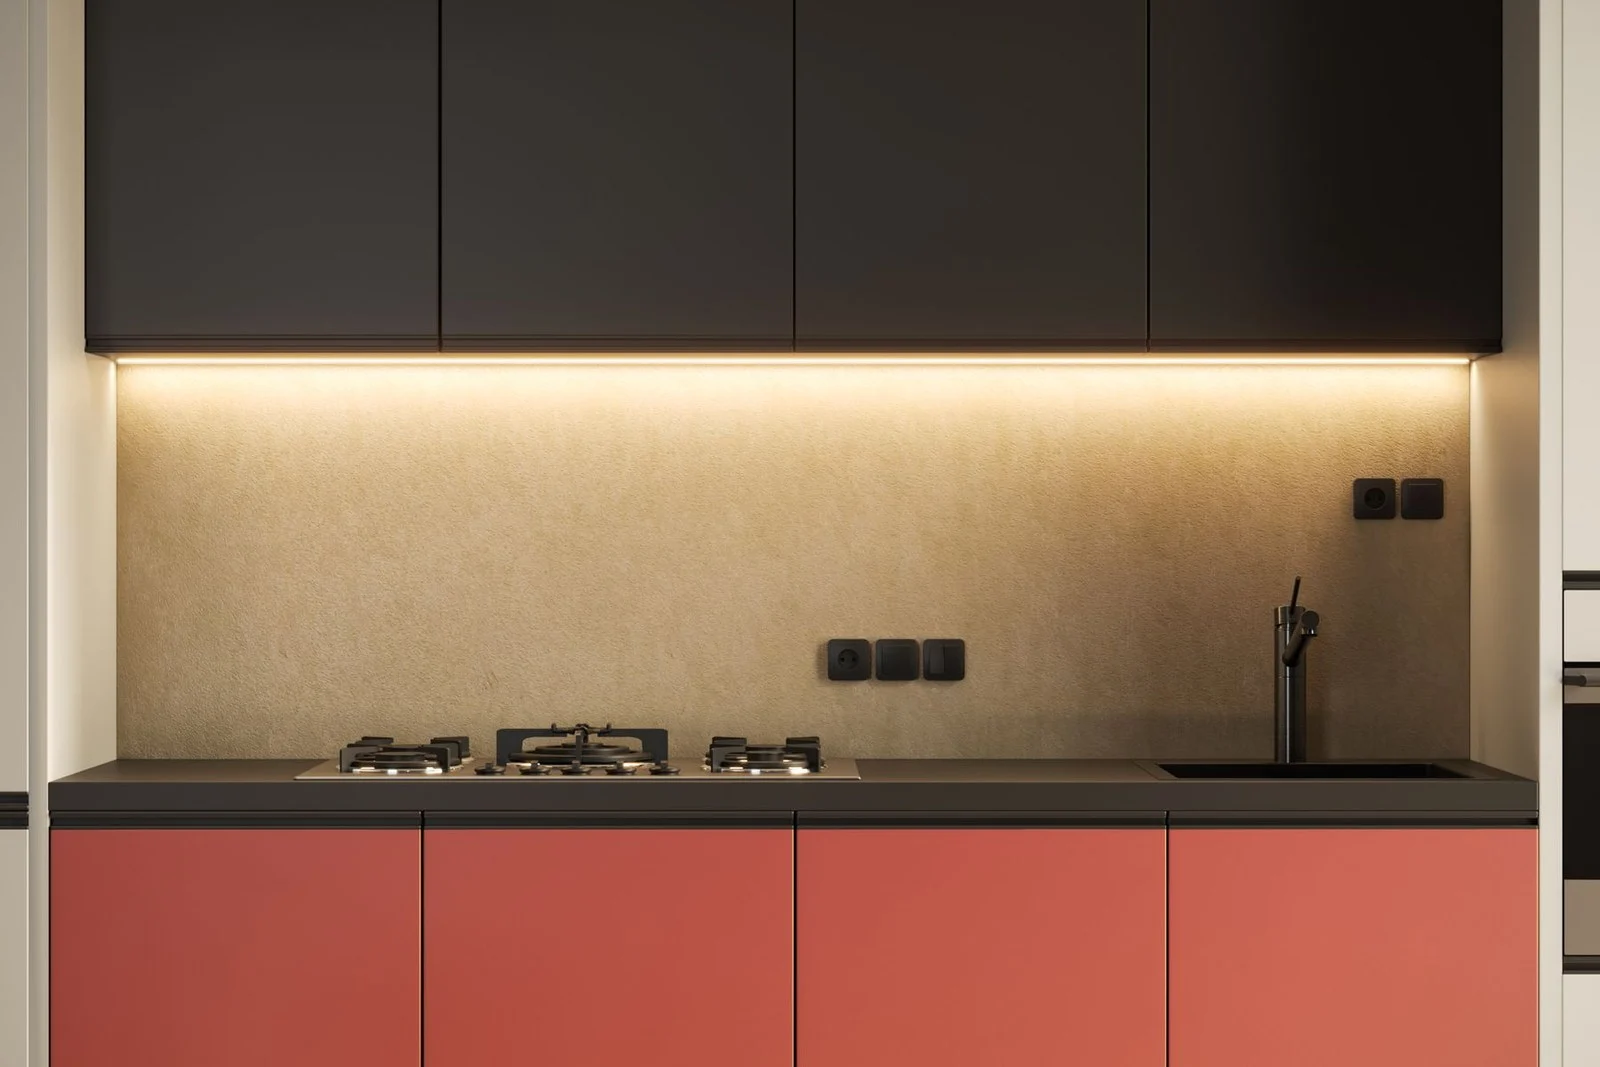
Photo: @perqued via Pexels
Under-cabinet LED strips cost $20–$50 for a full run and do more for evening mood than any other cheap change. They also make the counters genuinely easier to work on, which is the part I did not expect — chopping under a lit counter after years of shadow felt like a different kitchen. Stick with warm white (2700–3000K) unless your kitchen is very cool-toned, and hide the strip behind the cabinet lip so you see light, not hardware.
7. Refinish Worn Counters With a Kit
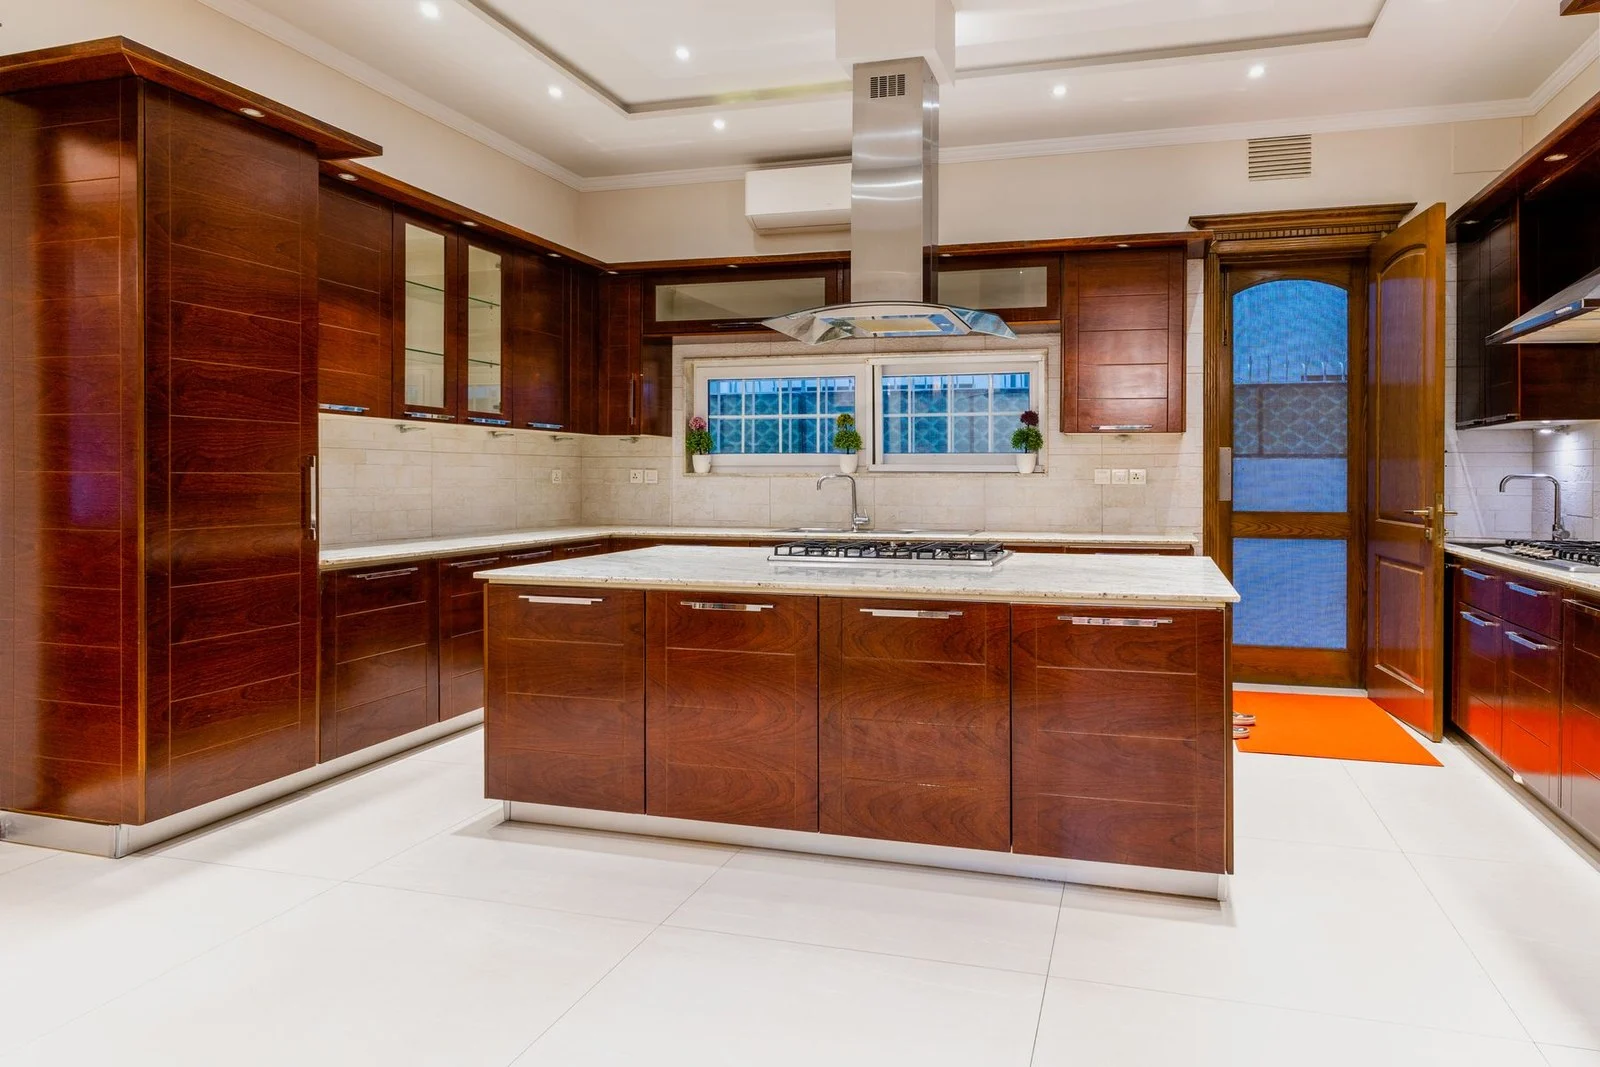
Photo: @edithubpro via Pexels
Countertop refinishing kits — epoxy or stone-look coatings — run $100–$250 and cover a standard kitchen’s counters in a weekend. The result will not fool a stone mason, but it will absolutely fool a dinner guest, and it buys five-plus years out of laminate that was dragging the room down. Prep matters more than the coating itself: sand, clean, tape off everything, and pour in thin, even passes. Ventilate well and keep the kitchen off-limits for the full cure time on the label, not just until it feels dry.
8. Paint Just the Island a Contrast Color
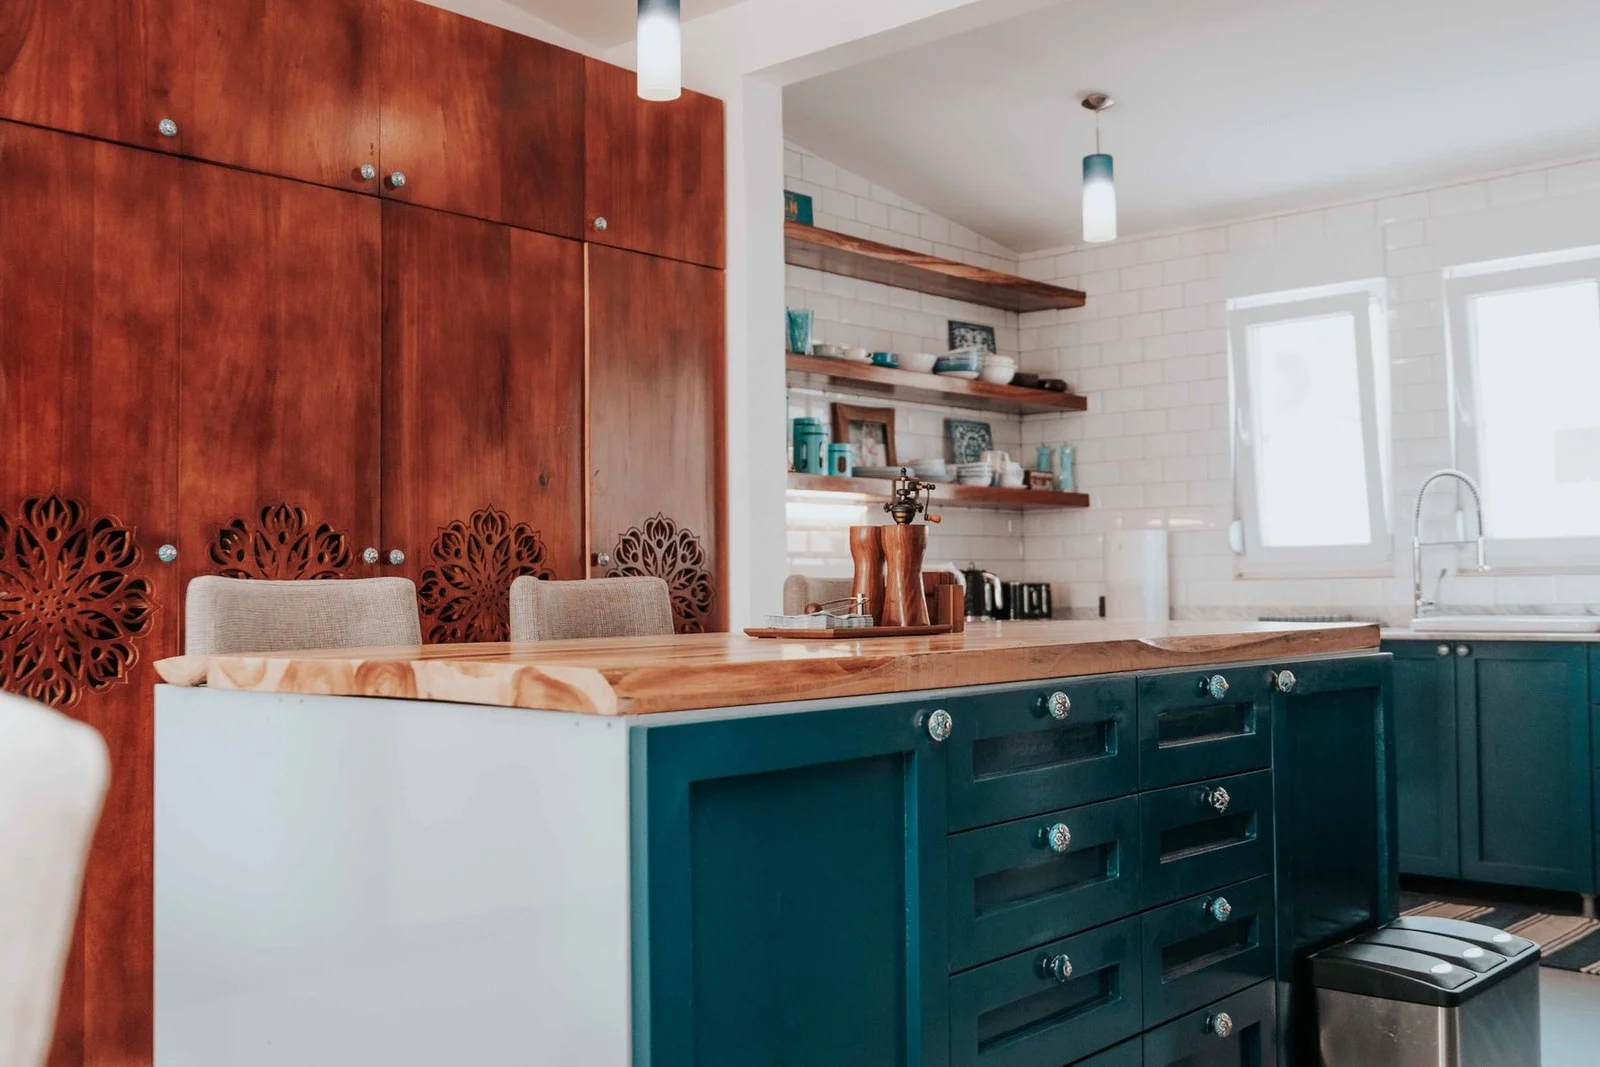
Photo: @keeganjchecks via Pexels
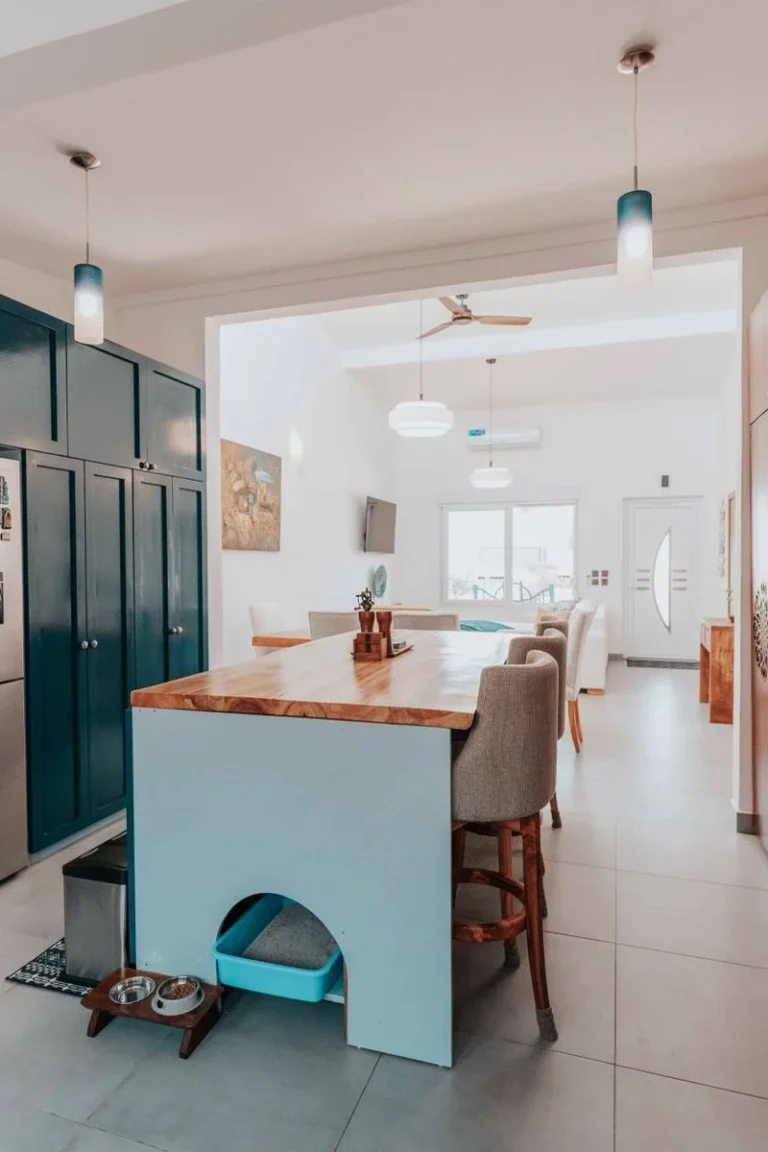
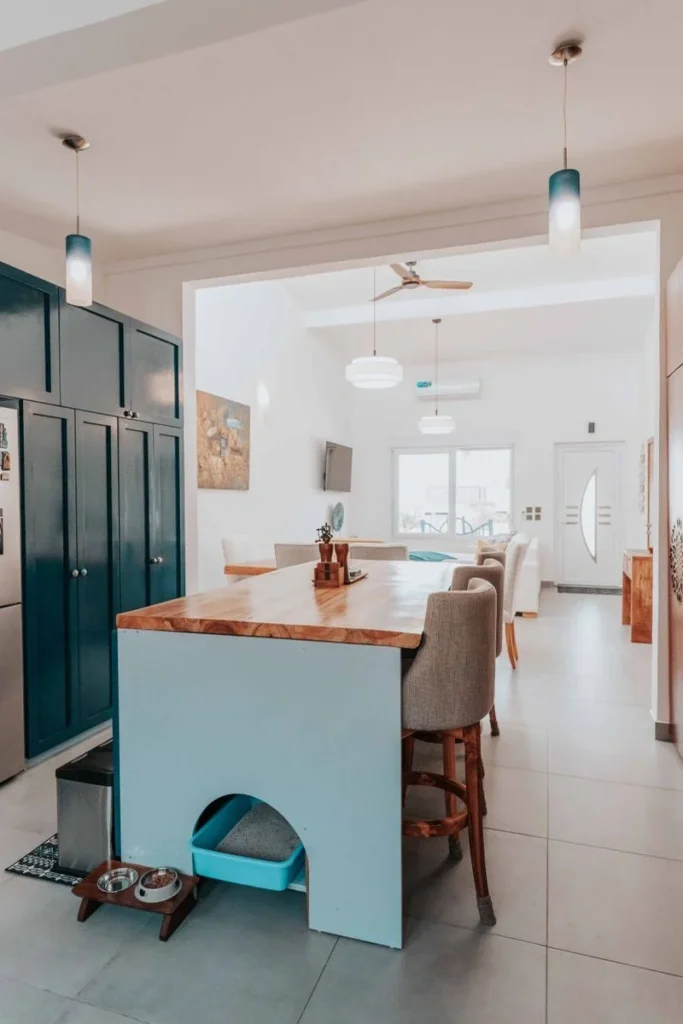
Painting only the island is the shortcut to a two-tone kitchen without painting every cabinet. A quart of paint ($25–$40) and a Saturday is all it takes, and a deep navy, forest green, or charcoal island grounds the room the way a rug grounds a living room. Keep the perimeter cabinets as they are and let the island be the statement. The trick is committing to a color dark enough to read as intentional — a timid mid-gray just looks like you ran out of white paint.
9. Swap the Pendant Lights Over the Island
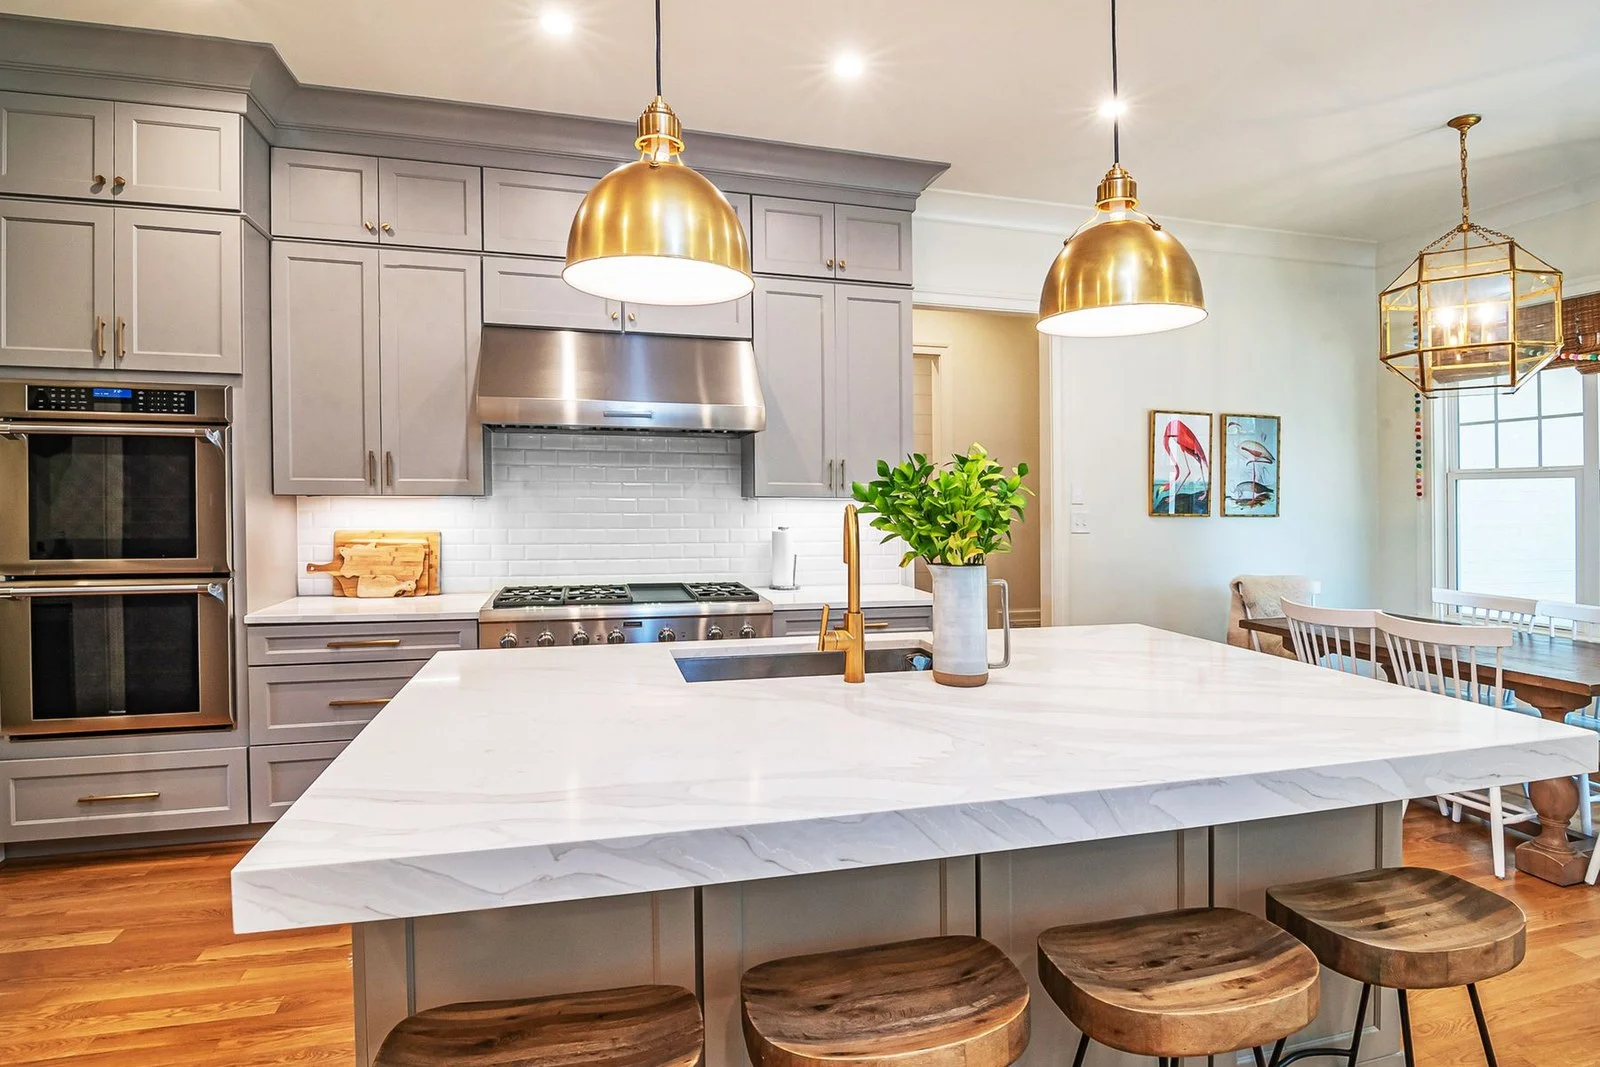
Photo: @curtis-adams-1694007 via Pexels
Builder pendants are usually the first thing I notice in a kitchen, and the easiest to fix. Two or three pendants run $40–$120 each, and hanging them is a straightforward swap if the junction boxes already exist. Hang them 30–36 inches above the countertop so they light the work surface without blocking sightlines across the island. Odd numbers look better than even ones here — three small pendants beat two large ones on a standard island.
10. Refresh Grout and Caulk Before Anything Else
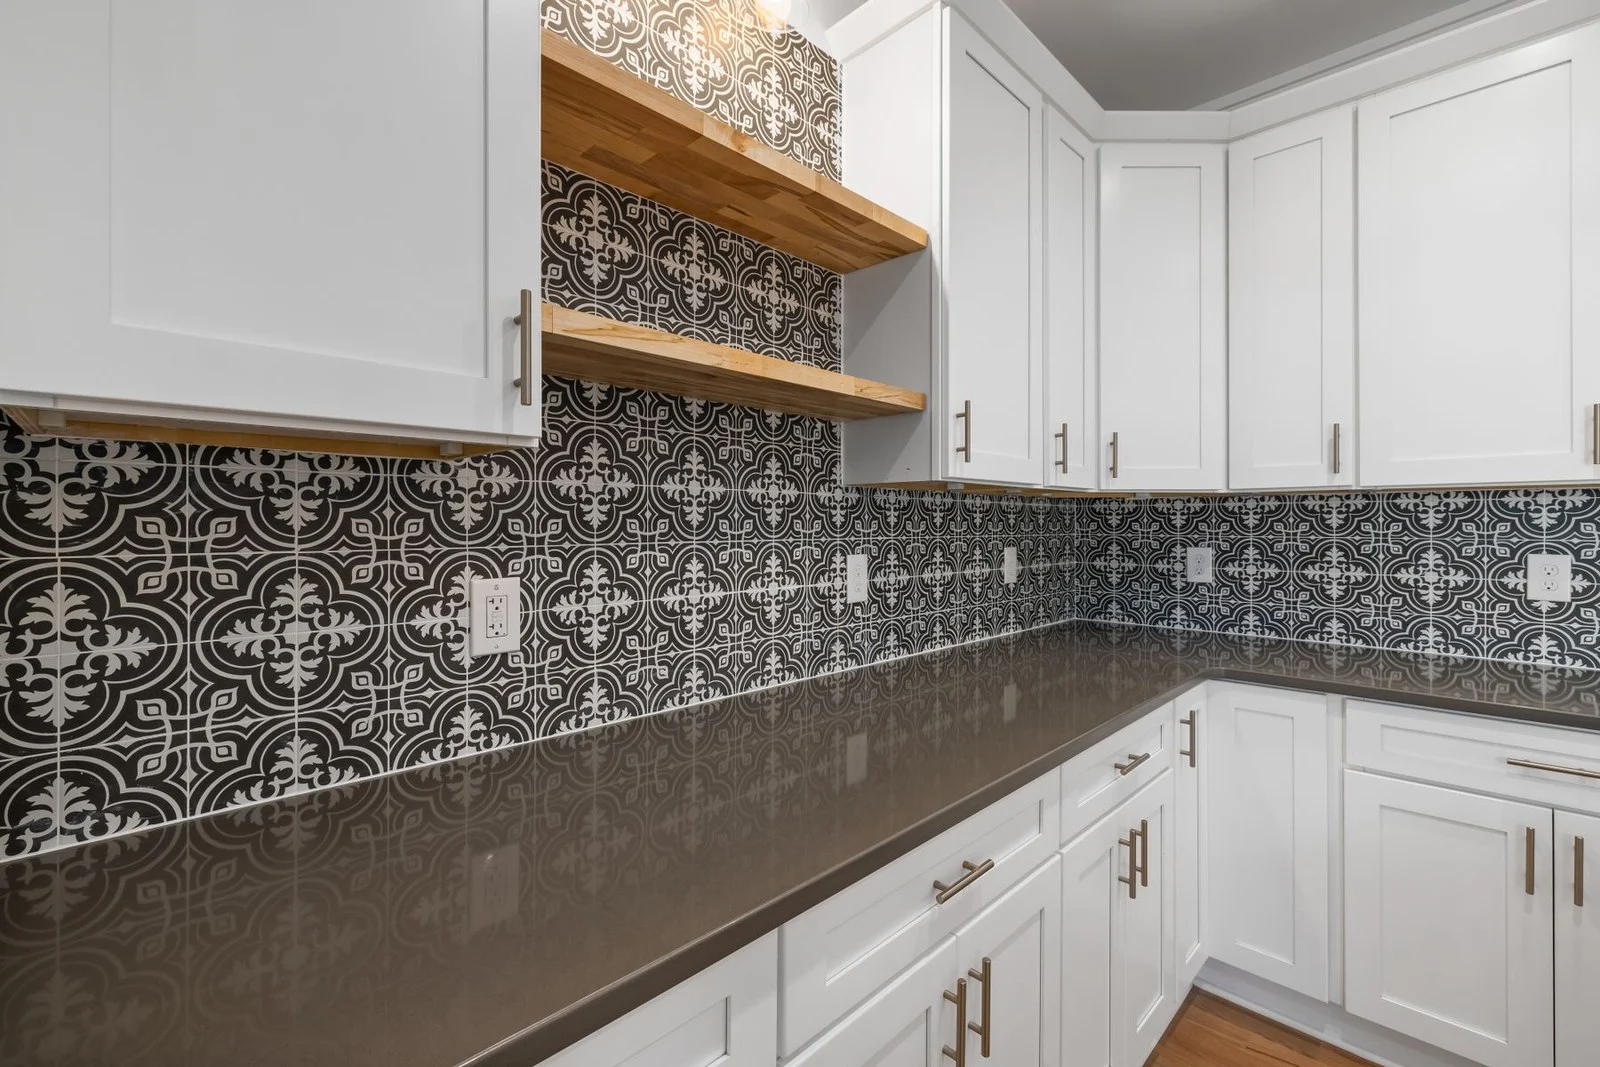
Photo: @curtis-adams-1694007 via Pexels
Dirty grout makes a clean kitchen look dirty, and fixing it costs almost nothing. A grout pen ($8–$12) recolours stained lines in an afternoon; a full re-grout of a backsplash takes a weekend and a $20 bag of grout. Do the caulk at the same time — cut out cracked, grey caulk around the sink and counters, and lay a fresh bead with a wet finger for a smooth line. This is unglamorous work and nobody compliments it directly, but every other update on this list looks better once the grout lines are clean.
11. Add Trim to Flat-Front Cabinets
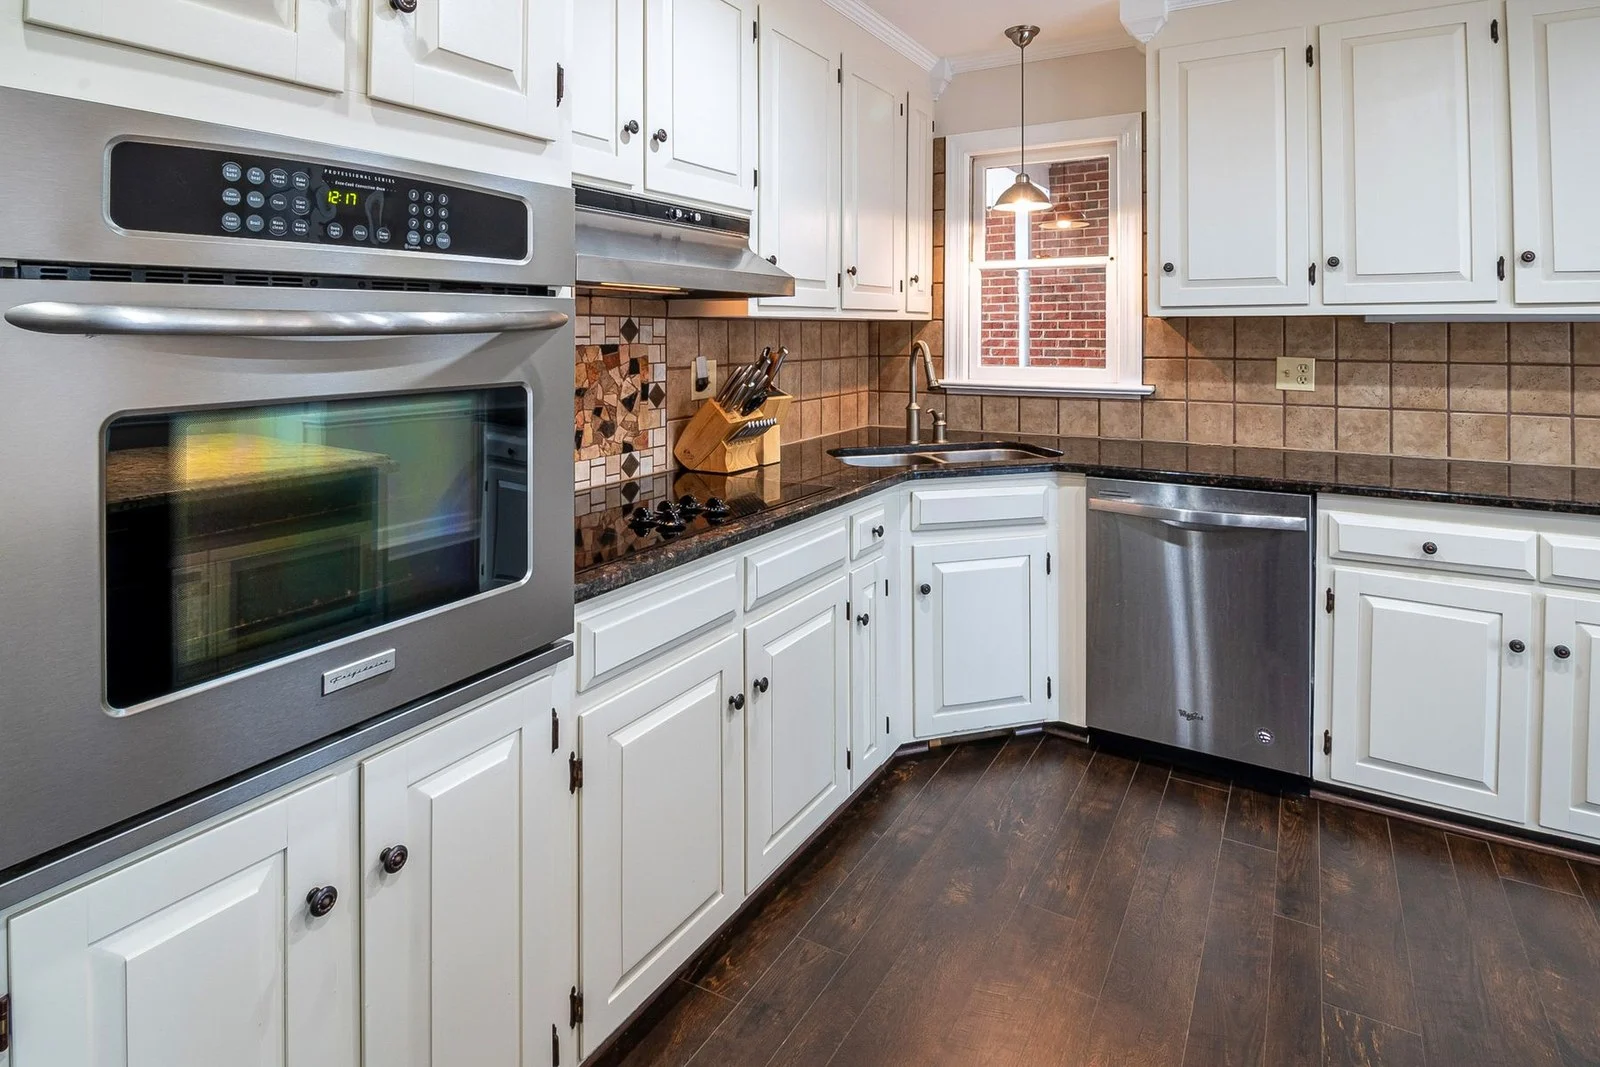
Photo: @curtis-adams-1694007 via Pexels
Flat slab doors scream “rental” in a way that a $30 bundle of thin wood trim fixes completely. Cut picture-frame molding to fit each door front, glue and pin-nail it on, then paint the whole door so the trim reads as part of the original design. The proportions matter: leave a consistent border (about 2–3 inches) on all sides, and use the same frame size on every door so the kitchen reads as a set. This is the closest thing to a cabinet facelift that does not involve ordering new doors.
12. Put One Display Shelf Above the Sink
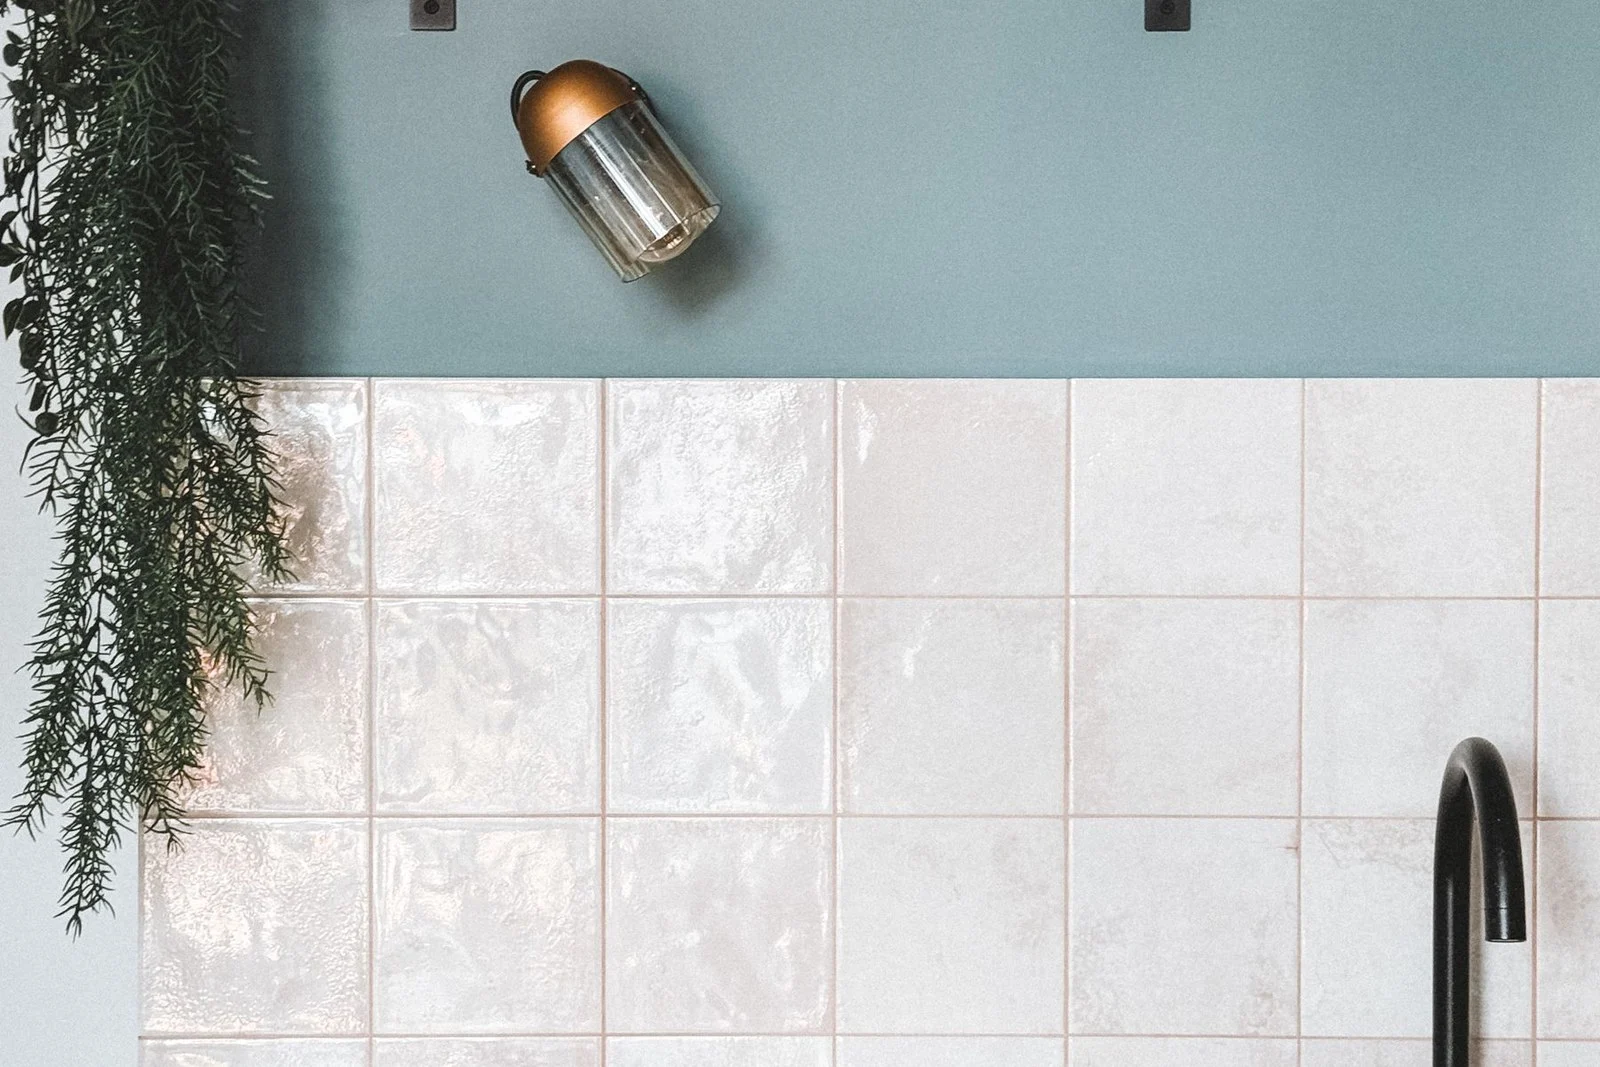
Photo: @marina-zvada-844583049 via Pexels
One well-placed shelf above the sink or a side window does the work of a whole styling overhaul. A 24-inch wood shelf and brackets cost $25–$45, and it gives you a home for the pretty things that otherwise colonise the counter: a small plant, a favourite mug, a jar of wooden spoons. Keep it to one row, one layer deep, and leave breathing room between objects — a crowded shelf looks like storage, a sparse one looks like a decision.
13. Replace the Bar Stools
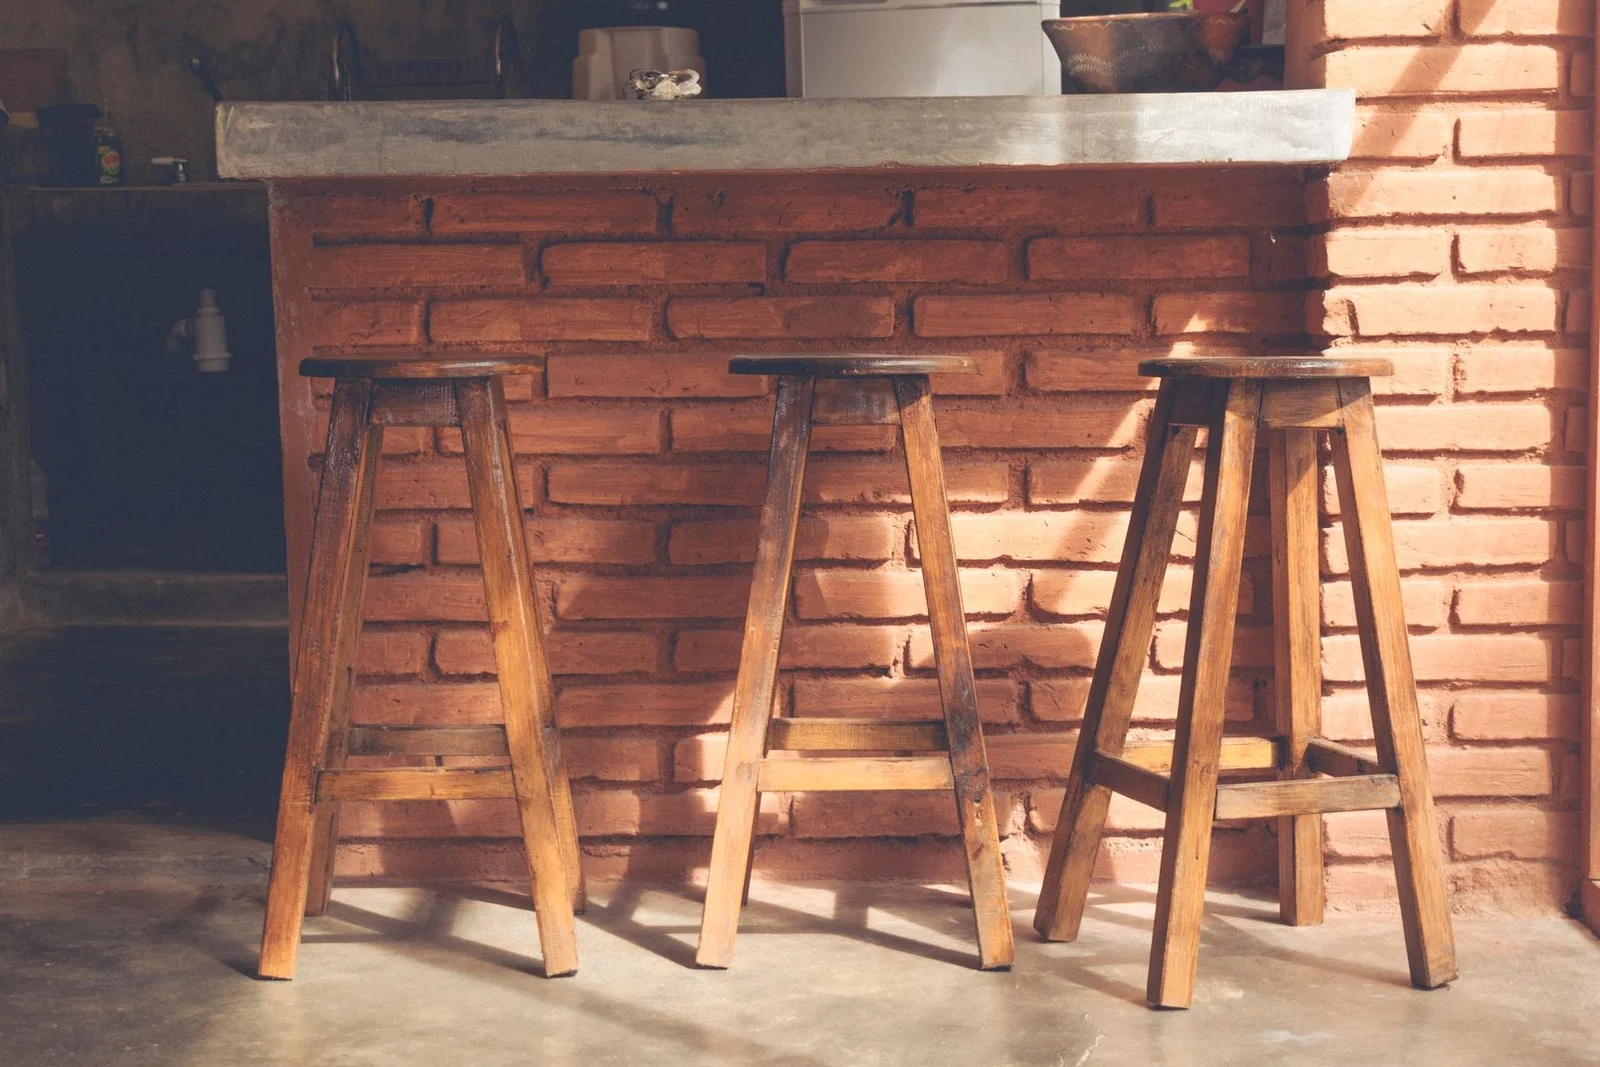
Photo: @yunuen-zempoaltecatl-2158880957 via Pexels
Stools are furniture, so they change the room more than most decor does. Wood stools warm up a white kitchen, black metal stools sharpen a wood one, and a pair of upholstered counter stools can make a basic island feel like a breakfast bar at a boutique hotel. Budget $40–$120 per stool, and measure counter height first: counter-height stools (24–26 inches) fit a 36-inch counter, bar-height (28–30 inches) fits a 42-inch bar.
14. Hang a Pot Rail and Free a Cabinet
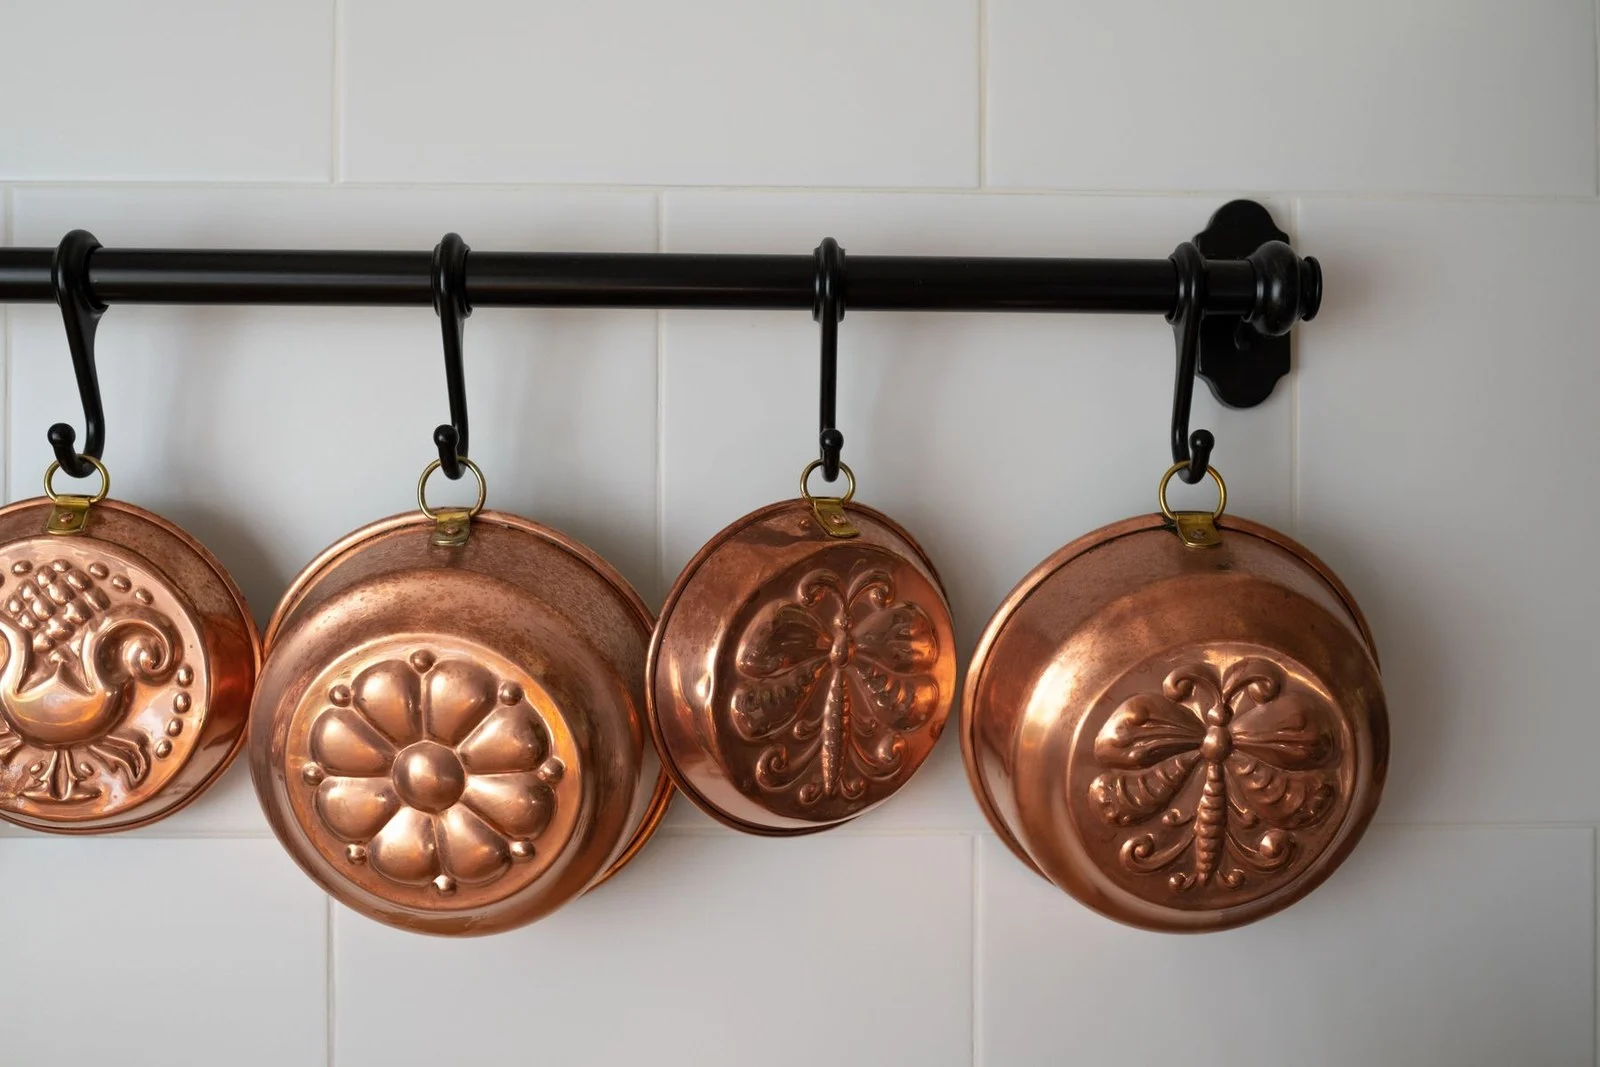
Photo: @ron-lach via Pexels
A wall-mounted pot rail ($25–$60) moves your most-used pans out of a deep cabinet and onto display, where they double as decor. Copper and cast iron look best here; scratched nonstick does not, so be honest about what you own. Mount into studs, not just drywall, because a rail full of cast iron is heavy — a stud finder is $15 and the difference between a rail that holds and one that rips out at 2 a.m.
15. Swap the Textiles: Runner, Towels, Seat Pads
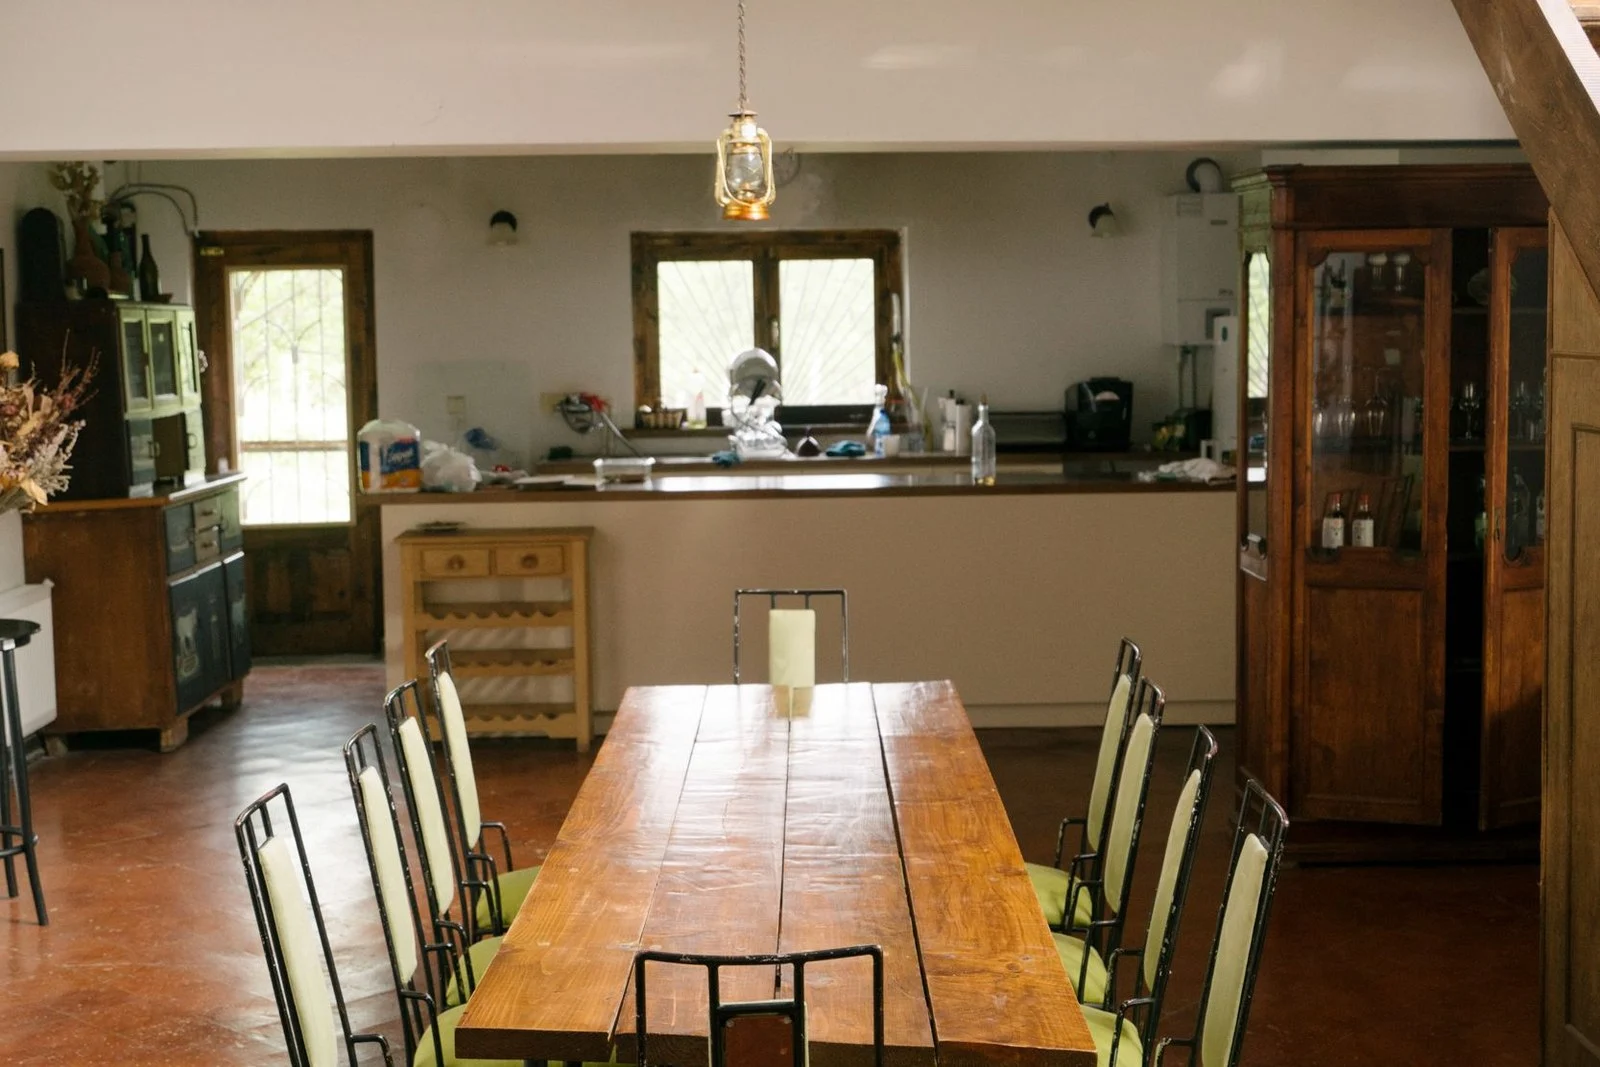
Photo: @arthousestudio via Pexels
Textiles are the cheapest colour change in the room. A washable runner ($25–$50) in front of the sink, new dish towels, and seat pads in one colour family can pull a mixed kitchen together in an afternoon. Pick a washable rug — kitchen rugs earn their stains — and a pattern that hides crumbs better than a solid light colour does. Keep the palette to two colours plus neutrals, or the textiles start competing with the cabinets.
16. Dress the Window With a Simple Shade or Curtain
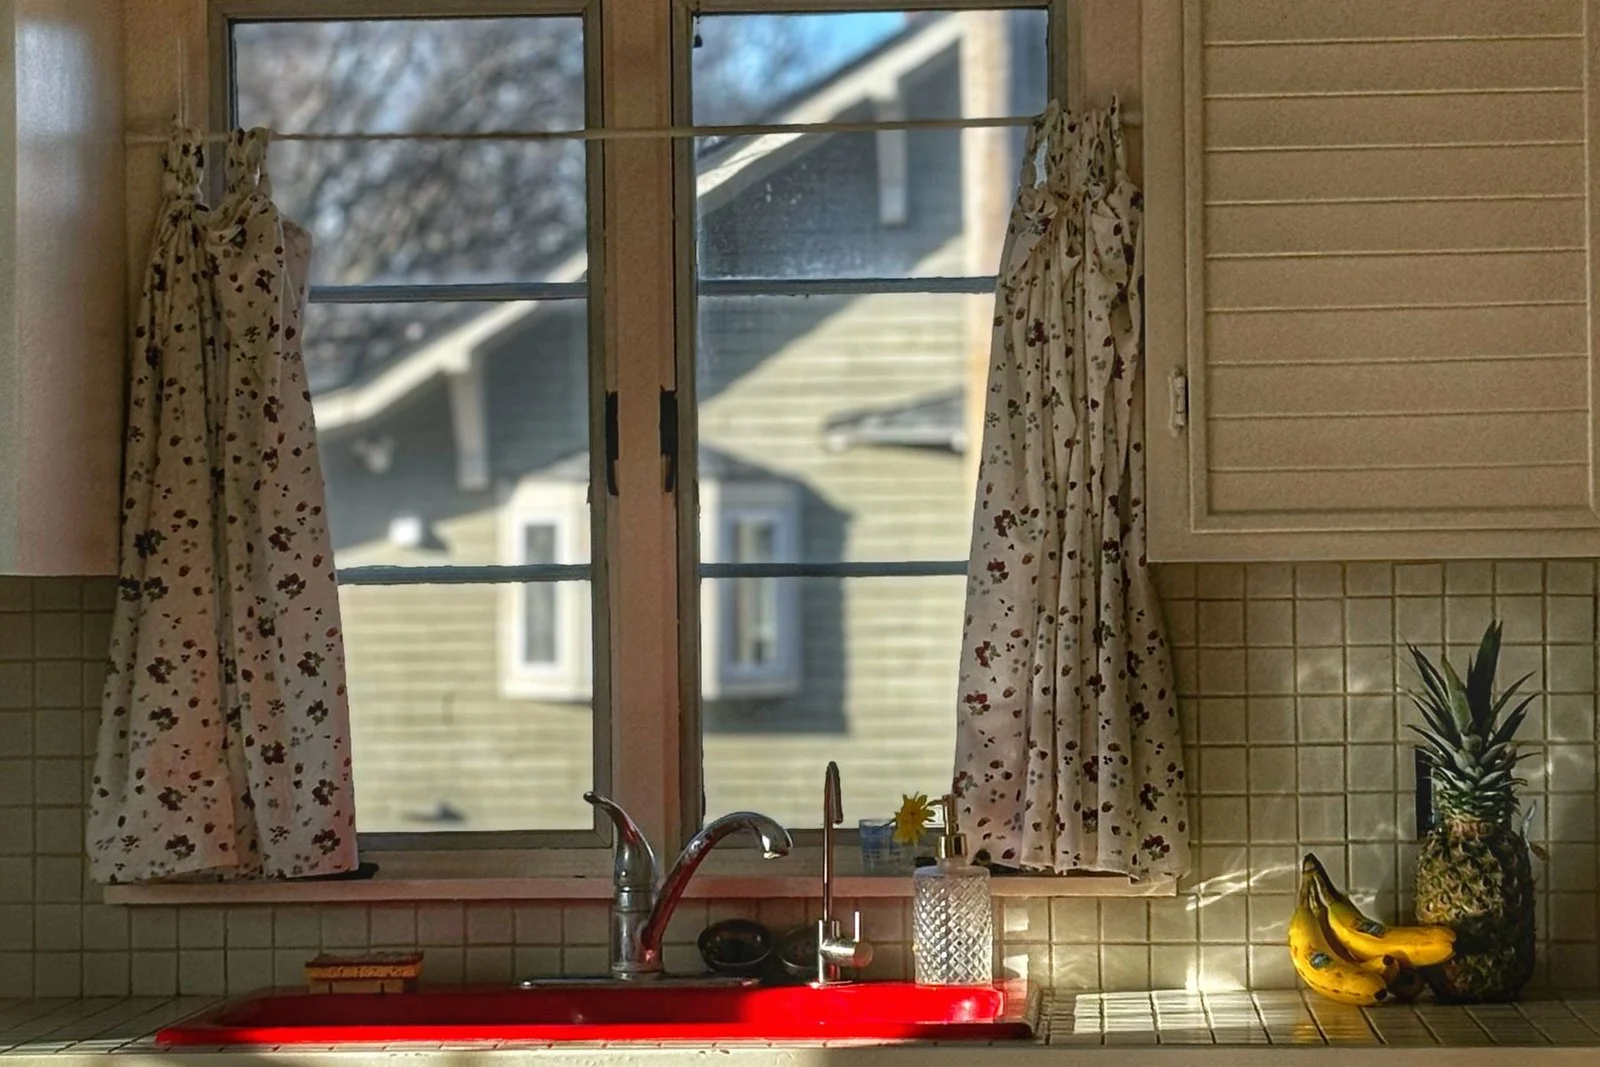
Photo: @laura-habegger-ratke-333603 via Pexels
The kitchen window is usually the last thing anyone decorates, which is exactly why dressing it makes such a difference. A Roman shade ($30–$70 ready-made) softens hard cabinet lines and controls glare at the sink, while a short cafe curtain keeps the light and adds privacy. Measure the inside of the frame, not the trim, and mount the shade high — near the top of the frame or just above it — so the window looks taller.
17. Organize Inside the Cabinets So They Feel Custom
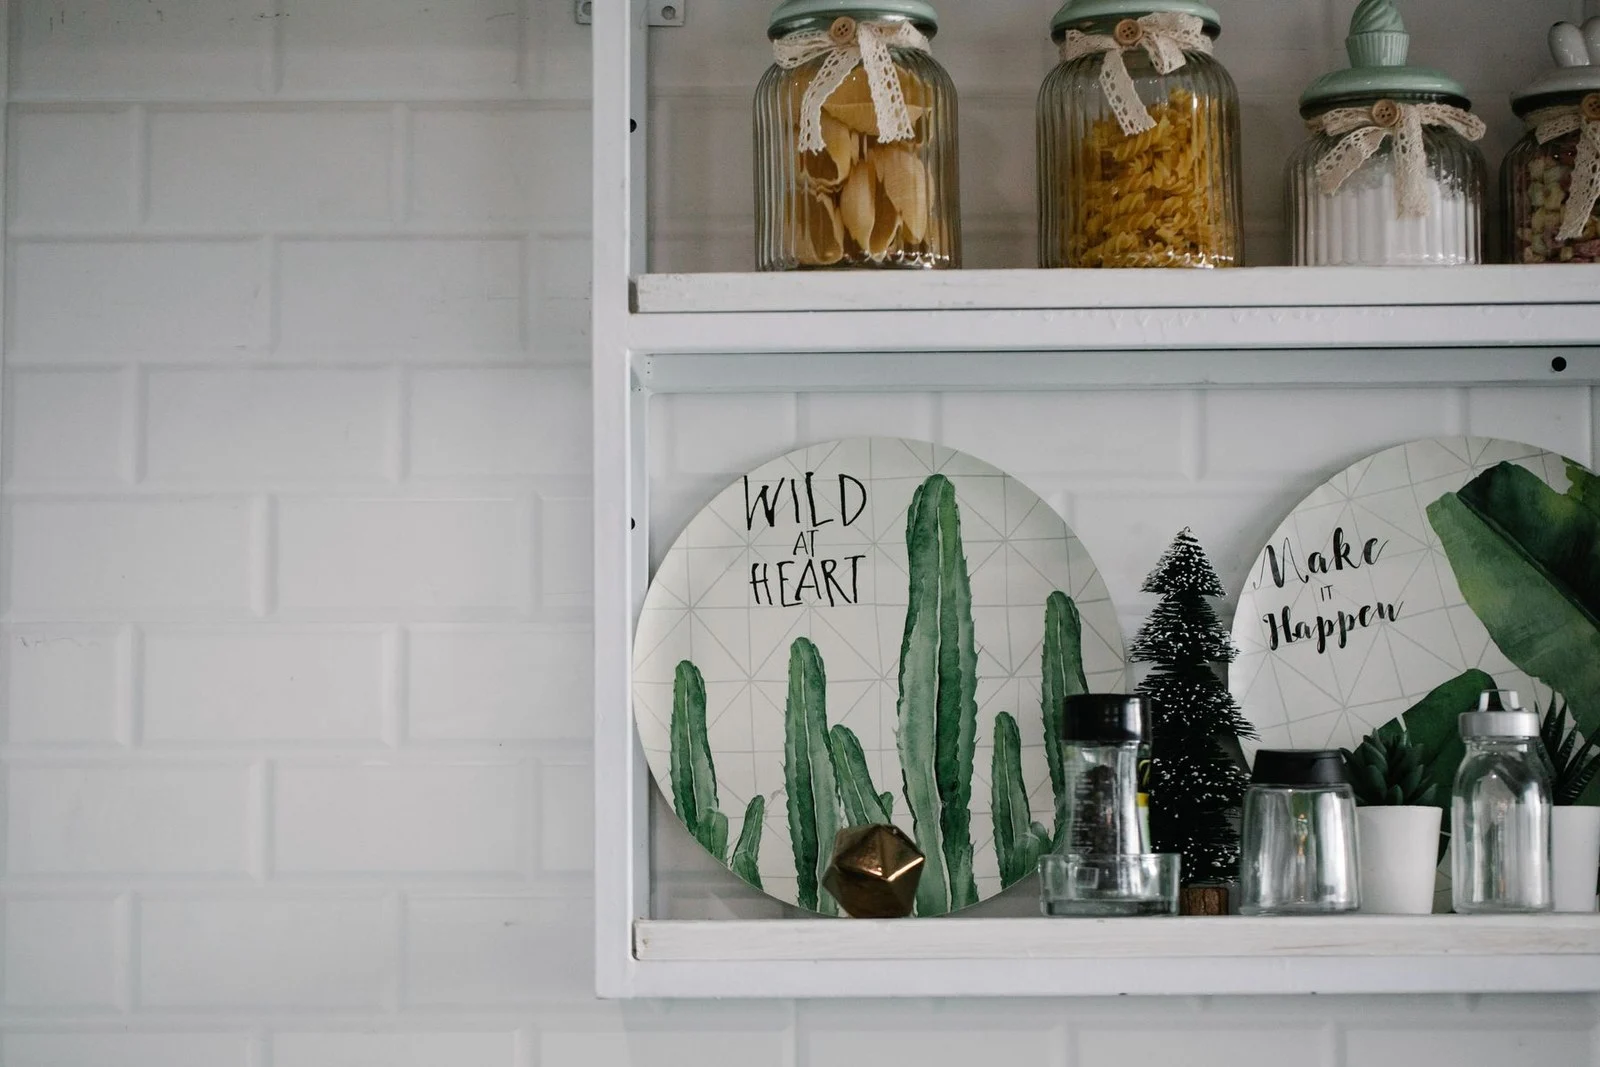
Photo: @katya-wolf via Pexels
Custom kitchens feel custom partly because everything inside has a place. Pull-out trays ($20–$40 each) turn deep base cabinets from black holes into usable storage, door-mounted racks hold spices and wraps, and a $12 set of shelf risers doubles a pantry shelf. Start with the cabinet that annoys you most — usually the one under the sink or the deep corner — and fix only that one first.
18. Paint the Walls, Not Just the Cabinets
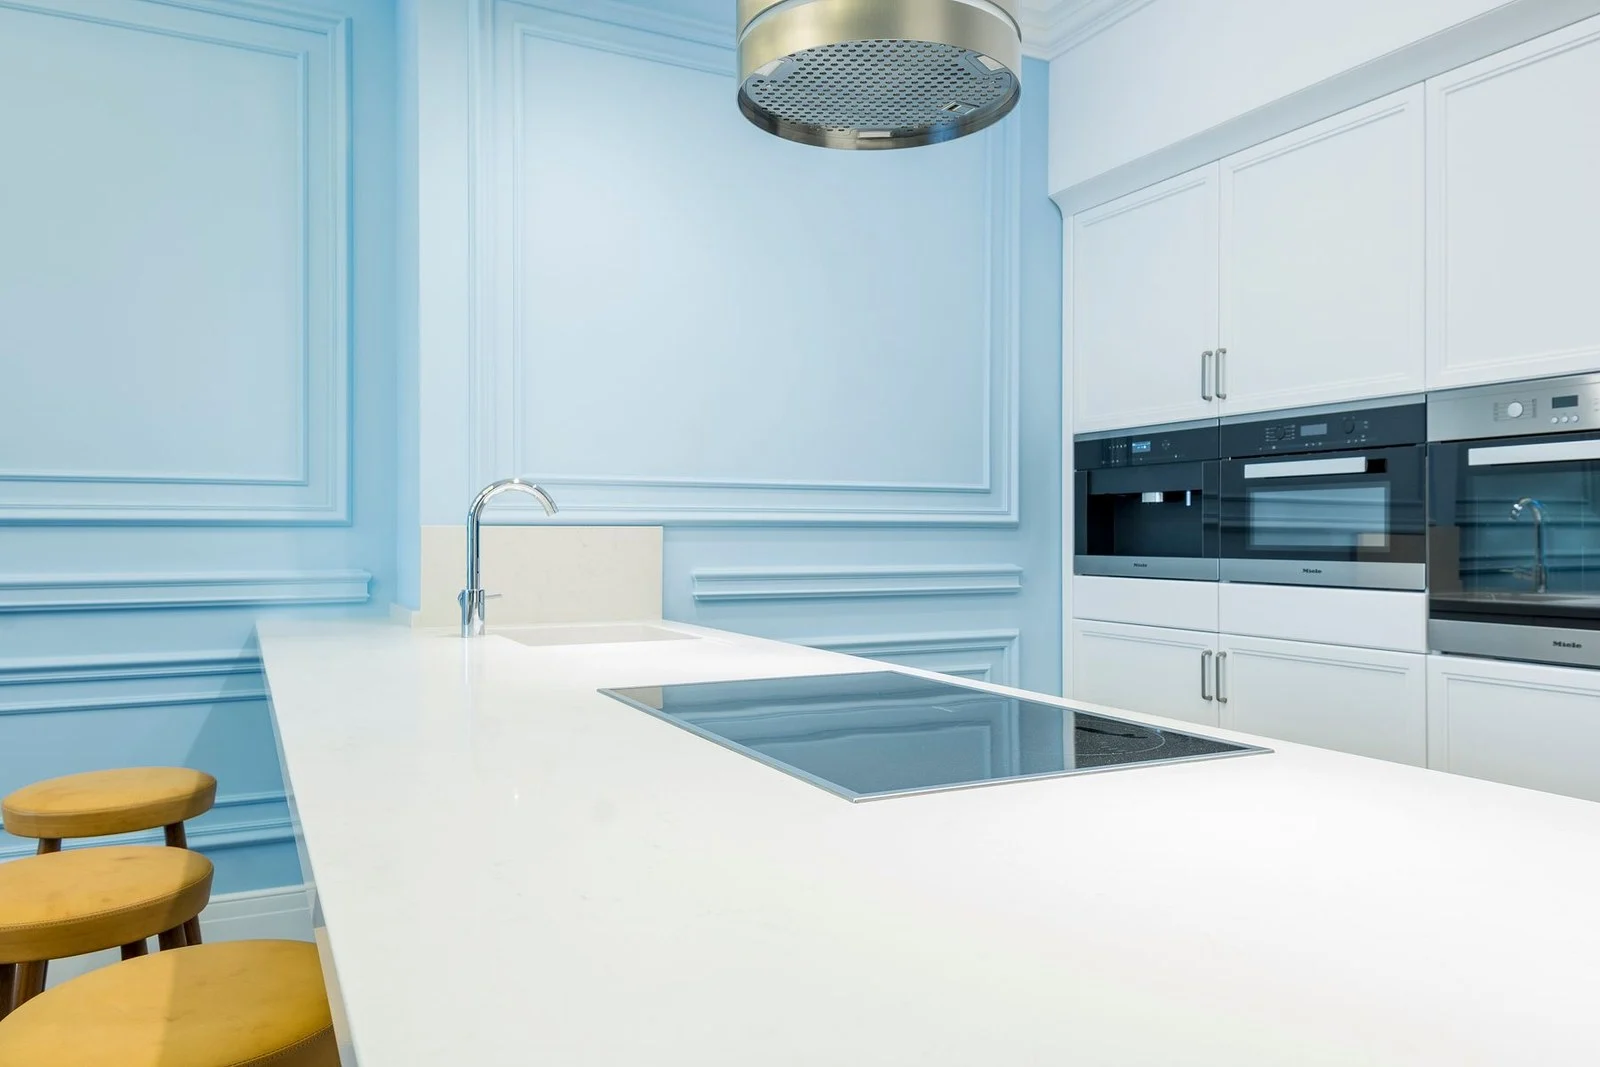
Photo: @artbovich via Pexels
If the cabinets are staying as they are, the walls are your cheapest canvas. A gallon of kitchen paint ($35–$55) covers most kitchens, and a warm white, soft sage, or pale blue can make oak cabinets look intentional instead of dated. Paint the wall colour last, after cabinets and hardware, so you can hold swatches against the finished room rather than guessing.
19. Build a Coffee Station in a Dead Corner
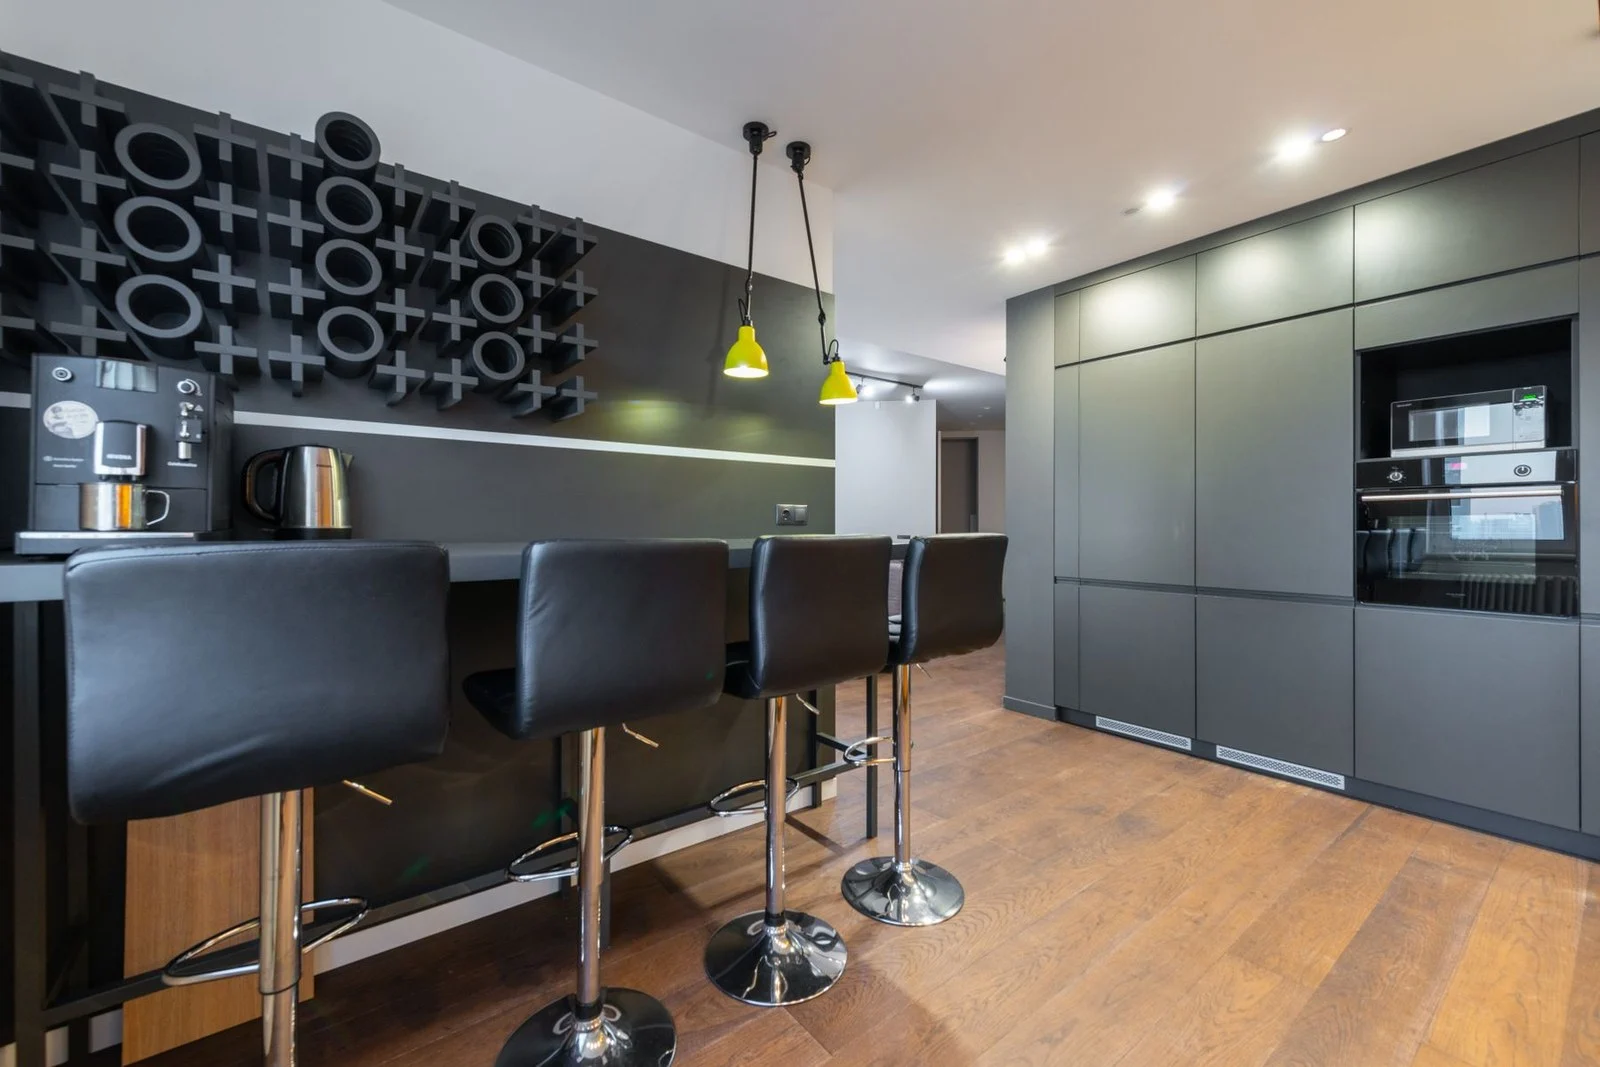
Photo: @artbovich via Pexels
Every kitchen has a corner where nothing useful happens — too far from the stove, too cramped for prep. That corner is your coffee station. A small tray corrals the machine, mugs, and beans into one intentional zone, a $10 mug rail on the wall above keeps cups off the counter, and suddenly a dead spot looks designed. This is the same corraling trick that keeps small counters workable — our small-counter kitchen ideas use trays and vertical pieces for exactly this reason.
20. Swap in a New Drop-In Sink
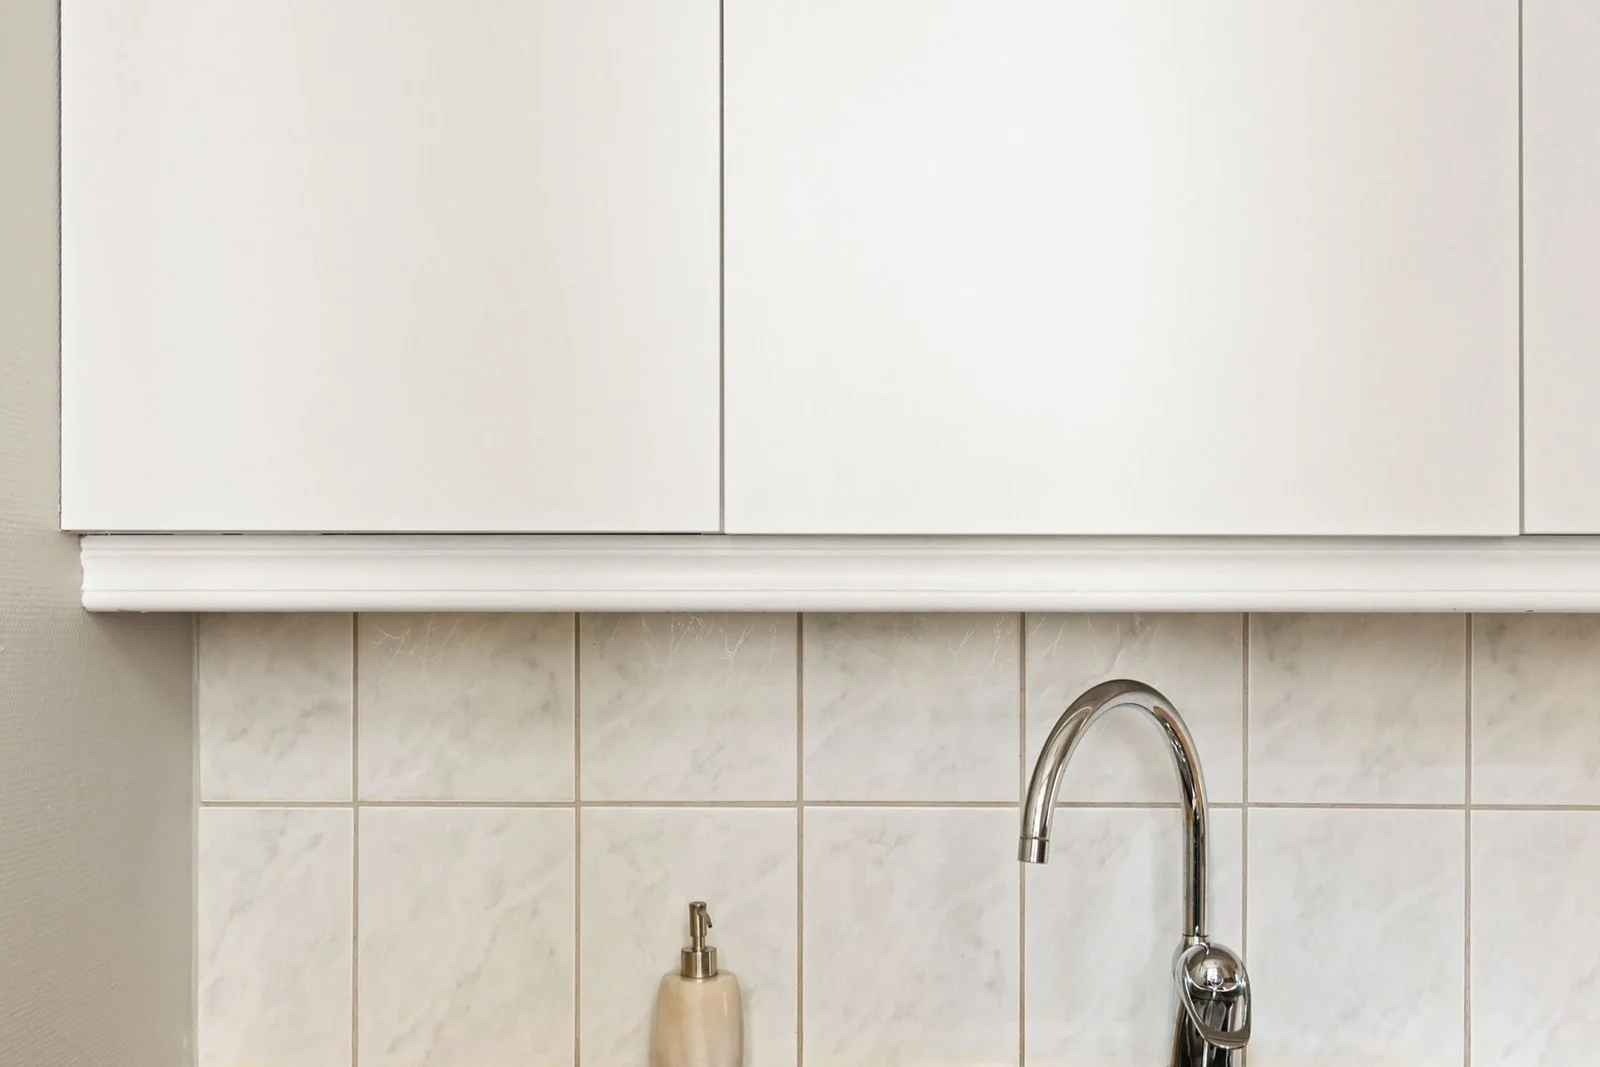
Photo: @lisa-anna-901356985 via Pexels
A stained, scratched sink drags down a whole kitchen, and a drop-in replacement is one of the few plumbing-adjacent jobs most homeowners can do themselves. A quality stainless sink costs $100–$250, and because drop-ins sit on top of the counter, the cutout does not need to be perfect — the rim hides small sins. Measure your existing cutout and buy a sink with the same or slightly larger footprint; going smaller means countertop work you did not budget for.
21. Style the Finish: One Bowl, One Board, One Plant
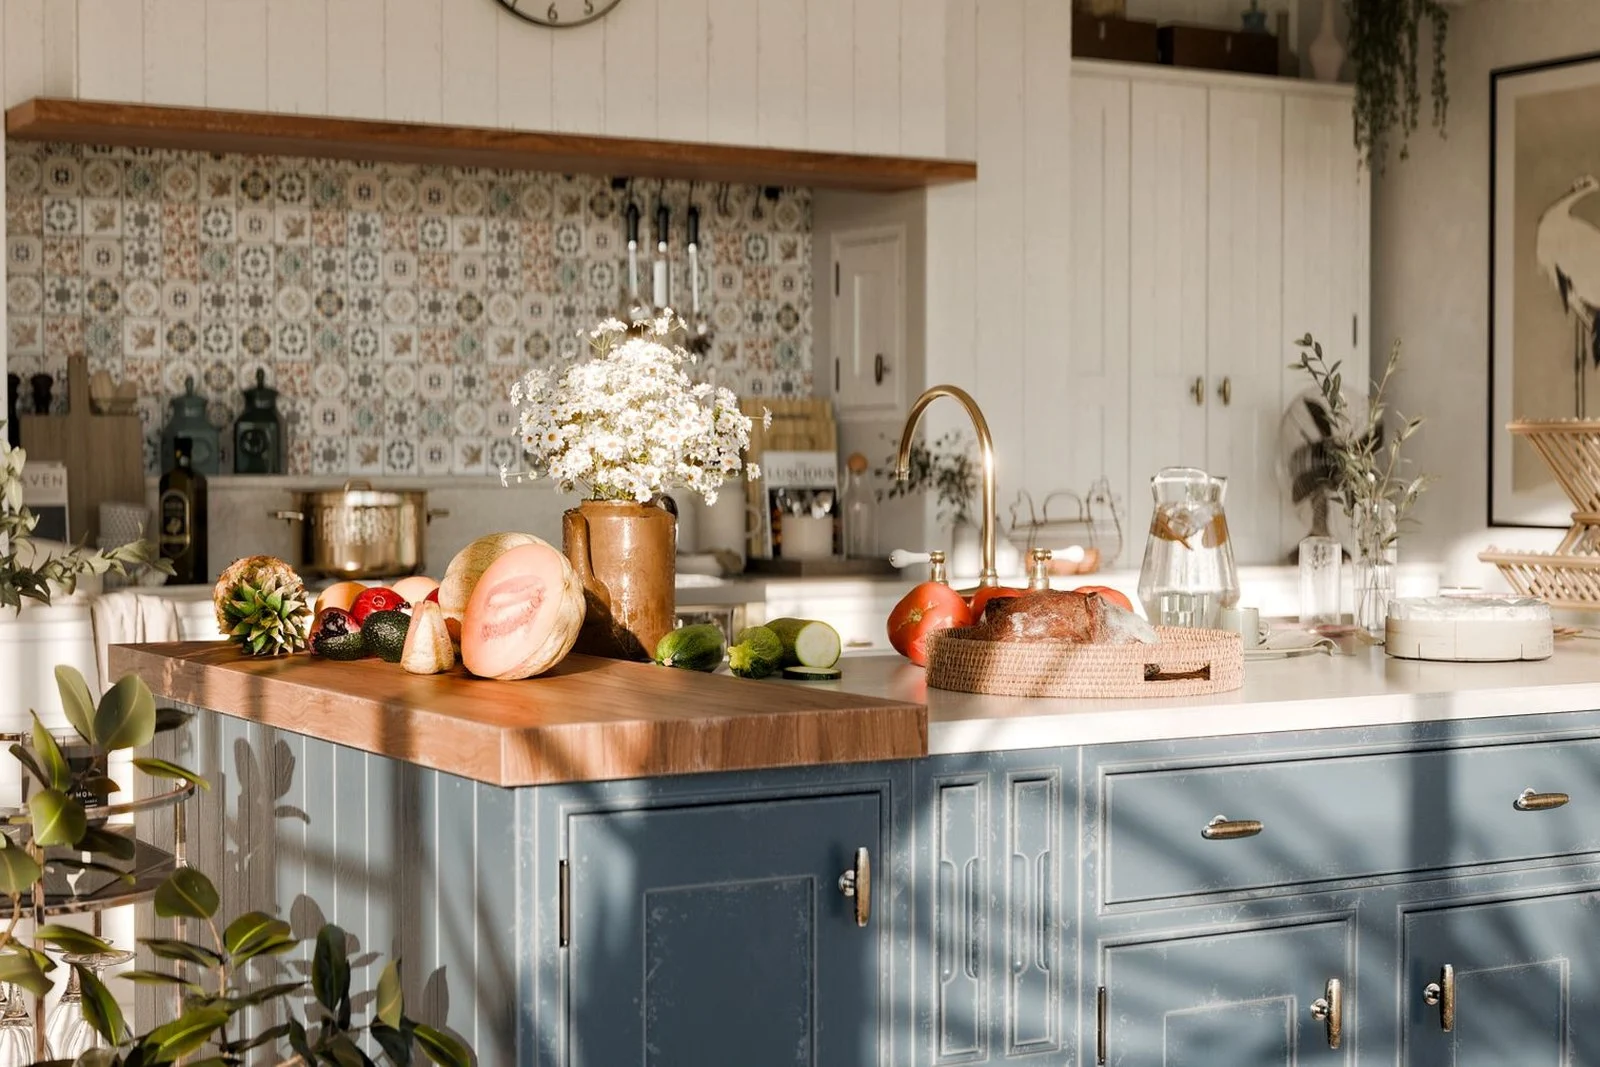
Photo: @george-turmanidze-660738 via Pexels
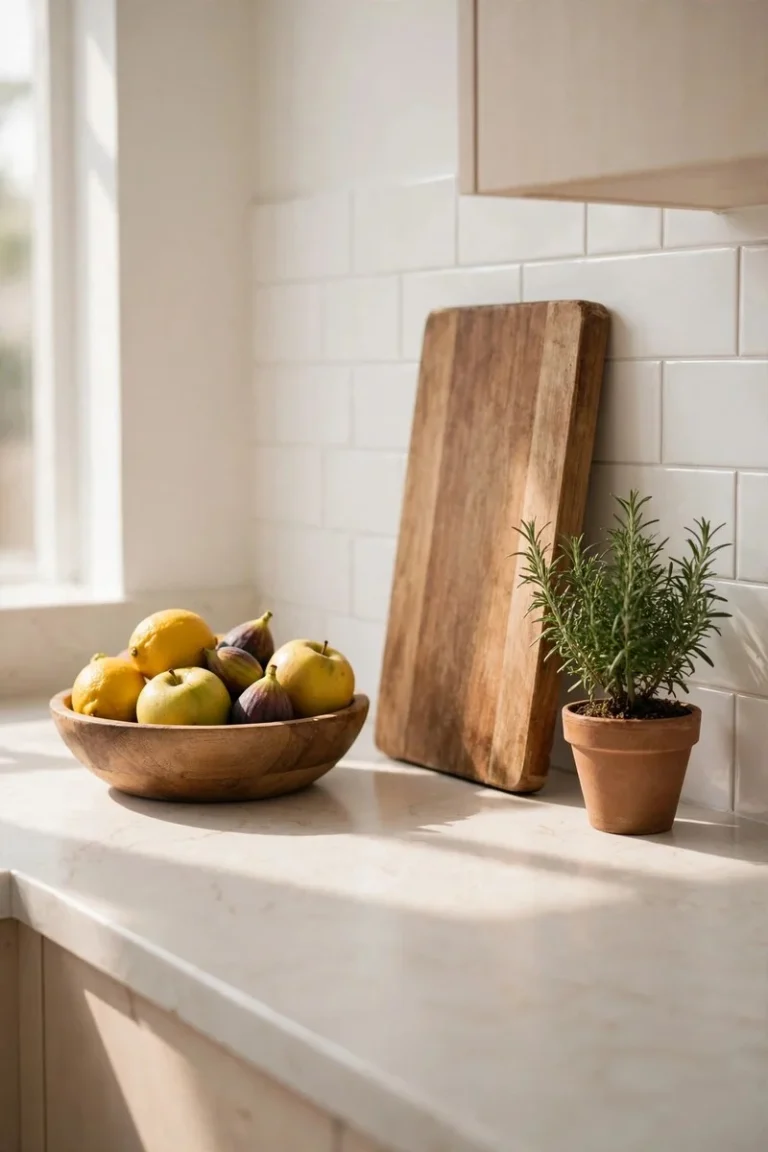
After all the work, the last step costs nothing: edit the counters down to three things. A wooden bowl of fruit, a leaning cutting board, and one plant. That trio photographs like a showroom and leaves the rest of the counter clear for actual cooking. The same “spend less, look considered” logic shows up everywhere in budget decorating — our budget Thanksgiving centerpieces prove that a $10 grocery run, arranged with confidence, beats a $120 arrangement nobody notices.
FAQs
What is the cheapest kitchen update that makes the biggest difference?
Painting the cabinets, followed closely by swapping the hardware. Together they typically run $150–$400 for an average kitchen and change the room’s entire colour story.
How much does a budget kitchen update cost overall?
Most kitchens land between $500 and $2,000 when you combine several ideas on this list — paint, hardware, lighting, a faucet, and textiles.
Can I update my kitchen without replacing the countertops?
Yes. Refinishing kits, butcher-block overlays on a section, and even a thorough deep clean with re-caulked seams can carry dated laminate for years.
Do budget updates actually add home value?
Fresh paint, modern hardware, and good lighting photograph well and help a kitchen show better, which matters if you sell.
A kitchen that looks custom is rarely the one with the biggest budget. It is the one where the cabinets, hardware, light, and surfaces all agree with each other. Pick three ideas from this list, do them properly instead of ten halfway, and live with the result for a month before deciding what comes next. The room will tell you.