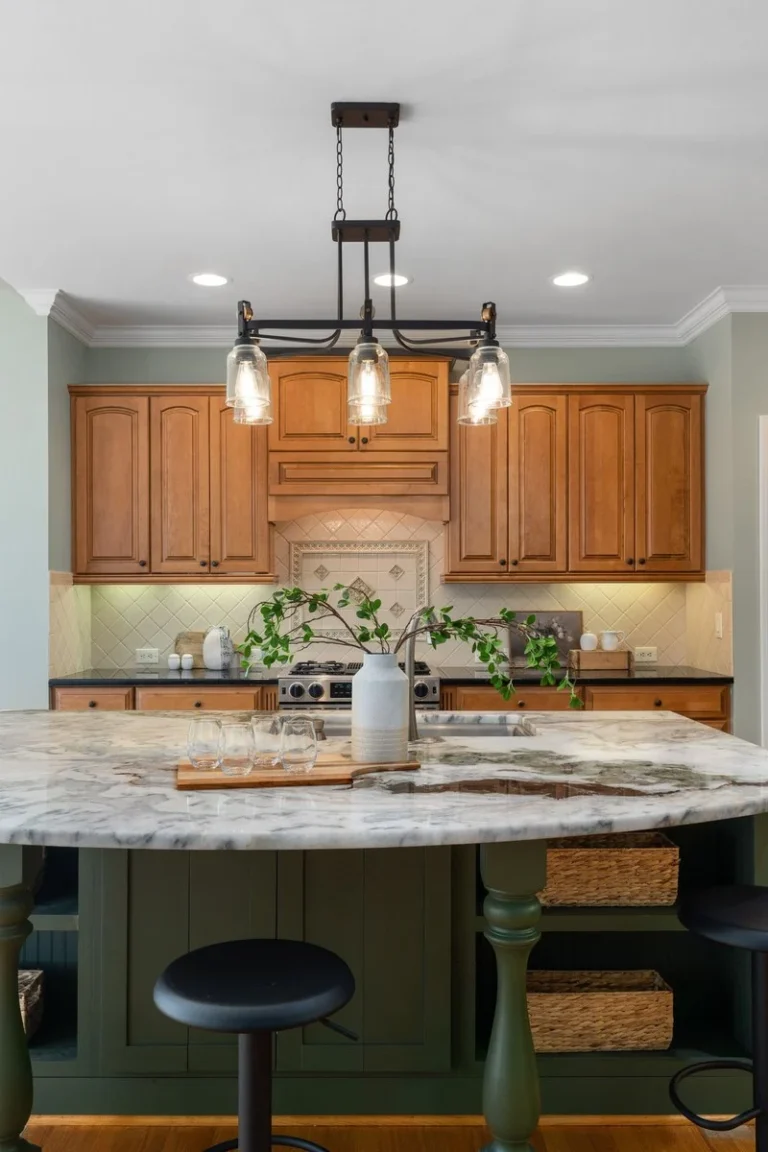




Every year I do the same dance: I decorate for fall in mid-September, Halloween creeps closer, and suddenly I’m staring at my cozy amber mantel thinking, “This looks great, but where do the ghosts go?” Then November 1st hits and I’m ripping skeletons off the porch at 9 p.m. because the cozy-fall look needs to come back before my mother-in-law visits. After three years of doing it the hard way, I finally built a system. The fall to Halloween decor transition doesn’t require two full decorating sessions — it requires one solid fall base, one labeled bin of Halloween pieces, and a plan for putting it all away.
Here’s the full method, room by room. Most of the heavy lifting happens once; after that, you’re swapping maybe a dozen items per room and you’re done.
1. Build a Fall Base That Works for Both Seasons

The trick is decorating in September for a “cozy autumn” look with zero Halloween-specific items. Think warm neutrals — cream, caramel, rust, olive — plus pumpkins, dried wheat, plaid throws, and wood textures. This base stays put from September through Thanksgiving. When Halloween arrives, you layer spooky pieces over it; when it’s over, you lift them off and the fall base is still there. Buy once, decorate twice. I use white and pale-orange pumpkins as the anchor because they read “fall” on their own and “spooky” the moment you add black candles or a few plastic ravens.
2. Create One Dedicated “Halloween Swap” Bin
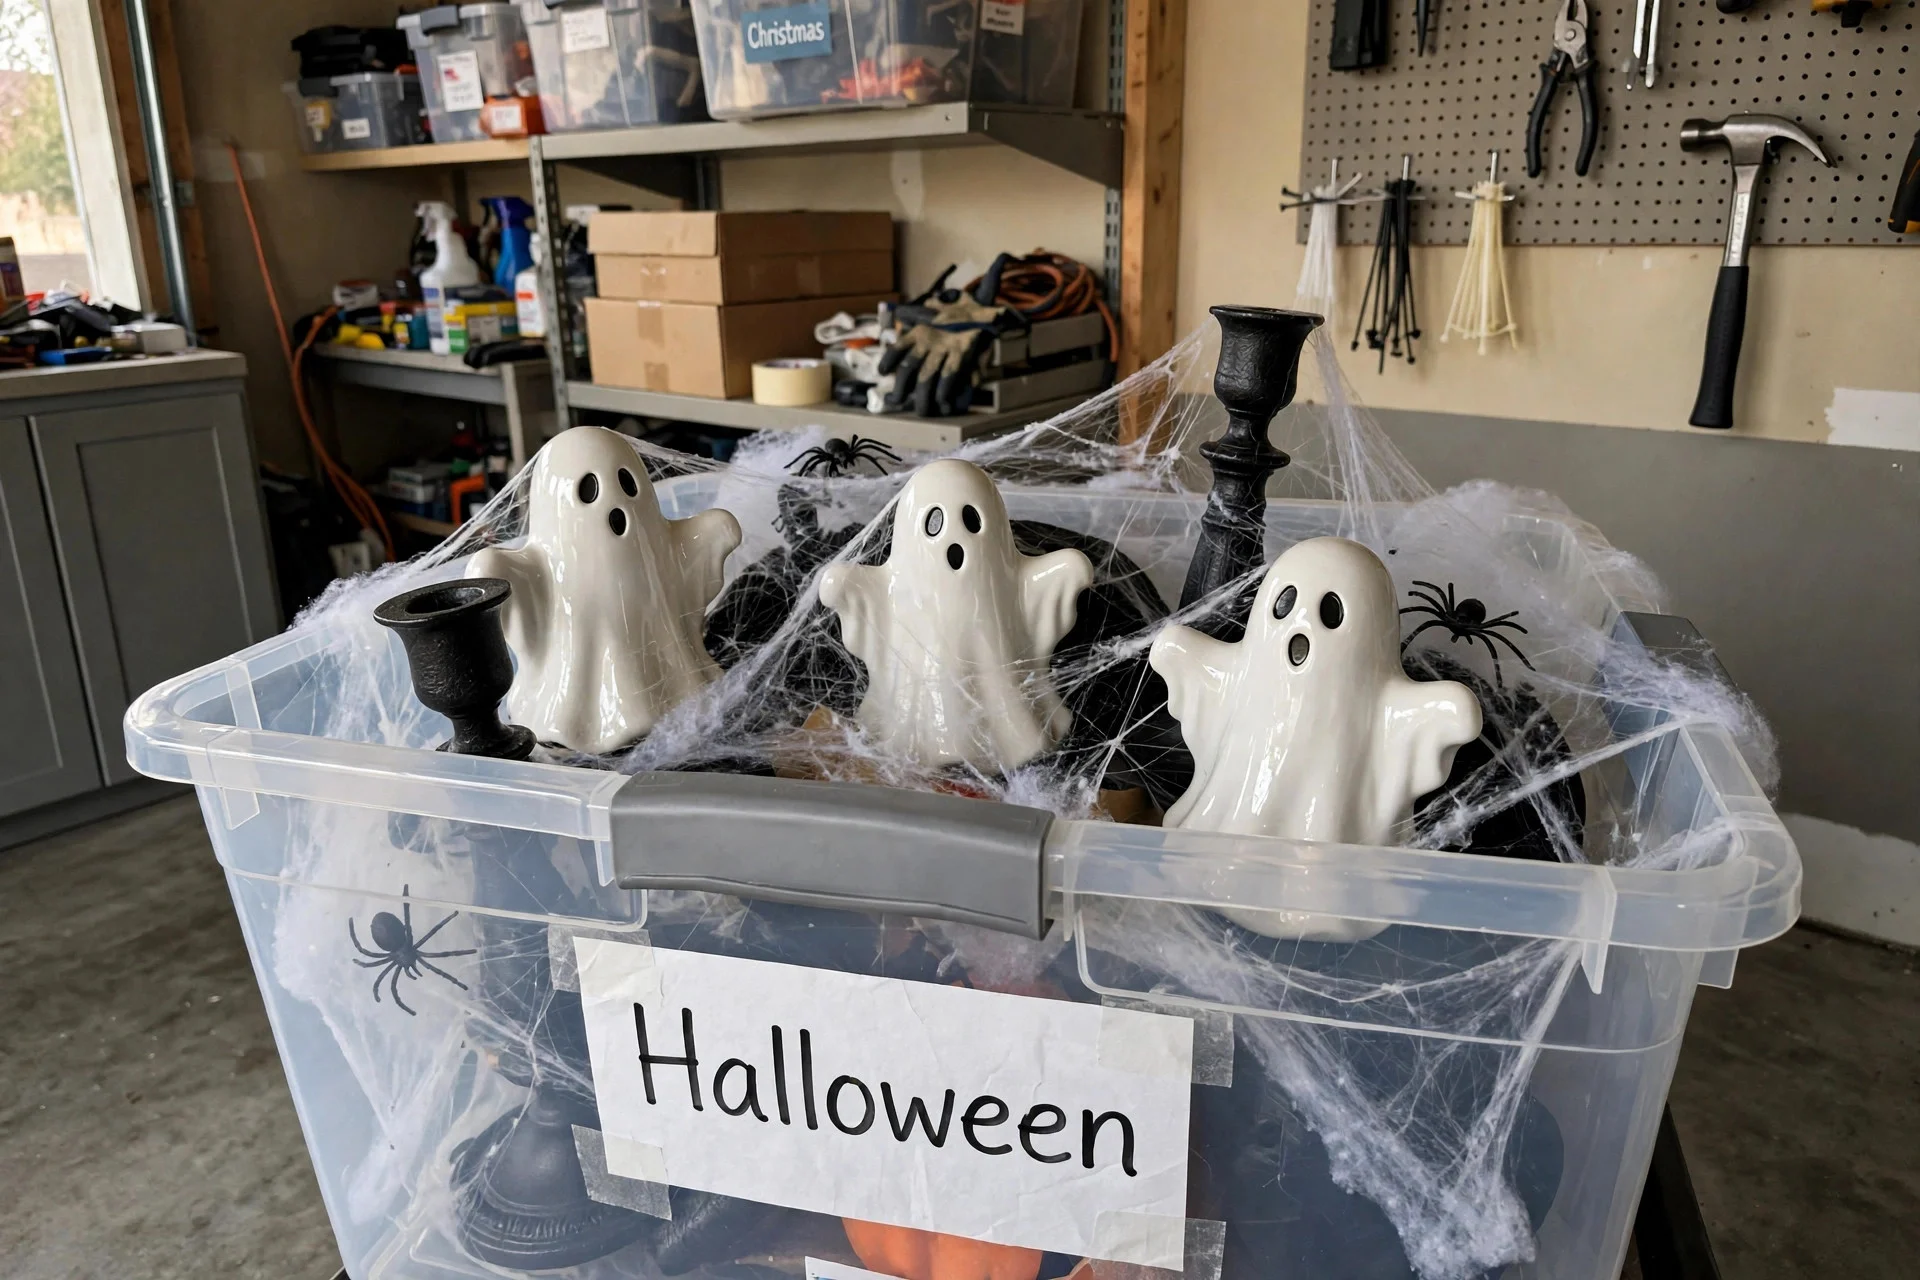
Everything Halloween-specific goes in ONE clear bin with a lid — I use a 27-gallon tote from Target, about $14. The key word is “specific”: ceramic ghosts, spider webs, the black candlesticks, the haunted-house table runner. Fall-neutral pieces stay out. On October 1st (or whenever you flip), you carry the bin room by room and deploy. On November 1st, you reverse the walk with the same bin. Clear sides matter because next October you’ll remember what’s inside without unstacking the garage. If you’re building a stash cheaply, these dollar store Halloween decorations that don’t look cheap are exactly the pieces worth buying once and binning every year.
3. Swap Soft Goods First — Biggest Impact, Least Effort
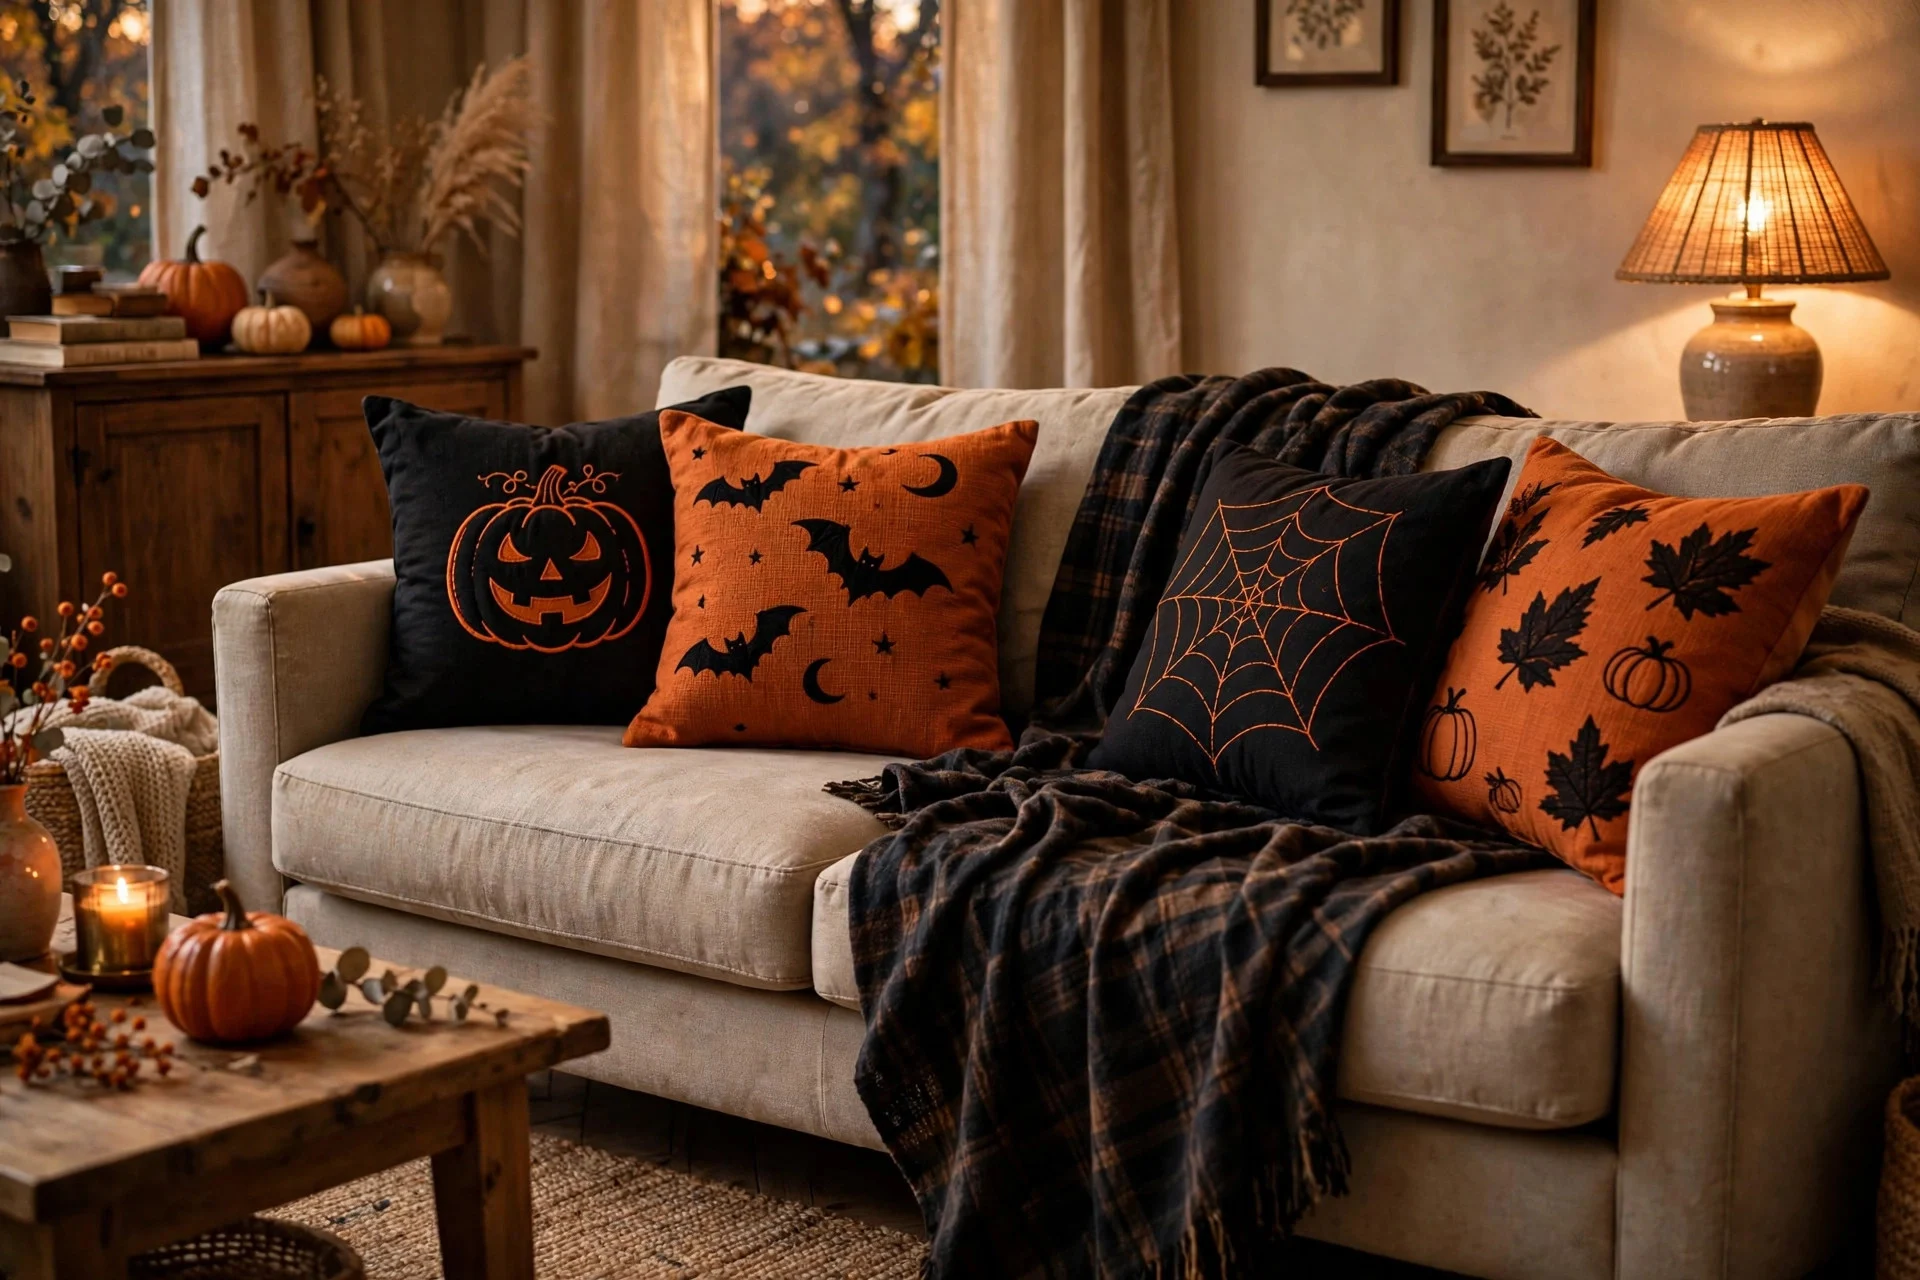
Pillow covers are the highest-ROI swap in the house. Slip black, burnt-orange, or skeleton-print covers over your existing sofa pillows and the room flips from fall to Halloween in four minutes. Same with throws: trade the cream knit throw for a dark plaid or a charcoal waffle weave. I buy pillow covers with zippers ($6–$9 on Amazon, 18×18) instead of whole pillows — they store flat in a vacuum bag and there’s no pillow graveyard in the closet. Do the same swap in the bedroom. It takes one laundry basket trip and changes the entire feel of both rooms.
4. The Mantel: A Five-Minute Flip Formula

Leave your fall garland, wheat, and pumpkins exactly where they are. Add exactly four things: black taper candles in your existing holders, one skull or bust, a strand of faux cobweb, and a framed Halloween print leaning in front of the mirror. Done. The existing fall base keeps it from looking like a costume shop, and the four dark additions do all the spooky work. When November comes, the four items go back in the bin and the mantel was already fall-ready. For more mantel-specific layering ideas, the Halloween mantel decor ideas that take 20 minutes roundup has variations on this exact approach.
5. Layer Spooky Over Cozy on the Porch
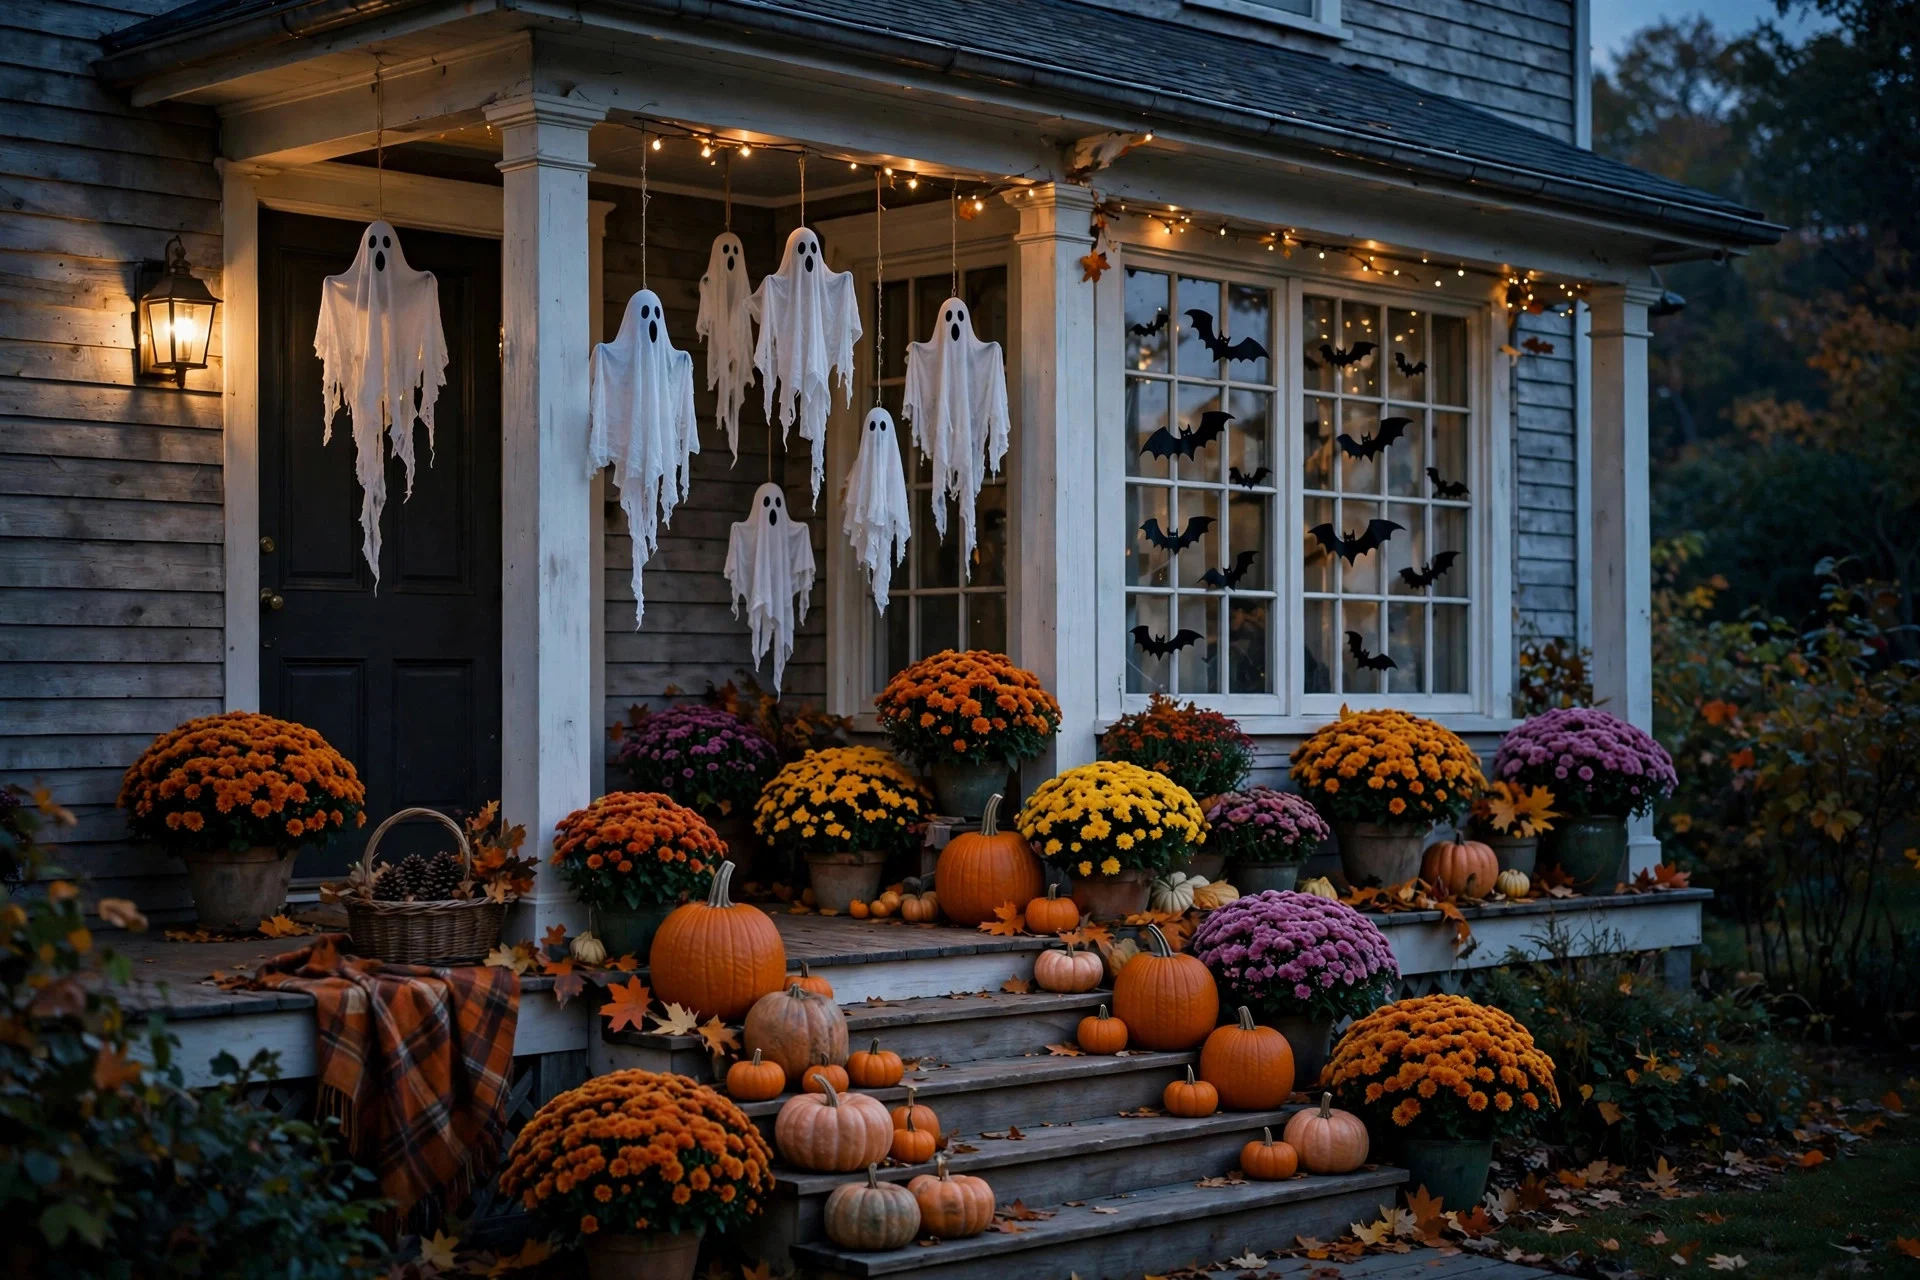
Your September porch — mums in pots, a wreath, pumpkins on the steps — stays. Halloween gets added on top: a hanging ghost in the corner, bat decals on the window above the door, a “trick or treat” doormat layered over your fall mat. Nothing leaves. That’s the whole principle: fall is the cake, Halloween is the frosting. On November 1st the ghosts come down and your porch is instantly presentable for November. If your porch needs a bigger spooky upgrade in the first place, these spooky Halloween porch ideas on a budget layer beautifully over a mums-and-pumpkins base.
6. Kitchen Counters: Small Changes, Big Shift

Kitchens don’t need a full redecoration — they need three swaps. Trade your fall dish towels for Halloween ones (or black ones), put a small black cauldron or apothecary jar with candy on the counter, and switch the soap dispenser if you’re committed. The wooden cutting boards, the pumpkin spice sign, the amber glass bottles — all that fall base stays. Total cost: maybe $12 for towels and candy. Total time: six minutes. And honestly, the candy jar is the only Halloween decor that gets used every single day.
7. Dining Table: One Centerpiece, Three Looks
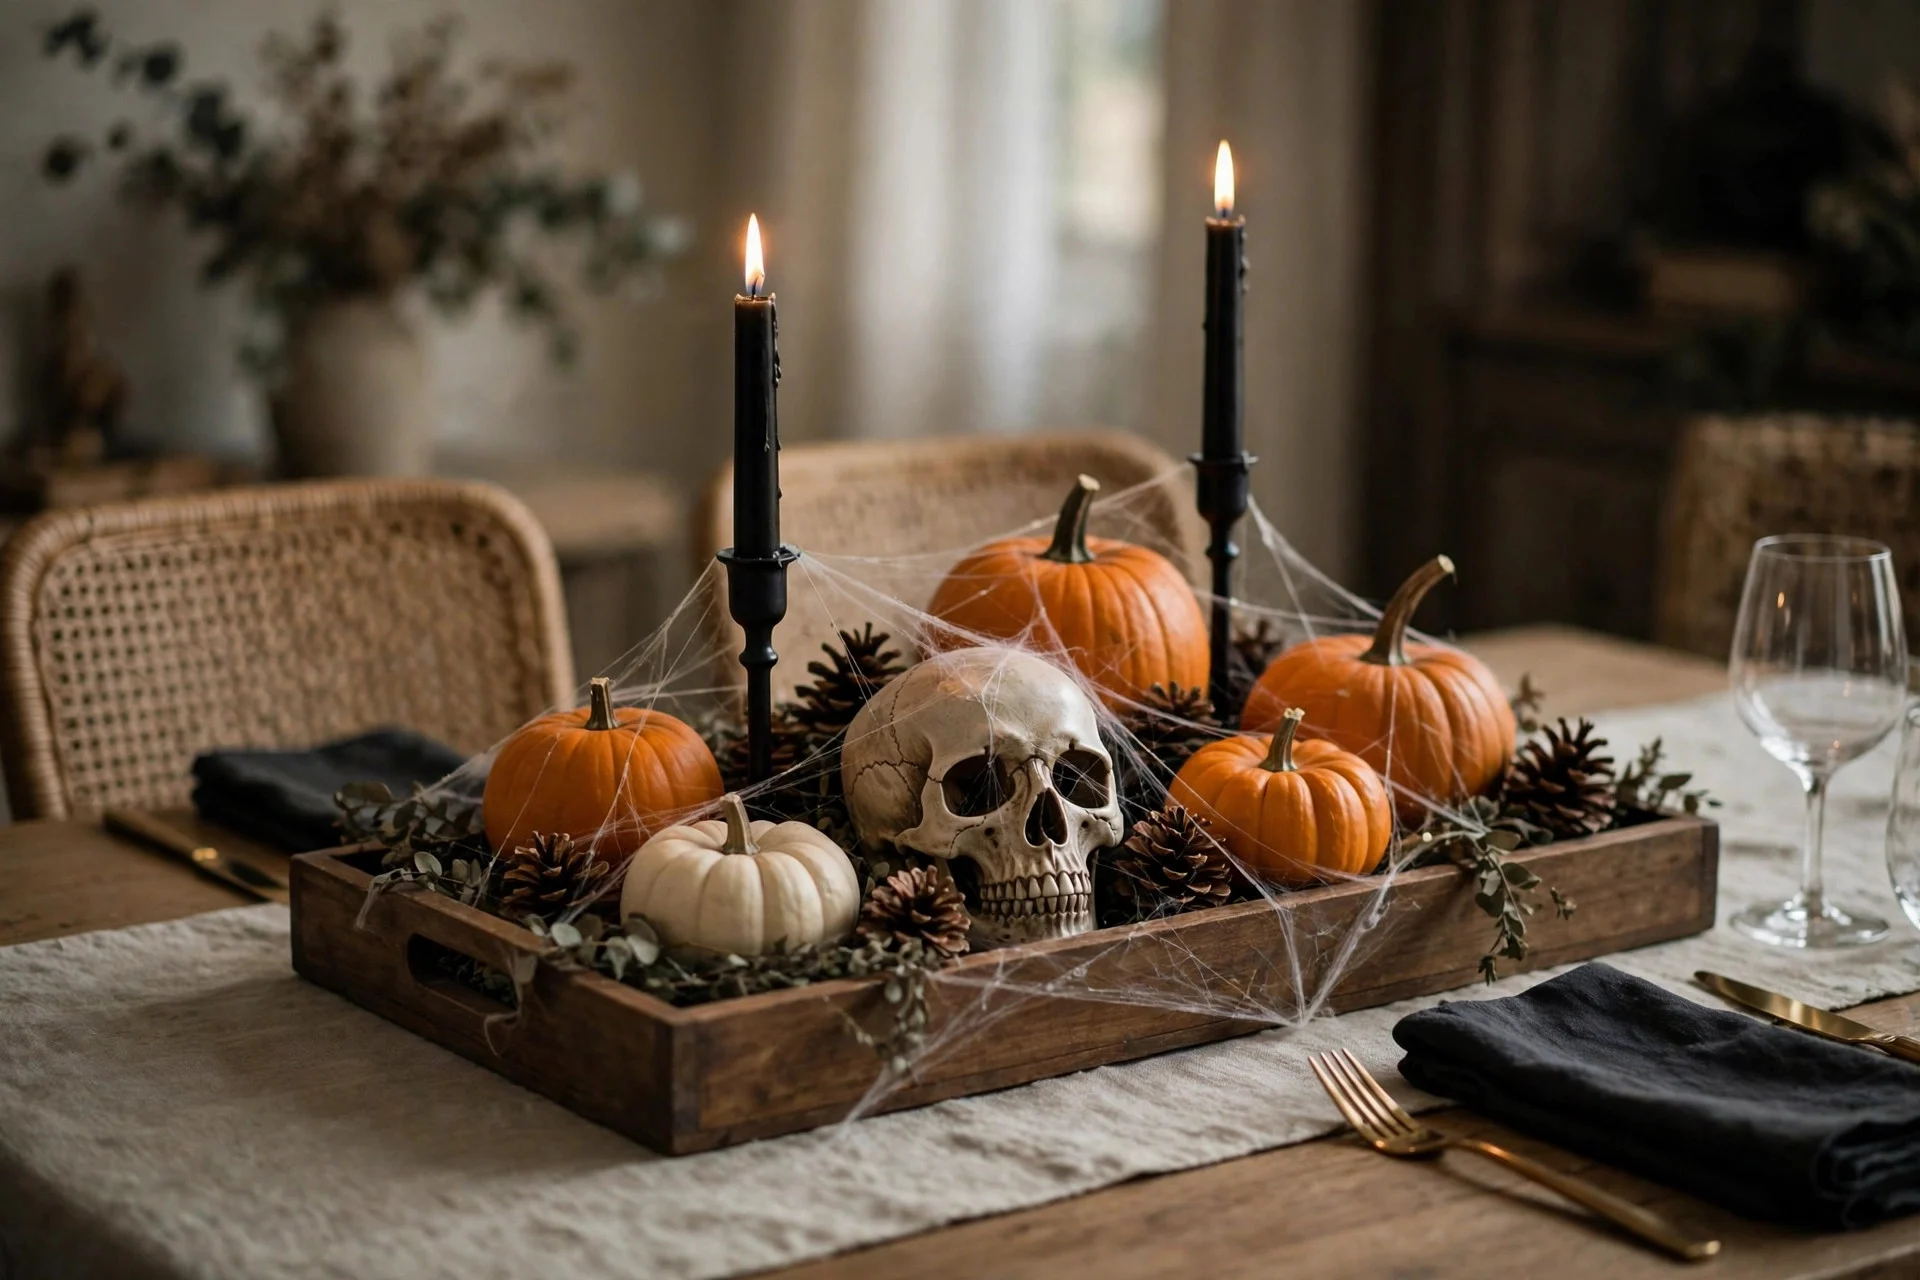
Set a permanent fall runner and keep a wooden tray as your year-round centerpiece base. September: tray with pumpkins, pinecones, and a candle. Halloween: same tray, same pumpkins, plus black candlesticks, a skull, and a tangle of faux spiderweb. Thanksgiving week: remove the black items, add dried oranges and wheat. The tray corrals everything so swaps take ninety seconds and you never disturb the table setting. If you’re hosting the big night itself, Halloween table decor ideas for a dinner party builds a full tablescape on this exact tray method.
8. Don’t Skip the Bathrooms
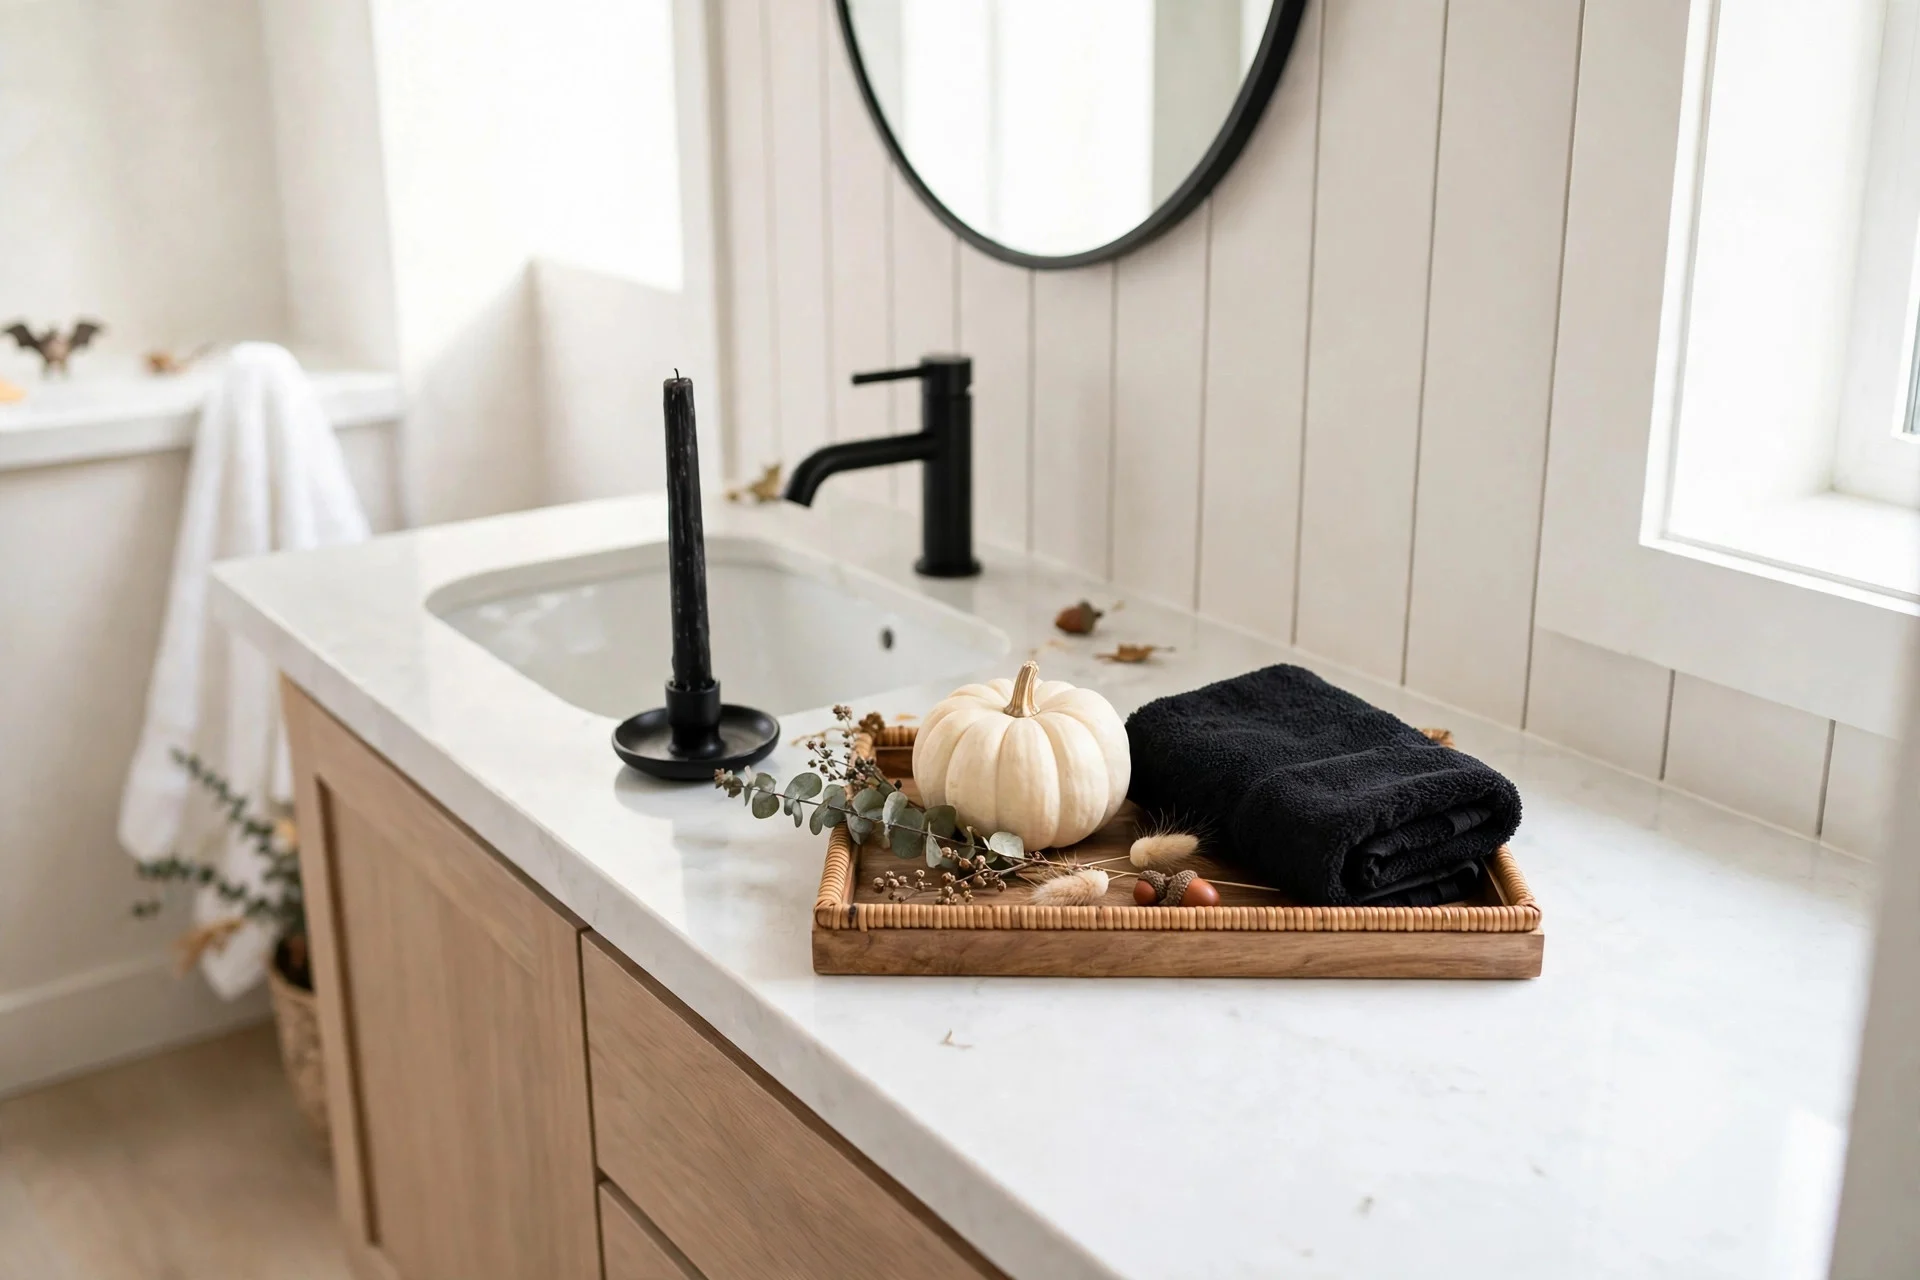
Guests notice bathrooms, and they’re the easiest room to flip. Swap the hand towel for a black or Halloween-print one, add a small pumpkin on the back of the toilet or the vanity tray, and put a Halloween-scented candle (or any dark-colored one) by the sink. That’s it — three items, under five minutes. I forgot the guest bath for two years running and it genuinely stood out in photos. Now it’s the first room I hit on the October walk-through because it’s so fast.
9. Candles and Lighting Do the Real Mood Work
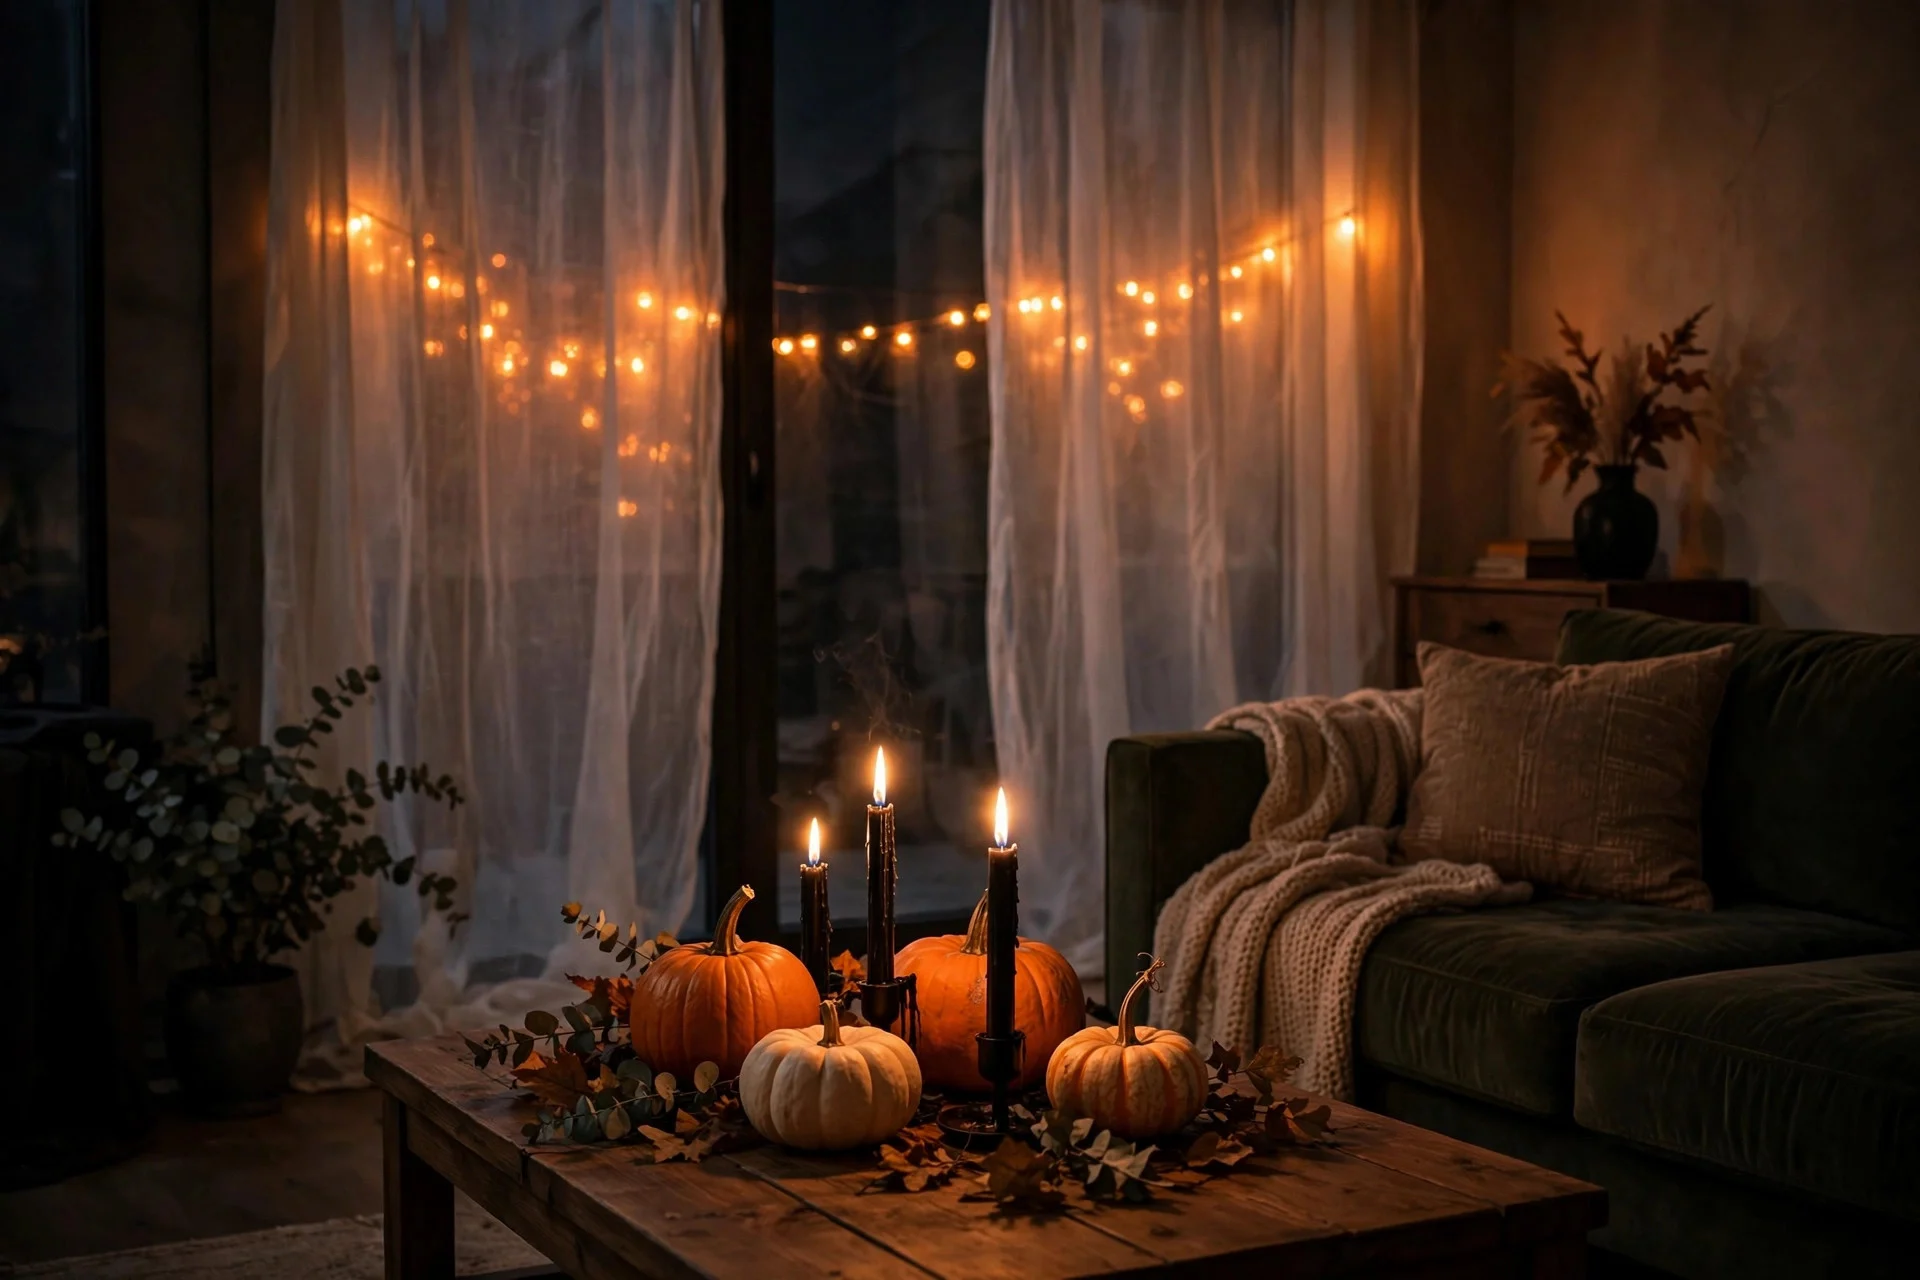
If your fall base uses warm white candles, swapping in black tapers and a few orange LED string lights changes the emotional temperature of a room more than any decoration. Lighting reads subconsciously — people feel “spooky” before they can name a single decoration. Battery-operated black candles ($12 for a set of six with timers) go in the same holders you already own. Add orange or purple string lights behind sheer curtains for a glow that doesn’t require redecorating anything. In November, the black candles go back in the bin and your warm whites return.
10. Invest in Greenery That Spans Both Seasons
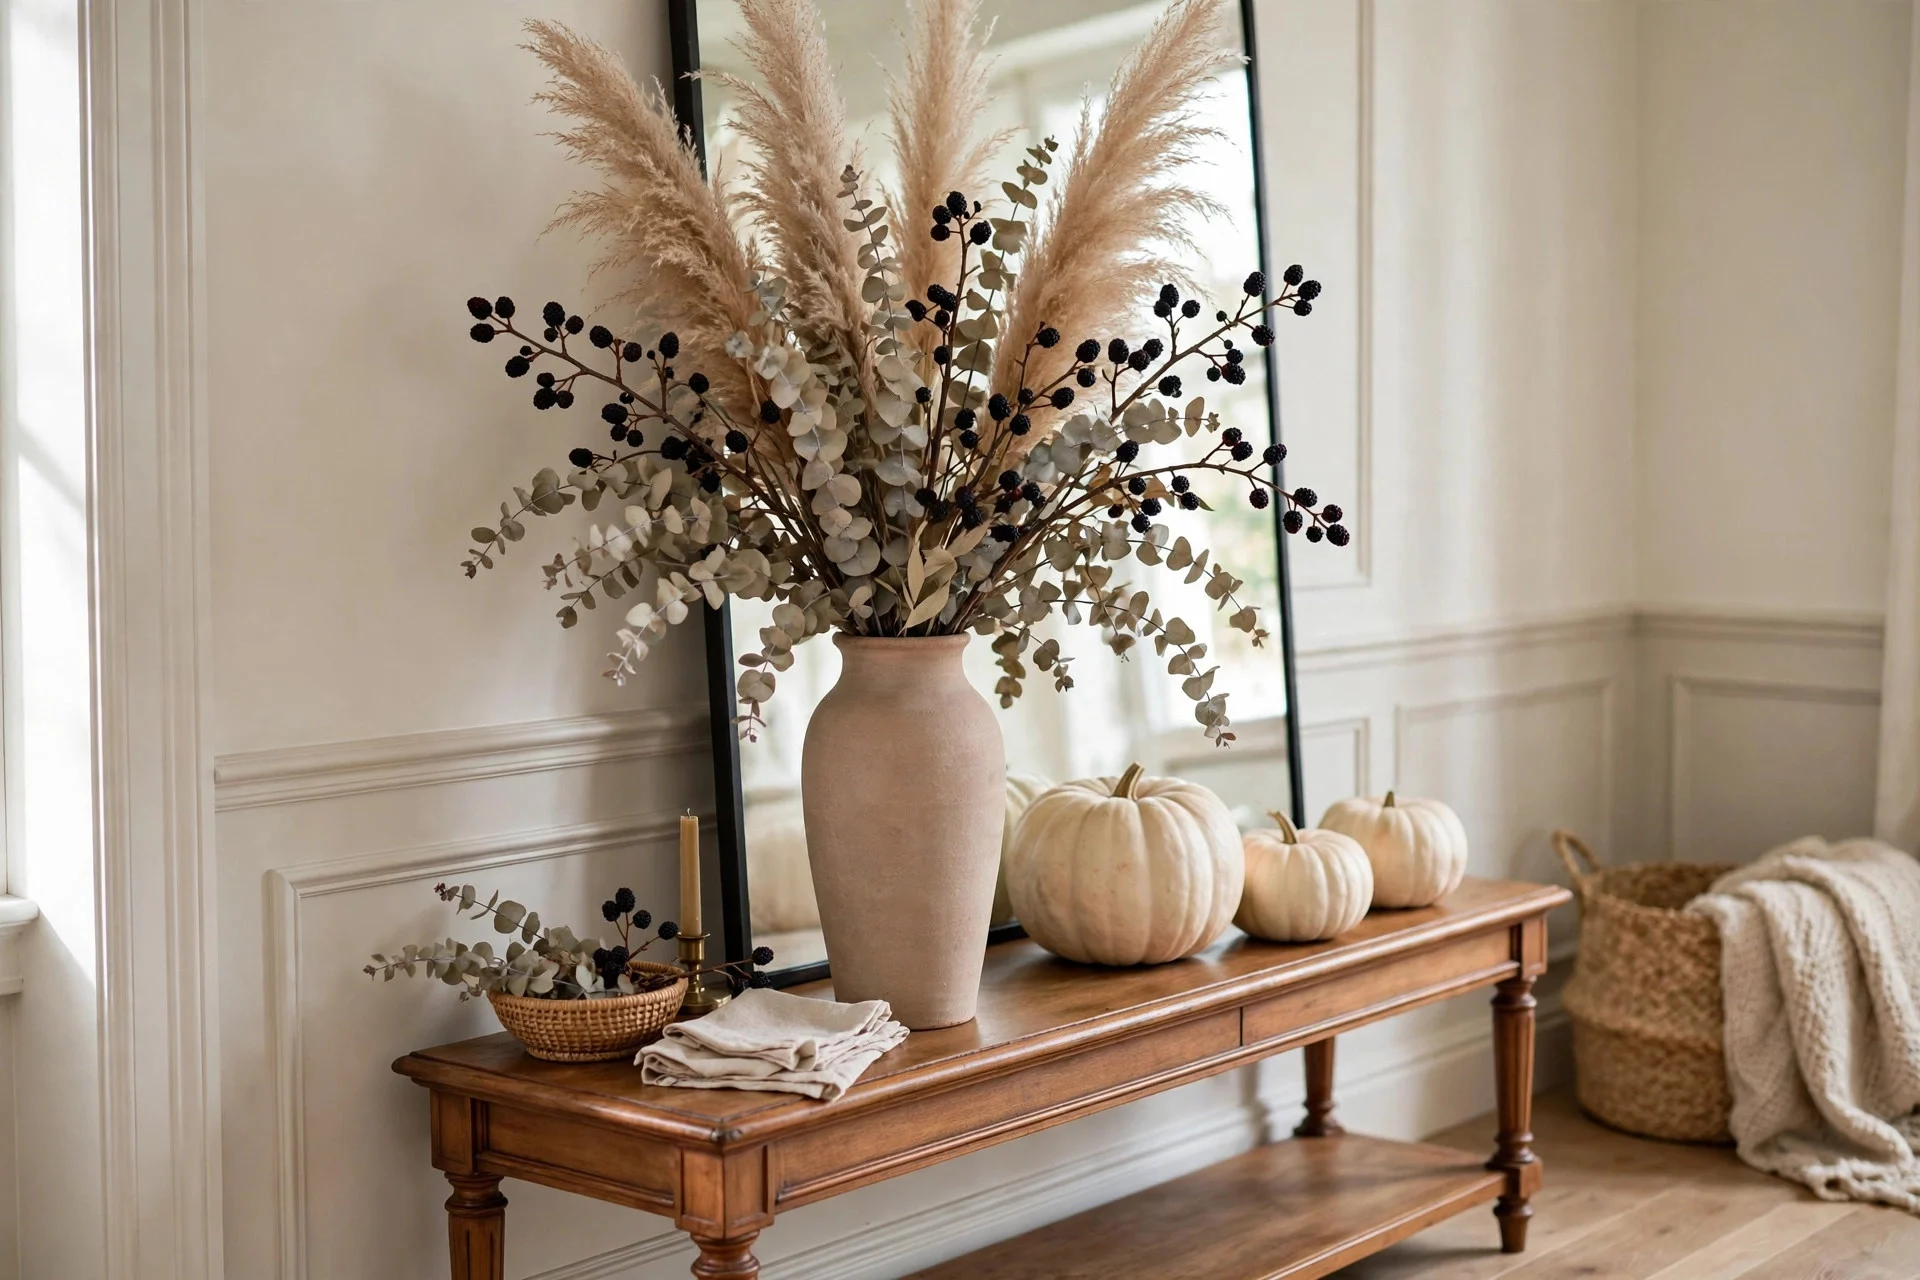
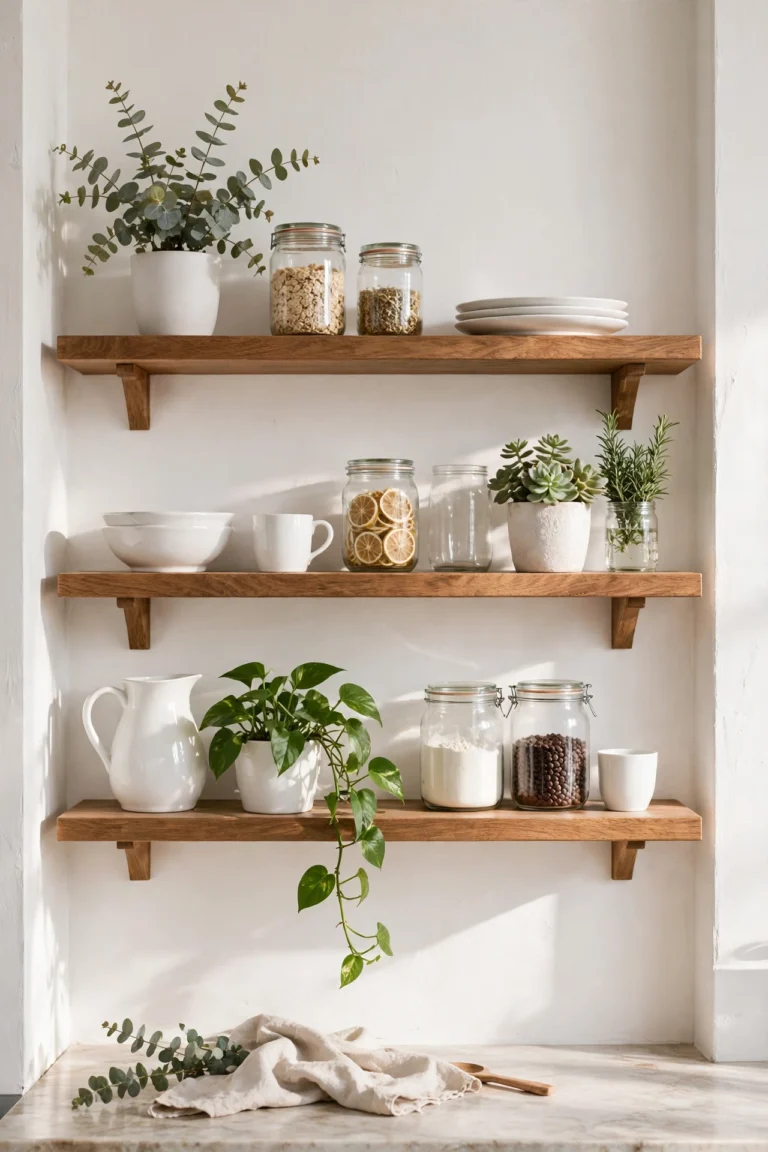
Dried eucalyptus, pampas grass, preserved ferns, and dark berry branches work for fall, Halloween, and Thanksgiving without a single change. They’re the permanent foliage layer under all your swaps. I keep one big vase of dried eucalyptus on the entry console from September to January — it costs about $18 at Trader Joe’s or the craft store and outlasts every other decoration I own. Buying dual-purpose pieces like this once saves you from decorating the same surfaces three times a season.
11. Keep the Wreath, Swap the Accessories
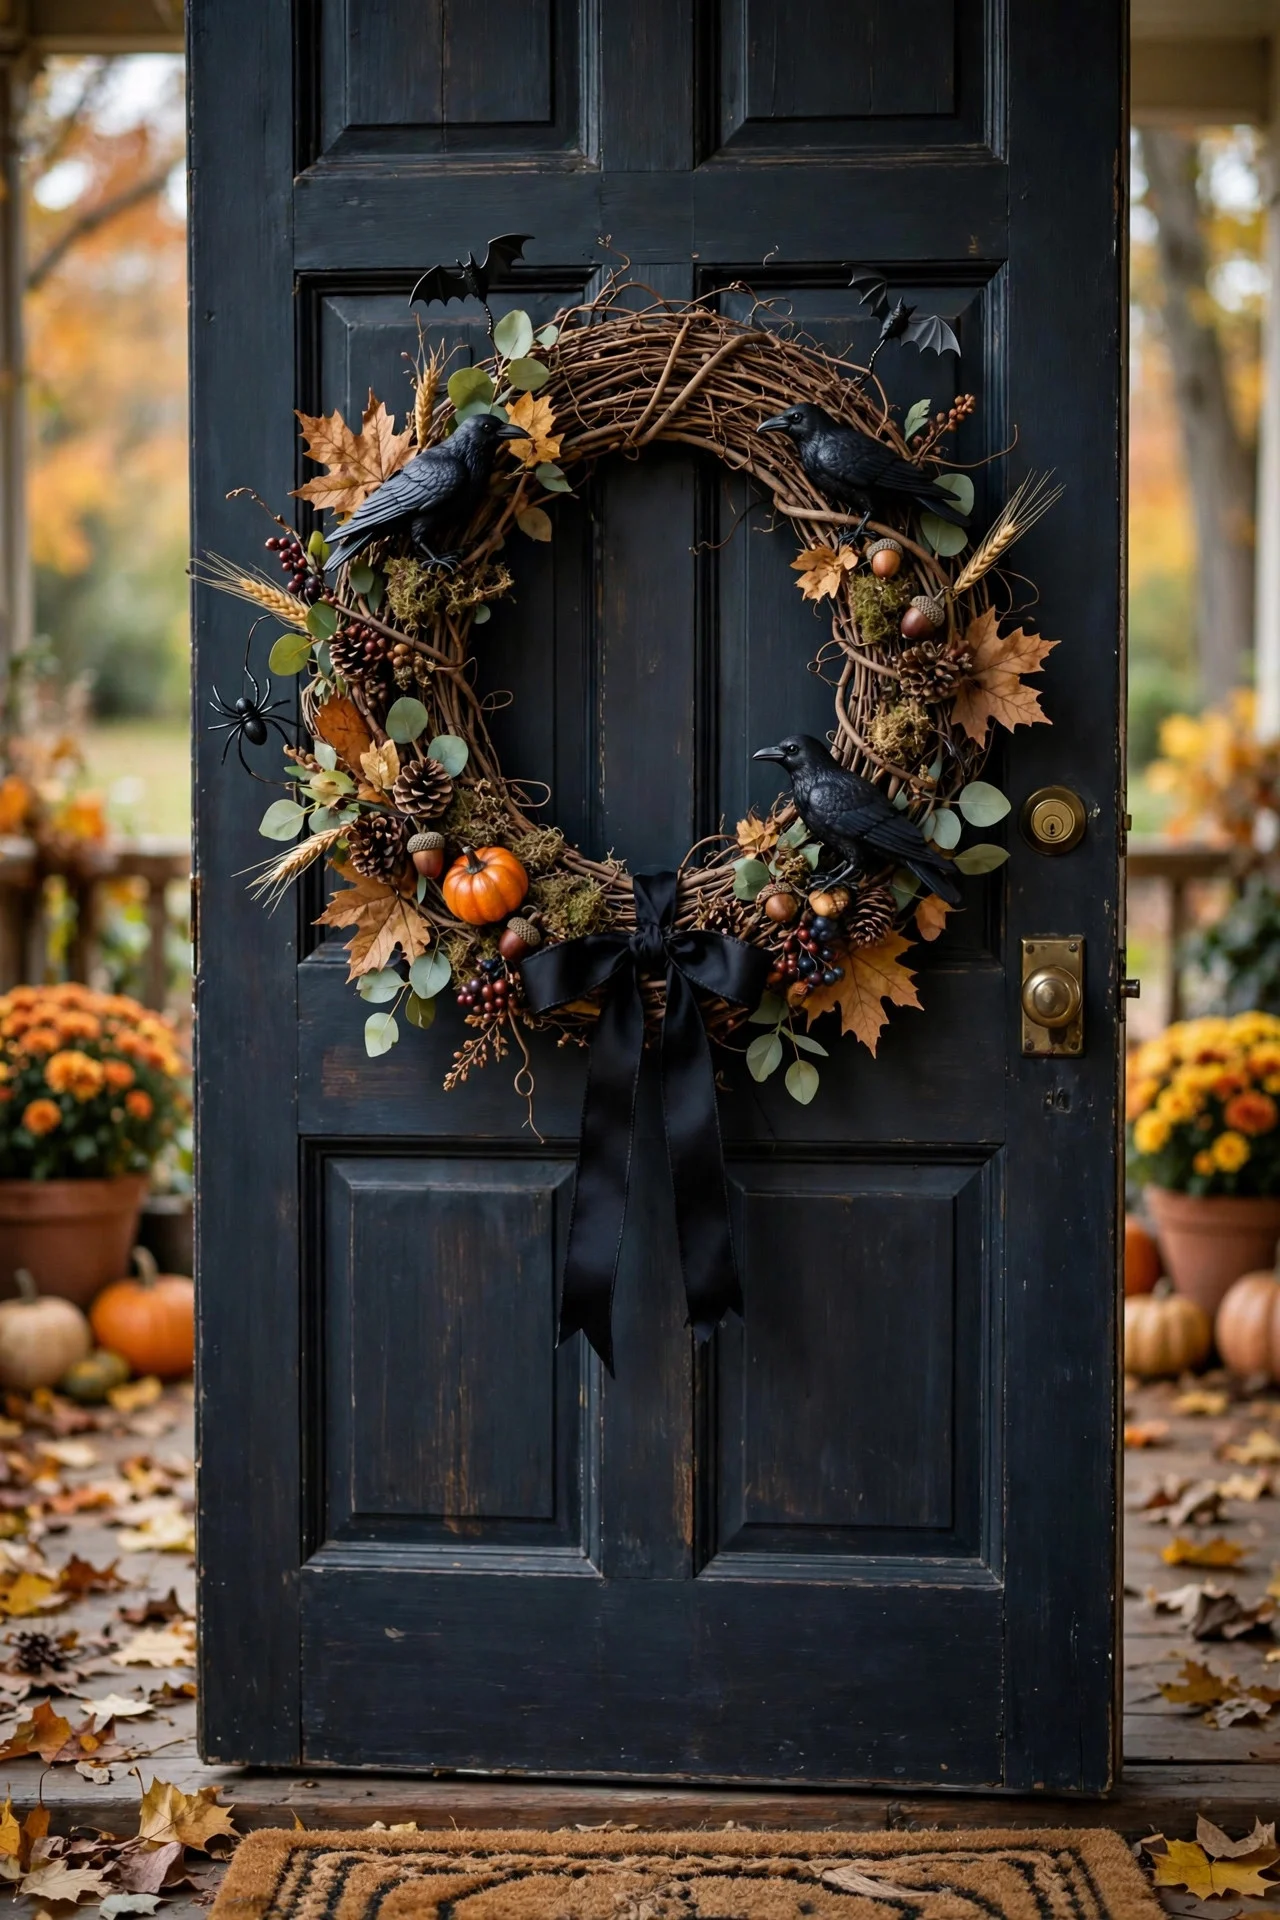
Buy one good grapevine or eucalyptus wreath in September — that’s your base for four months. For Halloween, wire on a black ribbon, tuck in a few faux ravens or a small skull, and hang a “spooky” sign in the center. In November, unwrap the black additions and the wreath is fall again; in December you get another three weeks with pine sprigs and red ribbon. One wreath, three seasons, because you designed the accessories to be removable. Use floral wire, never hot glue, so everything unwraps cleanly.
12. Kids’ Rooms: Fun, Not Fear
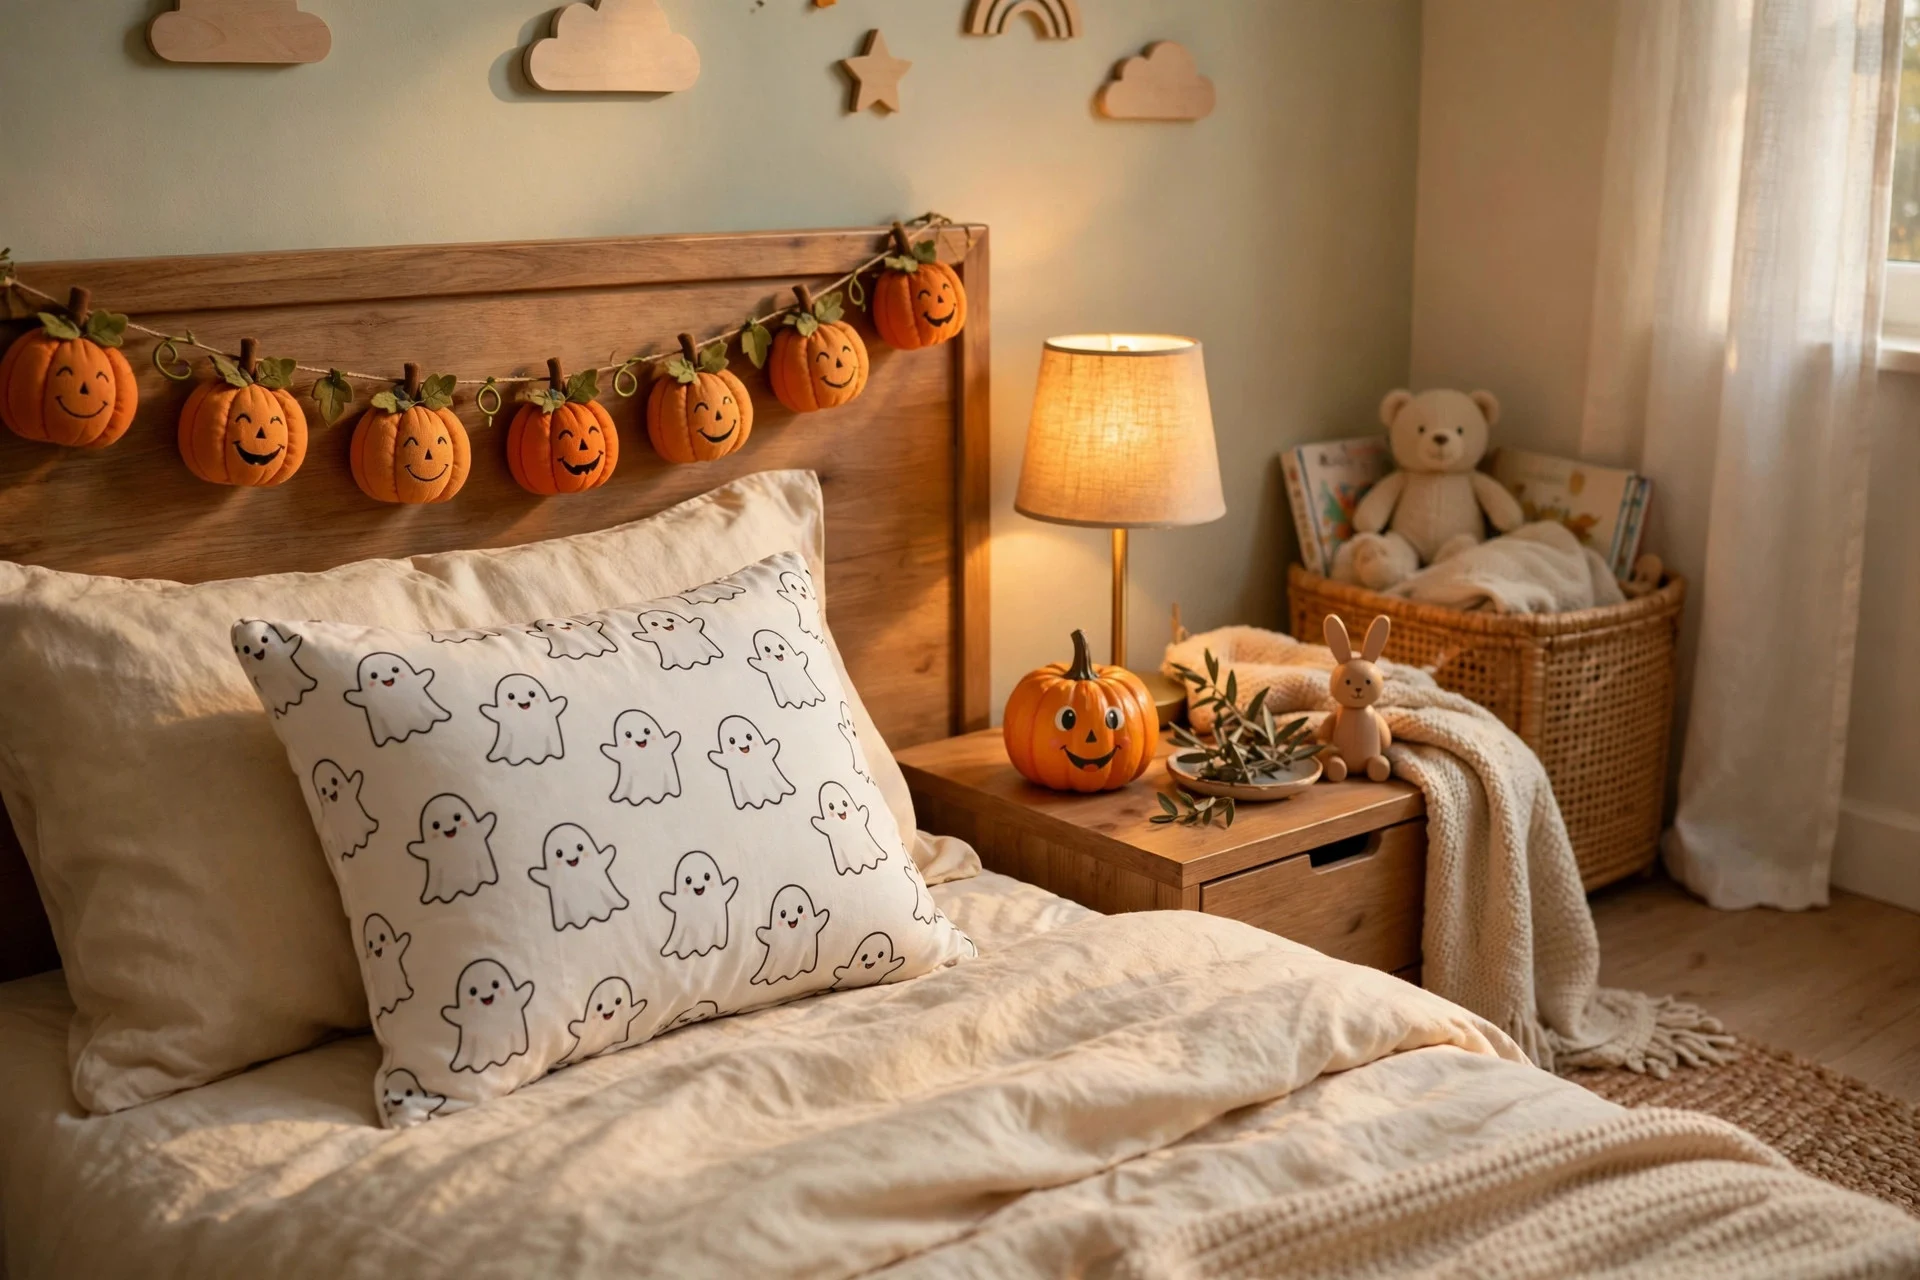
Little kids get spooked by the same things adults find stylish, so their rooms get their own rules: friendly ghosts, smiling pumpkins, and glow-in-the-dark stars instead of skulls and webs. A pumpkin garland across the headboard and a ghost-print pillow cover take ten minutes and make them feel included without the 2 a.m. nightmares. Let them pick their own pieces from the bin — ownership cuts the fear factor in half. This is also where your non-carved painted pumpkins earn a second life: a smiling painted pumpkin from the craft table moves straight into their room.
13. Storage Tips That Make Next Year Effortless
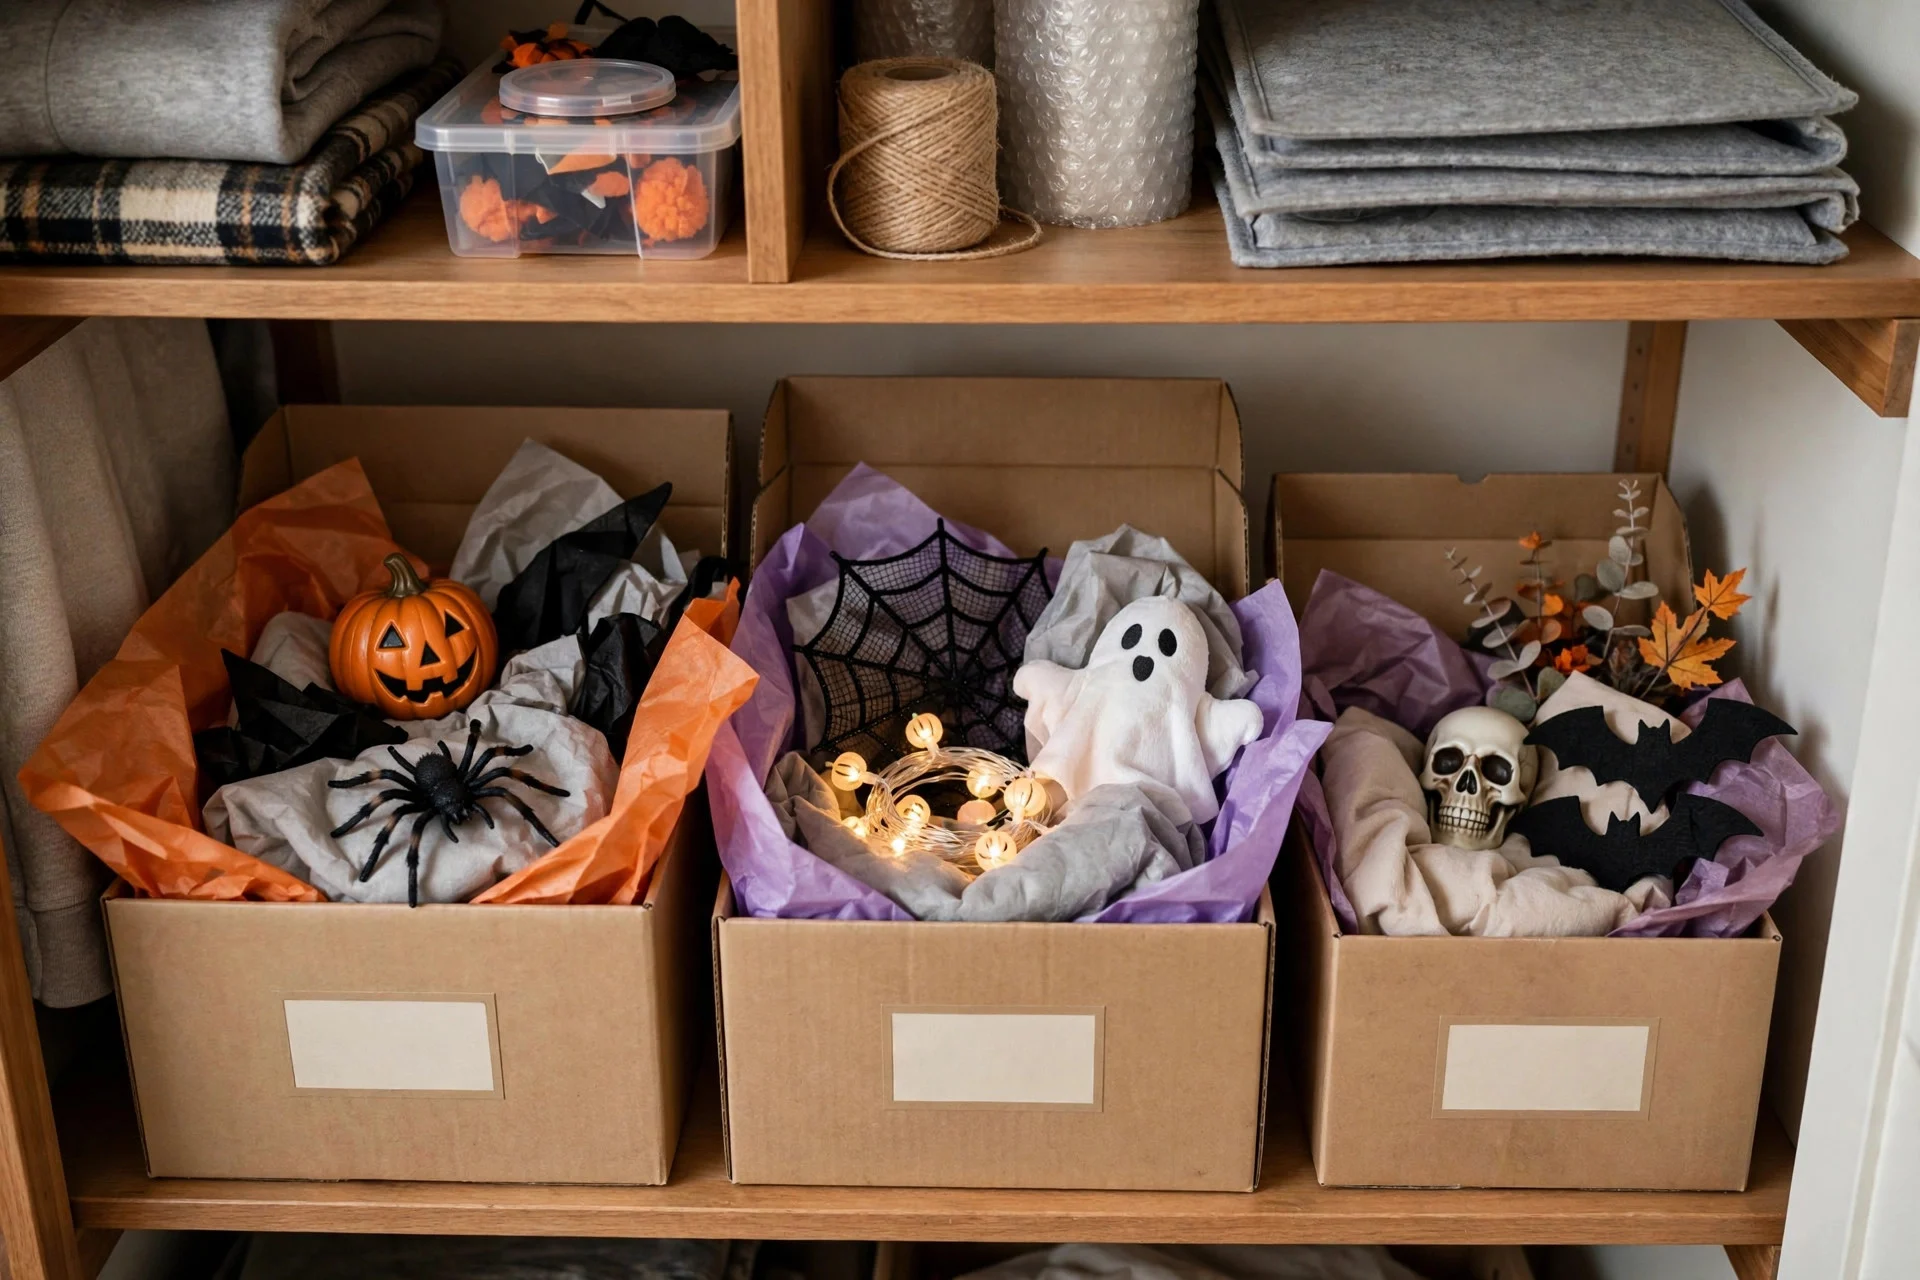
The November 1st put-away matters more than the October 1st setup. Label every bin on two sides, photograph each room before you strip it (your phone photos are next year’s instructions), and pack fragile items in the soft goods — pillow covers make great skull padding. Keep the Halloween bin at the front of the storage area so next October starts with zero digging. Throw away anything broken or faded right now, not next October; you’re paying storage space for junk otherwise. This discipline is what turns a chore into a twenty-minute seasonal swap year after year.
14. Plan the November 1st Reverse Flip
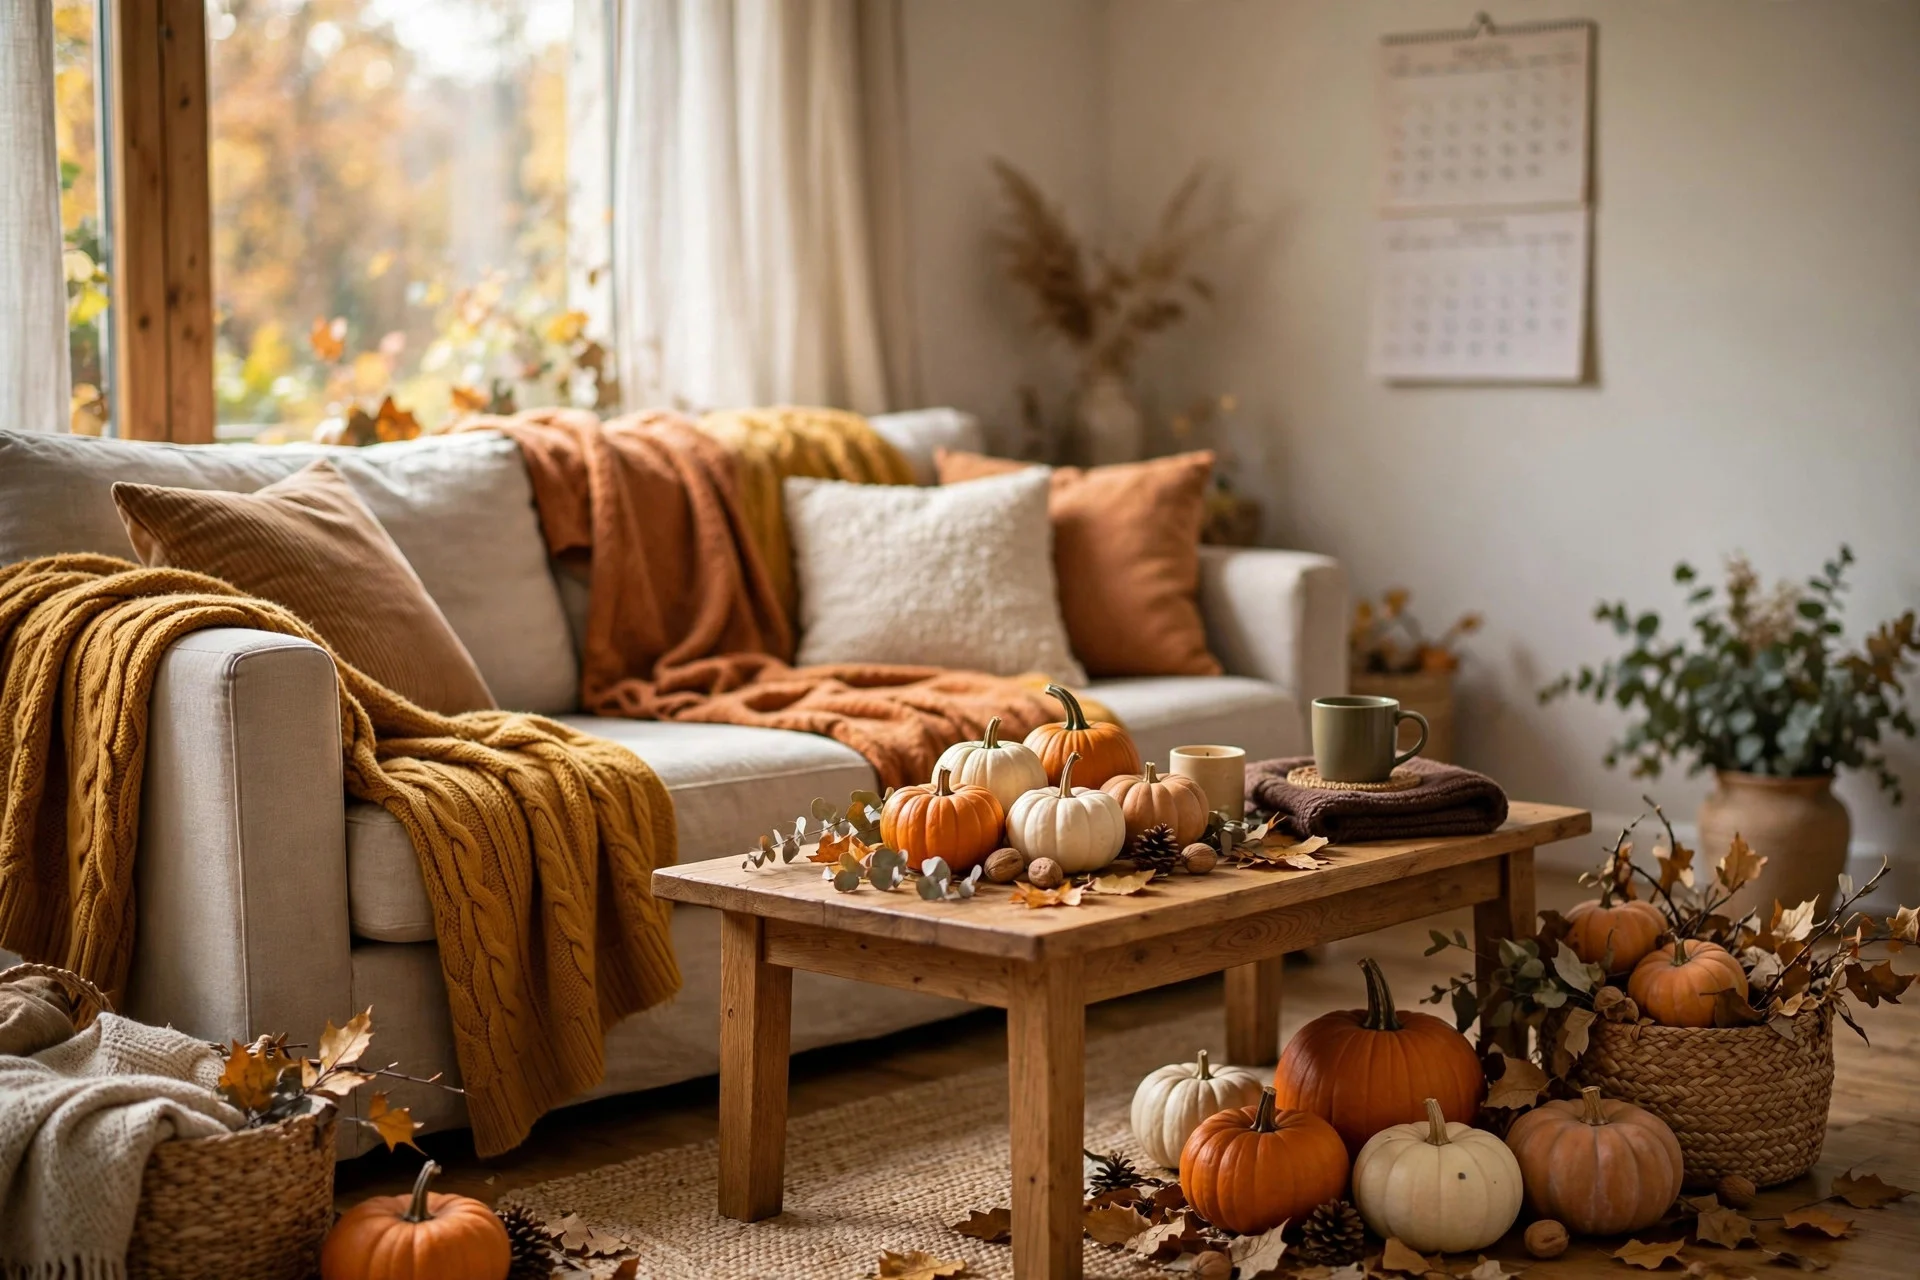
Here’s the part everyone forgets: plan the return trip. Put “Halloween decor down” on your calendar for November 1st or 2nd like an appointment, because an undecorated transition looks messier than either season. Walk the rooms in reverse with the bin, pulling Halloween pieces and fluffing the fall base back into shape. Your fall decor stays up through Thanksgiving weekend, so this one walk-through buys you four weeks of a finished-looking house. The whole reverse flip takes me about an hour with music on — less than one grocery run.
15. Shop Once for Pieces That Serve Both Seasons
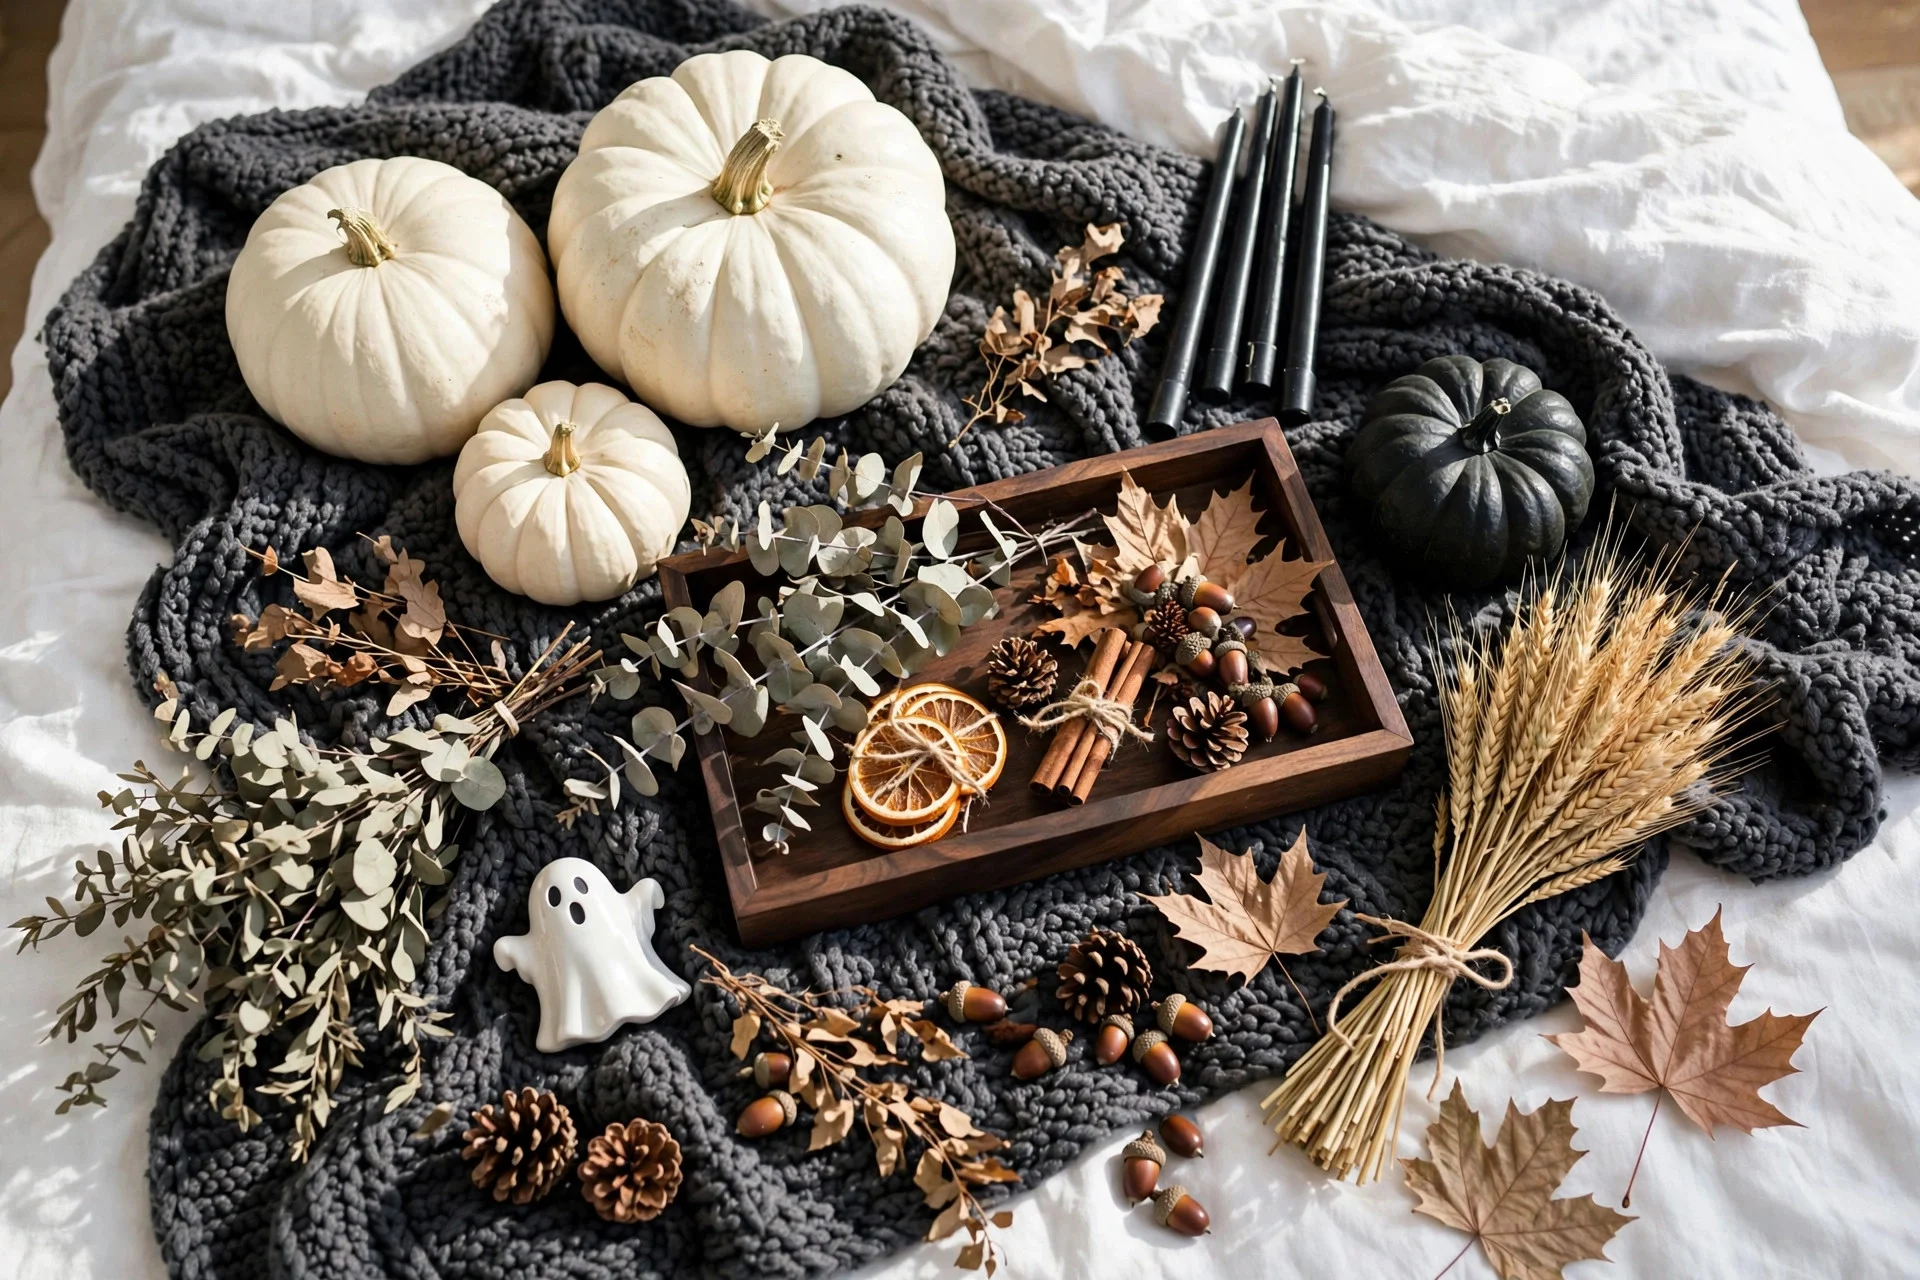
When you’re buying fall decor in September, ask one question: “Will this still work with a skull next to it?” White pumpkins, black candlesticks, dark wood trays, textured throws in charcoal — these are dual-purpose investments. The National Retail Federation notes Halloween spending stays strong year after year, which means seasonal aisles get raided fast — buy your dual-purpose base pieces in September when stock is full, and add the actual Halloween items in early October before the good stuff sells out. In a small space where storage is the real constraint, decorating a small apartment for Halloween without clutter uses the same buy-once logic — every piece has to earn its square footage twice.
FAQs
When should I switch my fall decor to Halloween?
Most people flip in the first week of October, which gives you about four weeks of Halloween display — long enough to enjoy it, short enough that it stays special. If you use the layered system above, the flip itself takes under an hour, so there’s no reason to start in September and dilute the fall season.
How do I store Halloween decorations so they survive?
One clear tote per category, labeled on two sides, packed with soft goods as padding. Store bins off the garage floor (moisture ruins paper and fabric pieces) and keep anything battery-operated with batteries removed. Photograph your displays before packing so setup next year takes minutes.
Can I really do this in a small apartment?
Yes — the system works better in small spaces because there are fewer surfaces. The key is the swap principle: Halloween pieces replace fall pieces in the bin, not alongside them. Pillow covers, one tray centerpiece, and the porch mat handle 80% of the transition in a one-bedroom.
What goes up after Halloween comes down?
Your fall base was never put away — it’s still there under the Halloween layer. Pull the spooky pieces, fluff the pumpkins and throws back into place, and you’re done until Thanksgiving. No second decorating session required.
Making the Fall to Halloween Decor Flip a Yearly Habit
The first year takes the longest — you’re building the base, buying the bin, learning the room-by-room walk-through. Year two is almost automatic. My advice: photograph every room after the October flip, and keep a one-line note on your phone about what worked (“black candles on the bookshelf — yes; bats on the window — meh”). Next October you’ll set up in half the time. The fall to Halloween decor transition stops feeling like a project and starts feeling like a habit — and your November 1st self will be very grateful to your October 1st self.