


Photo: @curtis-adams-1694007 via Pexels
Most kitchens do not look dated because of the cabinets. They look dated because of the light. I learned this the hard way in my own kitchen, where new paint and new hardware still left the room feeling flat every evening. The fix turned out to be kitchen lighting mistakes I had stopped noticing: one lonely ceiling fixture, bulbs that did not match, and pendants hung where they lit nothing useful. Once I fixed the light, the same cabinets suddenly looked like they belonged in a newer house. The 14 mistakes below are the ones I see most often, and every one of them has a fix that costs less than a cabinet door.
Before you buy a single fixture, stand in your kitchen at night with every light on, then again with only the lights you actually use while cooking. The gap between those two pictures is your real lighting plan. Fix the work light first, the mood light second, and the pretty fixture last. That order keeps you from spending money on a beautiful pendant that still leaves you chopping in your own shadow.
How Kitchen Lighting Mistakes Sneak Up on a Room
Lighting goes wrong slowly. A bulb gets replaced with whatever is in the drawer. A pendant stays at the height the last owner left it. A dimmer never gets installed because the job feels small. None of these feel like a decision, but together they set the whole mood of the room. The good news is that most fixes are swaps, not rewiring, and you can work through this list one weekend at a time.
1. Relying on One Lonely Ceiling Light
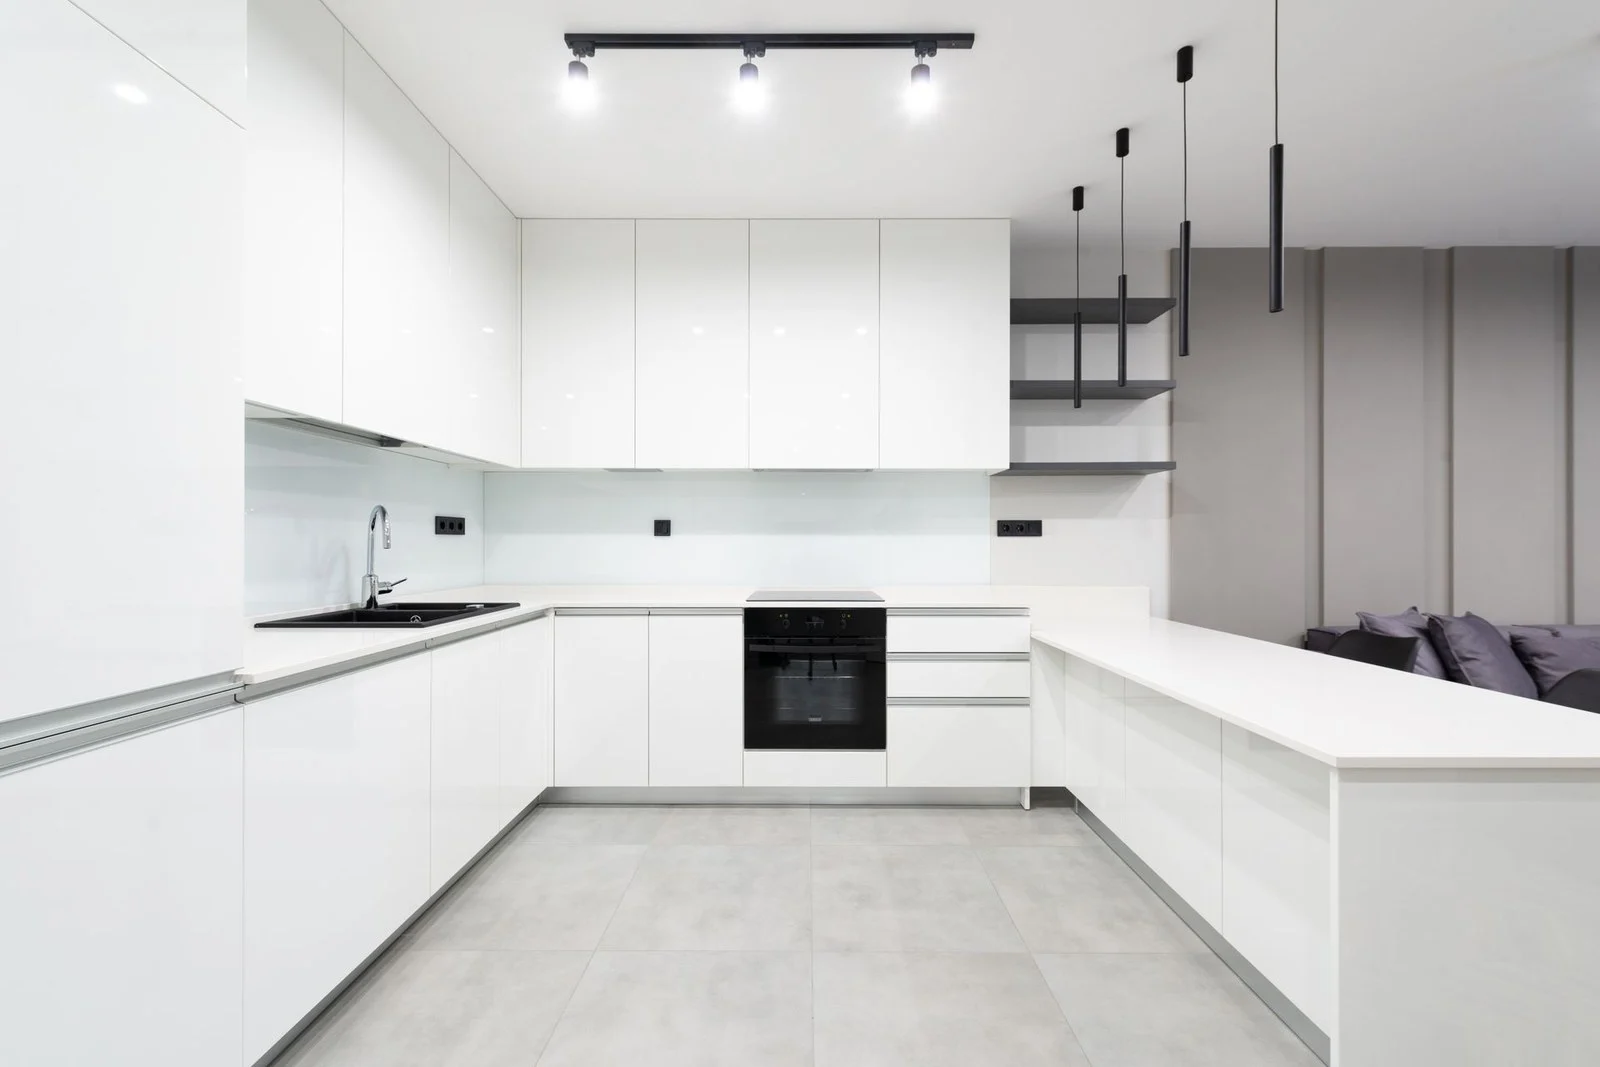
Photo: @Artbovich via Pexels
A single ceiling fixture in the middle of the room lights the floor and almost nothing else. Your body blocks it the moment you step up to the counter, so you end up working in your own shadow while the middle of the room glows for nobody. The fix is not a brighter bulb in the same fixture. It is a second and third source of light placed where work happens: pendants over the island, a strip under the cabinets, a small light over the sink. Keep the ceiling fixture for general light, but stop asking it to do every job in the room. Even one extra task light changes how the whole kitchen feels at dinner time.
2. Mixing Warm and Cool Bulbs in the Same Room
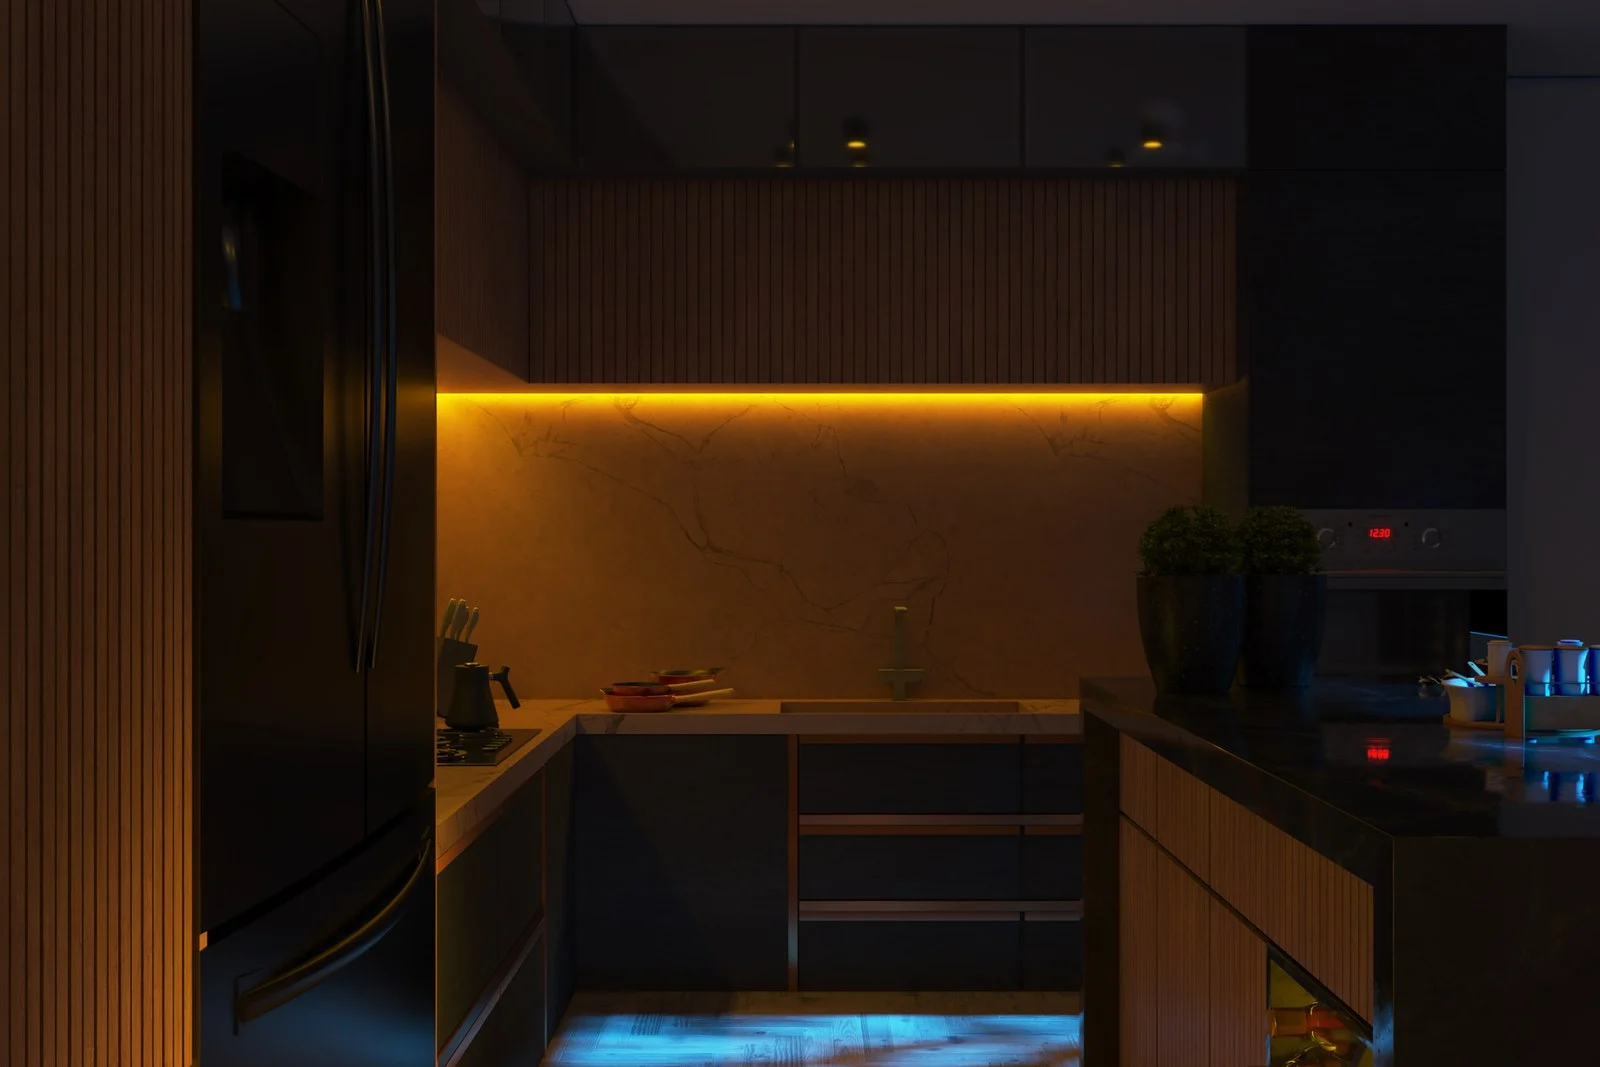
Photo: @perqued via Pexels
Walk into a kitchen where the ceiling light is icy white, the pendants are warm yellow, and the under-cabinet strip is somewhere in between, and the room feels unsettled even if you cannot say why. Mixed color temperatures make cabinets look patchy and skin tones look tired. Pick one temperature for the whole kitchen and stick to it. Warm white around 2700 to 3000K suits most kitchens, while a neutral 3500 to 4000K works if your cabinets and counters run cool. Check the box, not the bulb: the Kelvin number is printed on it. Swap the odd ones out in one pass and the room instantly reads as one decision. The University of Maryland Extension lighting guide explains how color temperature and the Lighting Facts label work, which makes the next bulb shop much easier.
3. Hanging Pendants at the Wrong Height
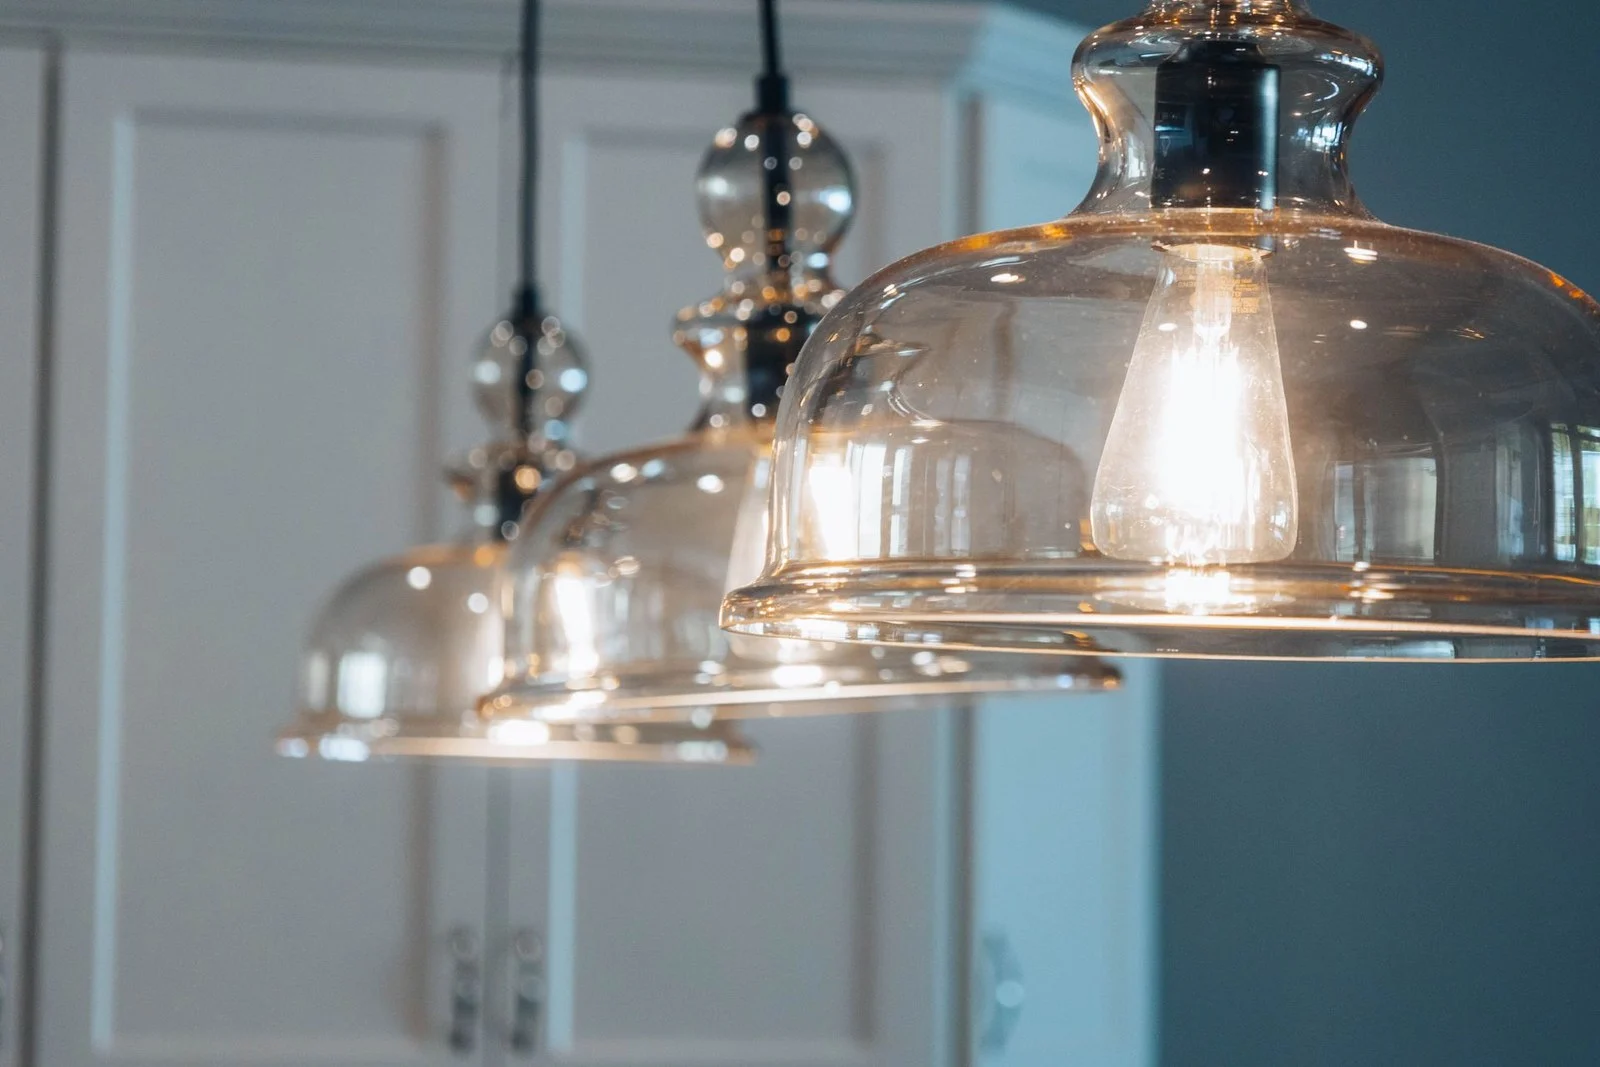
Photo: @newmanphotographs via Pexels
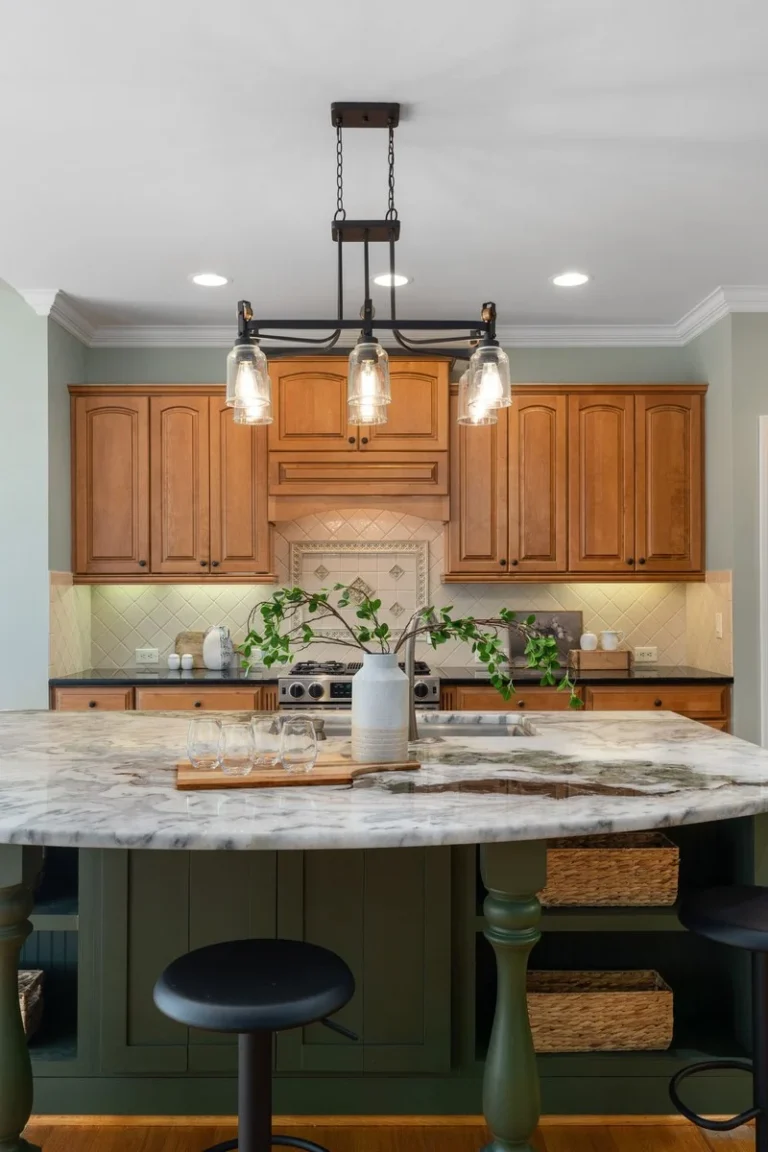
Pendants hung too high float away from the island and light the ceiling instead of the counter. Hung too low, they block sightlines and bonk tall guests on the forehead. The standard range is 30 to 36 inches above the countertop, measured from the counter to the bottom of the shade, and it exists for a reason. Have someone hold the pendant at 30 inches, then at 36, while you stand across the island and look at them. The right height lets you see their face under the shade while the light still pools on the work surface. For full spacing and sizing rules, This Old House’s pendant guide is worth reading before you drill a single hole.
4. Skipping Under-Cabinet Lighting Entirely
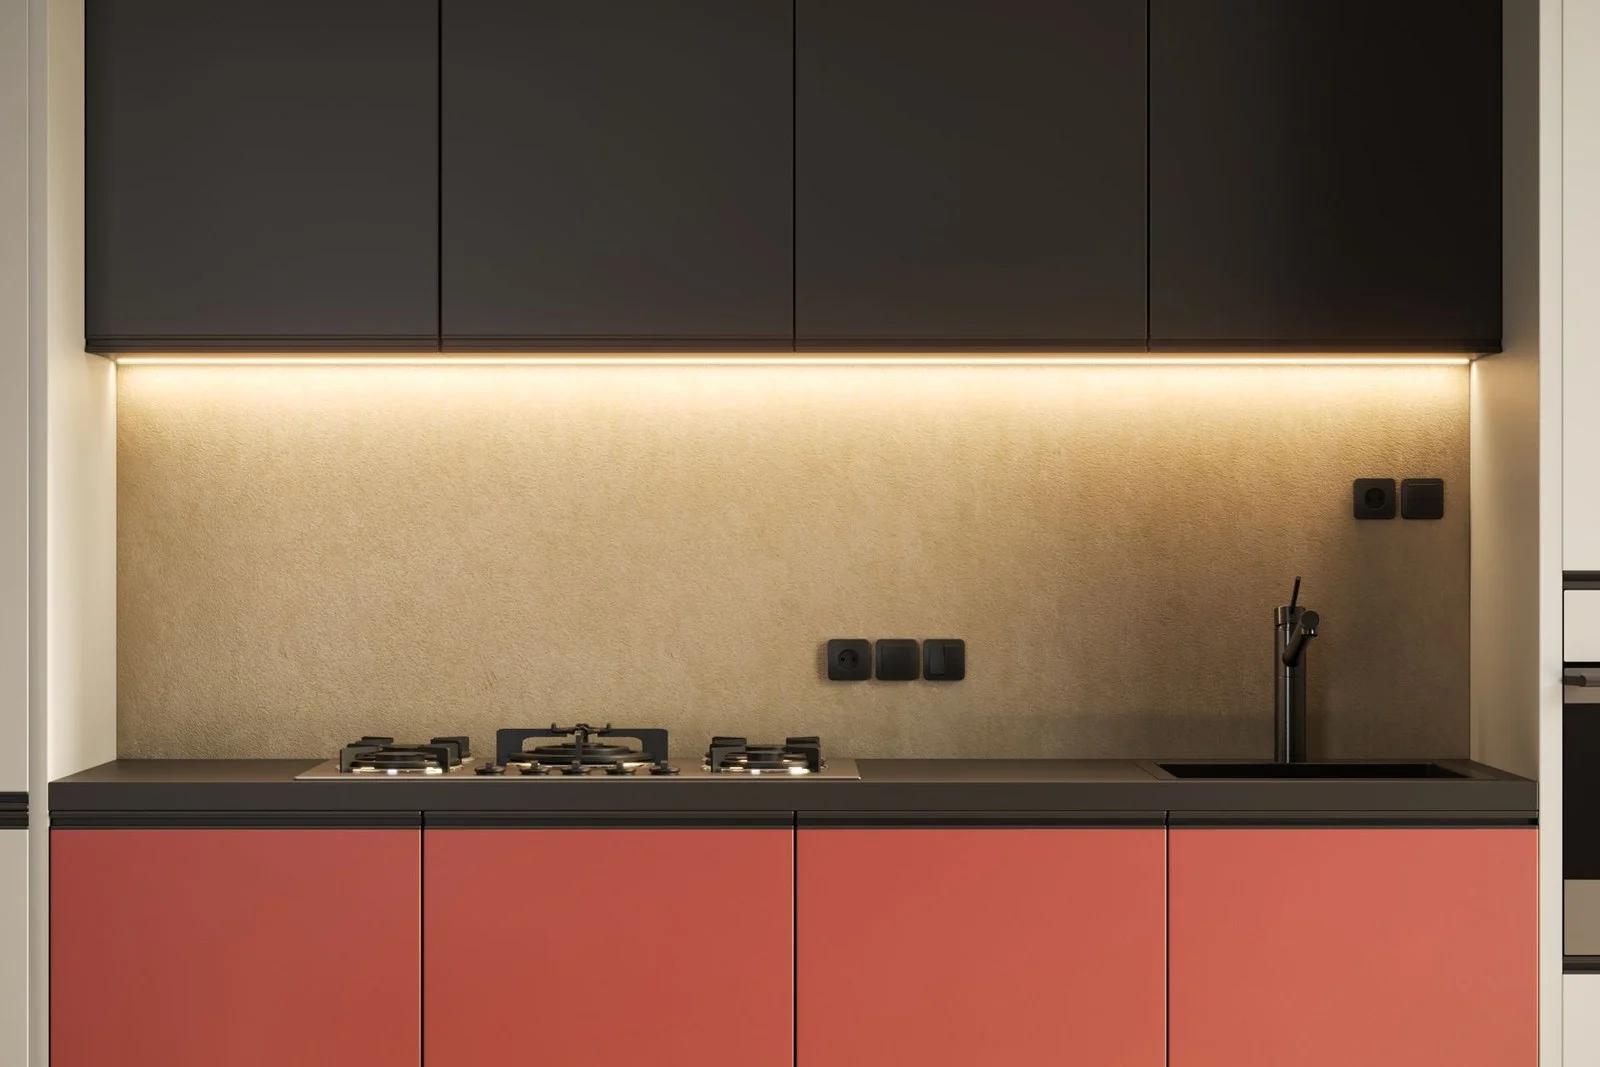
Photo: @perqued via Pexels
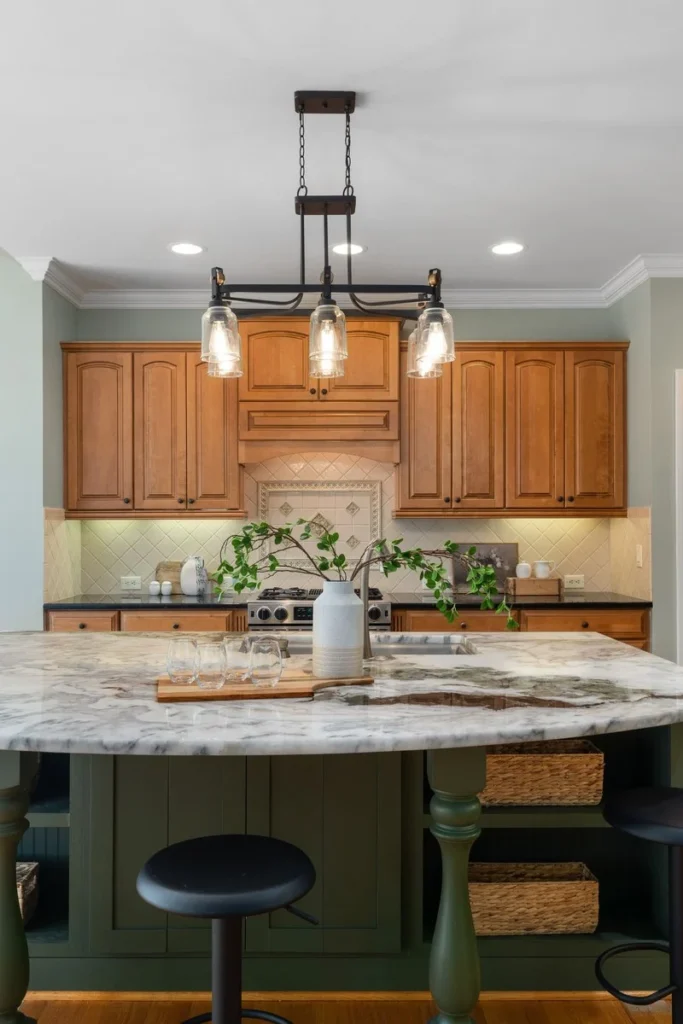
This is the single most useful light most kitchens are missing. Upper cabinets throw a deep shadow over exactly the strip of counter where you chop, read recipes, and pour hot things. Overhead light cannot fix it, because the cabinet is between the light and the work. A warm LED strip tucked behind the front lip of the cabinet solves it for the price of a takeaway dinner, and it makes evening cooking feel safer as well as prettier. Mount the strip toward the front of the cabinet so the light washes down the backsplash and across the counter, not into your eyes. If you can only afford one lighting change this year, make it this one.
5. Making the Whole Room Too Dim

Photo: @hrishavjha via Pexels
Dim feels cozy in a restaurant and gloomy in a kitchen where you are trying to tell raw chicken from cooked. A lot of kitchens are under-lit simply because nobody ever added up the lumens. As a rough check, a small kitchen wants several thousand lumens spread across its fixtures, not one 800-lumen bulb doing its best. Dark cabinets, dark counters, and matte finishes swallow light, so those kitchens need more, not less. Swap dim bulbs for brighter ones in the fixtures you already own before you buy anything new. You will know you have enough when you can read small print on a spice jar without leaning in or switching on your phone torch.
6. Living Without a Dimmer
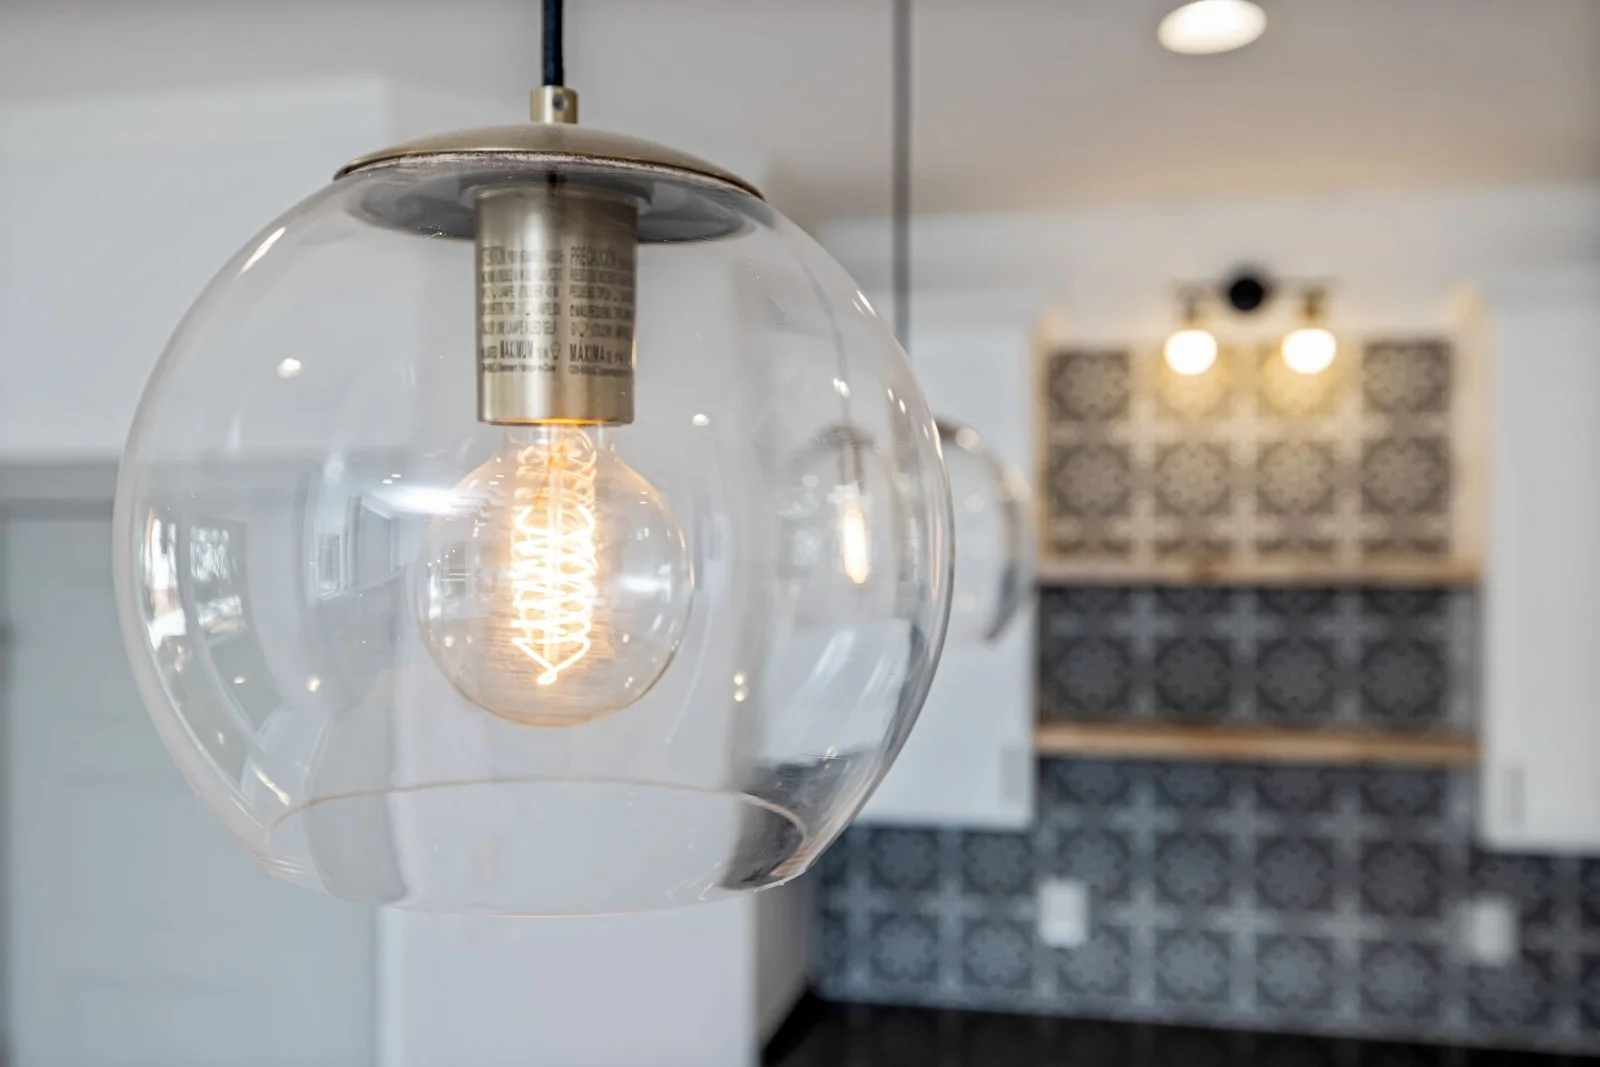
Photo: @curtis-adams-1694007 via Pexels
A kitchen needs two brightnesses: full blast for cooking and a low glow for eating, talking, and winding down. Without a dimmer, you get one or the other, and most people end up cooking under lights that are too dim because the bright setting feels harsh at the table. A dimmer switch costs little, takes an electrician under an hour in most cases, and turns one set of fixtures into two moods. Make sure the bulbs are marked dimmable, or they will flicker and buzz. Put the main kitchen lights and the pendants on separate dimmers if you can, so the island can stay low while the counters stay bright. It is the cheapest atmosphere upgrade in this whole list.
7. Keeping a Fixture That Dates the Whole Room
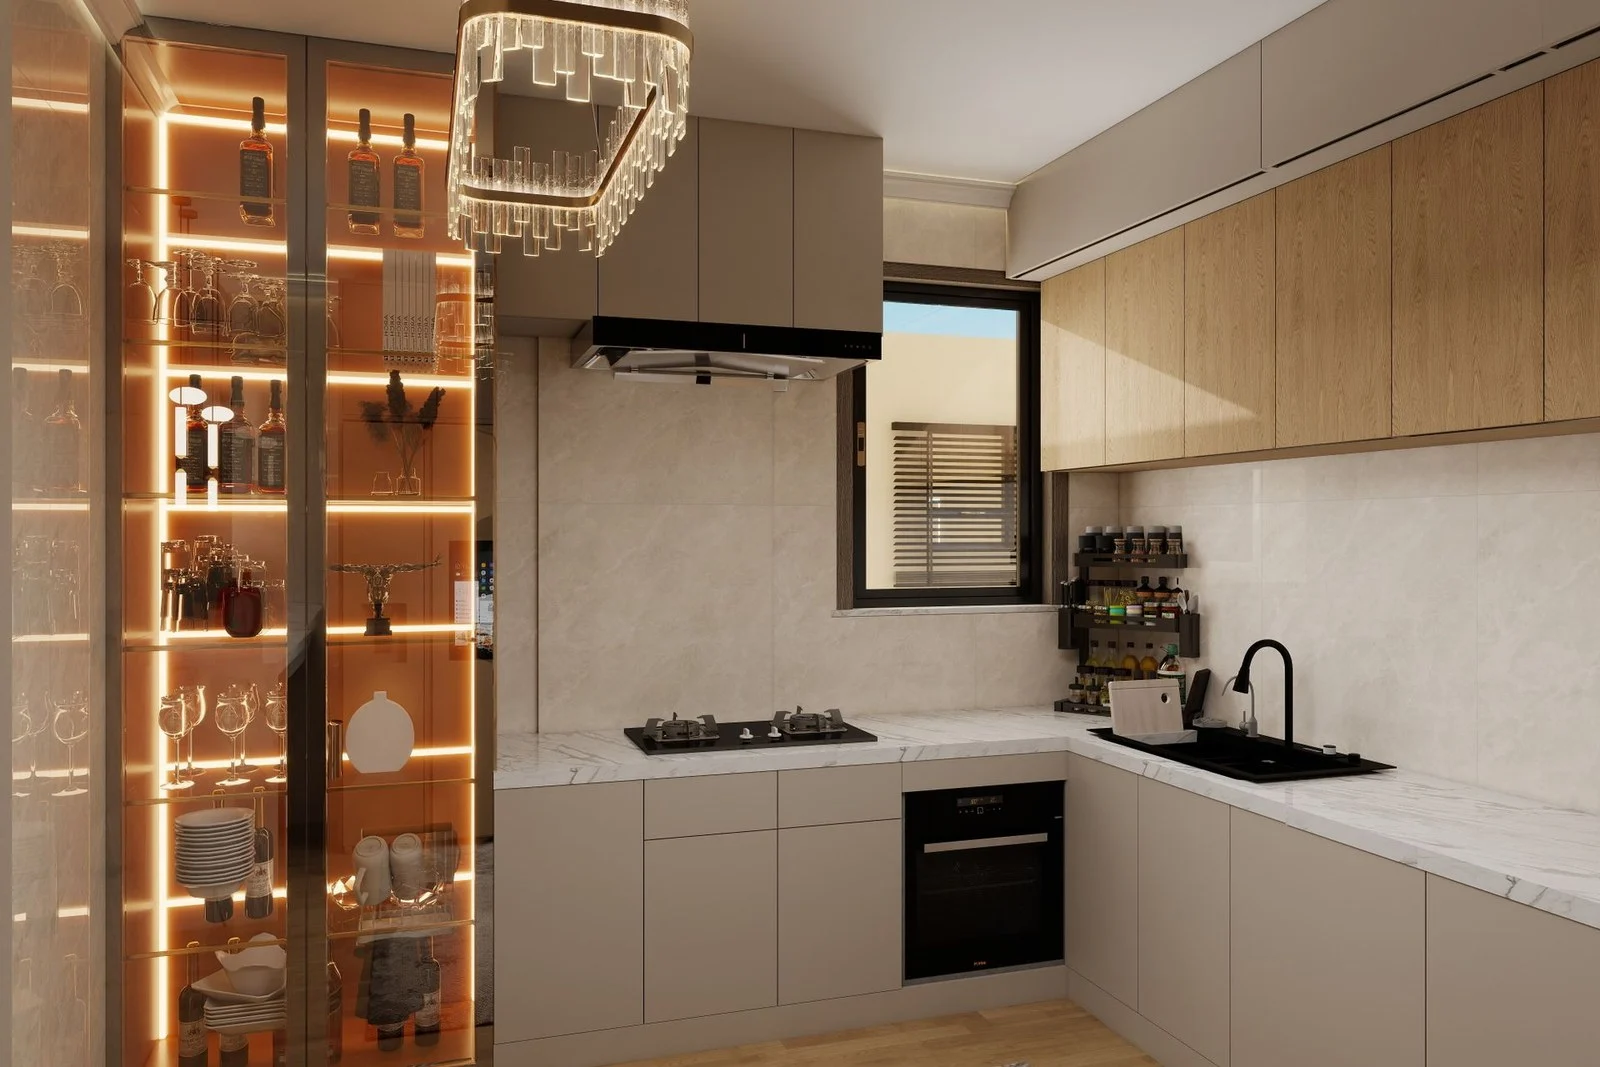
Photo: shaza jocarlos via Pexels
One tired fixture can drag a whole kitchen back a decade. The usual suspects are the frosted dome that came with the house, a brass chandelier with candle sleeves, or a fluorescent box humming over the sink. You do not need a designer fixture to fix it. A simple, clean pendant or semi-flush mount in a finish that matches your hardware updates the room in an afternoon. Before you shop, check the junction box: a heavy new fixture sometimes needs a fan-rated box, and that is a job for an electrician, not a ladder and hope. Our budget kitchen update ideas show how a pendant swap alone can change a room, and the same logic applies here.
8. Forgetting to Layer the Light
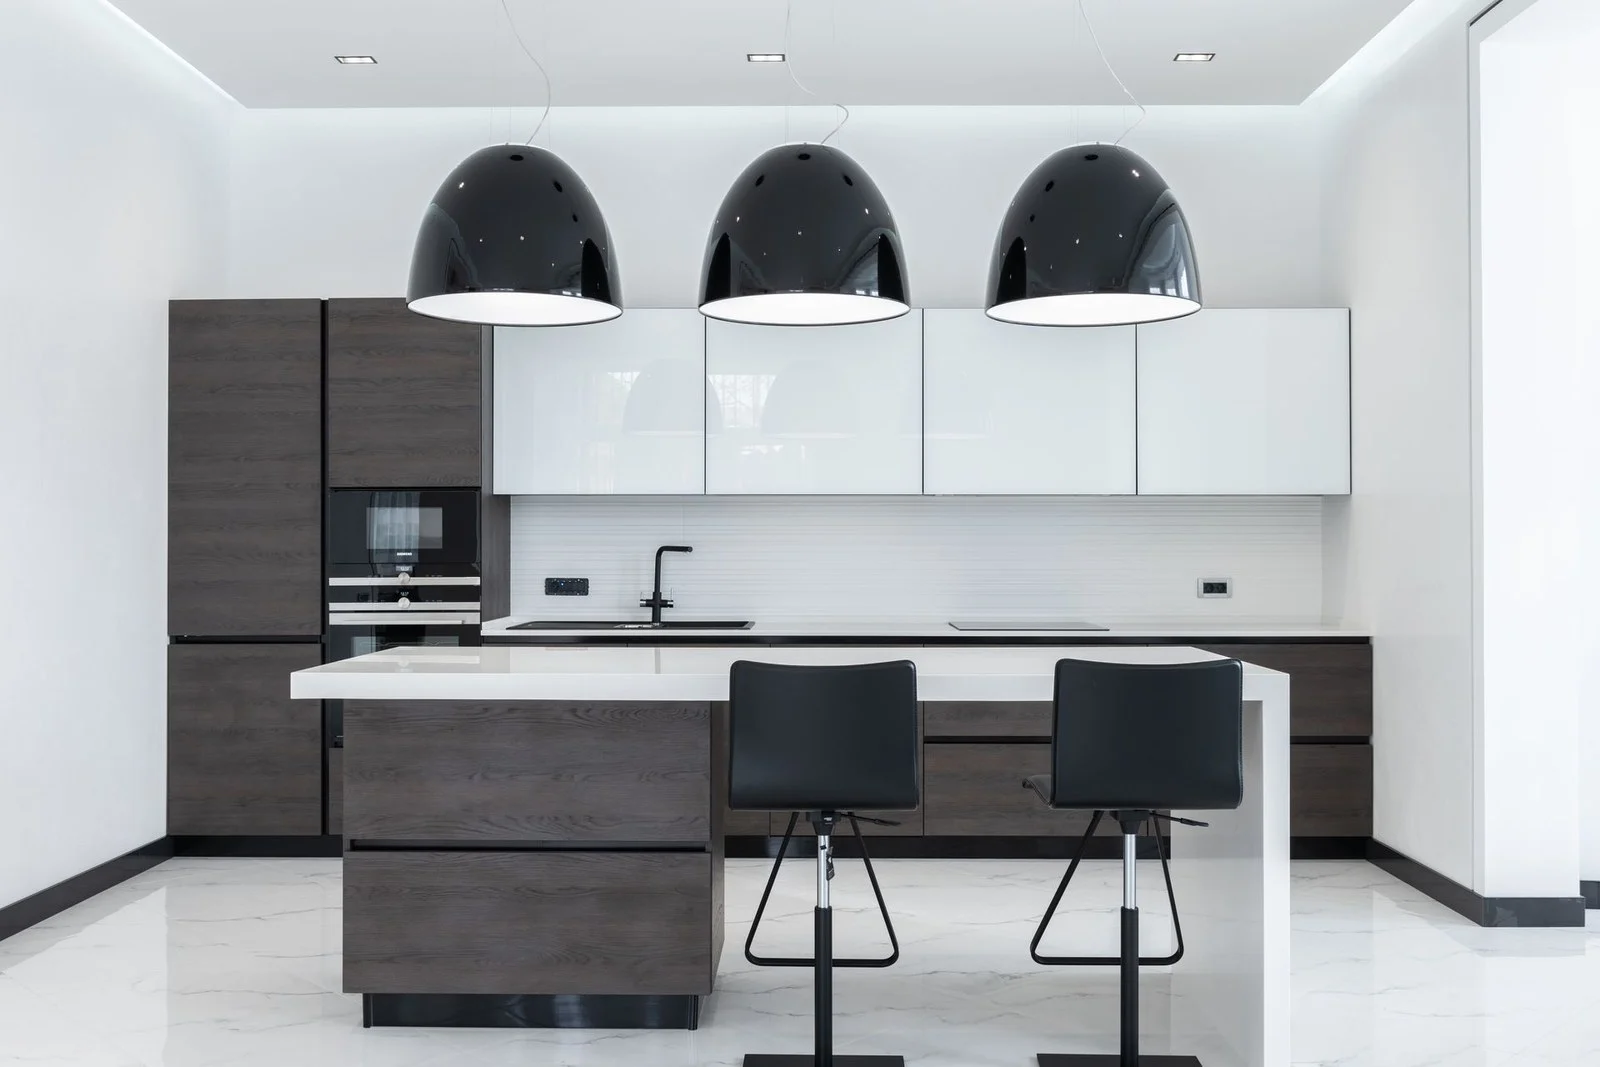
Photo: @Artbovich via Pexels
Good kitchen lighting has three layers, and most dated kitchens have one. Ambient light fills the room, task light covers the counters, and accent light shows off the pretty parts, like glass cabinets or a backsplash. When only the ambient layer exists, the room feels flat, like a photograph with no depth. You do not need all three layers at once to notice the difference. Add task light under the cabinets, then one accent: a small light inside a glass cabinet, or a strip above the cabinets washing the ceiling. Each layer gets its own switch, so you can run the full set while cooking and drop to one soft layer for dinner. That flexibility is what makes a kitchen feel finished.
9. Using the Wrong Bulb for the Fixture
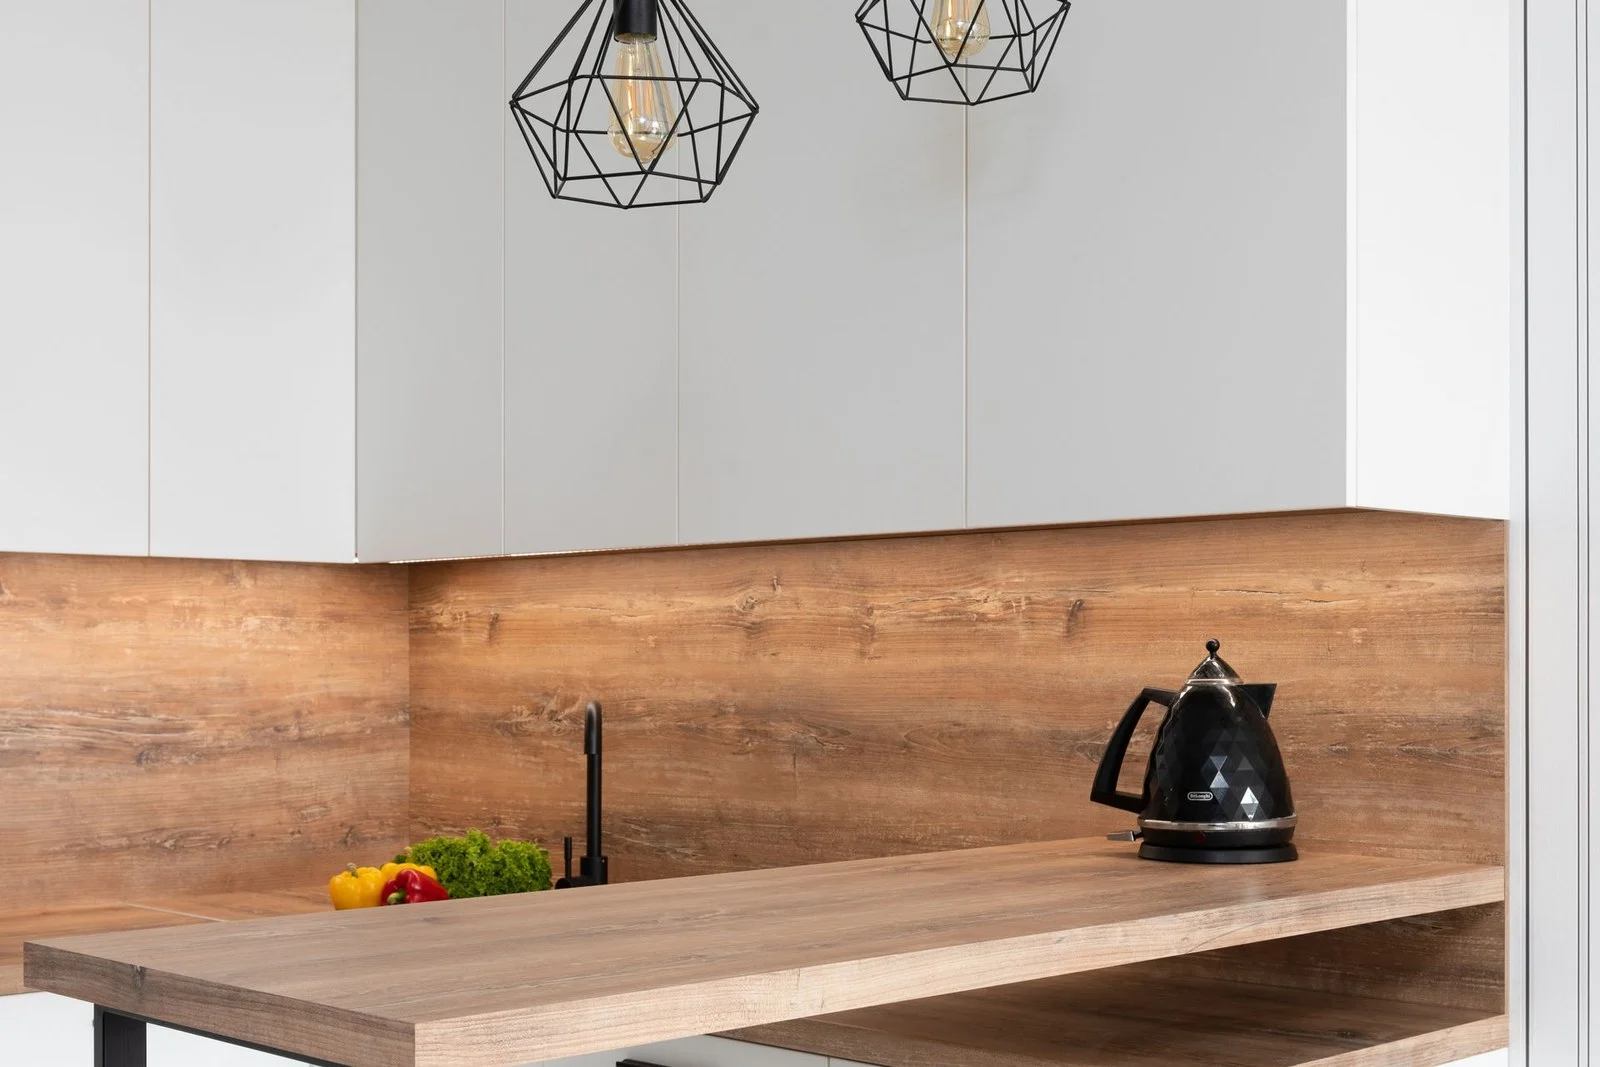
Photo: @Artbovich via Pexels
Bare bulbs in open pendants glare straight into your eyes, and low-quality bulbs make food look grey. If your pendant has no shade or a clear glass shade, pick a frosted or filament-style bulb that softens the point of light. Then check the CRI, the number that says how true colors look under that bulb. A CRI of 90 or above keeps tomatoes red and wood warm instead of washed out, and it matters most exactly where you prep food. Avoid mixing bulb types in one fixture run, and keep a spare box of the bulbs you actually use, so a burnt-out bulb does not get replaced with whatever random bulb is in the drawer. That drawer is where half of these mistakes start.
10. Letting Shadows Fall Over the Work Zones

Photo: @cottonbro via Pexels
Shadows are a safety problem before they are a looks problem. If your shadow falls across the cutting board, you are guessing where the knife is going. Stand at each work zone, the sink, the stove, the main prep counter, and look at where your shadow lands with the lights on. Light should come from in front of you or above the work, never only from behind you. A small light over the sink, a strip under the cabinet over the prep counter, and a hood light over the stove cover the three spots that matter. Test at night, not at noon, because daylight hides shadows that will be obvious at 7 p.m. in winter. Fix the worst shadow first and the kitchen gets safer the same day.
11. Leaving Glass-Front Cabinets Dark Inside

Photo: @katya-wolf via Pexels
Glass-front cabinets are supposed to glow. Left dark, they turn into black rectangles that make the whole wall feel heavy, and the dishes inside disappear. A slim LED strip or a small puck light inside each glass cabinet, on the same switch as the under-cabinet lights, turns them into the prettiest thing in the room for very little money. Keep the contents simple: everyday dishes and glasses, not a crowded jumble, because the light will show everything. Battery puck lights work as a trial, but wired strips are worth it if you love the effect, since you will never have to remember to change batteries. The photo shows open shelving with jars, which gives the same lit-display idea without a cabinet door in the way.
12. Placing Recessed Lights in the Wrong Spots
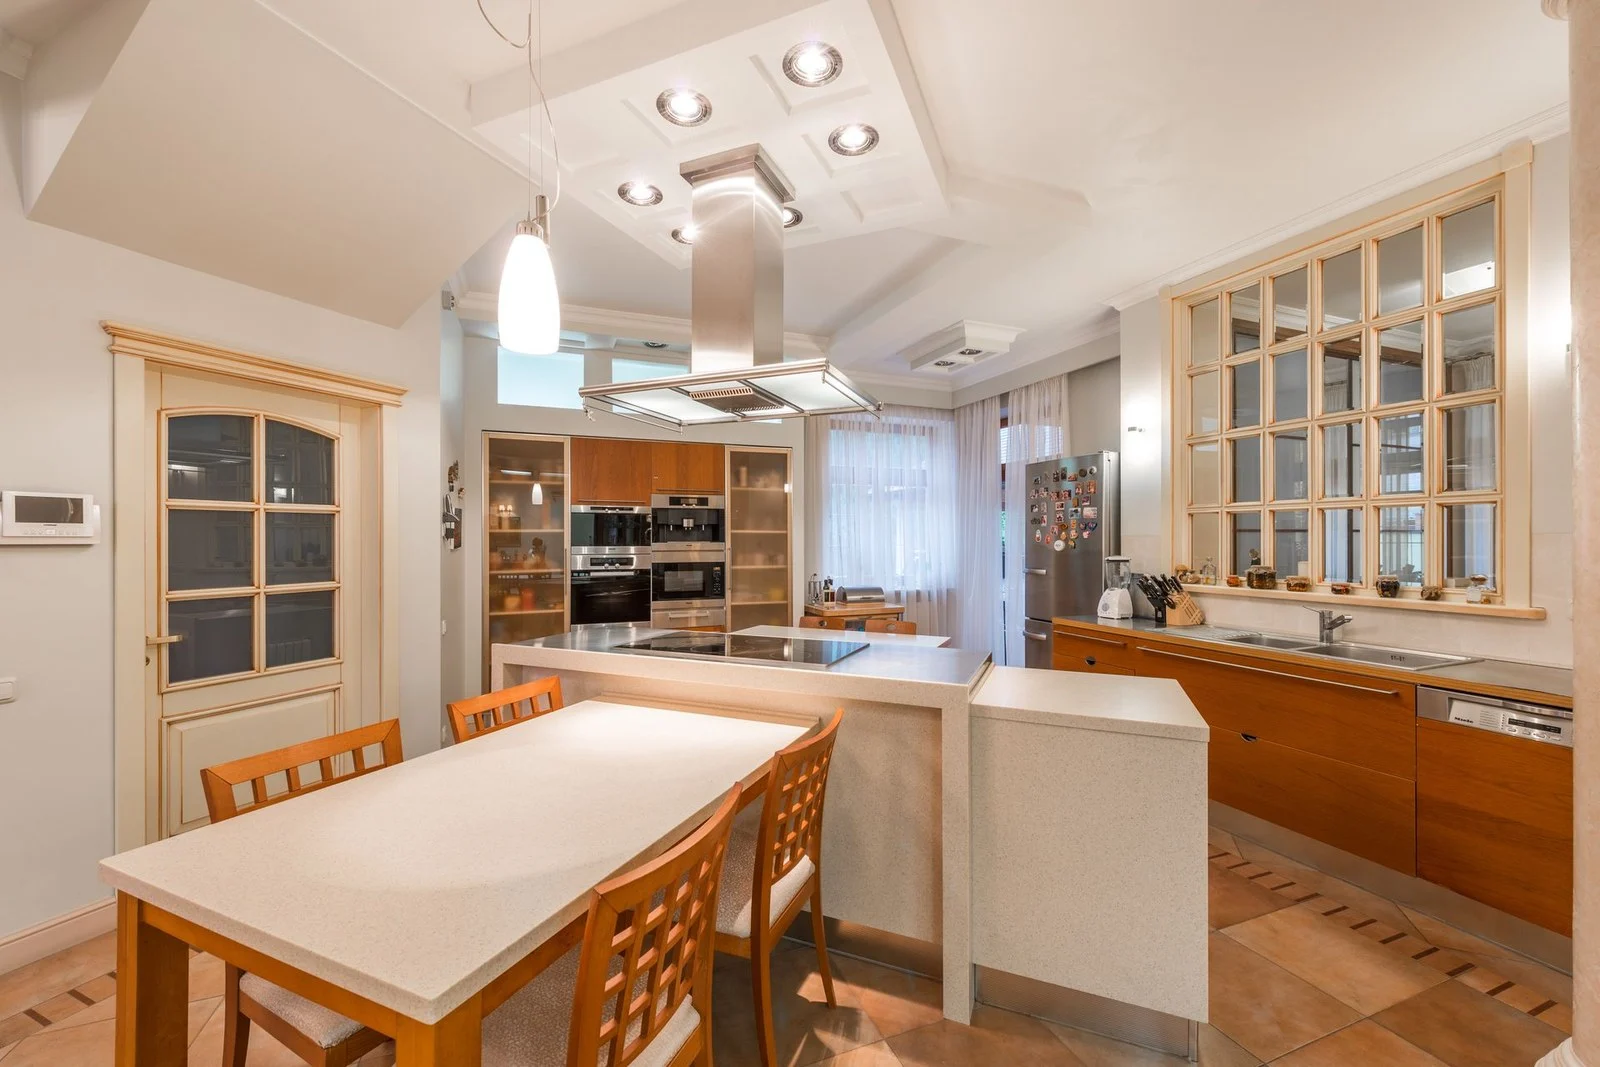
Photo: @Artbovich via Pexels
Recessed lights laid out in a neat grid look tidy on a plan and wrong in real life, because they light the middle of the floor and miss the counters entirely. The classic error is a row of cans down the center of the room while the counters sit in shadow at the edges. Cans should sit over the work, roughly above the front edge of the counter, not over the walkway. Too many cans is the other version of this mistake: a ceiling full of holes that makes the room feel like an office. If your cans are already in, try swapping a few for adjustable gimbal trims that can be aimed at the counters, which is far cheaper than moving the cans themselves.
13. Blocking the Natural Light You Already Have
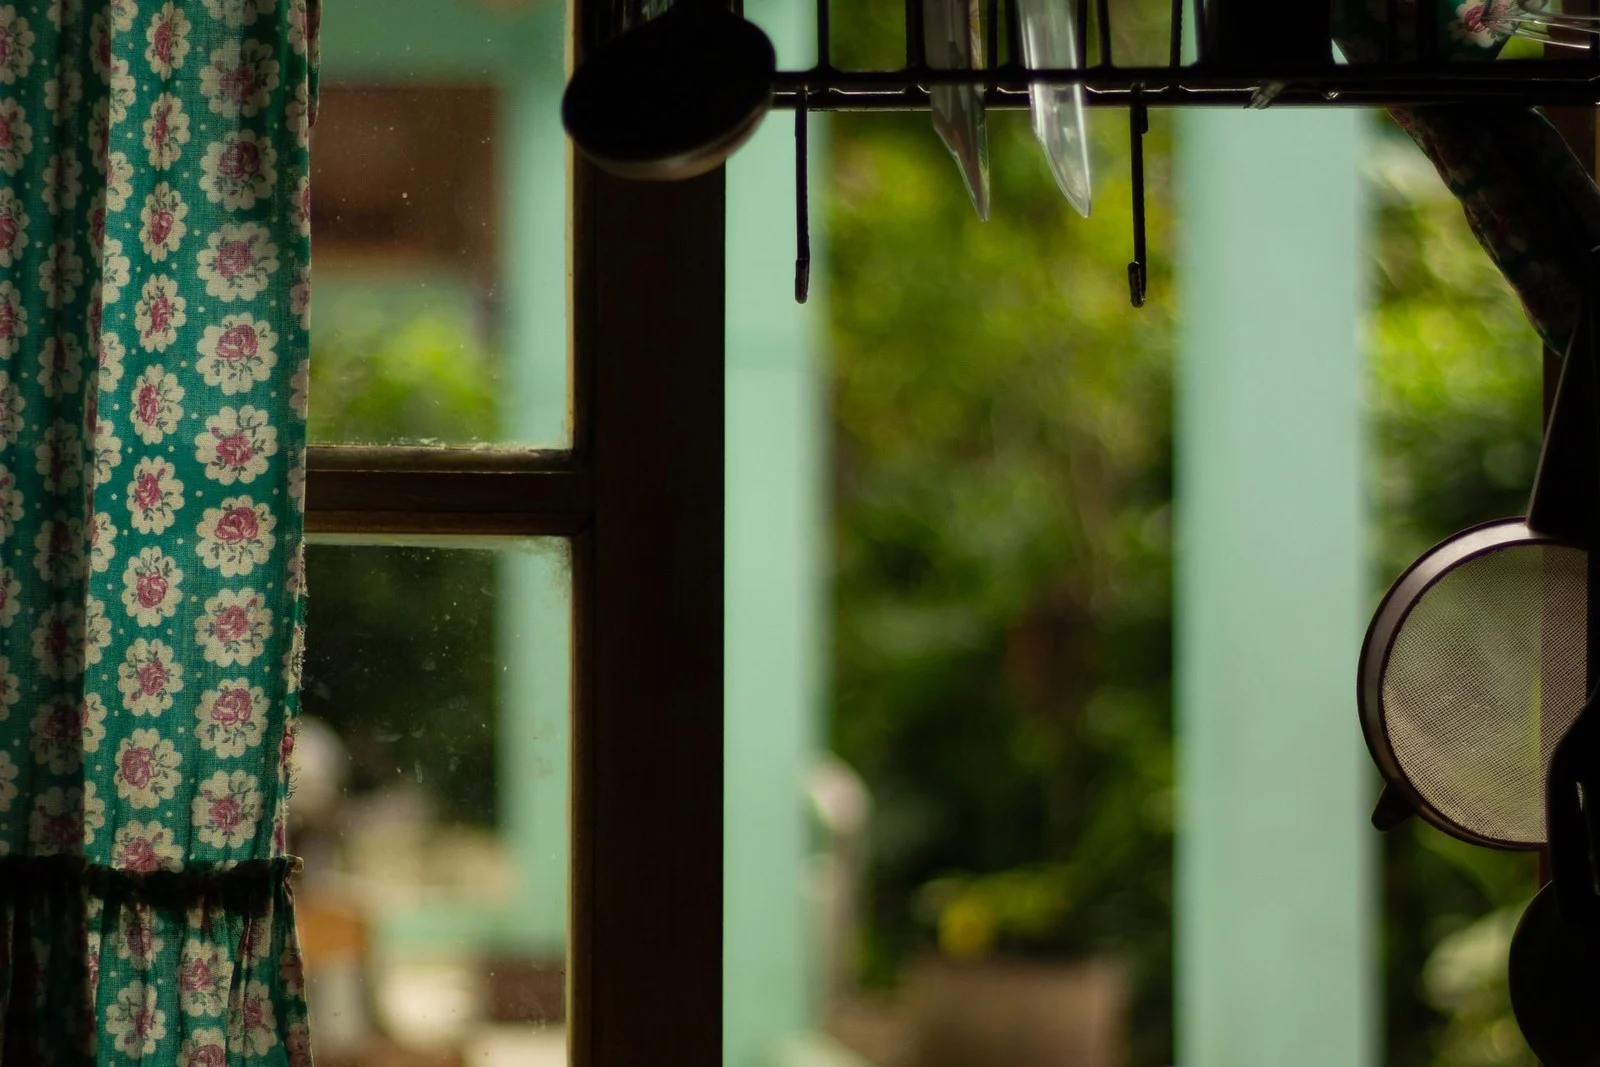
Photo: Mylena Ike via Pexels
Daylight is free, flattering, and the first thing a dated kitchen wastes. Heavy curtains over the sink window, tall items stacked on the sill, and a dark window treatment that stays closed all day all steal it. Swap heavy curtains for a simple shade you actually raise in the morning, and keep the sill clear except for one small plant. If the window faces a wall or a neighbour, a light-filtering shade still lets the daylight in while keeping privacy. Notice how the room feels at breakfast before you spend anything on fixtures. In many kitchens, the best lighting upgrade is simply letting the window do its job again, and it costs nothing.
14. Mixing Fixture Finishes Without a Plan
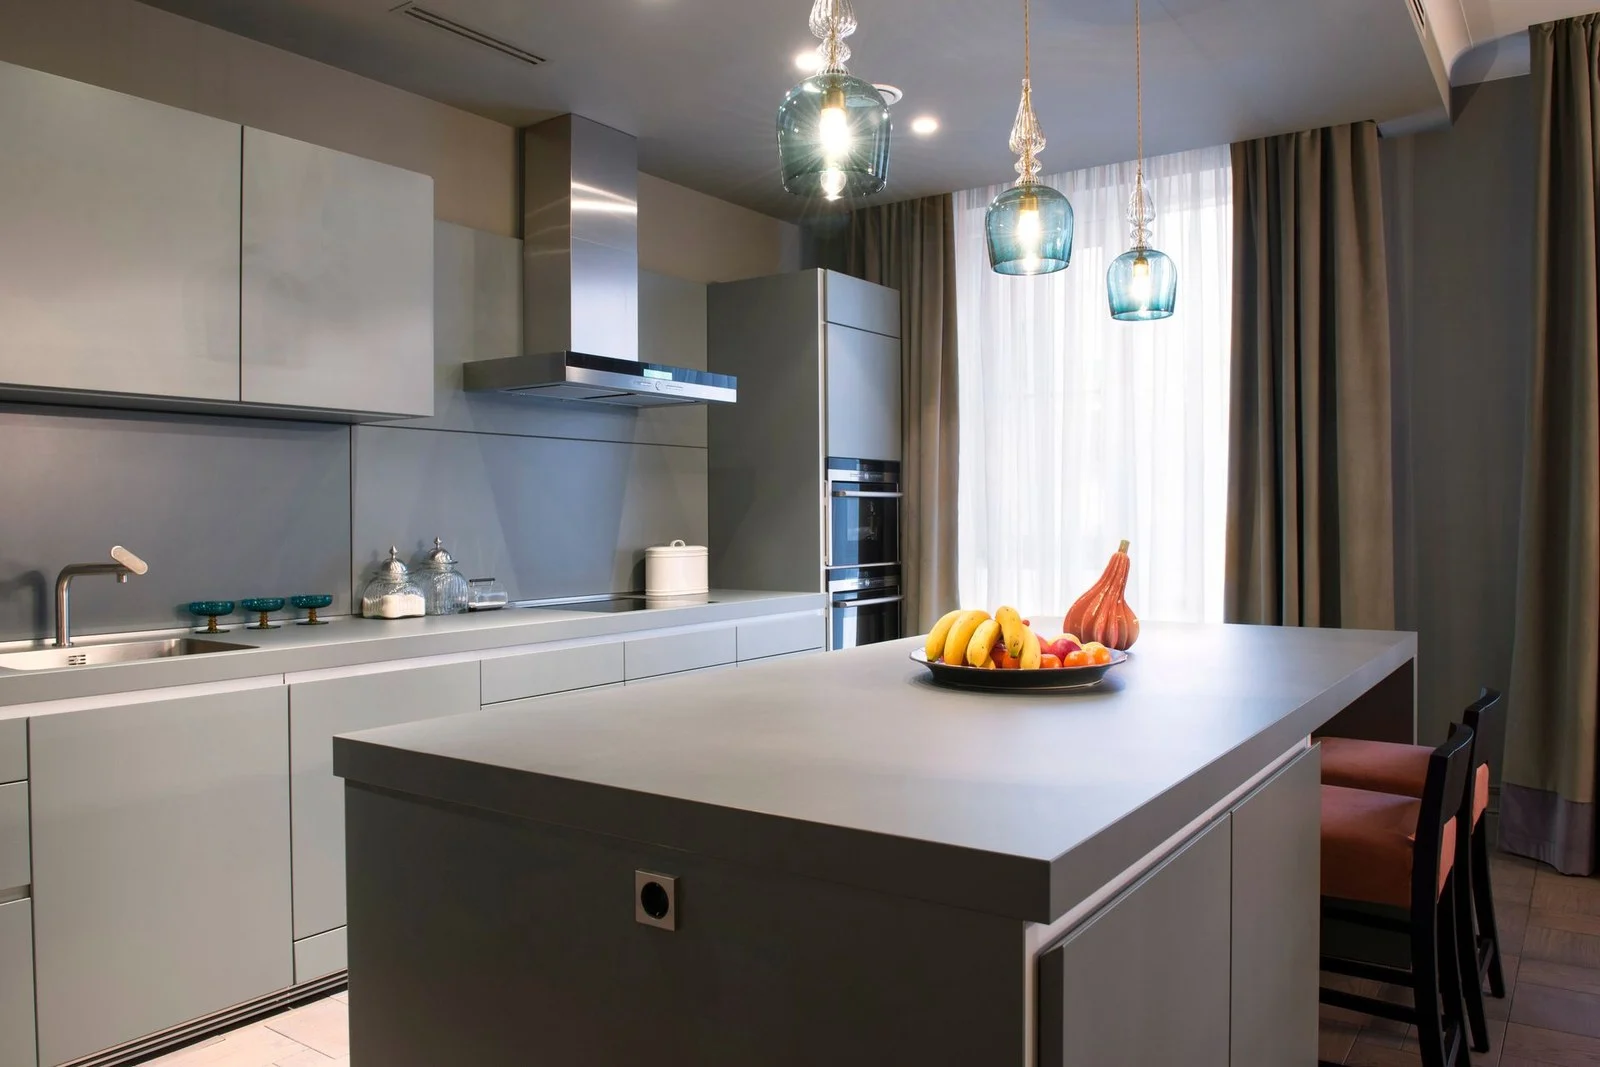
Photo: @KseniaChernaya via Pexels
A chrome pendant, a brass chandelier, black recessed trims, and a nickel faucet do not read as eclectic. They read as four separate shopping trips. Pick one dominant finish for the visible fixtures and let one accent finish appear twice, no more. Matte black pendants with black hardware and a single brass faucet is a plan. Five finishes is an accident. This rule also saves money, because you stop buying the fixture you liked in the shop and start buying the one that matches the room you have. Our kitchen island ideas use the same discipline at the island, where two or three matching pendants beat a collection of singles every time. And our kitchen counter decor guide shows how the same finish logic keeps counters looking calm instead of crowded.
Start with the fixes that change how you cook, not just how the room photographs. Under-cabinet light, one matching color temperature, and pendants at the right height will do more than a whole new set of fixtures hung in the old positions. Work through the list in that order, one change at a time, and check the room at night after each one. The kitchen that looks dated at 7 p.m. usually needs light, not a remodel, and light is the one upgrade you can finish before the weekend is over.
Frequently Asked Questions
What color temperature is best for kitchen lighting?
Warm white at 2700 to 3000K suits most kitchens, while neutral 3500 to 4000K suits kitchens with cool cabinets and counters. The important part is matching: use one temperature across the whole kitchen so the room reads as one space.
How high should kitchen pendant lights hang?
Hang pendants 30 to 36 inches above the countertop, measured to the bottom of the shade. Have someone hold the fixture at both ends of that range while you check sightlines across the island before you fix it in place.
Do I need under-cabinet lighting if I have bright ceiling lights?
Yes, in most kitchens. Upper cabinets block ceiling light from the counter, so the work surface stays shadowed no matter how bright the ceiling fixture is. A strip under the cabinet is the only light that reaches the counter directly.
Can I fix kitchen lighting without an electrician?
Many fixes need no electrician: swapping bulbs, changing a pendant on an existing junction box, and adding plug-in or battery LED strips. Moving junction boxes, adding new circuits, or fitting a heavy fixture to an unrated box should go to a qualified electrician.
What is the cheapest kitchen lighting fix that makes a real difference?
Matching all bulbs to one color temperature and adding one under-cabinet LED strip. Together they usually cost less than a single new pendant and they change both how the kitchen works and how it looks at night.