



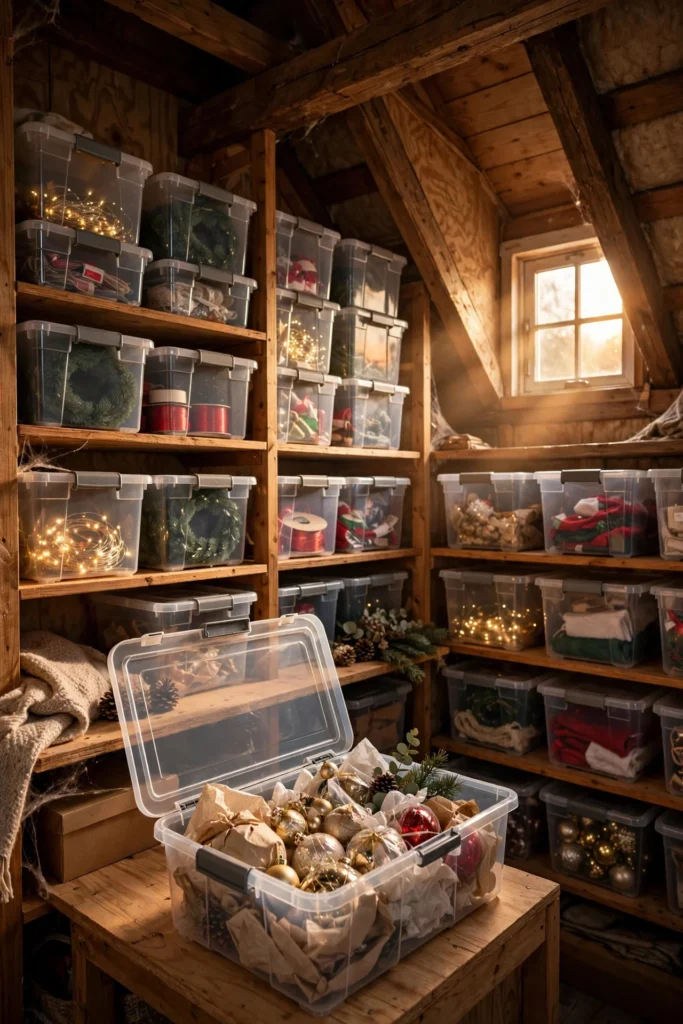
Christmas Decoration Storage: How to Store Christmas Decorations Without the Chaos
Every January, I watch the same thing happen in my own house: the Christmas decoration storage situation collapses into one sad pile of tangled lights, crushed ornament boxes, and a tree leaning against the garage wall like it’s been evicted. Last year I found three broken ornaments in the bottom of a bin and spent forty minutes untangling one strand of fairy lights. This year, I did it differently — and I wish I’d started doing it this way a decade ago.
Good christmas decoration storage isn’t complicated, but it is specific. Ornaments need cushioning, lights need winding, wreaths need to keep their shape, and everything needs a label you’ll actually read next December. Here’s the full system, step by step.
1. Sort everything before a single box gets taped
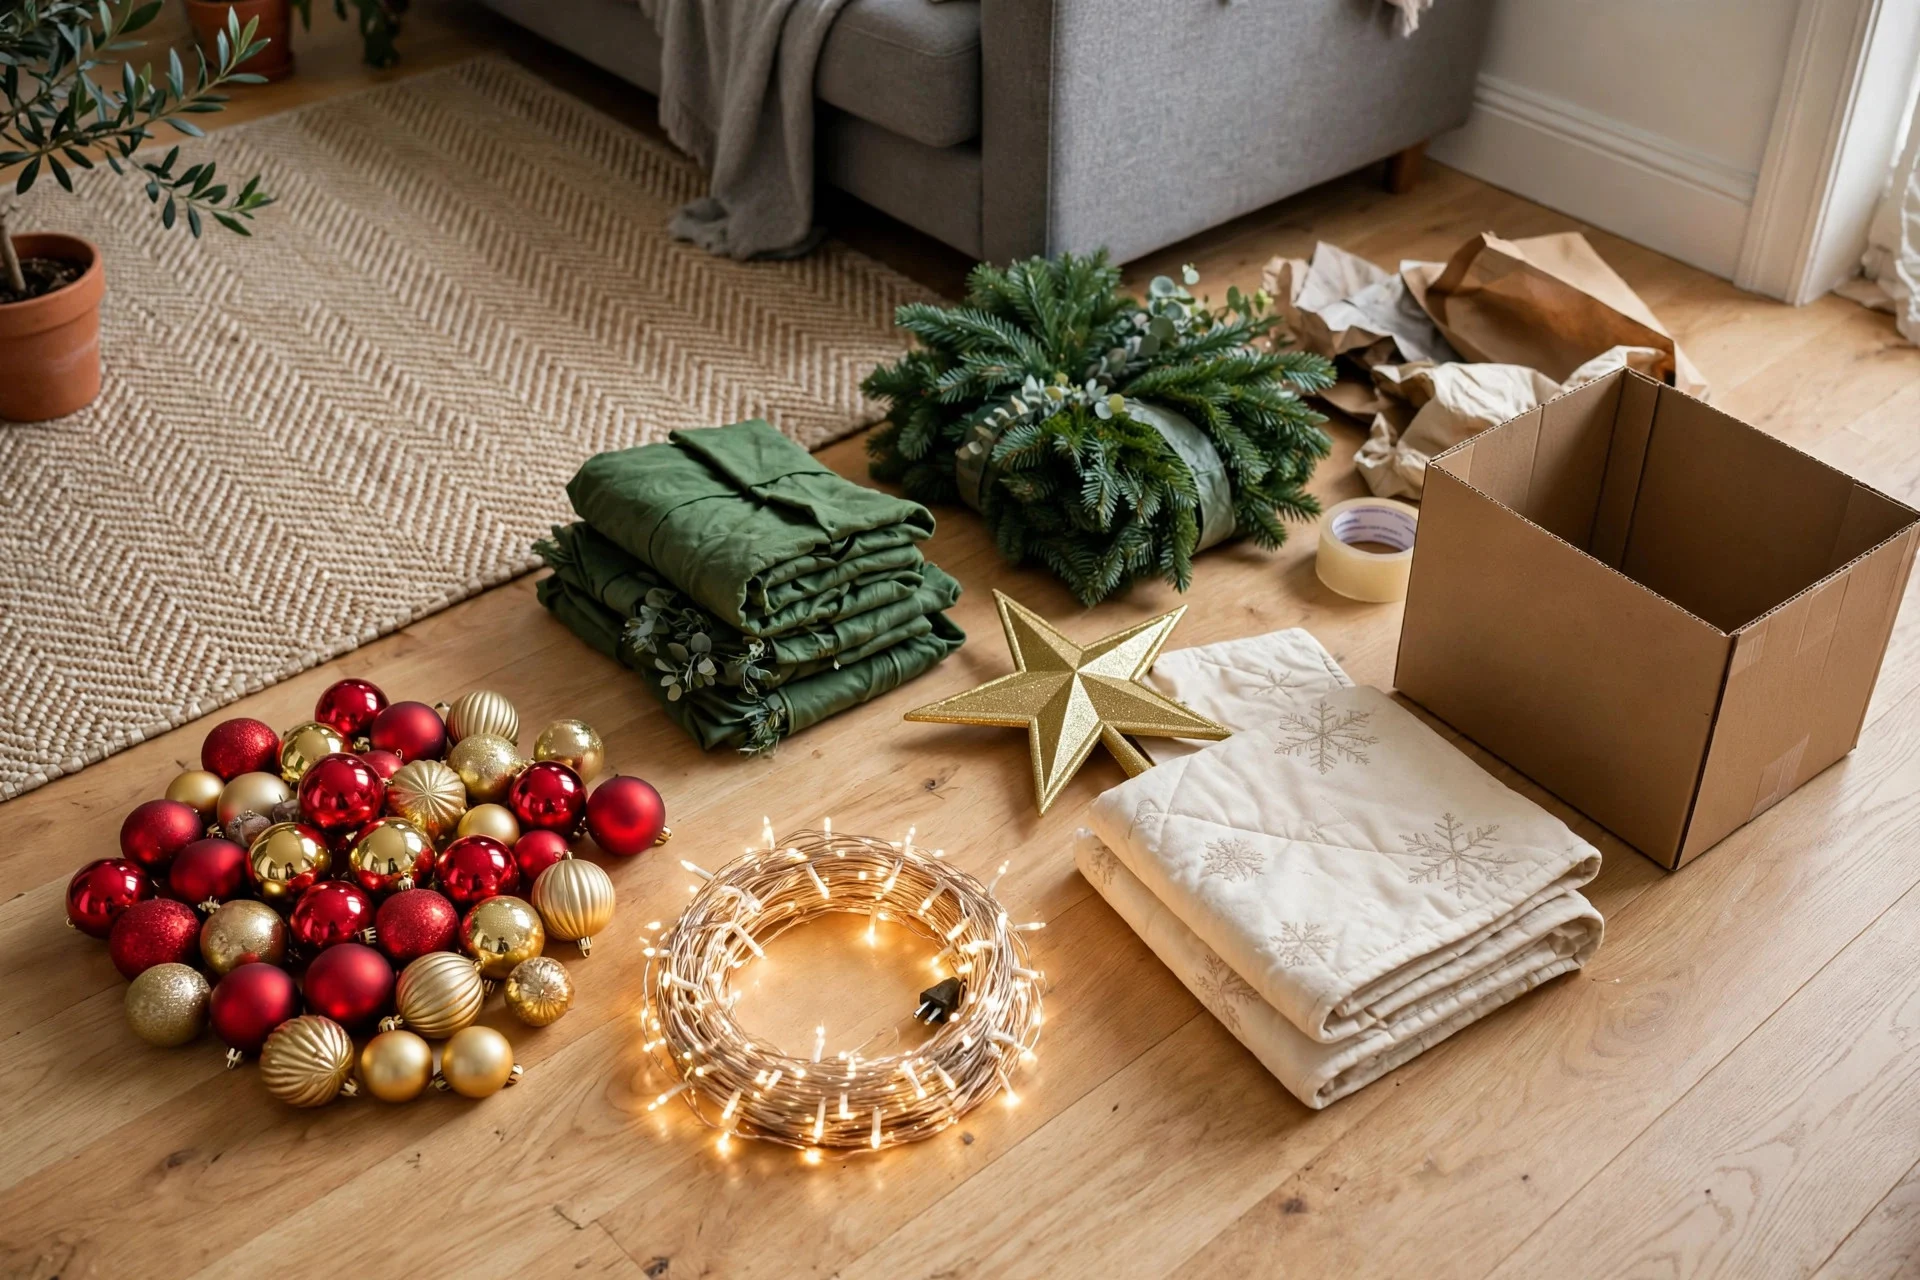
Before you pack a thing, spread every decoration out on a table or the living room floor and sort it into piles: ornaments, lights, garlands, tree stuff (skirt, topper, stand), wreaths, candles and small decor, and “did we even put this out this year?” That last pile matters. If something sat in a box untouched for two Decembers running, donate it. Storing things you don’t display is just paying rent — in shelf space — for clutter.
I was ruthless last year and cleared out about a third of my collection. My storage shelf went from overflowing to having breathing room, and honestly I don’t miss a single piece.
2. Clean before you store (it takes ten minutes, saves headaches)

Dust and grime harden into grime-you-can’t-remove over eleven months. Quick wipe-down: glass ornaments get a pass with a dry microfiber cloth, faux greenery gets shaken outside (you will be shocked how much dust falls out), candle holders get the old wax scraped out with a butter knife. Let anything damp — pine-scented branches, fresh garlands you’re drying — dry fully overnight before packing. Moisture in a sealed bin is how you get mildew and that sour smell next December.
3. Wrap ornaments individually — no exceptions
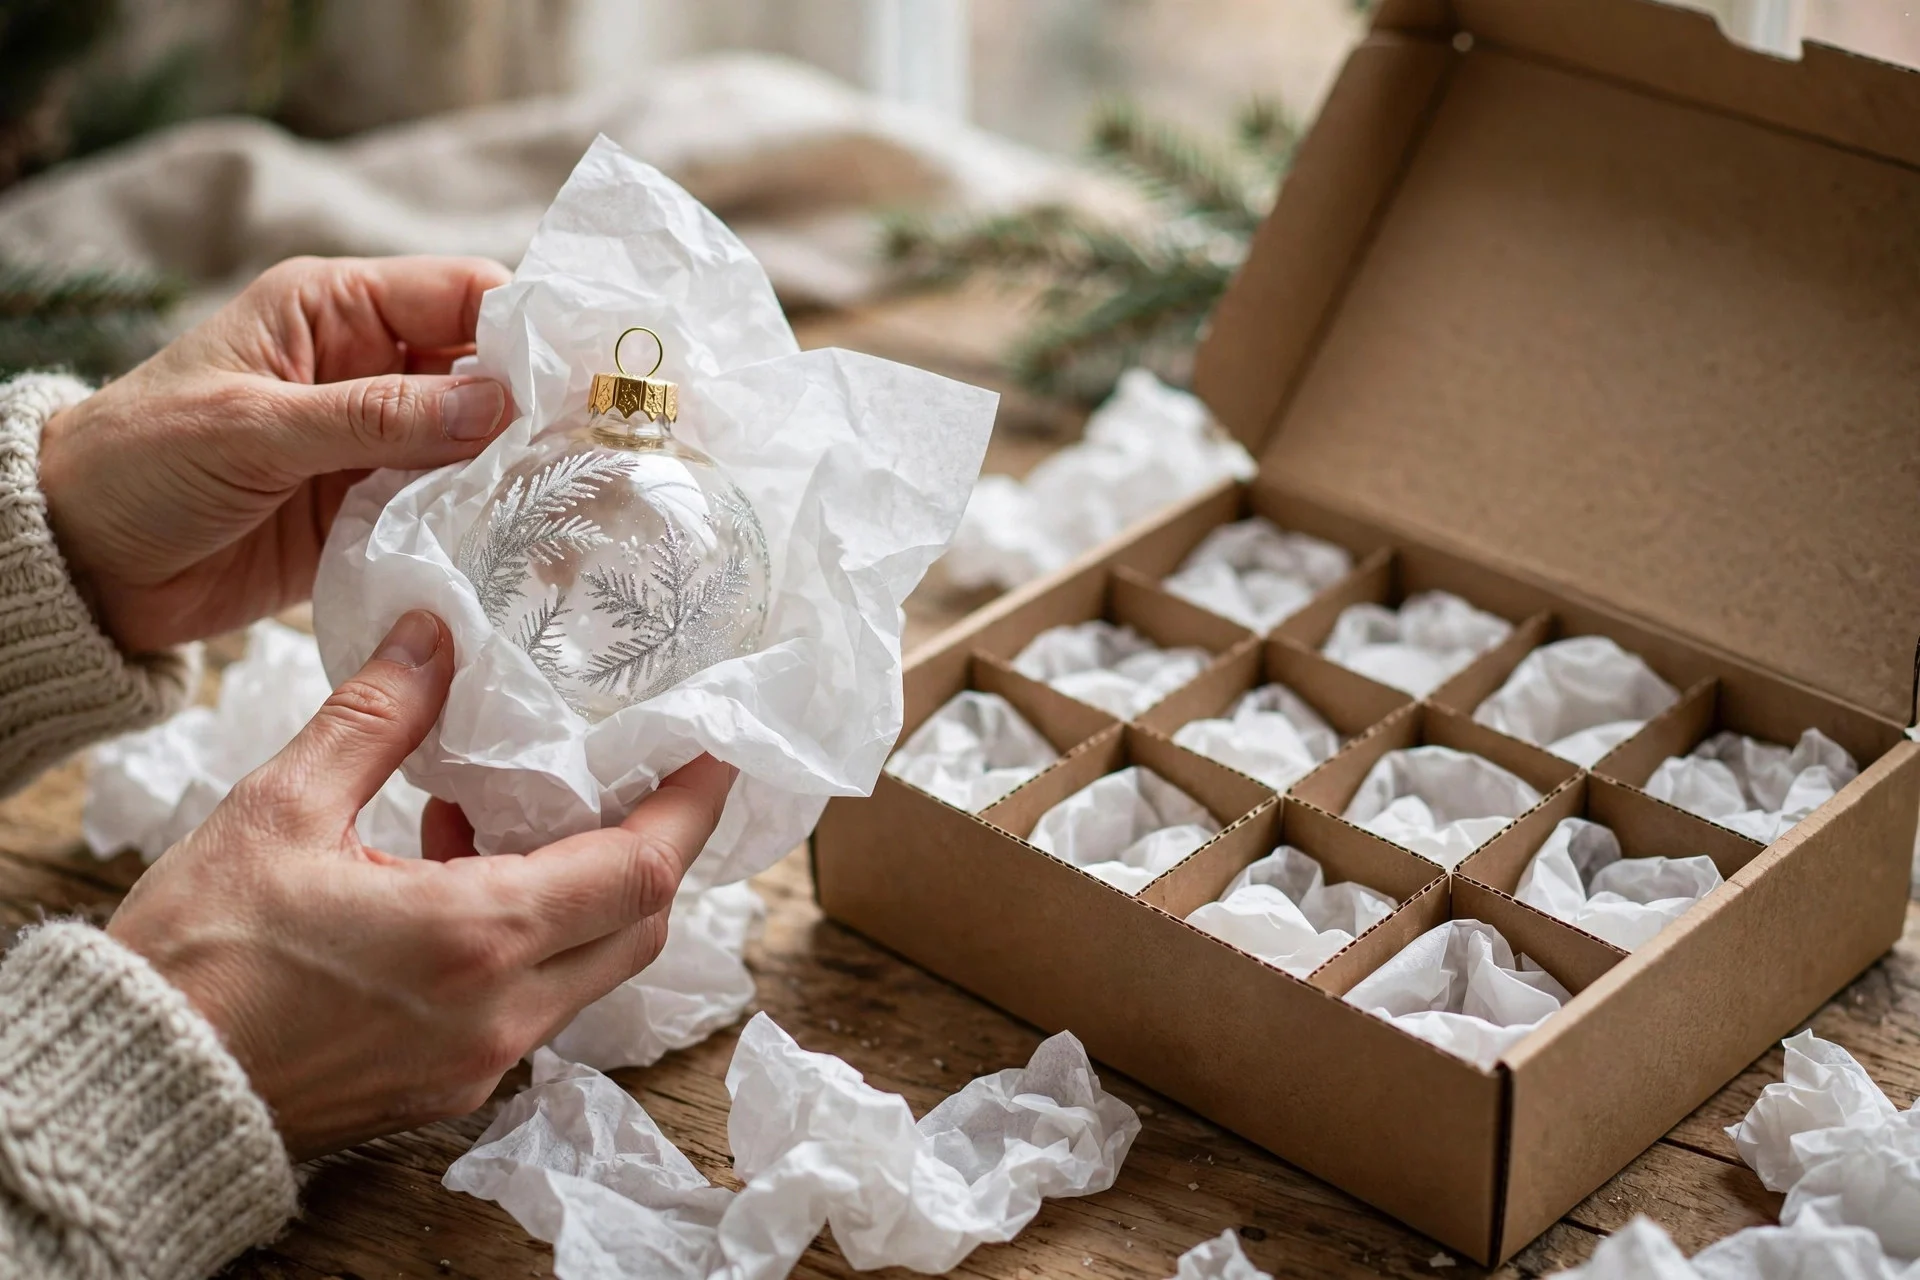
This is the step everyone skips and then regrets. Two glass ornaments knocking together in a box is a breakage waiting to happen. Wrap each fragile ornament in a sheet of tissue paper or a small piece of bubble wrap — tissue costs pennies per sheet at the dollar store, and a pack of 100 covers most families’ collections.
My trick: I save the little dividers that come inside liquor boxes (wine bottle inserts) and use them as ready-made ornament grids inside plastic bins. Bars and restaurants throw these away constantly — ask, and they’ll usually hand you a stack for free.
4. Use egg cartons and divided boxes for small ornaments

Mini ornaments, glass balls under two inches, and those delicate souvenir baubles all rattle around in a big bin. Egg cartons are the cheapest fix in this entire guide: each cup holds one small ornament, they stack neatly, and a sheet of tissue on top stops the lids from closing on the glass. For slightly bigger pieces, look for segmented storage trays meant for wine glasses — a set of four trays usually runs about $15 online and fits inside standard 18-gallon bins.
5. Wind lights around cardboard — the untangling hack that actually works

Here’s the thing about christmas decoration storage: lights cause more January frustration than everything else combined. Cut rectangles of cardboard about 8 by 10 inches, cut a small notch in one edge, hook the plug end in, and wind the strand snugly around the board. Secure the loose end with a twist tie or a piece of masking tape.
Label each board with the strand length and where it went — “200 warm white, porch railing” — on masking tape stuck to the cardboard. When you’re decorating next year, you’ll grab exactly what you need instead of guessing. For a fuller look at making lights behave during display season too, read how to decorate with Christmas lights without looking tacky — the same zone-by-zone thinking applies at takedown.
6. Bag the artificial tree, don’t crush it
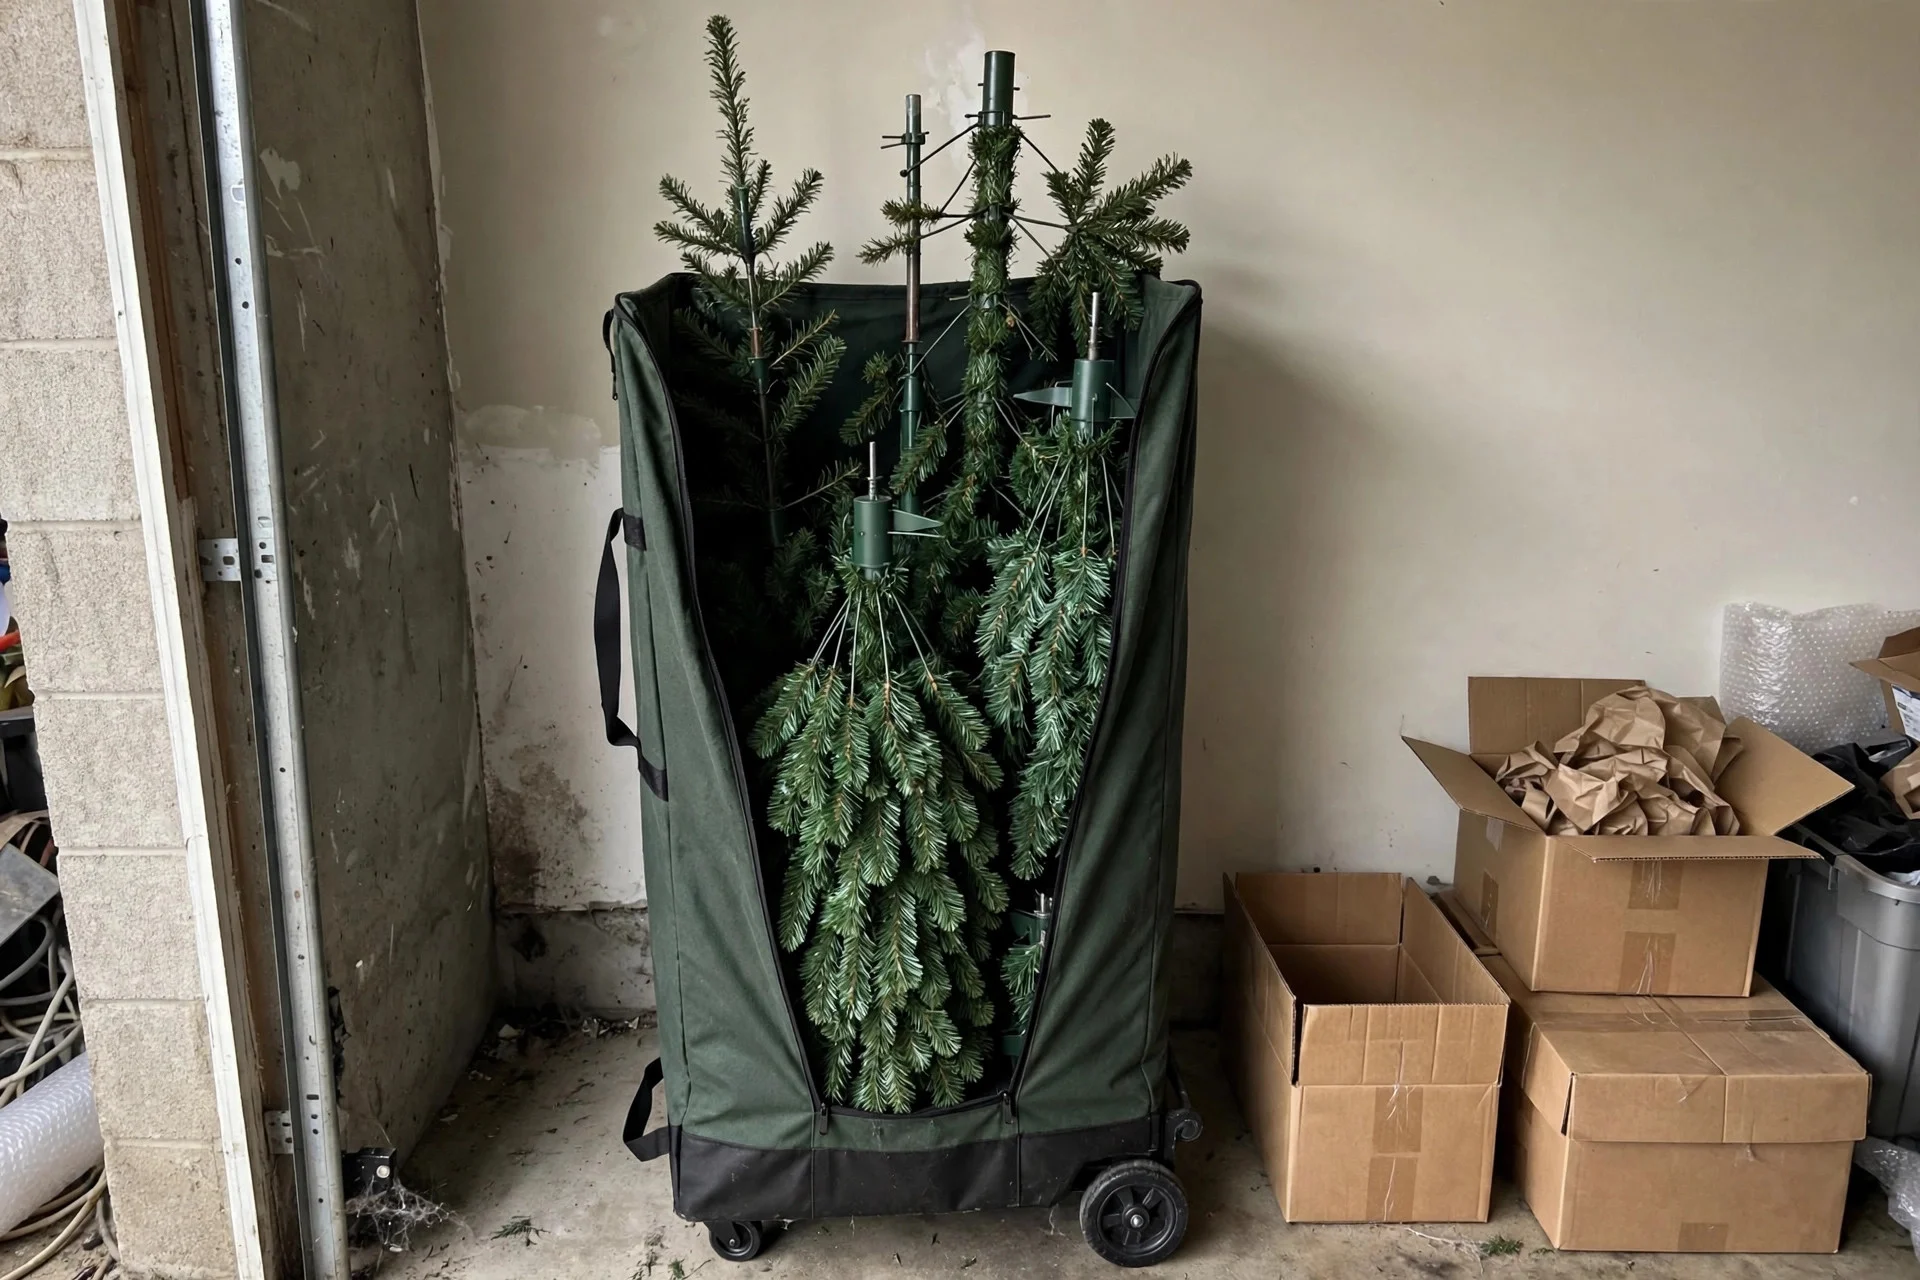
If your tree came in a box, the box is probably falling apart by year three — switch to a dedicated tree storage bag, about $25–35 for a 7.5-foot tree. The upright rolling ones are worth the extra few dollars; you wheel the tree into the corner instead of hauling it. Compress each section’s branches inward before bagging so needles don’t splay and snap.
No bag? Folded moving blankets and a roll of packing tape do the job — wrap each section like a burrito and stand them upright in the garage. What you don’t want is the tree lying flat under other boxes for eleven months. That’s how you get branches permanently bent into sad angles.
7. Hang wreaths in garment bags

Wreaths lose their roundness fast when something heavy sits on them. The fix costs almost nothing: slip each wreath into a garment bag (the clear ones dry cleaners use are perfect), zip it shut, and hang it on a hook or closet rod. The bag keeps dust off and nothing can press against the greenery.
I hung three wreaths on the back wall of our coat closet this way. They took up zero floor space and looked perfect when I pulled them out — no reshaping, no fluffing branches back into place for an hour.
8. Put garlands in vacuum bags

Faux garlands are bulky air-filled things, which makes them perfect candidates for vacuum compression bags. A 9-foot garland shrinks to a flat slab you can slide between bins. Use a gentle hand on the vacuum — flatten, don’t crush. Delicate wired branches can snap under full compression, so for expensive garlands, use a vacuum bag but stop the suction early, or just use an under-bed storage bag without the vacuum.
9. Label every bin by room, not by decoration type
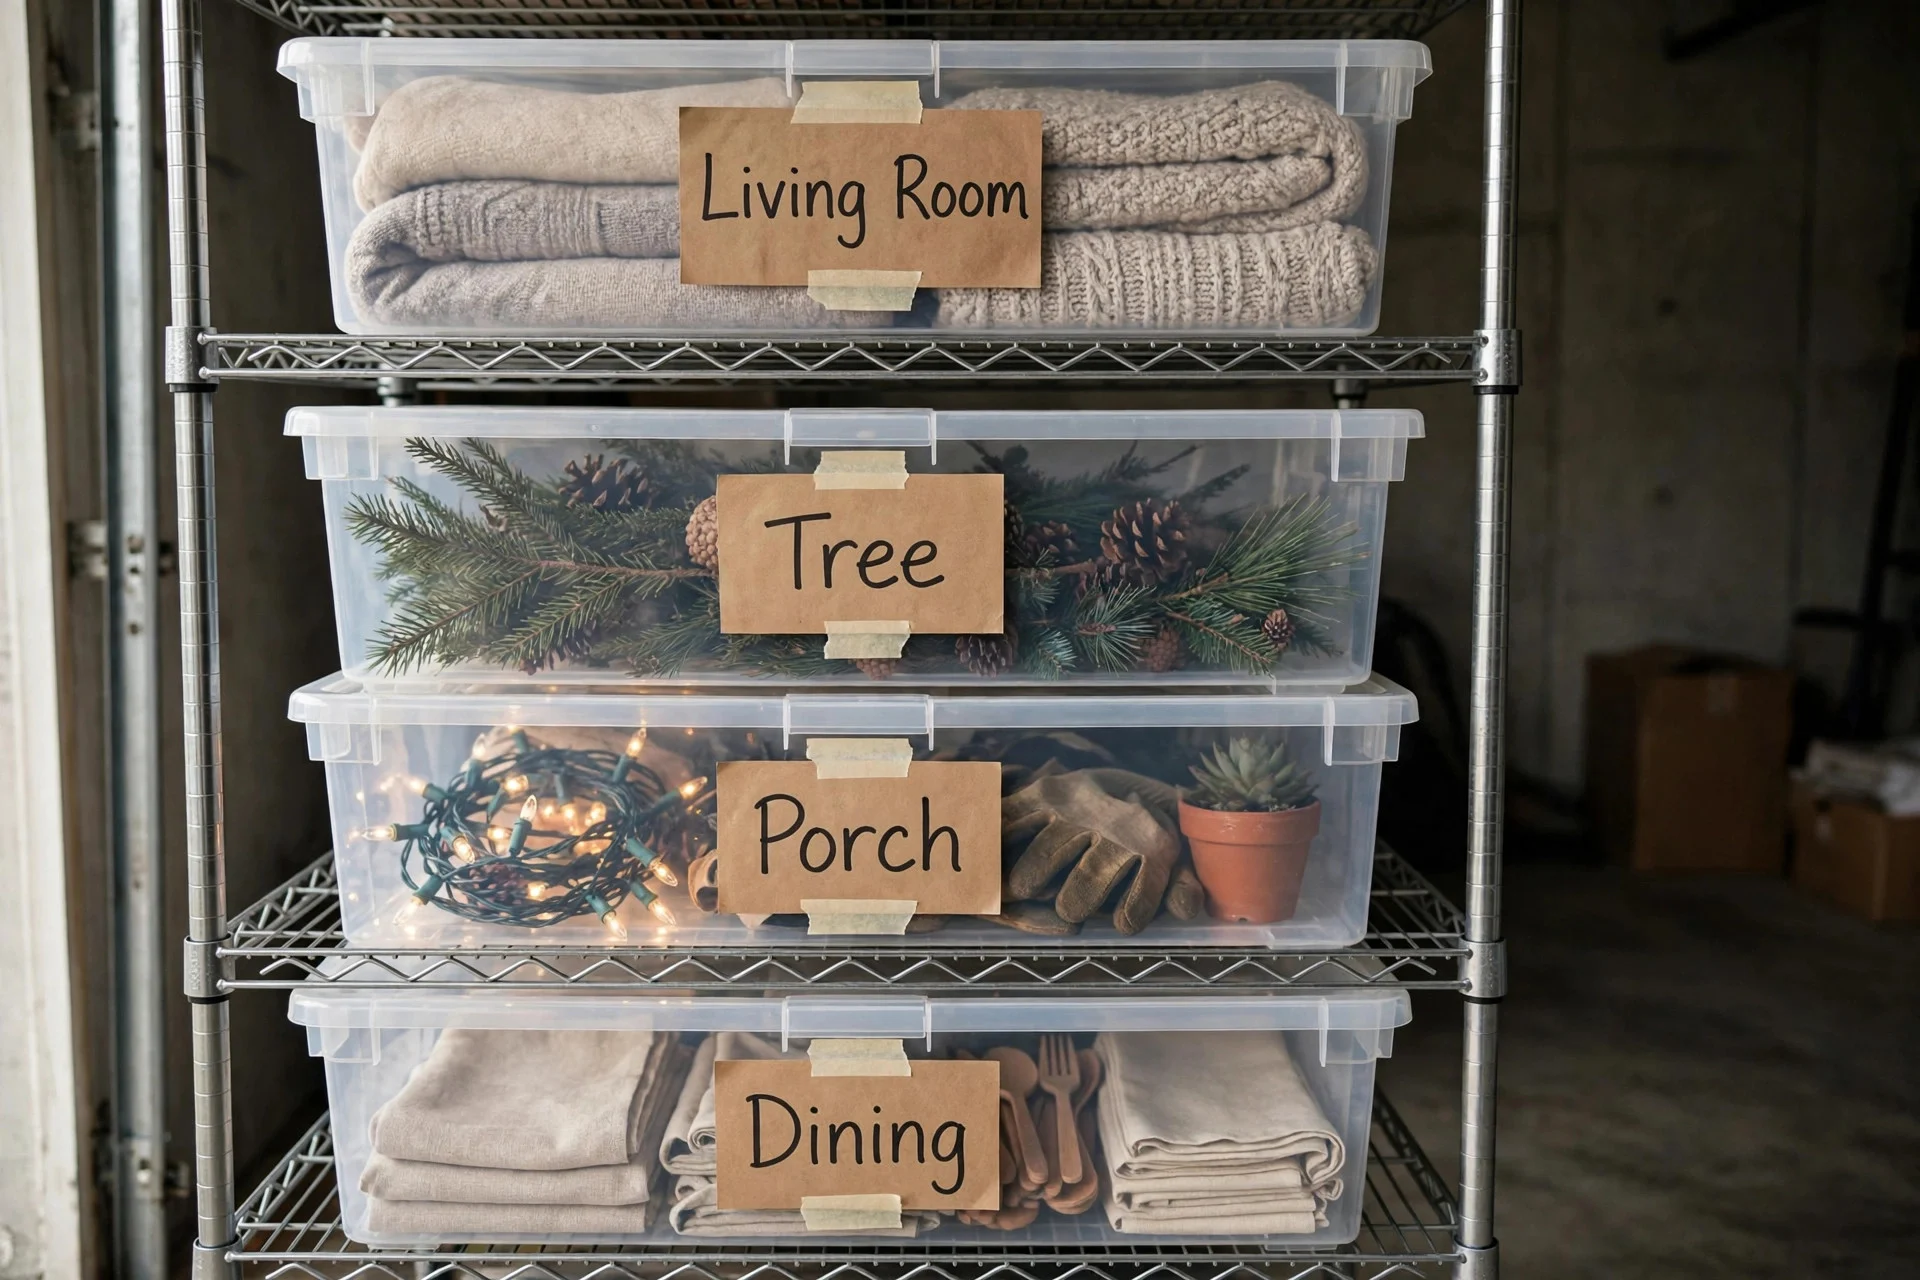
Here’s the organizational trick that changed everything for me: label bins by where things GO, not what they ARE. “Living Room” and “Porch” and “Tree + Mantel” beat “Ornaments Bin 3” every time. When you decorate next December, you carry one bin to one room and unpack the whole room. No running back and forth, no opening five bins to find the dining table candles.
Use big readable labels — masking tape and a thick marker work fine, but printed labels last longer and look better if you care about that. I also snap a quick phone photo of each bin’s contents before closing it. Next year, I scroll through the photos instead of opening everything.
10. Choose the right spot for christmas decoration storage (the attic isn’t always it)

Heat is the enemy. A traditional attic can hit 130°F in summer, and that melts candle wax, warps plastic ornaments, and fades fabrics. Keep wax candles, anything with batteries, and heirloom pieces in a climate-controlled spot — a closet, under-bed bins, or a basement corner that stays cool and dry.
For everything else, the garage or attic is fine, but get bins off the floor on shelving or pallets. Concrete floors sweat and seep; even a two-inch lift keeps the bottom of your bins dry. I picked up a cheap metal shelving unit (about $60) and my bins now live there, off the concrete, away from the water heater.
11. Leave yourself a “next December” note
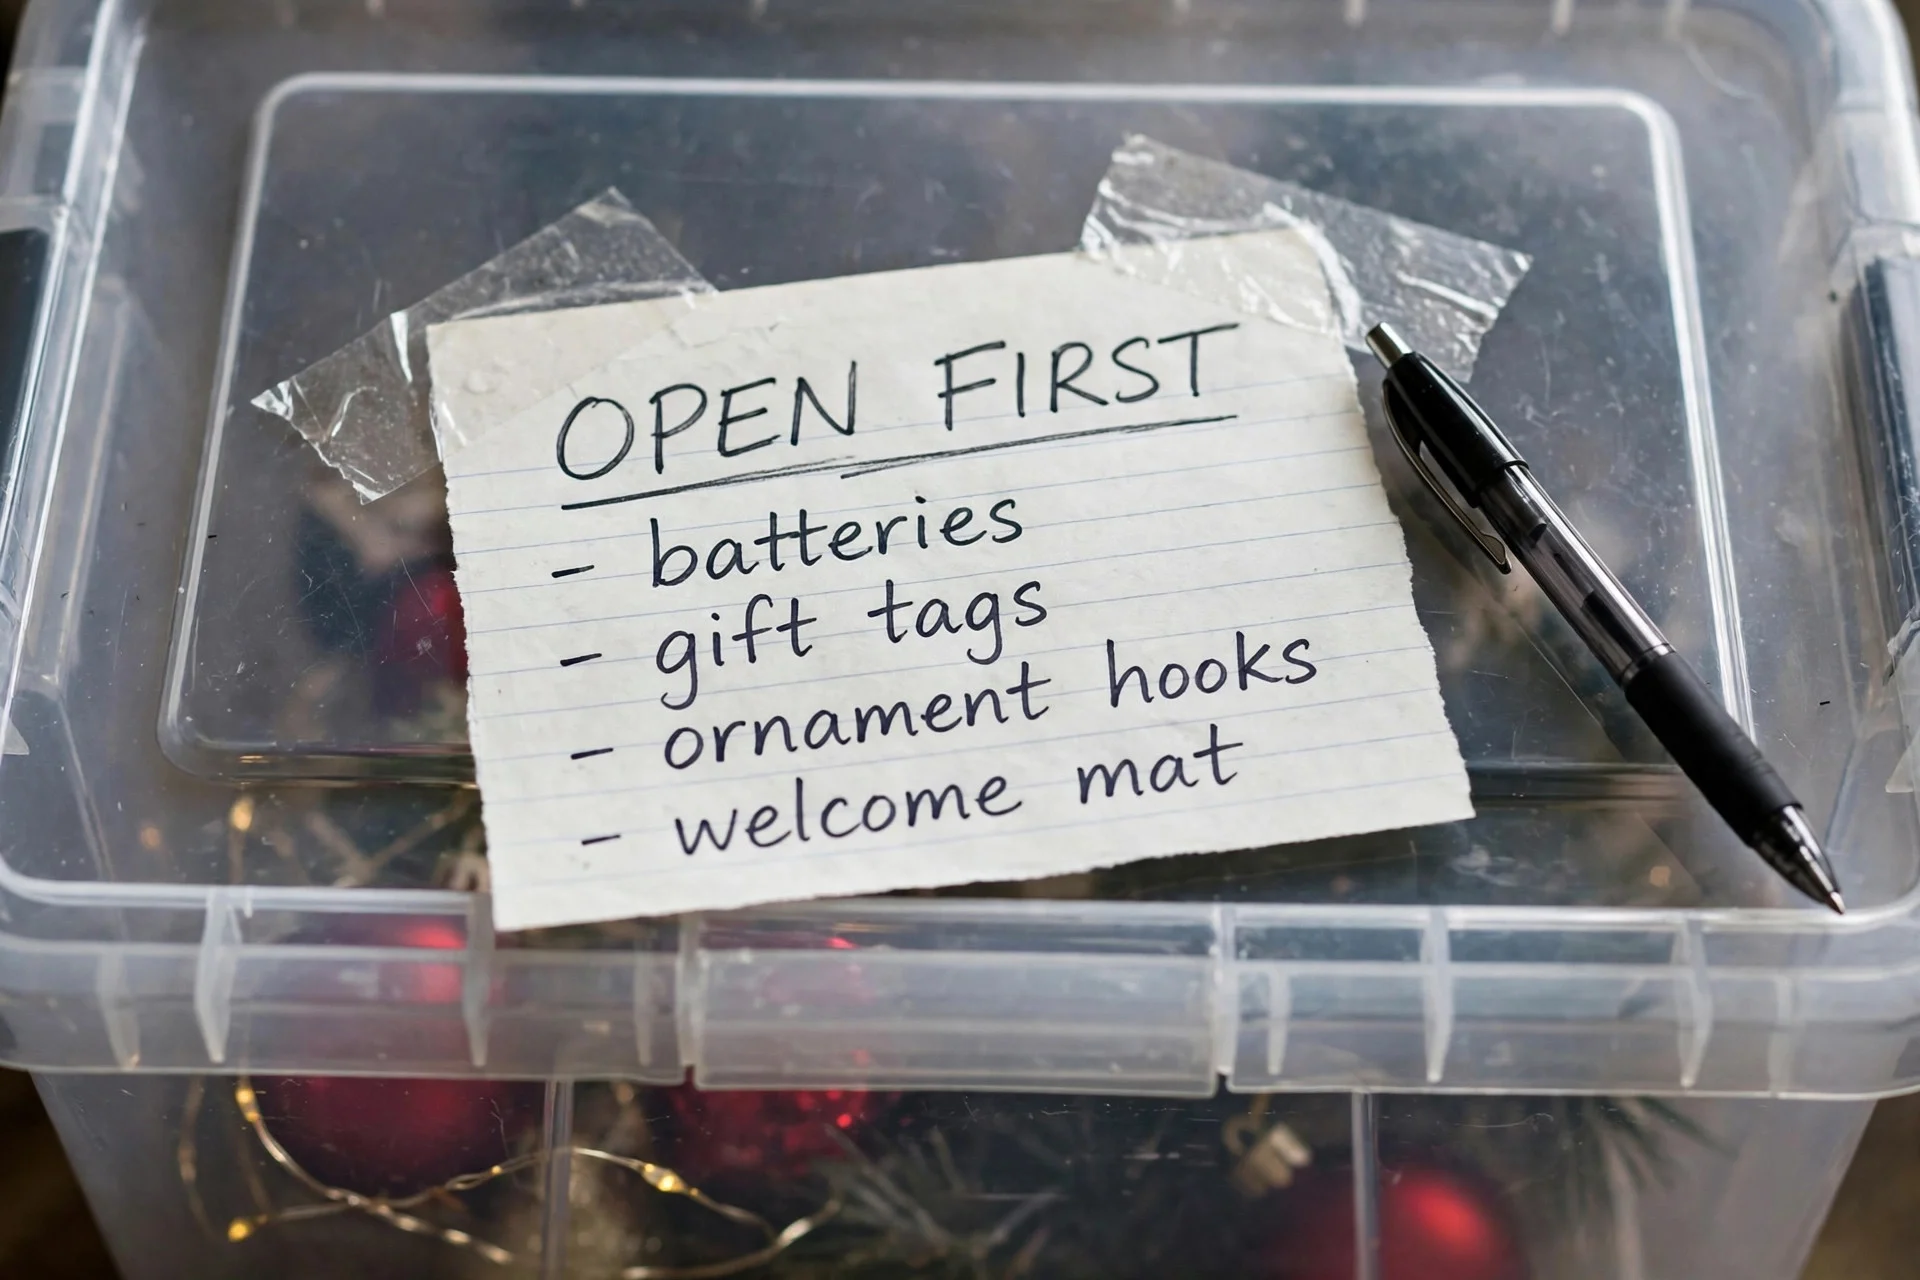
This one’s pure gold and takes thirty seconds. On the lid of your first-open bin, tape a note: what to do differently, what broke, what you ran out of, what you want to buy on clearance now. Mine last year said: “Buy 2 more warm white strands (porch was thin), tree topper wobbles — replace, donate snowman mug set.” When I opened it this December, I had a to-do list ready to go.
Buying replacements on post-Christmas clearance while the details are fresh is the whole point — you’ll get 50–75% off, and next December you’ll have exactly what you need. And when you unpack again, if the mantel needs rebuilding from scratch, this step-by-step Christmas mantel guide makes it go fast.
Frequently asked questions
What’s the best container for christmas decoration storage?
Clear plastic bins with locking lids, ideally 18-gallon size — they’re stackable, water-resistant, and you can see what’s inside without opening them. Skip cardboard boxes for anything you plan to keep more than a year or two; they crush, attract pests, and soak up garage humidity.
How do you store Christmas lights so they don’t tangle?
Wind each strand around a piece of cardboard with a notch cut in the edge, secure the loose end with tape or a twist tie, and label the cardboard with the strand’s length and where it hung. Never coil a strand loosely into a bag — that’s how you lose an hour next December.
Can I store Christmas decorations in a hot attic?
Most decorations can handle it, but not wax candles, battery-operated pieces, or heirloom fabrics — heat warps and melts them. Keep those in a climate-controlled closet or under-bed storage. Everything else is fine in the attic as long as bins sit on shelving, not directly on the floor.
How do you organize decorations for easy decorating next year?
Label bins by room (Living Room, Porch, Dining) instead of by decoration type. Take a photo of each bin’s contents before closing it. Tape a “next December” note with buy/replace/donate reminders on the lid of your first-open bin.
The whole system — sorting, wrapping, labeling, and shelving — took me about three hours for a full house’s worth of decorations. That’s one afternoon, and next December’s decorating day will start with me grabbing labeled bins instead of playing detective. If you’re rebuilding your collection, these DIY Christmas decorations are cheap to make and pack flat, which makes them some of the easiest pieces to store you’ll ever own.



2 Responses