




How to Transition Christmas Decor Into Winter Decor
The week after Christmas has a specific kind of gloom. The tree is dropping needles, the red bows look tired, and the house somehow feels both cluttered and empty at the same time. Most people either leave everything up until February out of exhaustion or strip the house bare in one frantic afternoon and live with blank walls until spring. There’s a middle path, and it’s simpler than you’d think. Learning how to do a christmas to winter decor transition — what comes down first, what stays, and how to restyle what’s left — turns January from the ugliest month in your house into one of the coziest. Here’s the exact order I use, refined over several years of doing this the hard way first.
1. Take the Tree Down First — It’s the Biggest Job
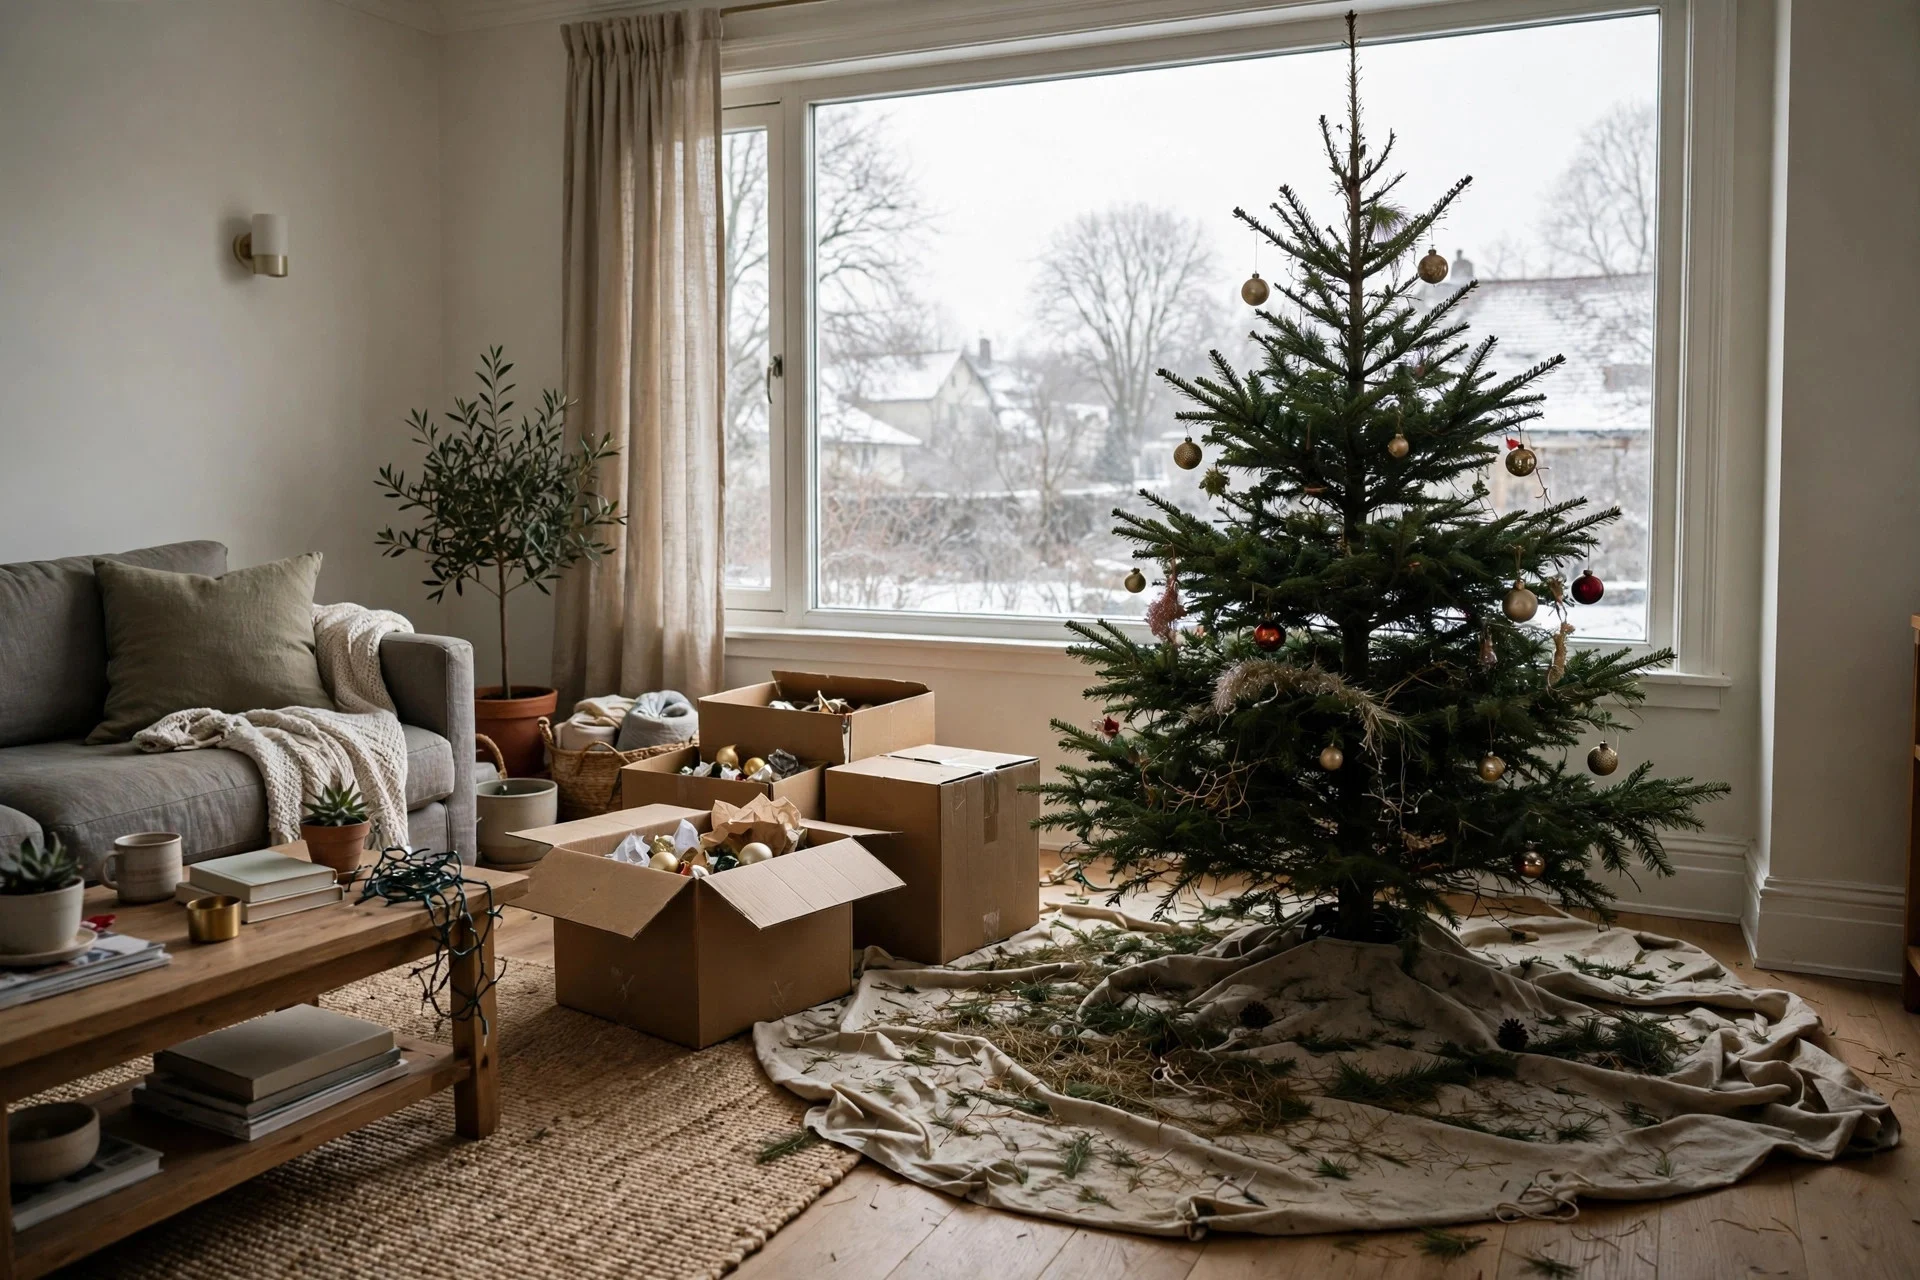
Always start with the tree. It’s the largest object, it makes the biggest mess, and once it’s gone the whole house feels like it can breathe again. Do it in this order: unplug everything, remove ornaments working top to bottom (so falling pieces don’t smash the lower ones), then take off the lights, then deal with the tree itself. Lay an old sheet underneath before you start dragging — pine needles in carpet are a special kind of forever. For real trees, check your town’s curbside pickup dates before you start; nothing is sadder than a tree sitting on the curb for two weeks. Artificial trees go back in their box or a tree bag, stored upright if you have the space. This single task takes about an hour for an average tree, and finishing it gives you the momentum for everything else.
2. Pack Ornaments by Color and Theme, Not Randomly

Future-you, standing in a freezing garage next November, will either thank you or curse you. Pack ornaments grouped by color family and theme — all the gold together, the heirloom glass together, the kids’ handmade ones together — in divided ornament boxes or with cardboard dividers in a regular bin. Wrap anything fragile in tissue, not newspaper (the ink transfers). Snap a quick photo of your tree before you strip it; I do this every year and it saves me twenty minutes of “where did that cluster of blue balls go” next December. Label each box on two sides with a marker, not just the lid, because lids get separated. This is the fiddliest step and there’s no shortcut — but doing it right once means next year’s decorating starts fun instead of frustrating.
3. Sort Everything Into Three Piles: Pack, Keep, Let Go

Before a single bin gets sealed, spread everything out and sort it honestly. Pile one: Christmas-specific items that get packed away (Santa figures, nativity sets, “Merry Christmas” signs, red-and-green everything). Pile two: pieces that work as winter decor — and this pile is bigger than you think. Pile three: the broken, the faded, the “I’ve hated this for three years.” Be ruthless with pile three. That chipped reindeer, the garland that’s shedding, the stockings nobody’s name is on anymore — donate or toss. I kept a set of ornaments out of pure guilt for four years before finally admitting I disliked them. The Christmas decor storage mistakes to avoid guide covers the packing errors that ruin good decorations, but the sorting step is what most people skip — and it’s the step that keeps your storage from growing every year.
4. Keep the Greenery — Just De-Christmas It

This is the secret of the whole transition: real or faux evergreen garlands, wreaths, and swags are winter decor, not Christmas decor. The Christmas part was the red bows, the ornaments, the berry picks with the glitter. Pull all of that off and what’s left — plain cedar, pine, eucalyptus, boxwood — is perfectly at home in January. Fluff faux garlands back into shape and give them a shake outside to drop the loose glitter. For real greenery, be honest about its condition: if it’s browning and crispy, compost it; if it’s still fresh (cedar and boxwood often last weeks), keep it going. A plain green wreath on the front door with a simple burlap bow or no bow at all reads “winter,” not “forgot to take it down.” I keep my faux garland on the mantel straight through February, and guests consistently assume I decorated for winter on purpose. I did — eventually.
5. Keep the Warm White Lights, Lose the Colored Ones

Warm white fairy lights are the hardest-working winter decor you own. The multicolor strands and the blinking icicle lights go in the bin, but plain warm-white lights stay out — draped in a glass vase, woven through the greenery you kept in step 4, strung along a bookshelf. In January, when it gets dark at 5 p.m., these little lights are the difference between a cozy evening and a cave. Put them on a timer plug ($10) set for dusk to 10 p.m. so you never think about them. One caution: check each strand for dead bulbs and frayed wire before you redeploy it; a strand that survived the tree might not survive being re-hung. I learned this the exciting way, with a tripped breaker and a dark living room. Test first, hang second.
6. Lean Into Wood, Pinecones, and Natural Textures
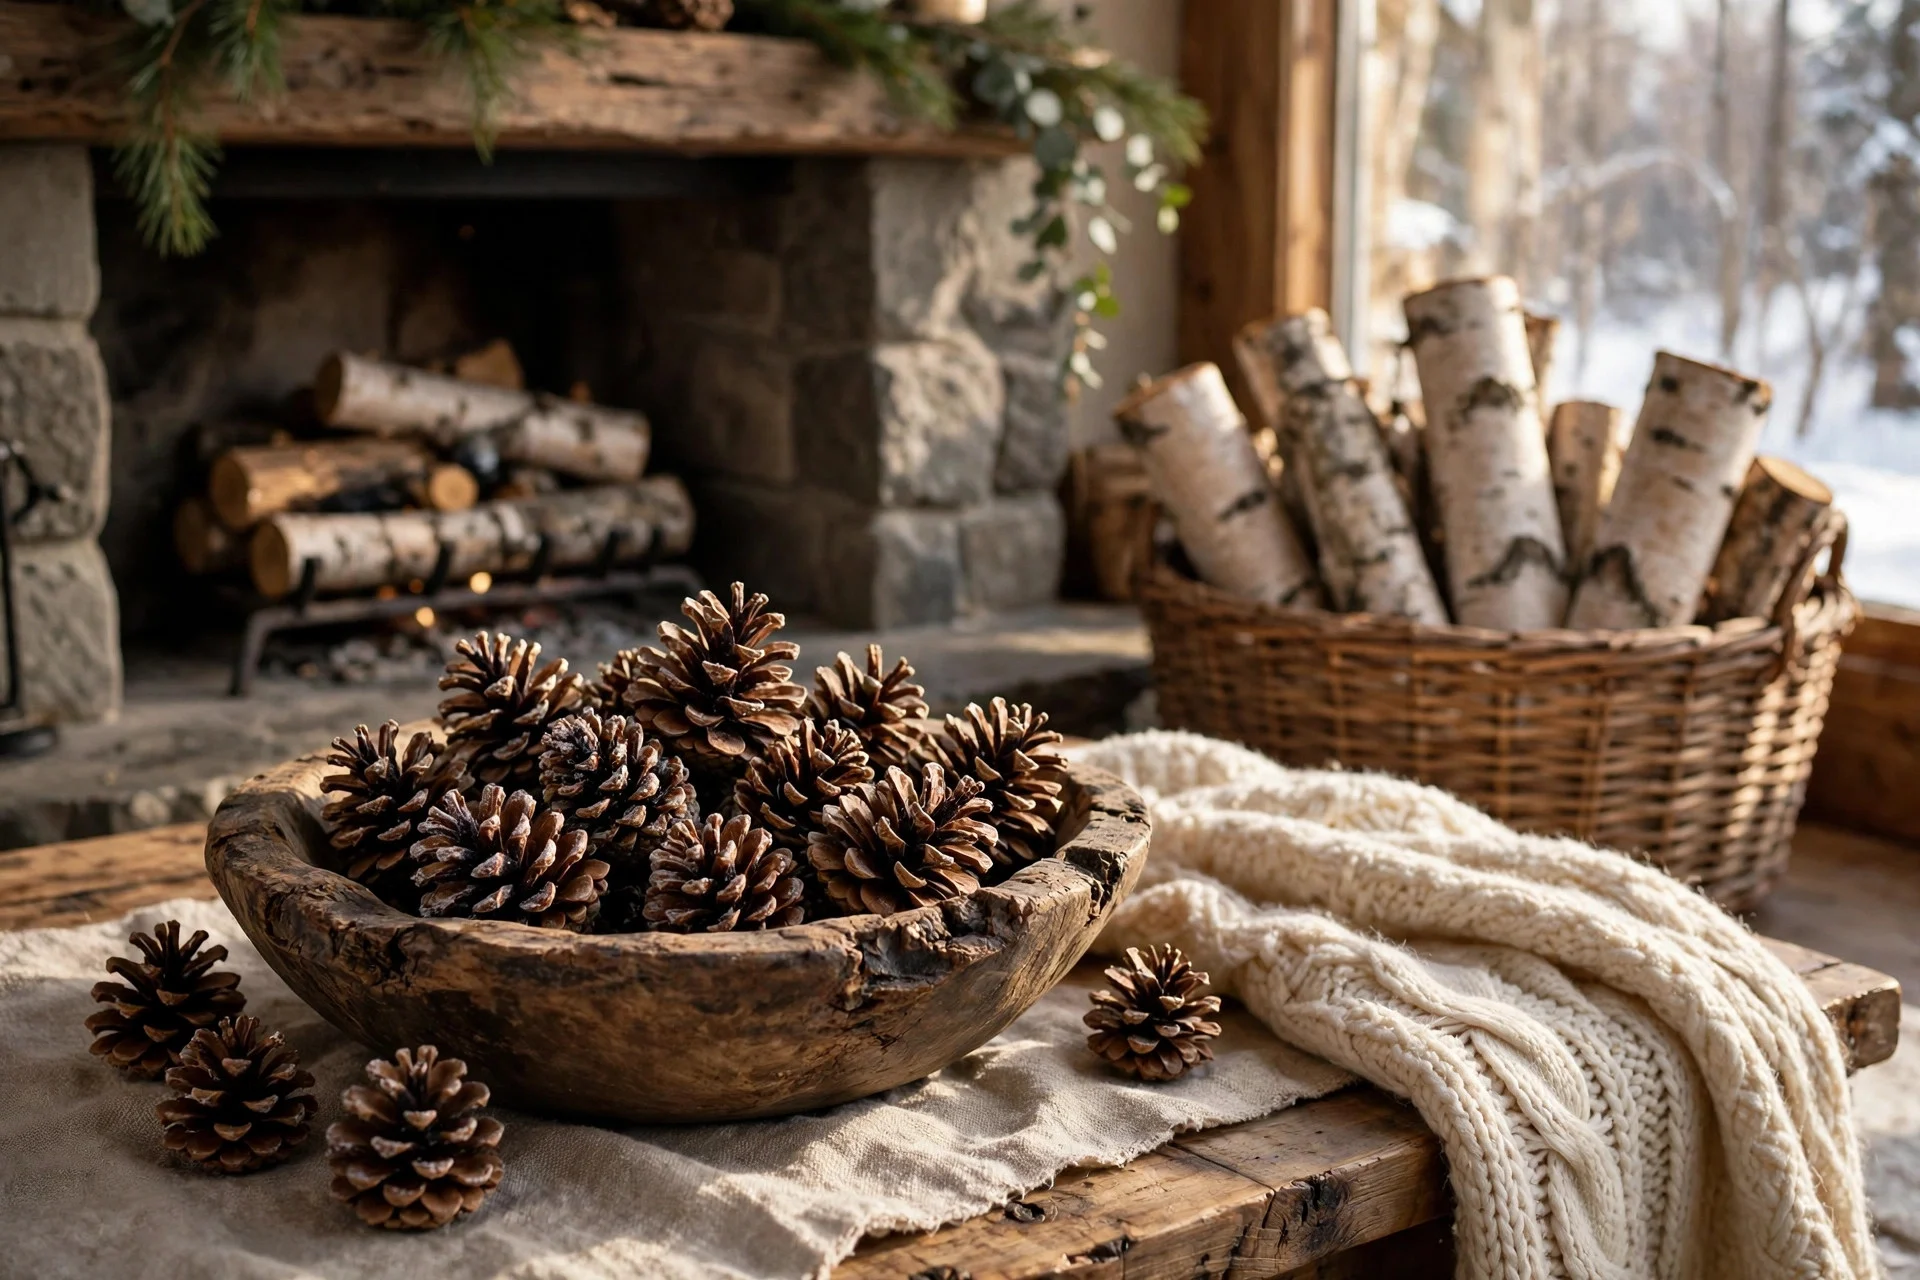
Strip away the glitter and what’s left should feel like a forest floor, not a clearance aisle. Wooden bowls filled with pinecones, birch logs in a basket by the fireplace, linen throws, a jute runner on the dining table — these natural textures are the backbone of winter styling. Gather pinecones from your own yard if you have them; bake them at 200°F for an hour on a foil-lined tray to kill any hitchhiking bugs before bringing them inside. (I skipped this step once. Once.) Swap shiny metallic accents for matte ones: brushed brass and aged wood over chrome and glitter. A sheepskin or faux-fur throw over the sofa arm instantly says winter without saying Christmas. The Spruce’s guide to winter decorating ideas has good examples of this natural-texture approach if you want more inspiration for the look.
7. Swap the Christmas Textiles for Neutral Winter Ones
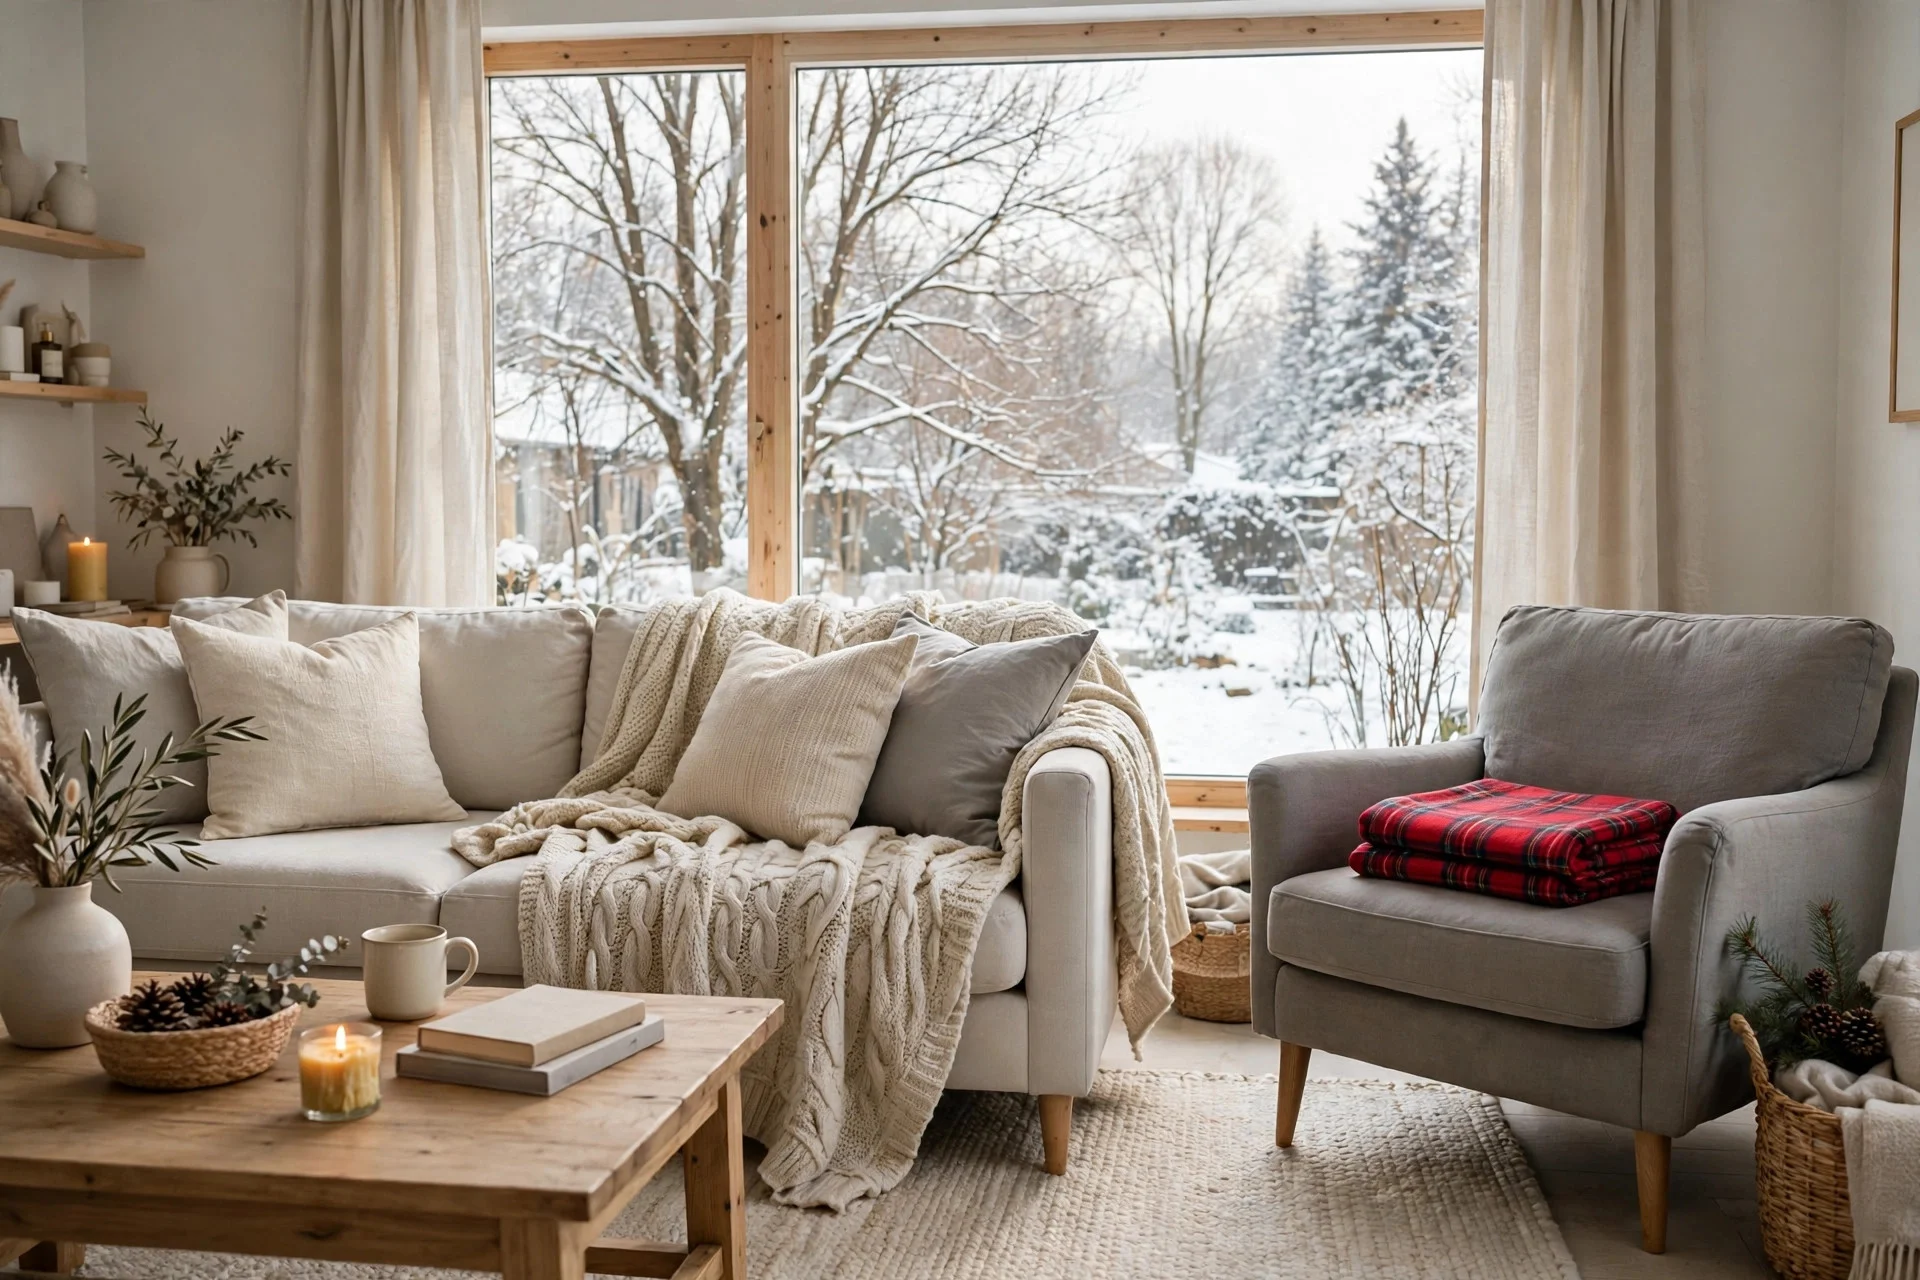
Textiles are the fastest room transformer you have, and they’re the clearest signal of which season your house thinks it is. The red plaid throw pillows, the “Merry and Bright” lumbar pillow, the Christmas-tree table runner — all of it comes off. Replace with cream, oatmeal, soft grey, camel, or warm white: chunky knit throws, linen pillow covers, a wool runner. You don’t need to buy a whole new set; pillow covers ($12 to $20 for a pair) over your existing inserts change the whole sofa. Wash and fold the Christmas textiles before storing so they’re fresh next December — I stuff dryer sheets in the storage bin to keep them smelling good. Keep one or two deep-green or burgundy pieces if you love them; those colors read winter just fine once the Santa stuff is gone.
8. Restyle the Mantel for January
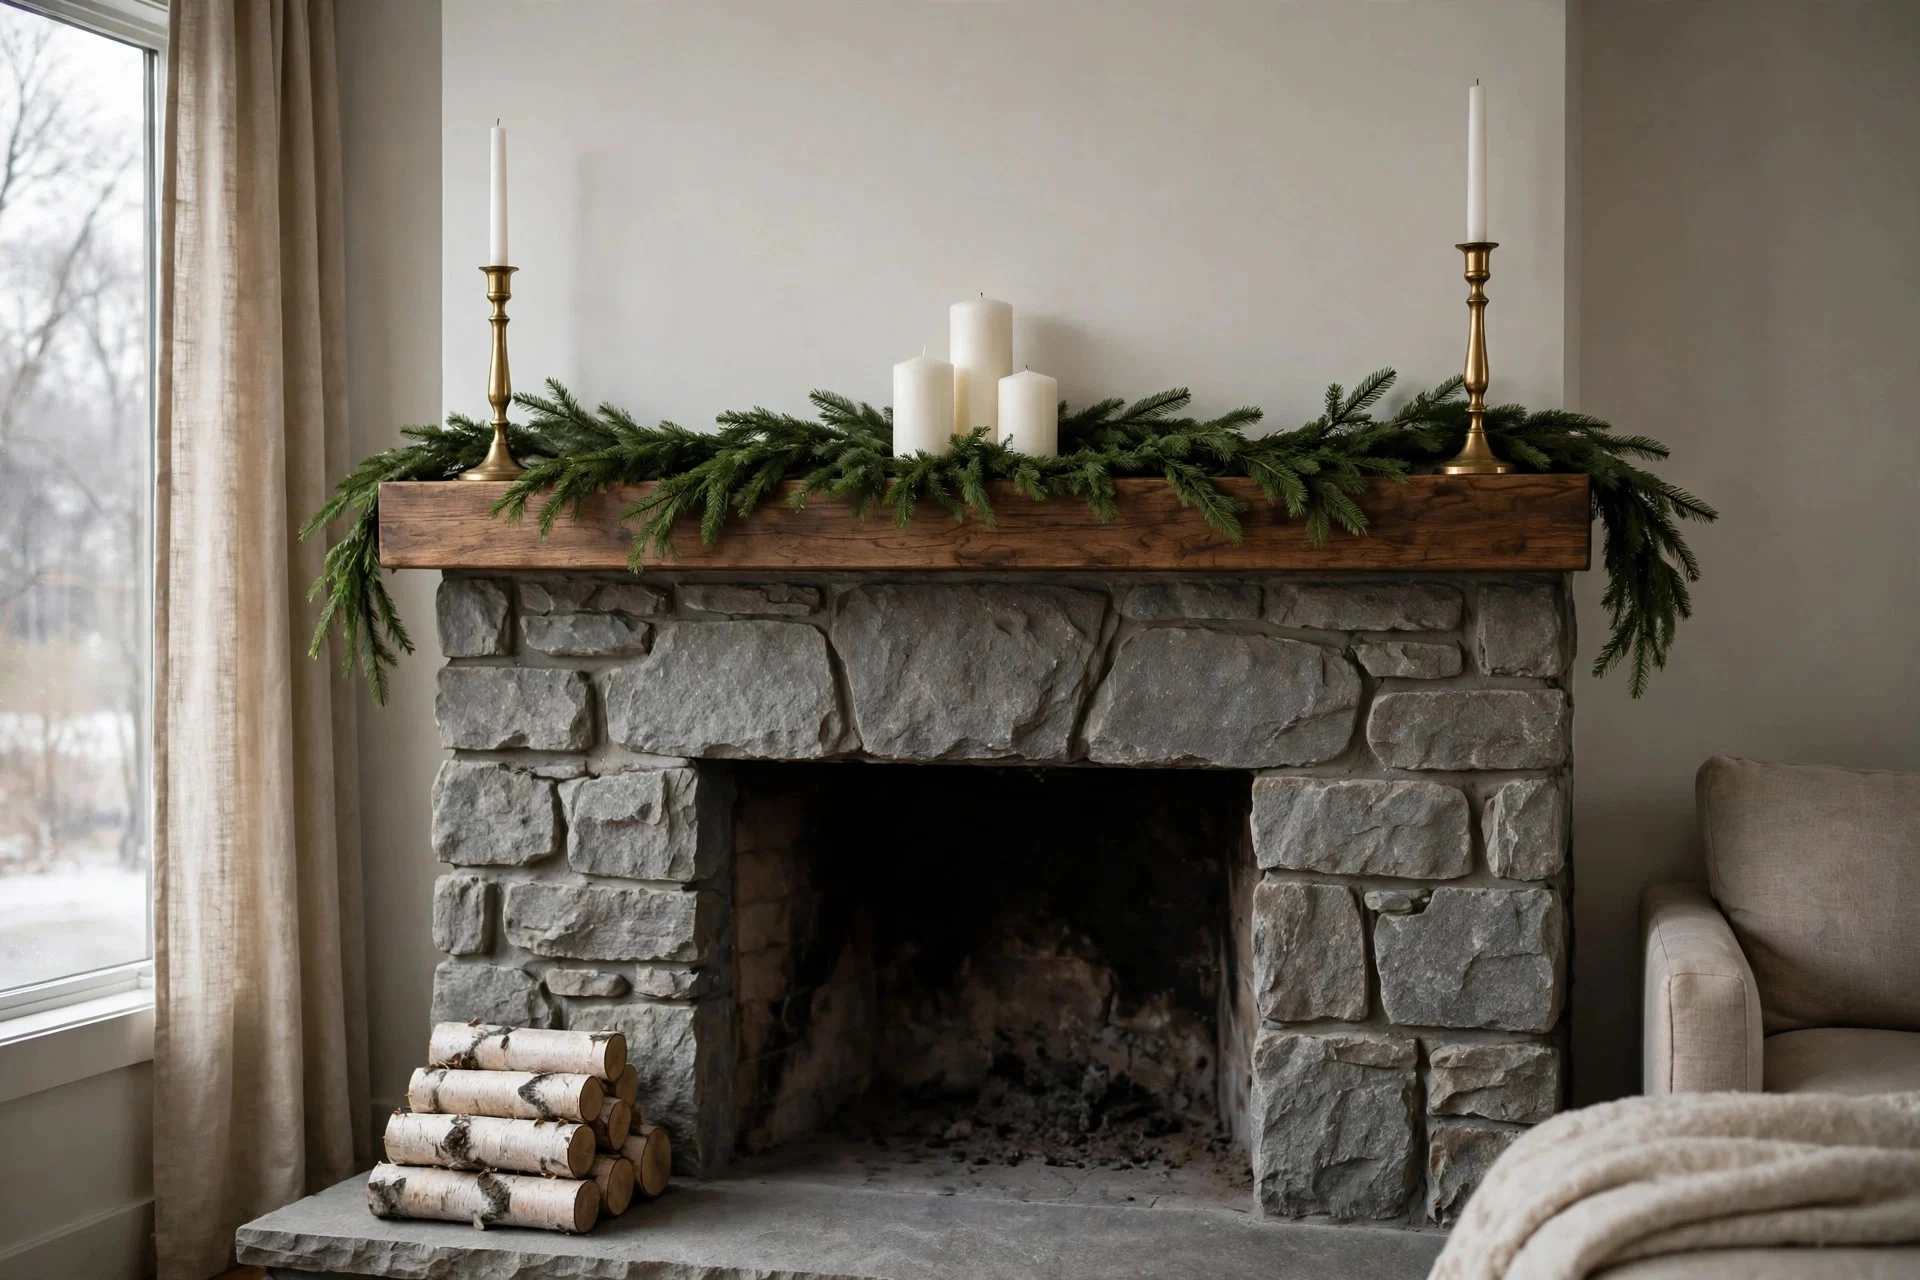
The mantel is where the Christmas-to-winter transition is most visible, so give it ten deliberate minutes. Stockings come down — patch the nail holes later if you used them, or leave the hooks for next year. Keep the garland (step 4), keep some candles, and rebuild the arrangement around height: tall candlesticks or lanterns on the ends, the garland sweeping across, a simple winter art print or mirror in the middle. White pillar candles in varying heights are the January mantel’s best friend — group them in odd numbers. Add one natural element: a small stack of birch logs, a bowl of pinecones, a sprig of dried eucalyptus in a bud vase. Step back and squint. If you can’t spot a single Christmas-specific item, you’re done. My January mantel is honestly prettier than my December one most years, because December is crowded and January gets to breathe.
9. Rework the Entryway and Porch for Winter
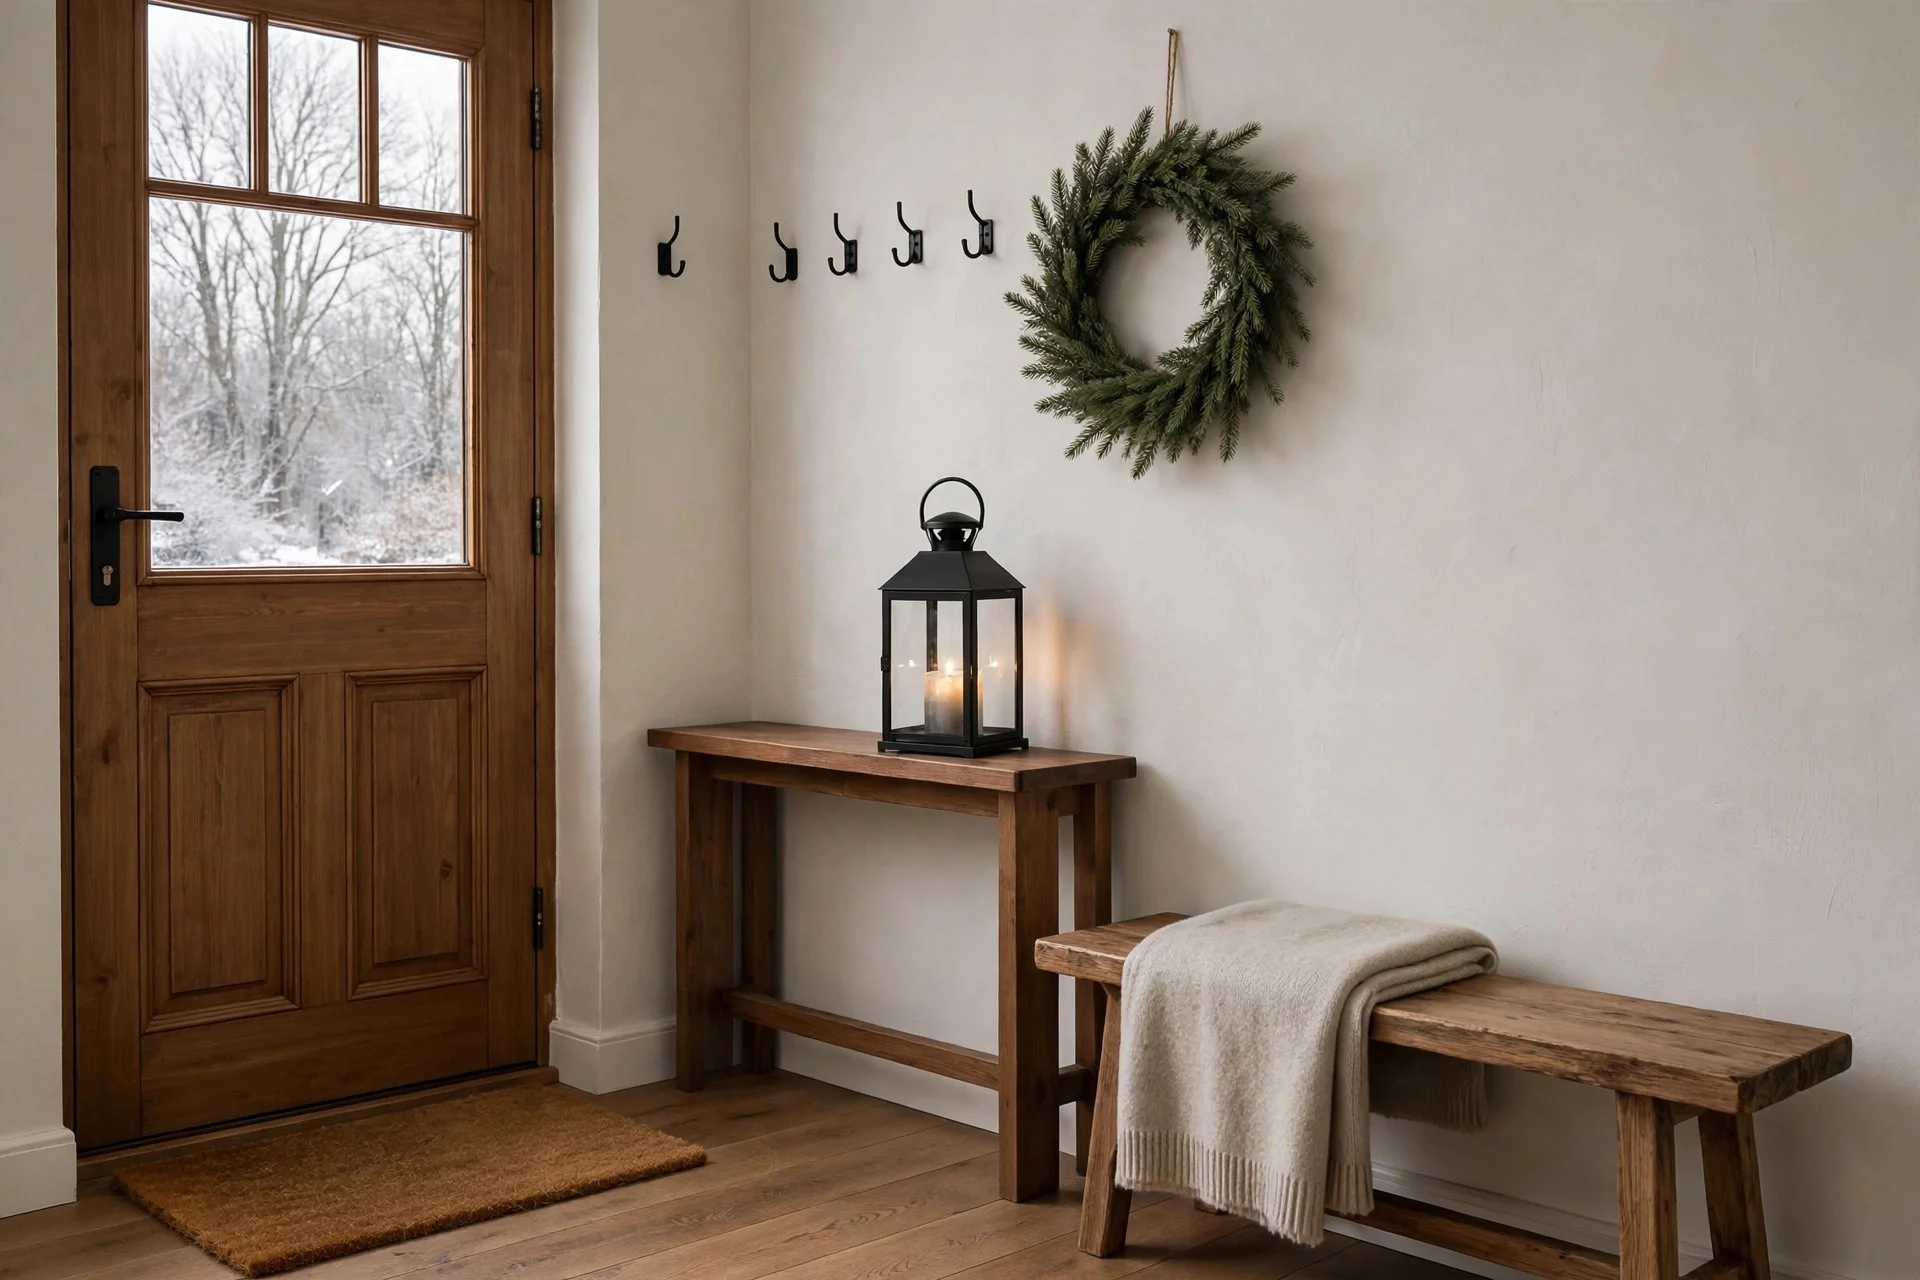
The entryway sets the tone for the whole house, and right now it’s probably still wearing December. Take down the Christmas wreath — but consider keeping a plain evergreen one, per step 4. Swap the holiday doormat for a plain coir one. Inside, restyle the console or bench: a lantern with a flameless candle, a small stack of winter books, a bowl for keys that isn’t shaped like a reindeer. The porch gets the same treatment: the lighted garland stays if it’s plain greenery with white lights, the inflatable snowman does not. For the full non-holiday winter porch treatment, our winter porch decor ideas without holiday themes walks through the whole thing. And if you want the bigger picture of what January decorating can look like, the cozy winter decor ideas for after Christmas comes down roundup pairs perfectly with this process.
10. Store Everything in Labeled Bins, by Room
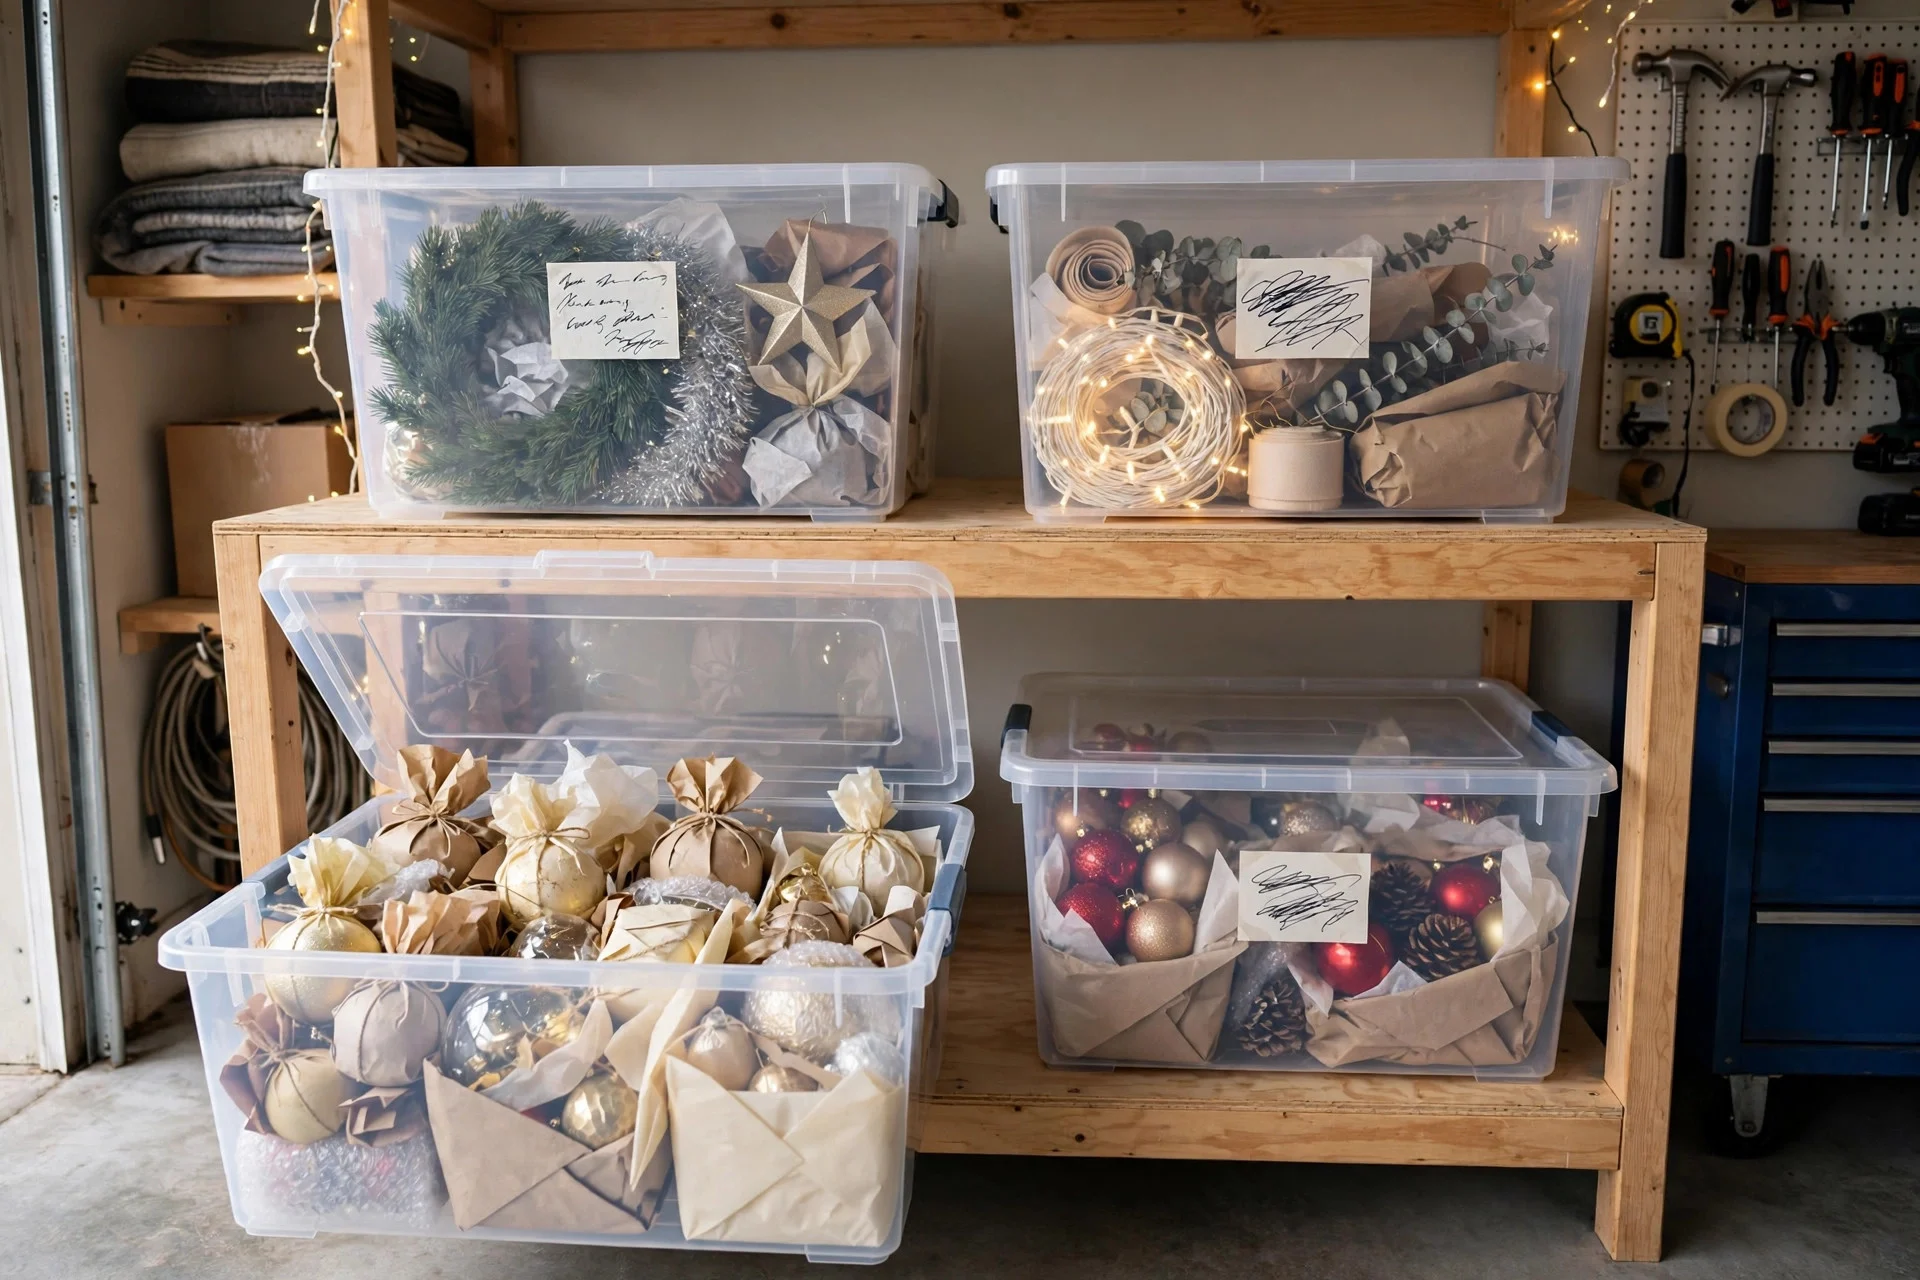
Now pack pile one — the Christmas-specific stuff — with next December in mind. Clear bins beat opaque ones because you can see what’s inside without opening six lids. Pack by room or zone (tree ornaments together, mantel decor together, outdoor lights together) rather than by type; when you decorate, you work room by room, so your storage should match. Wrap light strands around cardboard or a purpose-made reel — never just shove them in, unless you enjoy the traditional January 2027 activity of untangling them. Label every bin on two sides with contents and the year. Store bins off the floor on shelving if your garage or basement gets damp; a $40 plastic shelving unit has saved my ornaments from two floods. For the full system, read how to store Christmas decorations without the chaos — it covers the bin sizes and the wrapping materials that actually work.
11. Do a Final Christmas to Winter Decor Walk-Through, Room by Room

The last step takes fifteen minutes and it’s the one that makes the house feel finished instead of “in transition.” Walk through every room with fresh eyes, ideally in the evening when the lights are on. You’re hunting for stragglers: the Christmas hand towel in the powder room, the holiday scent plug-in, the Santa mug still in the cabinet front row, the wreath on the bedroom door you forgot about. Pull anything that’s still shouting December. Then check the balance: does each room have something winter — a candle, a throw, a bit of greenery — so it doesn’t feel stripped bare? The goal isn’t a decorated house; it’s a house that feels intentional in January. Pour yourself something warm when you’re done. You just closed out the holiday season properly, and next December’s decorating will take half the time because of the work you did today.
FAQ
When should I take down Christmas decorations?
There’s no rule, but the sweet spot for most households is the first week of January — after New Year’s Day, before the decorations start feeling stale. Taking the tree down early in that window (step 1) makes the rest of the transition feel manageable instead of overwhelming.
What Christmas decorations can stay up all winter?
Plain evergreen garlands and wreaths, warm white fairy lights, natural elements like pinecones and birch logs, white candles, and neutral winter textiles. The test is simple: if it doesn’t say Christmas — no red, no Santa, no “Merry” anything — it can stay through February.
How do I store Christmas lights so they don’t tangle?
Wrap each strand around a piece of cardboard, a light reel, or even a pants hanger, securing the plug end with a twist tie. Store strands in their own bin or bag, not tossed in with ornaments. It adds five minutes per strand now and saves an hour of untangling next year.
Should I do this transition in one day or spread it out?
One focused day works best for most people — momentum matters, and a half-transitioned house is depressing. Start with the tree in the morning, sort and pack through the afternoon, and do the walk-through in the evening. If you’re doing it solo in a big house, split it across a weekend: downstairs Saturday, upstairs Sunday.
What’s the biggest mistake people make with this transition?
Stripping the house completely bare. A house with zero decor in January feels bleak, and you’ll end up re-buying “winter” things you already owned in Christmas form. Keep the greenery, keep the lights, keep the textures — just remove the holiday-specific layer.
The Christmas-to-winter transition isn’t really about decorating. It’s about giving January a fair shot — a month that gets a bad reputation mostly because our houses look abandoned in it. Take the tree down, keep the green things, swap the red for cream, and let the house settle into winter instead of mourning Christmas. By the time February rolls around, you won’t miss the clutter. You’ll have a calm, warm house that feels like it was decorated on purpose — because it was.



One Response