


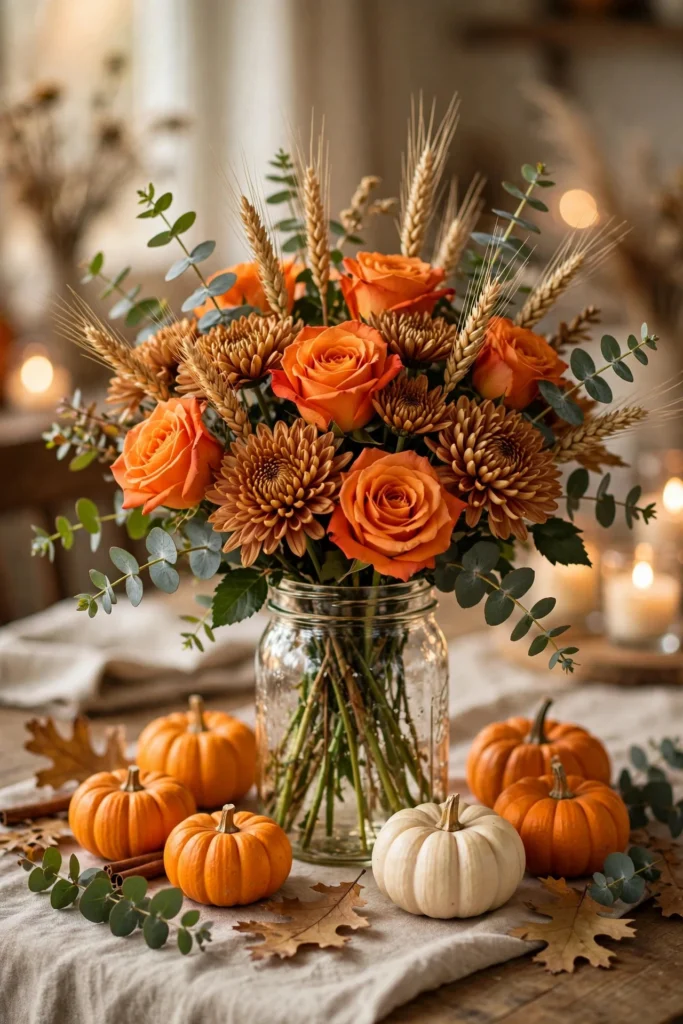
I’ve been hosting Thanksgiving for six years now, and here’s my secret: the grocery store flower centerpiece I put together last year — from three $6 Trader Joe’s bouquets and a mason jar — got more compliments than the turkey. People assume you need a florist appointment or a wholesale flower run. You don’t. Grocery store flowers are fresher than most people think (stores restock them constantly because turnover is high), they cost a fraction of a florist arrangement, and with a few conditioning tricks, they’ll look full and lush on Thanksgiving day. This is the exact grocery store flower centerpiece method I use every November: which bunches to grab, how to prep them so they actually last, and how to arrange them step by step so they look like you spent $80 instead of $18.
A quick note before we start: timing matters more than talent here. Everything below works on a Wednesday-afternoon timeline, the day before Thanksgiving, so you’re not arranging flowers while the turkey is resting. Give yourself about 45 minutes total — 15 at the store, 30 at home.
1. Shop the Day Before, Never the Morning Of
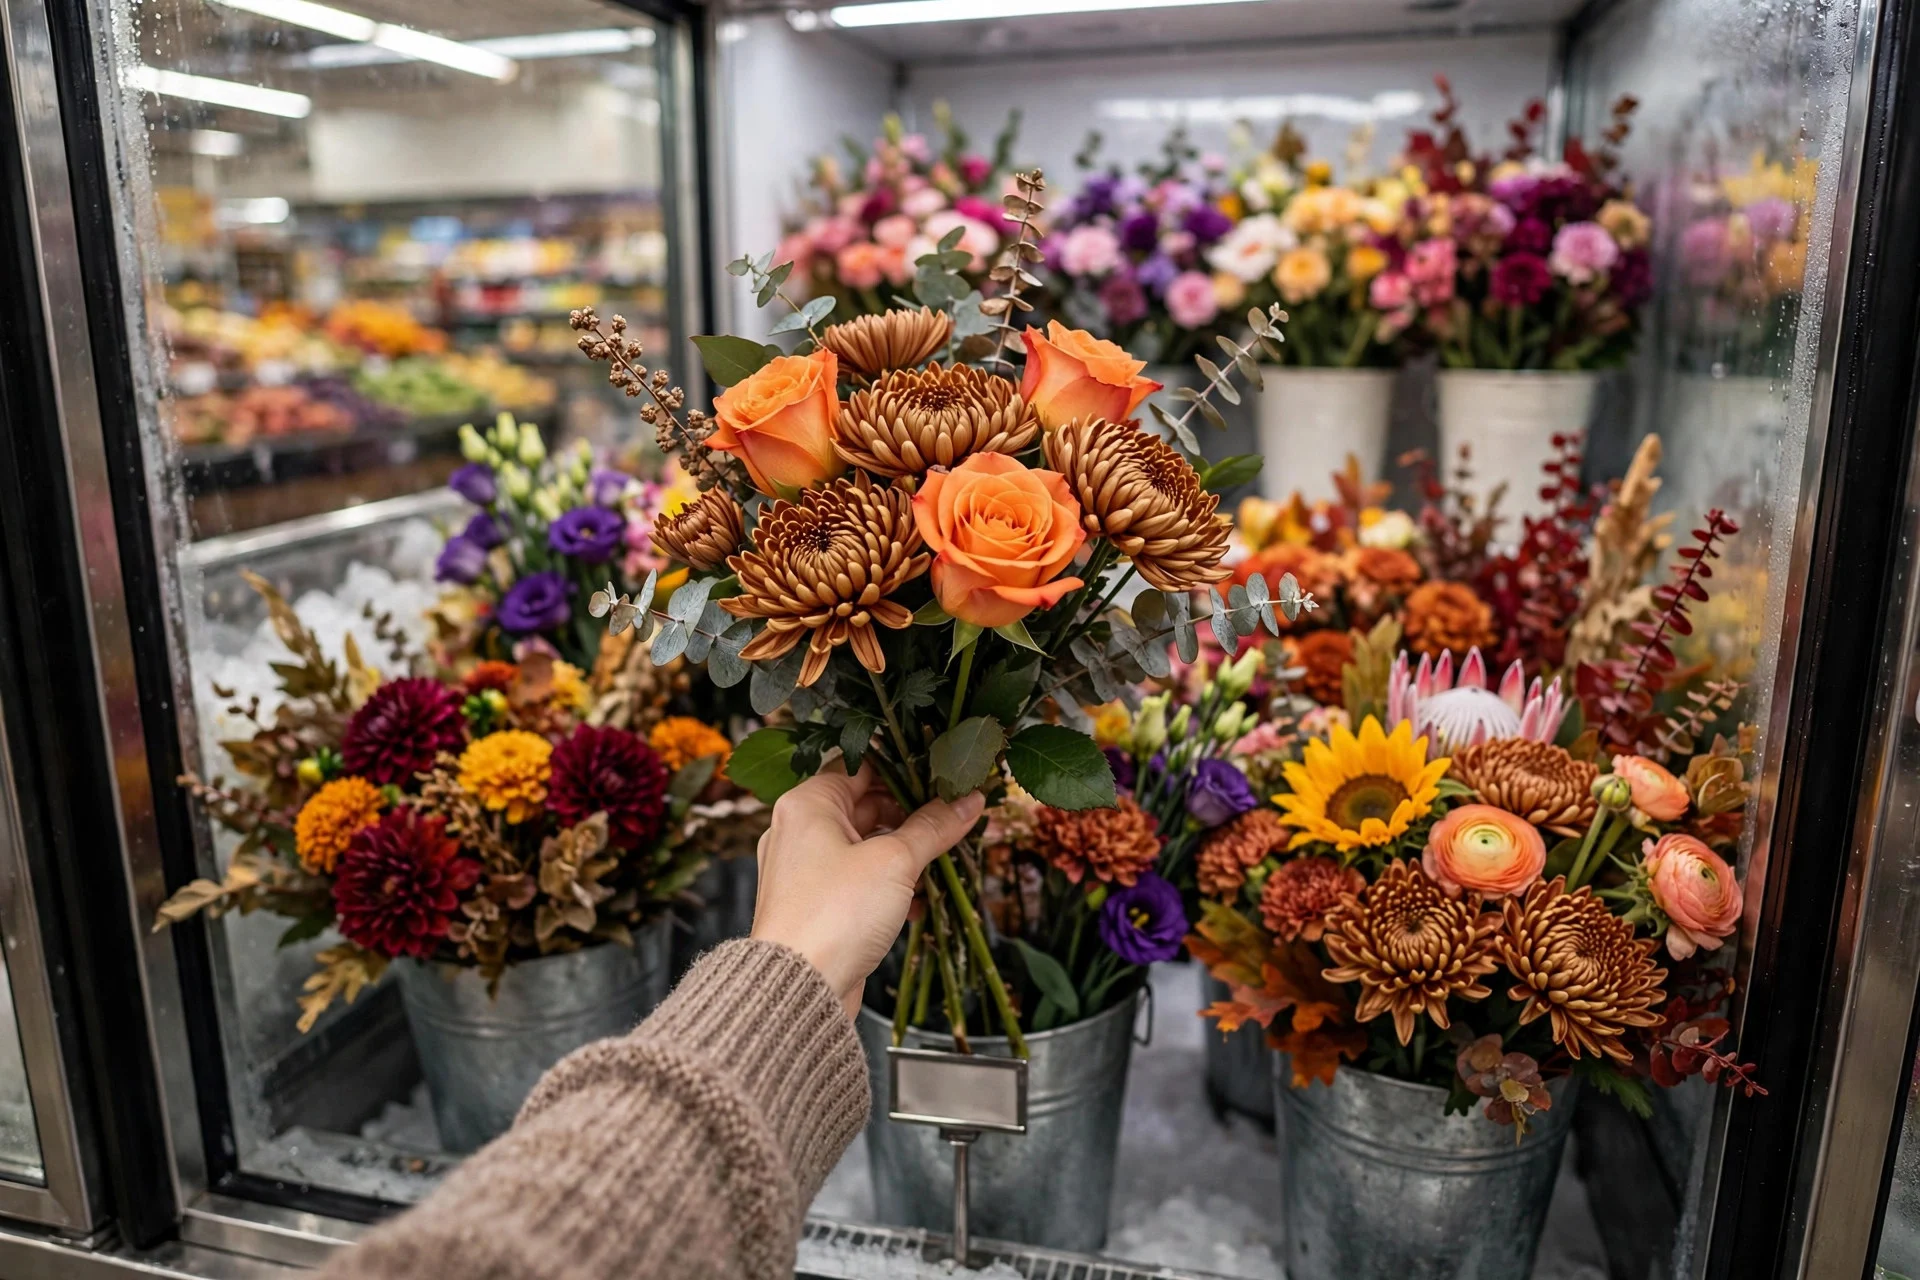
Grocery stores restock their floral cases most heavily on Tuesdays and Wednesdays before Thanksgiving, because that’s when foot traffic peaks. Shopping Wednesday afternoon means you get first pick of the freshest shipments, and your flowers still look perky Thursday evening because they haven’t sat out on a warm table for three days. I learned this the hard way in 2021 when I grabbed bouquets Thursday at 9 a.m. — half the roses were already browning at the edges. Step 1: go Wednesday, ideally before 4 p.m. Step 2: head straight to the floral case, not the pre-wrapped gift bouquets near checkout (those sit longer). Step 3: buy one more bunch than you think you need; a sparse arrangement is the only real failure mode here, and an extra $5 bouquet is cheap insurance.
2. Grab These Three Workhorse Bunches
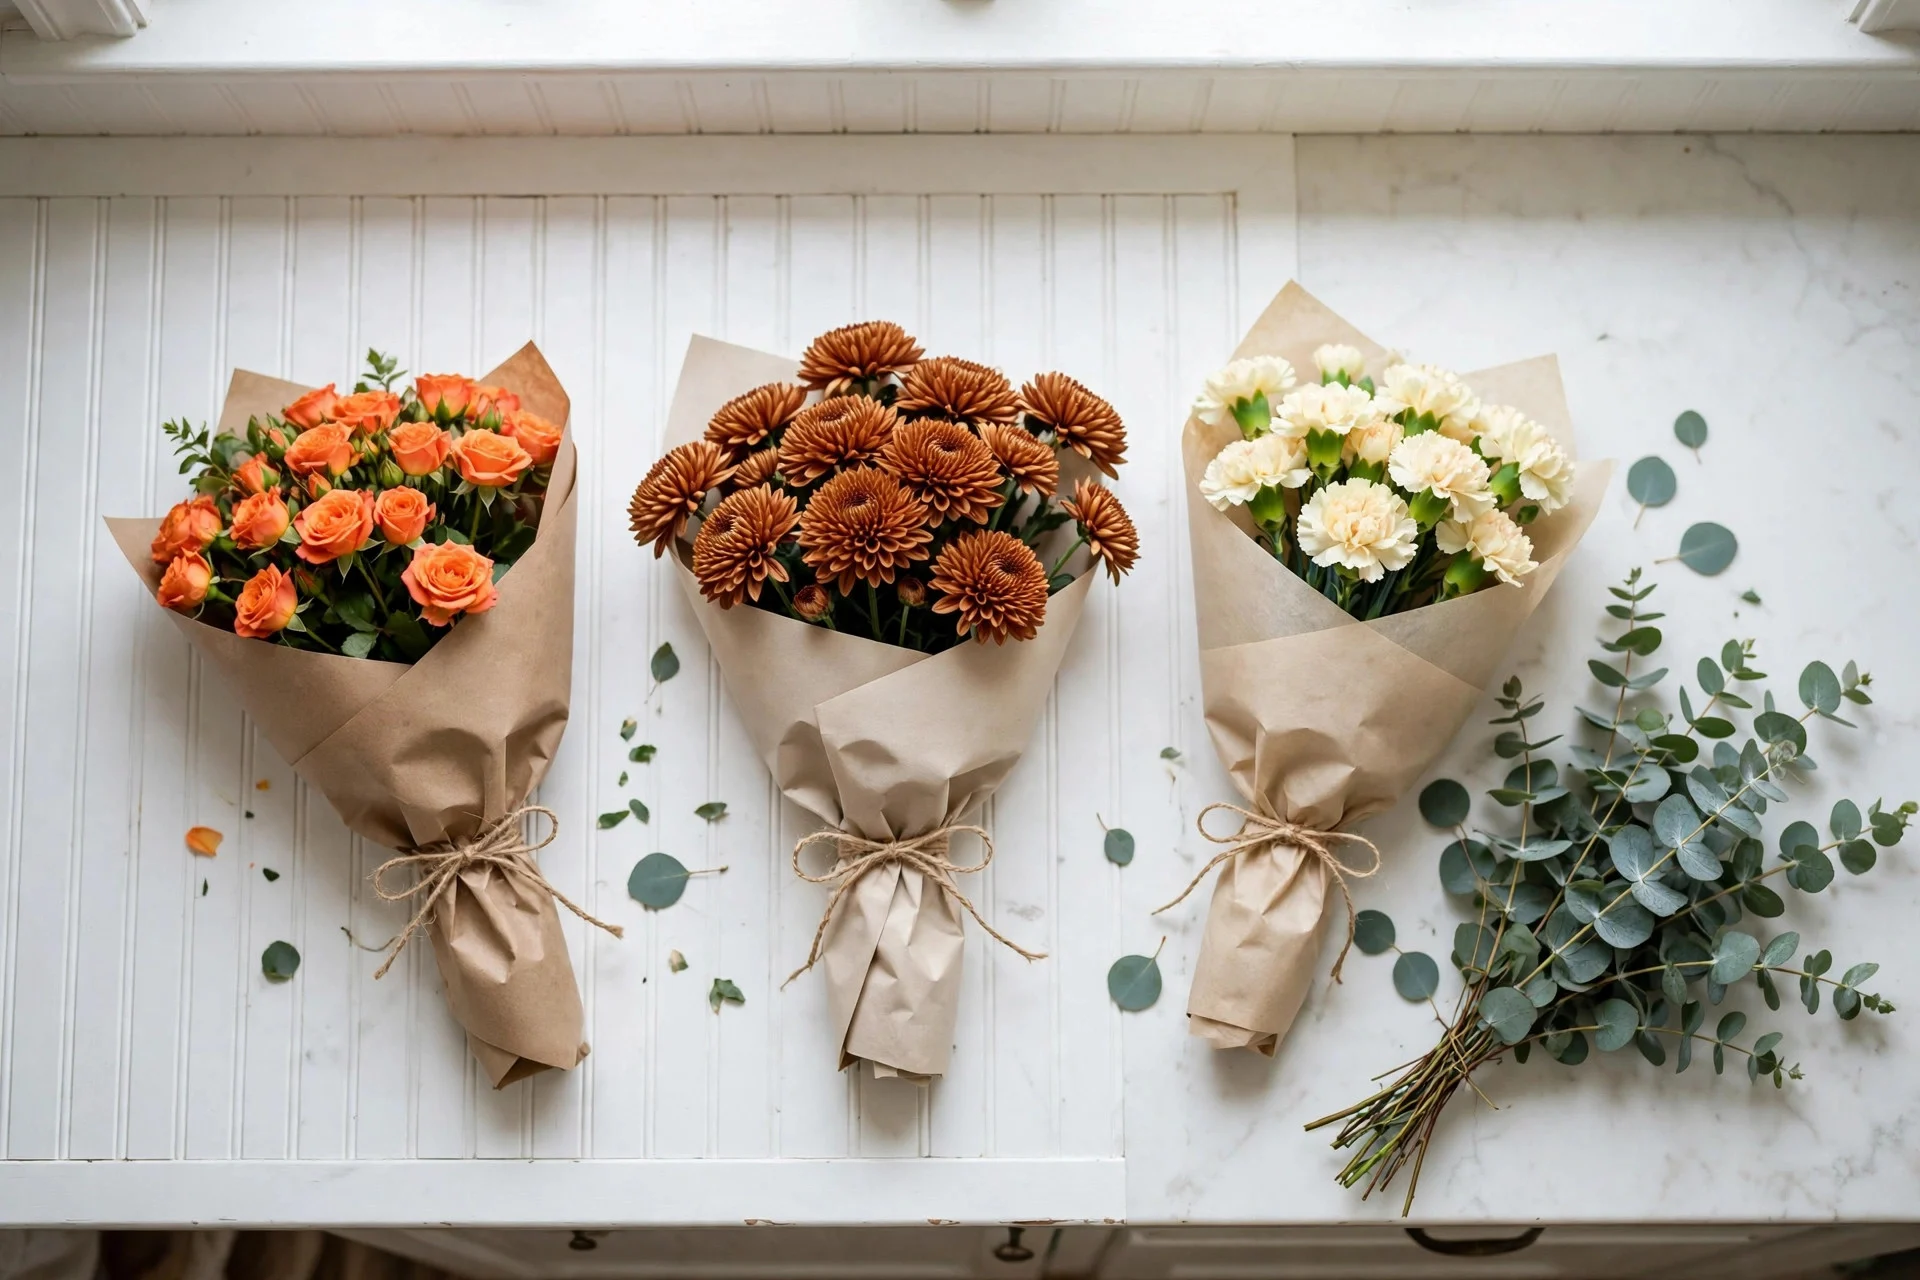
You don’t need exotic stems. The three most reliable grocery store flowers for a fall centerpiece are spray roses (usually $5–7 a bunch, with 5–8 blooms each), cushion mums ($4–6, huge and long-lasting), and carnations ($4–5, unfairly maligned but they hold up for two weeks). Add one filler — eucalyptus is my pick when it’s stocked, or salal/lemon leaf when it’s not. That’s three focal bunches plus greenery, roughly $18–22 total. Step 1: pick your color palette first and stick to it — for Thanksgiving I go with burnt orange, deep red, and cream, with one dark accent like burgundy. Step 2: count blooms, not bunches: you want 15–20 focal blooms for a full centerpiece. Step 3: grab the greenery bunch last since it’s the backbone; one generous bunch of eucalyptus usually does it.
3. Check Freshness Like a Florist Would
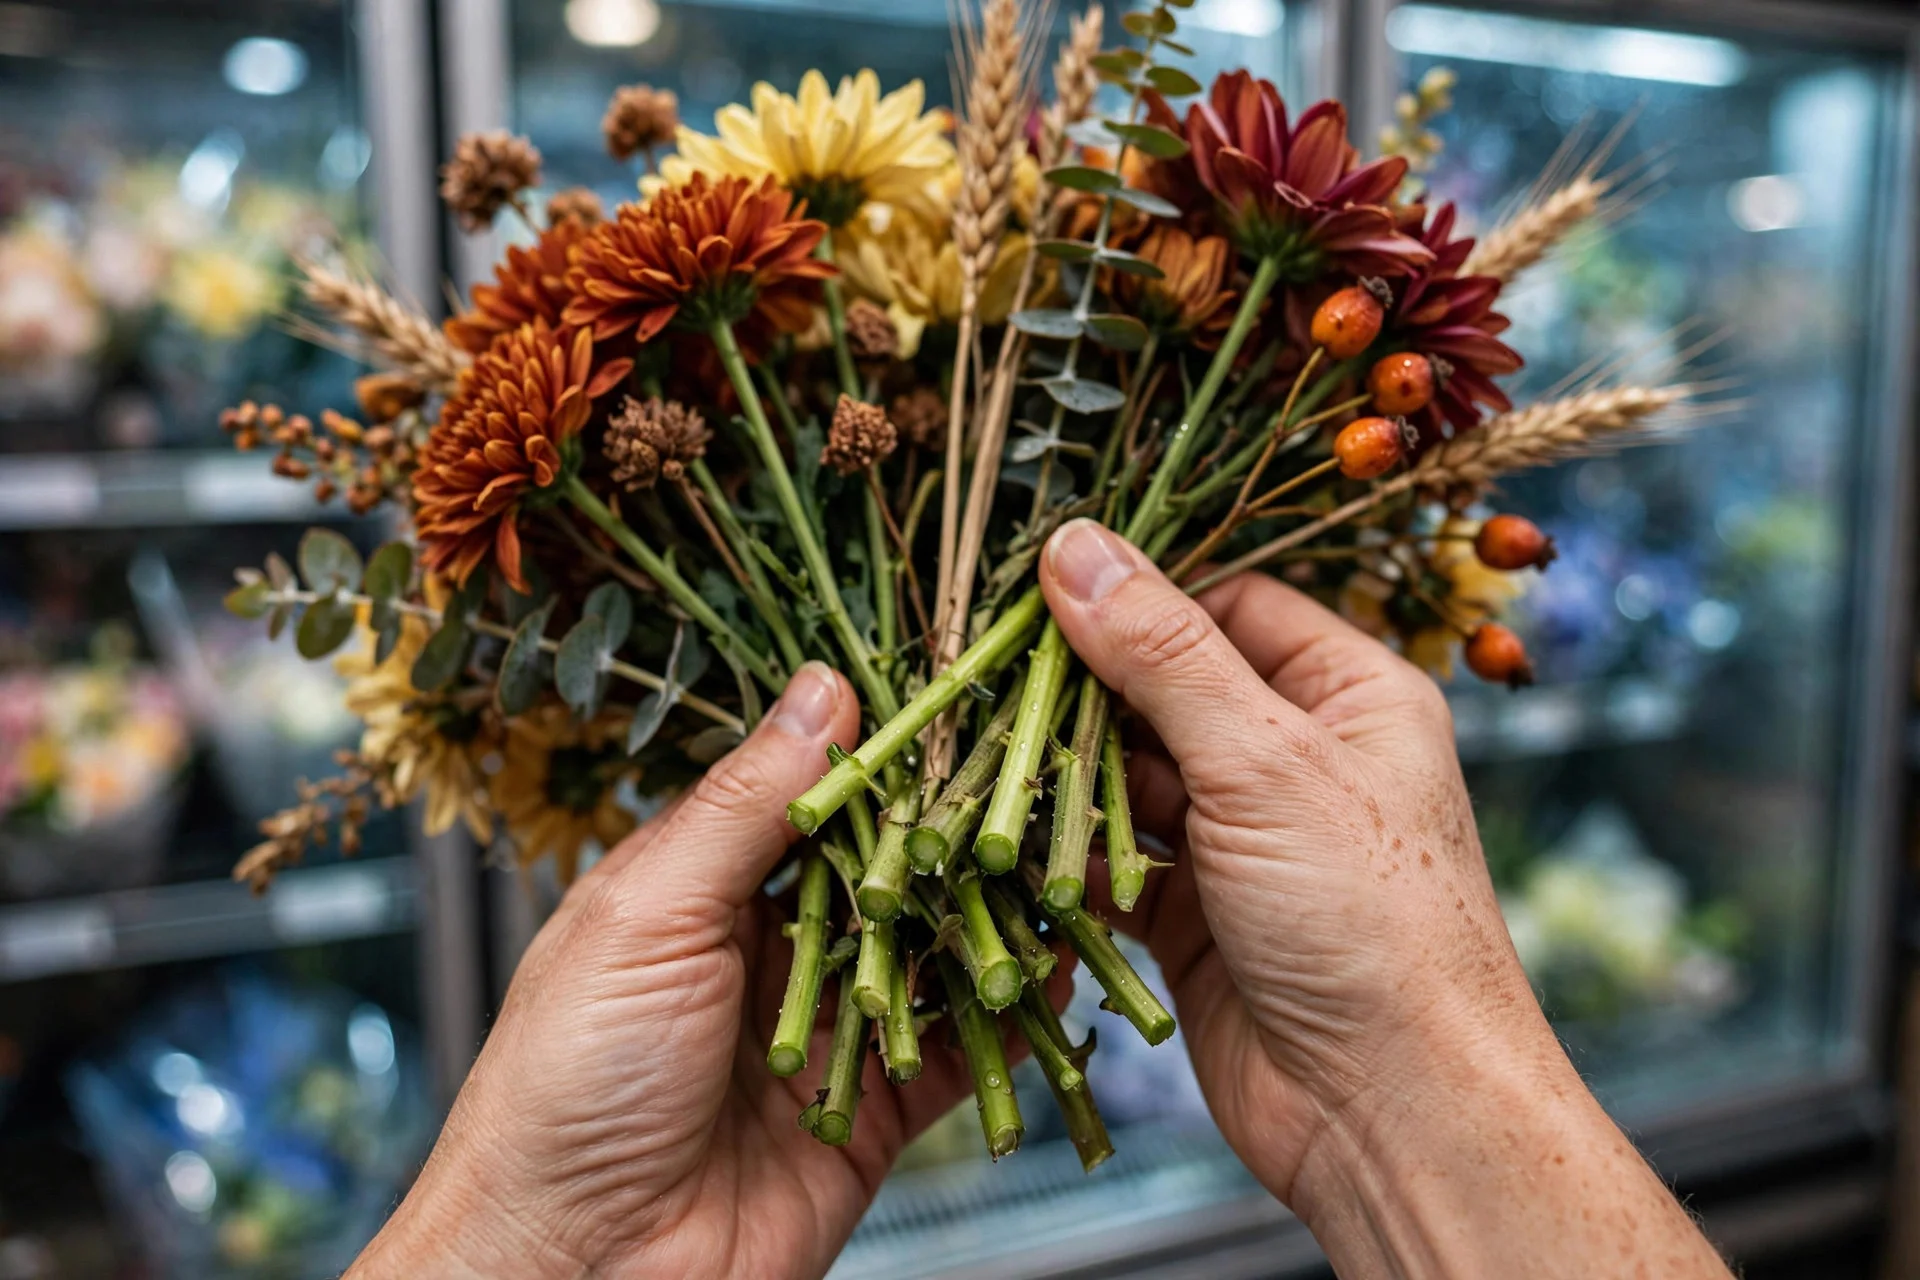
Not every bouquet in the cooler is worth your money, and the difference between a 3-day arrangement and a 10-day one is right there in your hands. Florists check three things, and you can too. Step 1: look at the stem ends — they should be greenish-white and firm, not brown, mushy, or slimy. Step 2: feel a petal or two; they should be firm and slightly cool, not papery or translucent at the edges. Step 3: sniff the water in the bucket — fresh flowers smell like nothing; sour-smelling water means bacteria, and those blooms are already on borrowed time. My mistake to avoid: I once bought gorgeous-looking roses without checking, and they dropped every petal within 48 hours. The stems were slimy at the bottom and I just didn’t look. Now I always flip the bunch over and check before it goes in the cart.
4. Condition Them the Minute You Get Home
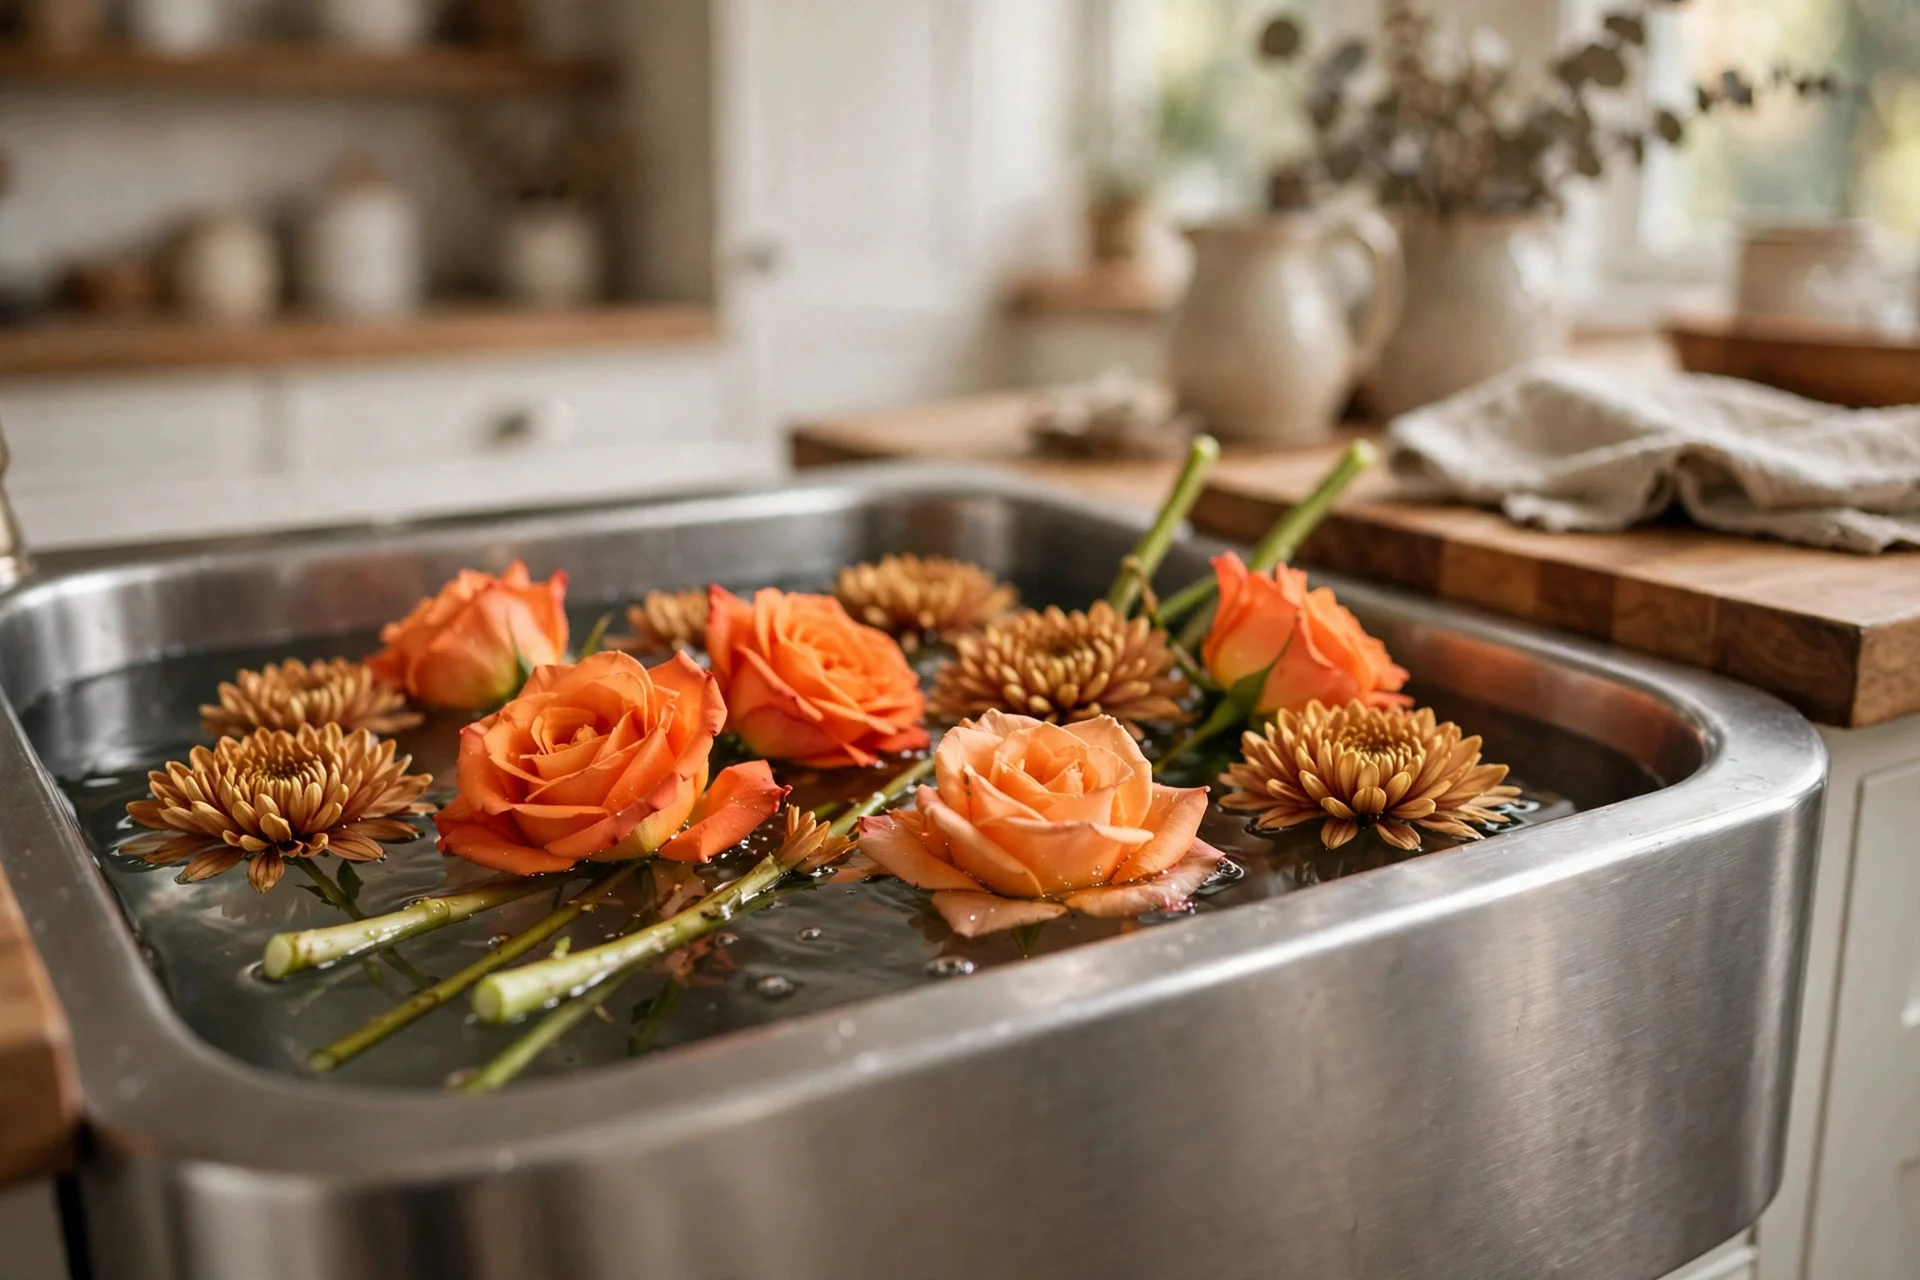
This is the step that separates a grocery store flower centerpiece that looks florist-made from one that looks grocery-store-made. Conditioning — cutting and hydrating properly — can double the life of your flowers. Step 1: fill your kitchen sink with lukewarm water (warm, not hot — it moves through stems faster than cold). Step 2: unwrap the bouquets, strip every leaf that would sit below the waterline in your vase (leaves in water rot and feed bacteria), then cut each stem at a 45-degree angle, removing about an inch. Step 3: drop the stems into the sink and let them drink for at least 30 minutes — an hour is better — while you prep everything else. The floral food packet matters too; don’t toss it. Half a packet per jar of water is plenty, and it genuinely slows bacterial growth.
5. Pick a Vessel You Already Own
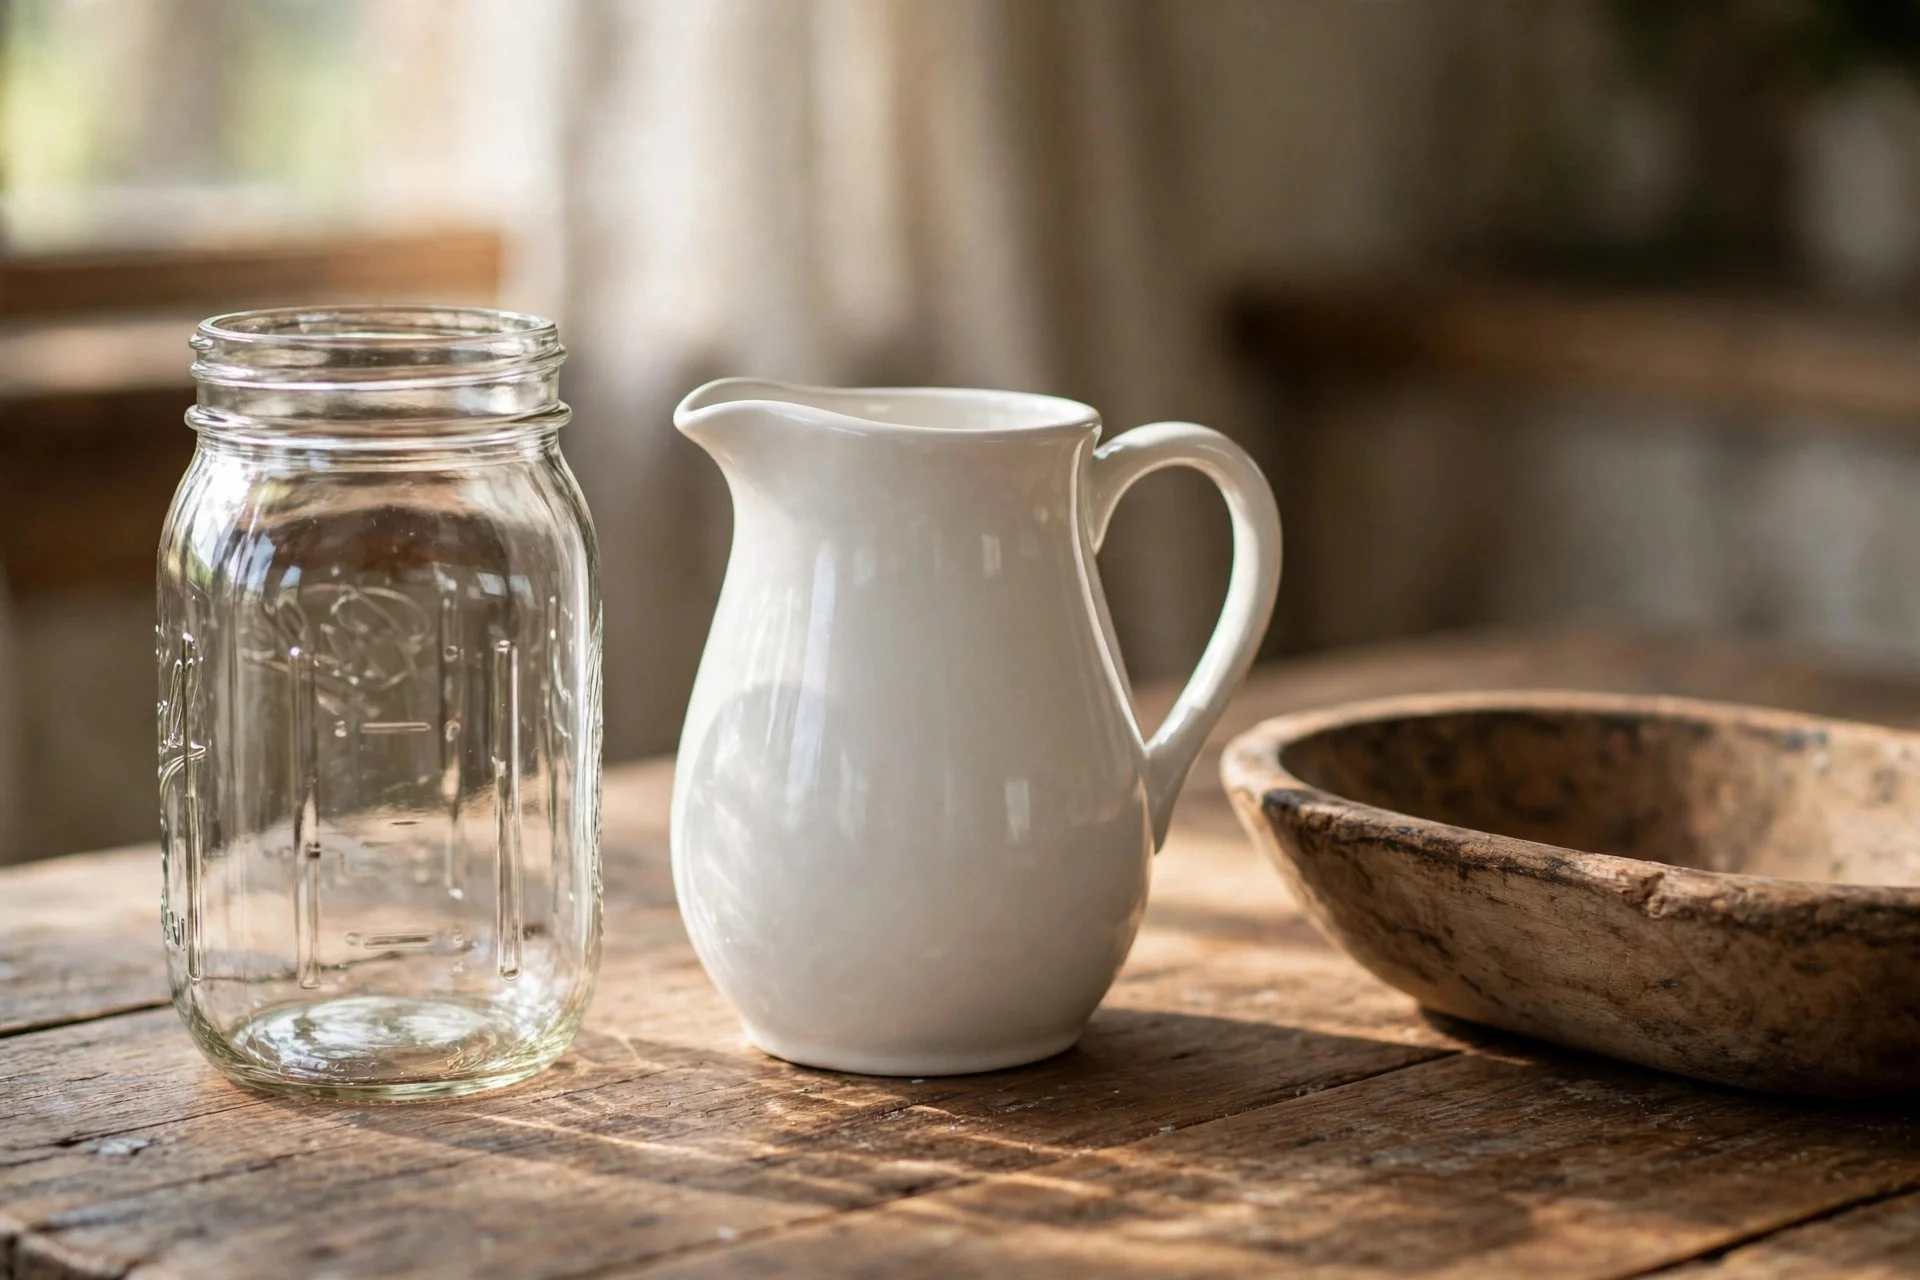
Please don’t buy a special vase for this. A Thanksgiving centerpiece looks more natural in something with a little character anyway. My favorites from my own cabinets: a wide-mouth mason jar (the quart size is perfect), a white ceramic pitcher, or a low wooden dough bowl lined with a plastic container. The shape matters more than the material — wide mouths are far easier to arrange in than narrow-necked vases, because you can spread stems out and they stay where you put them. Step 1: choose something low and wide; your centerpiece should sit below eye level across the table so guests can actually see each other. Step 2: if the vessel isn’t watertight (wood, baskets), nest a jar or plastic tub inside. Step 3: fill it two-thirds full with lukewarm water plus floral food before a single stem goes in.
6. Build a Tape Grid Before You Arrange a Single Stem
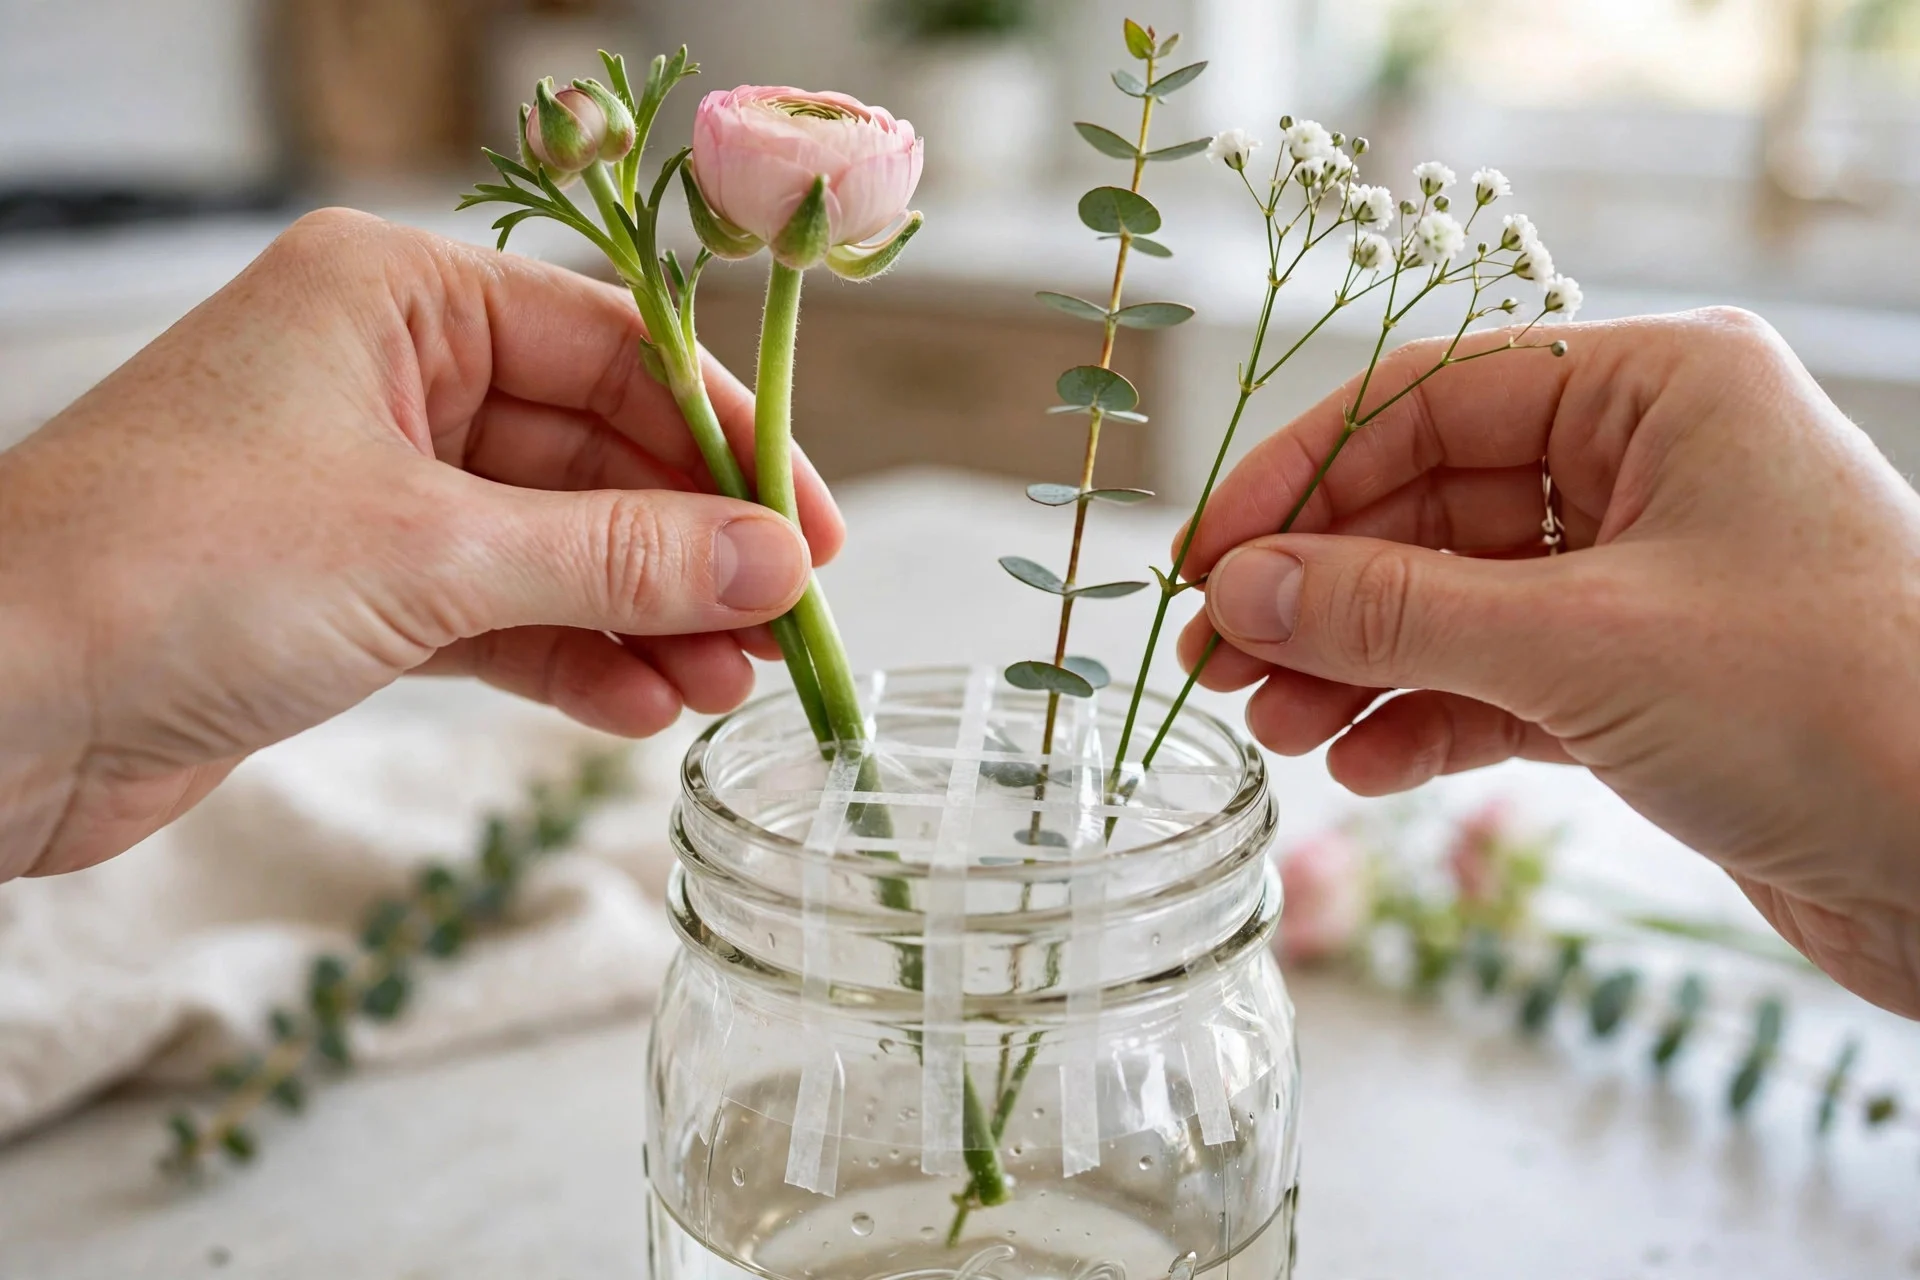
The number one reason DIY arrangements look floppy is that stems have nothing holding them in place. Florists use a simple trick: a grid of clear floral tape across the mouth of the vessel, and it takes two minutes. Step 1: stretch strips of clear floral tape (or regular transparent tape in a pinch) across the mouth of your jar in both directions, making roughly 1-inch squares. Step 2: press the tape firmly to the rim — wet glass loosens tape, so do this on a dry rim and fill the water after. Step 3: each stem gets its own square, which keeps everything upright and separated so blooms don’t crush each other. I skipped this step my first year and spent the whole dinner discreetly pushing drooping roses back into place. Never again. If you want to level up, a $10 metal floral frog does the same job and lasts forever — but tape works fine for one dinner.
7. Start With Greenery, Not Flowers
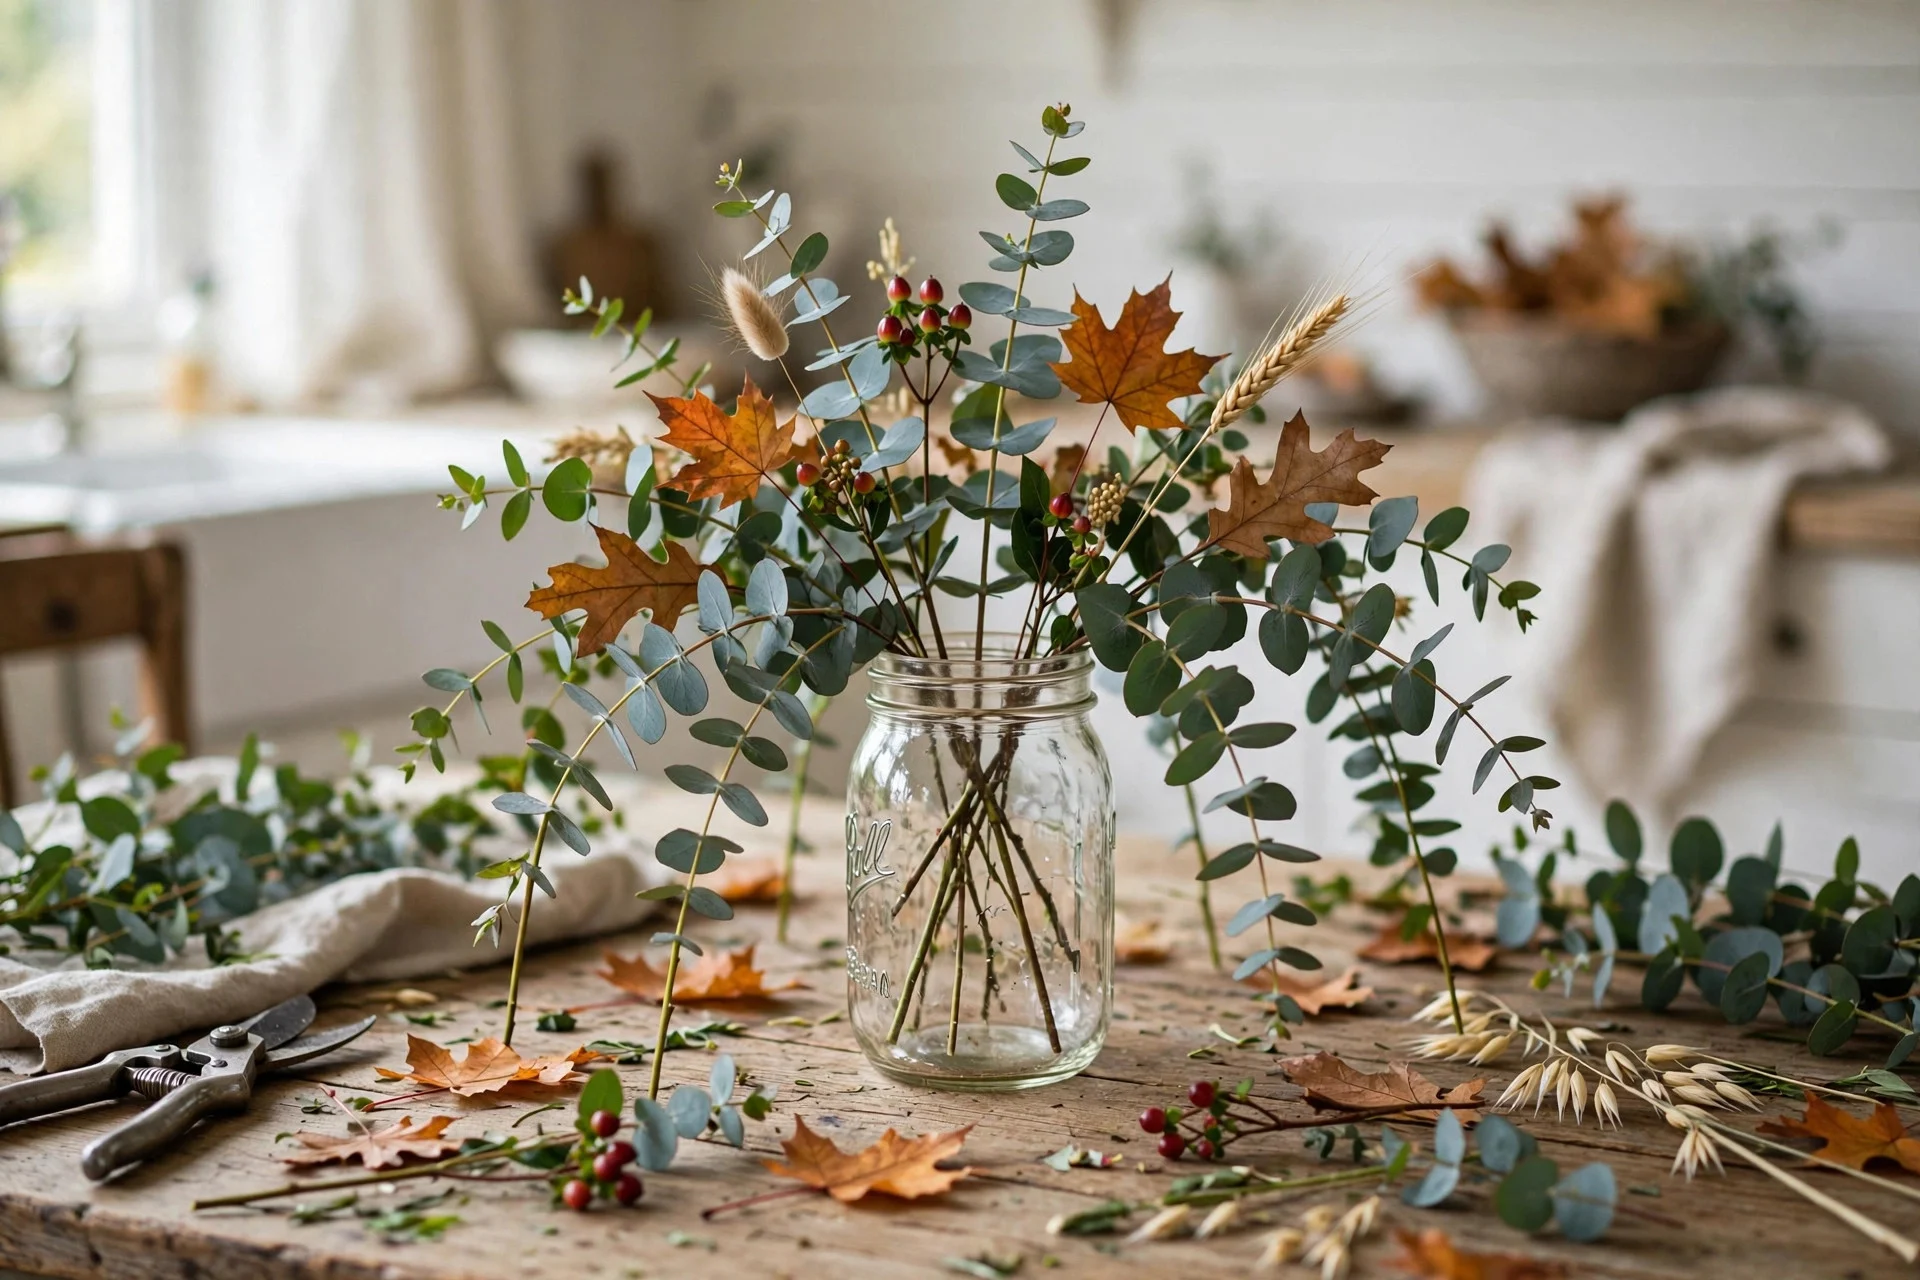
Every professional arrangement starts with a skeleton of greenery, and yours should too. The greens define the shape and size of your centerpiece; the flowers just fill in the color. Step 1: place your tallest greenery stems first, angling them outward to set the overall silhouette — think of an upside-down triangle or a loose dome, roughly 1.5 times as wide as your vessel. Step 2: fill in the sides with shorter stems so there are no bald spots when viewed from any chair at the table. Step 3: step back and look from across the room; this is the moment to fix the shape, because once flowers go in, it’s harder. A mistake I see constantly (and made myself): using too little greenery. It feels wasteful to “use up” the greens on structure, but a centerpiece that’s all blooms and no foliage looks like a bouquet shoved in a jar. The eucalyptus does real visual work here — its silvery tone makes the orange and red blooms pop.
8. Cluster Your Focal Flowers in Odd Numbers
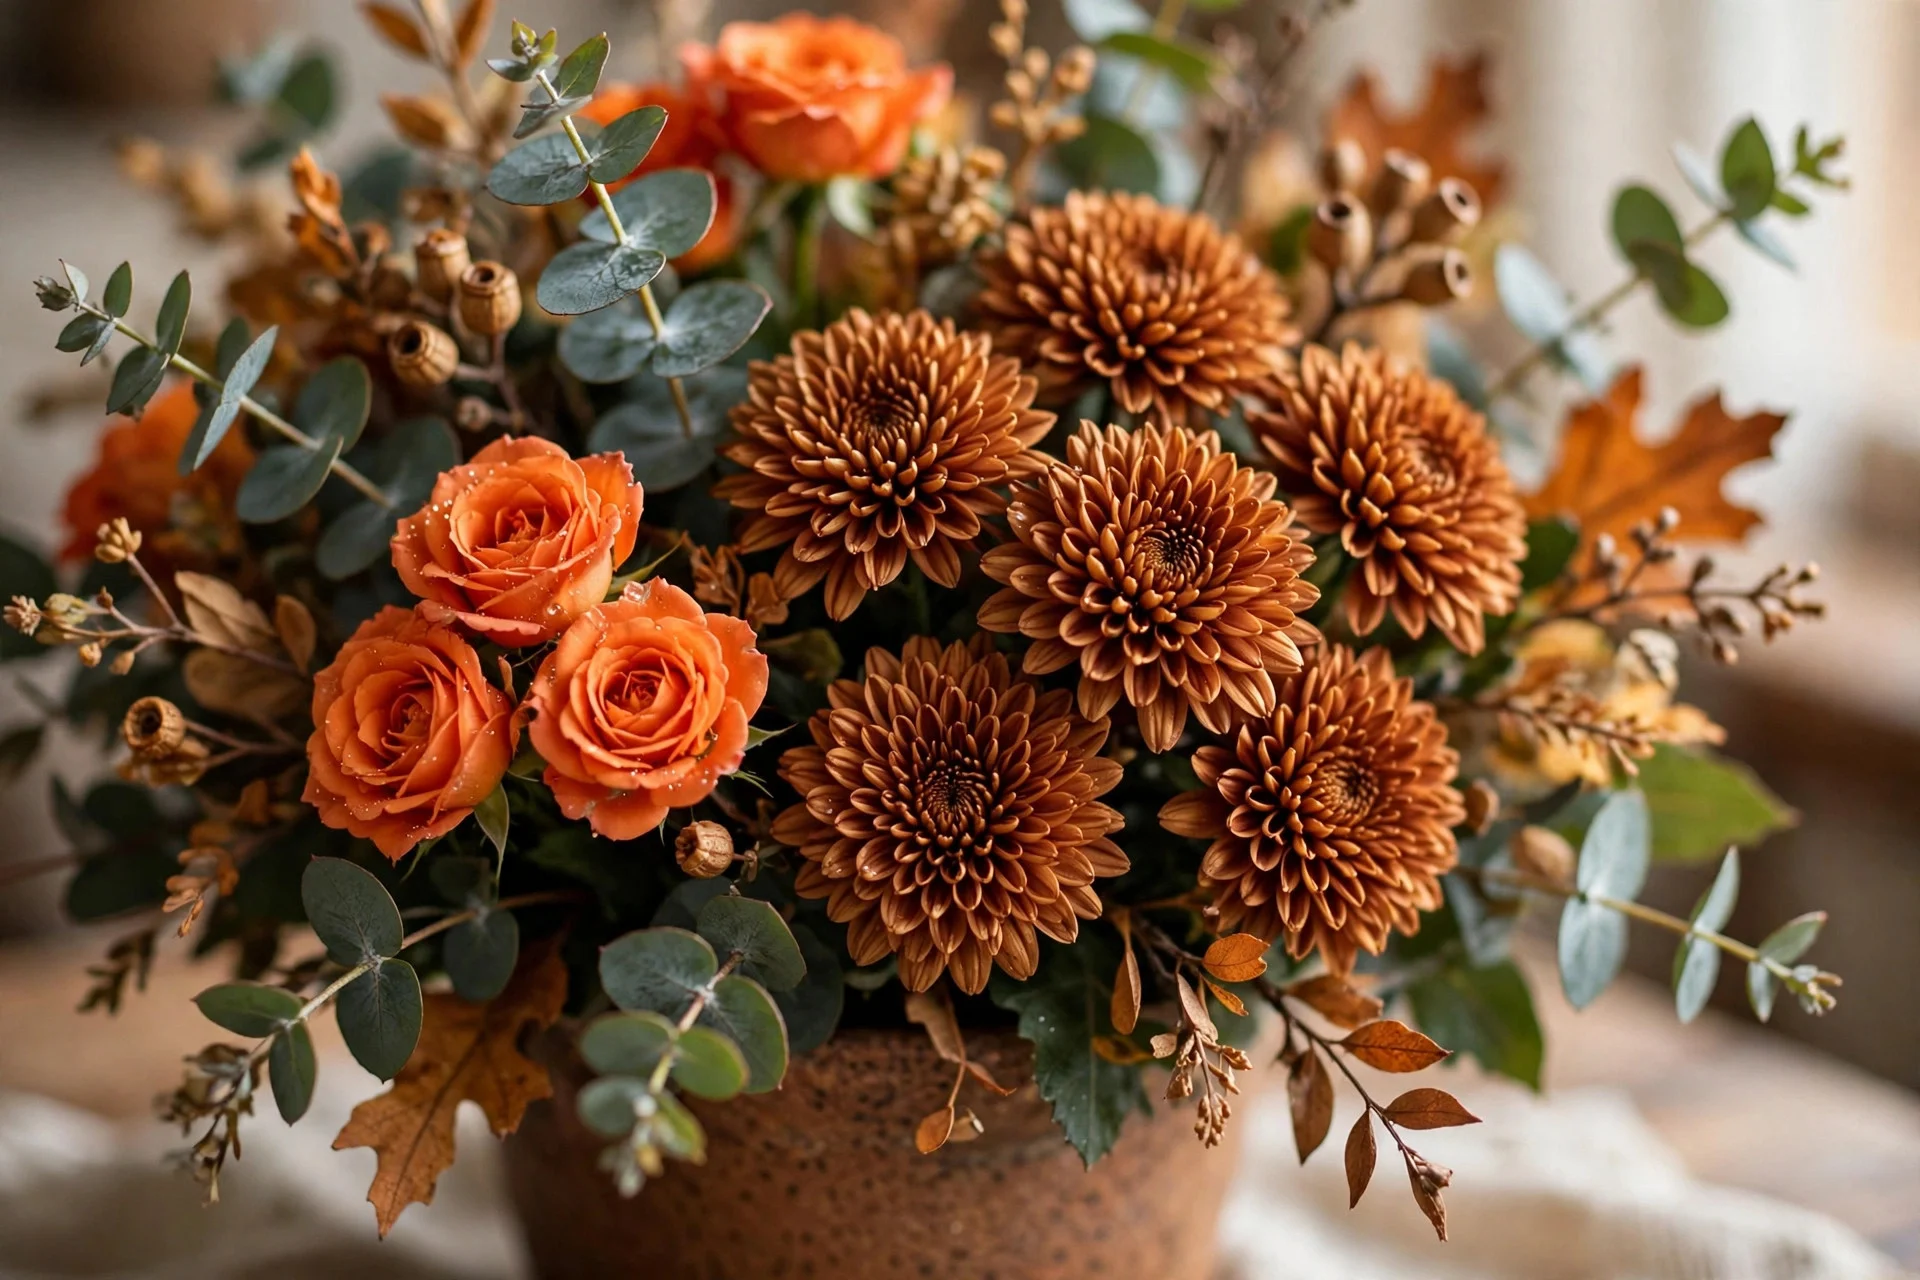
Here’s where it starts looking like a real centerpiece. The trick florists use constantly is grouping: instead of spacing every bloom evenly (which reads stiff and grocery-store-ish), cluster 3 or 5 blooms of the same type together in one area. Step 1: place your biggest blooms — the mums — first, in three loose clusters forming a triangle around the arrangement. Step 2: tuck the spray roses into the gaps between clusters, 3–5 stems per area, at slightly different heights. Step 3: fill remaining holes with carnations, which are perfect gap-fillers because they’re cheap and sturdy. Keep turning the jar as you work; a centerpiece gets seen from all sides, unlike a mantel arrangement. My human touch here: I always save one perfect bloom and place it last, right at the front, angled slightly toward where I’ll sit. It’s a tiny ritual, and it guarantees at least one stem looks intentional in every photo.
9. Add Fall Texture: Wheat, Berries, and Mini Pumpkins
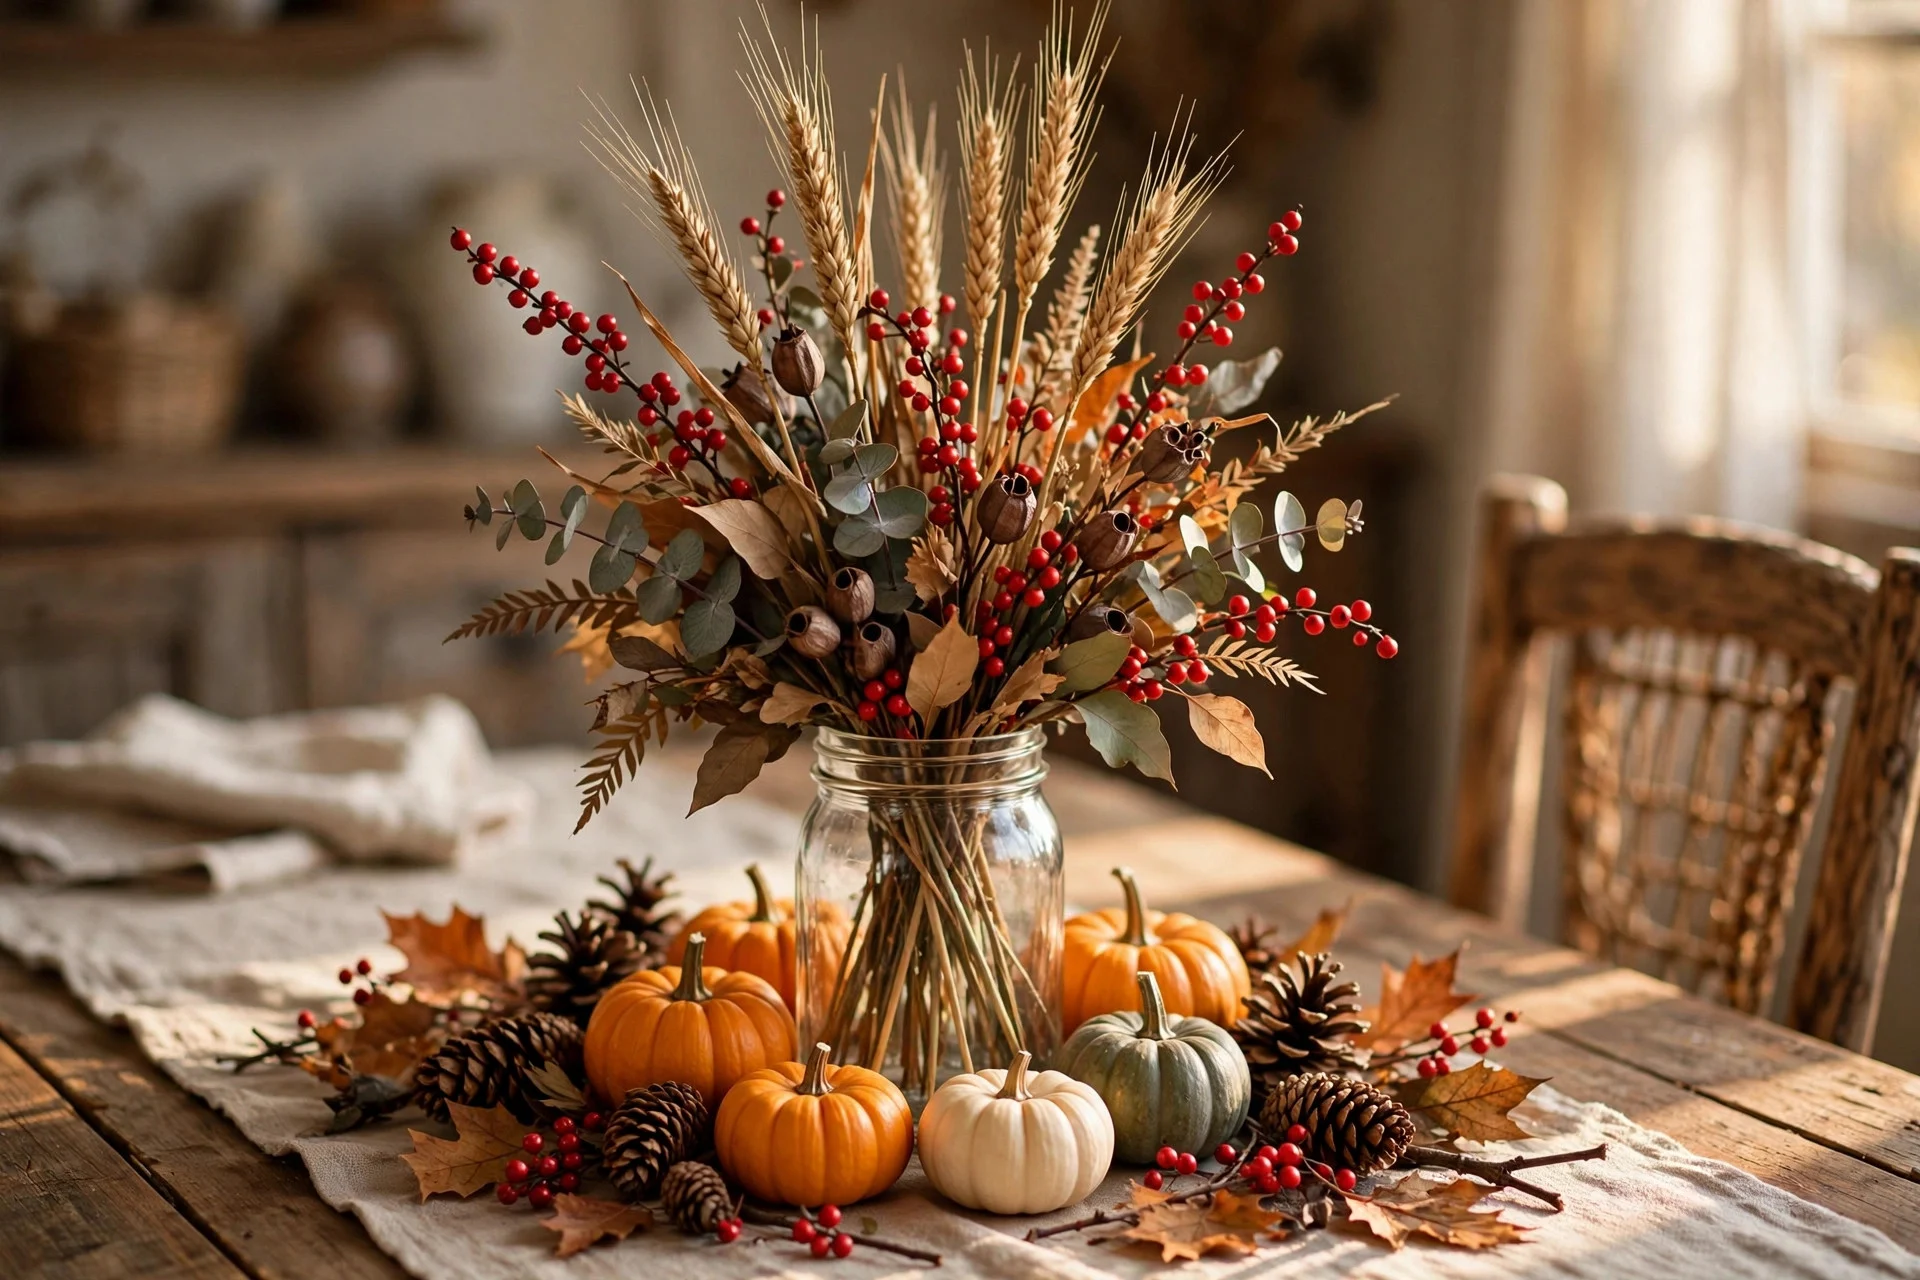
This is what makes it a Thanksgiving centerpiece instead of just a pretty fall arrangement. Grocery store flowers handle the color; texture handles the season. Dried wheat stalks ($3–4 a bundle at craft stores, or the floral section of the same grocery store) add height and that unmistakable harvest feel. A few sprigs of faux or dried berries tuck into gaps beautifully. And mini pumpkins — the $1 ones from the produce section — nestled around the base of the vessel turn the whole thing into a tablescape. Step 1: push 5–7 wheat stalks into the back of the arrangement at varying heights for vertical lift. Step 2: tuck berry sprigs into any remaining gaps. Step 3: cluster 3–5 mini pumpkins and a couple of pinecones around the base of the vessel on the table, not in the water. If you want more table inspiration around this centerpiece, my Thanksgiving table decor ideas pair perfectly with this look.
10. The Day-After Refresh That Keeps Your Grocery Store Flower Centerpiece Alive
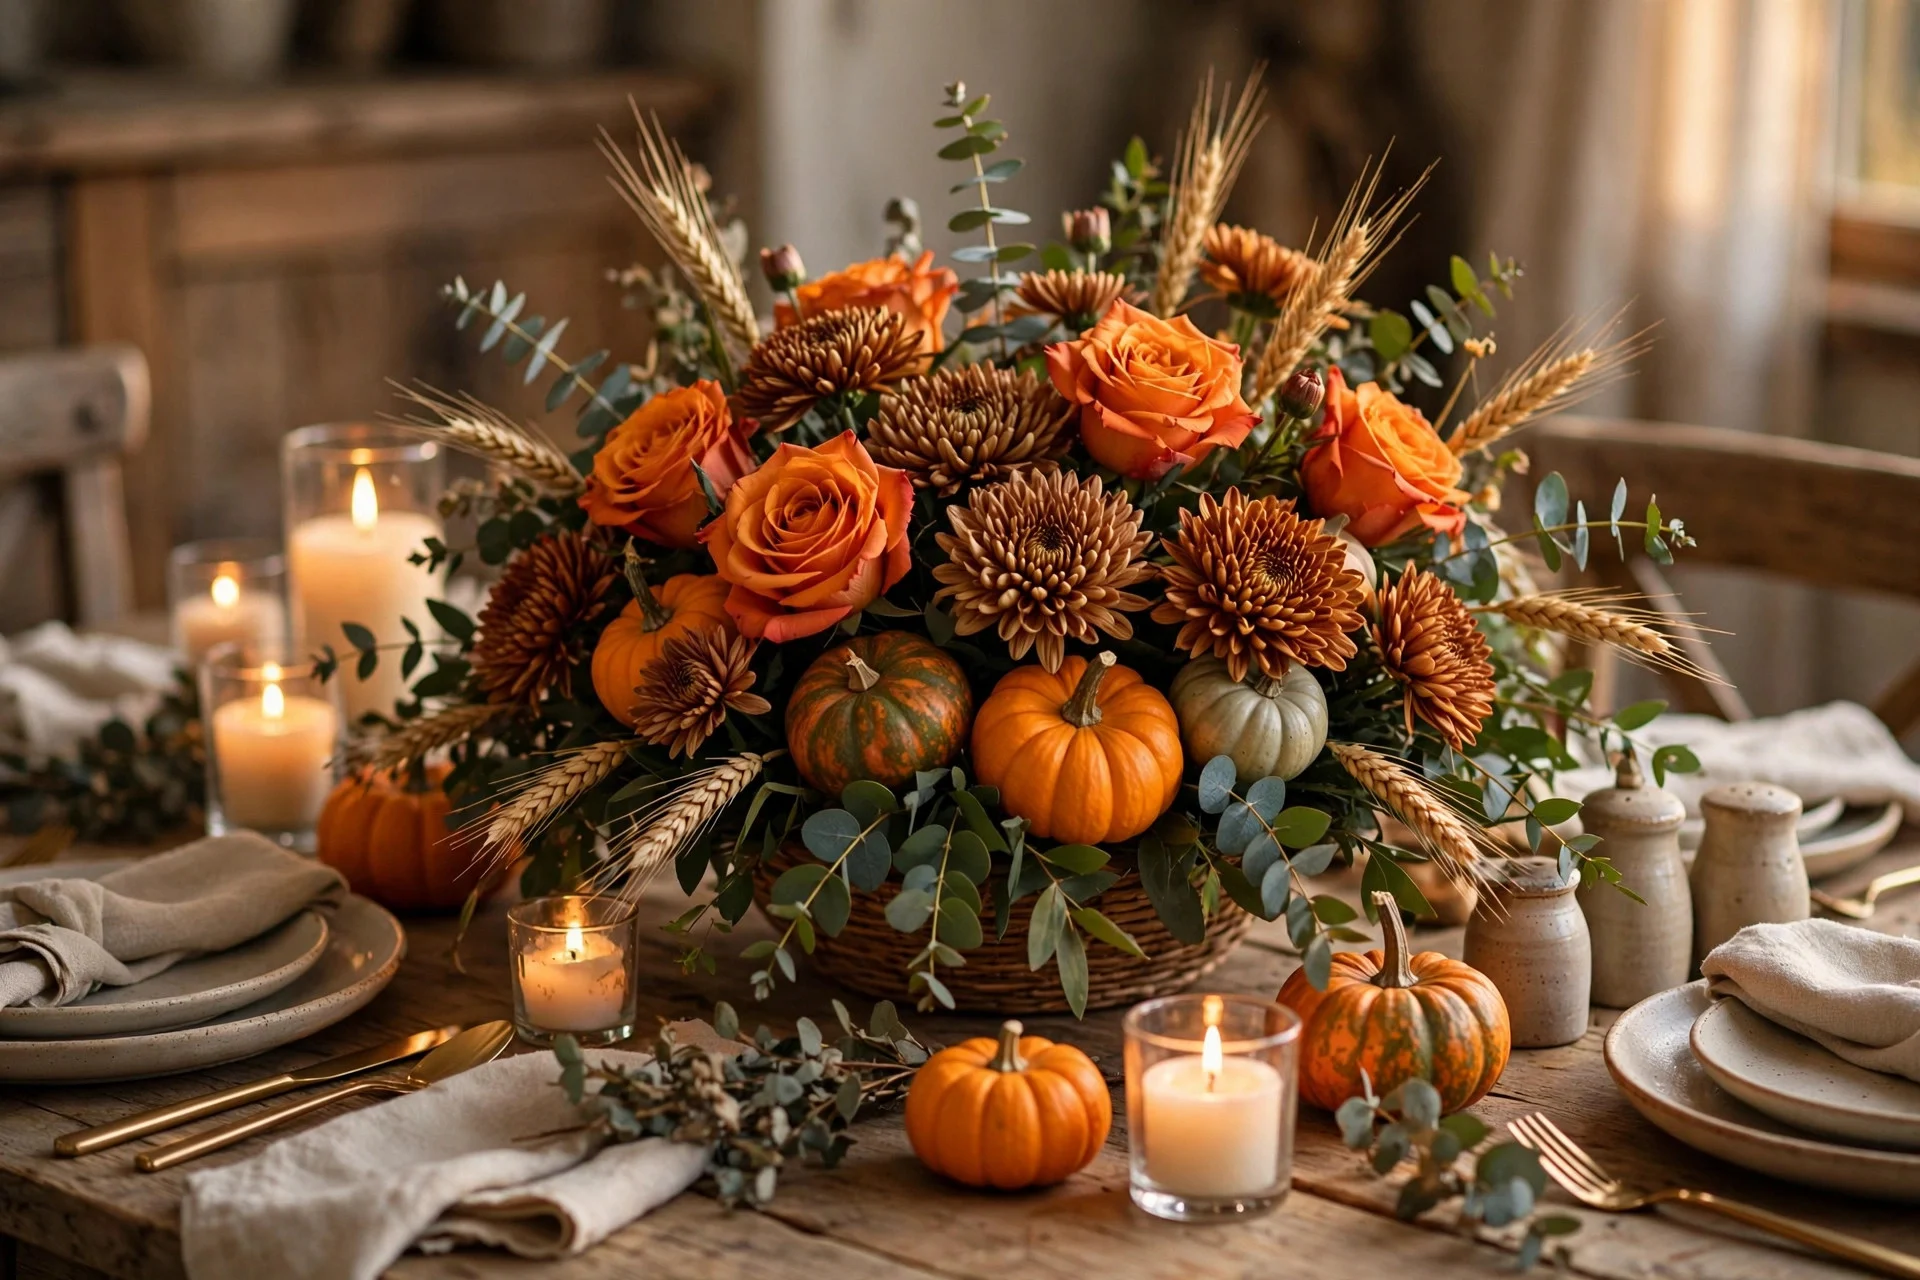
You arranged Wednesday; Thanksgiving dinner is Thursday; and with one five-minute refresh, this centerpiece will still look great for weekend leftovers on Saturday. Step 1: Thursday morning, top off the water (flowers drink a surprising amount overnight) and pull any bloom that’s fully spent — one sad flower drags down the whole arrangement. Step 2: re-cut the two or three thirstiest stems by half an inch at an angle; it takes seconds and perks them right up. Step 3: keep the arrangement away from the oven’s heat and the fruit bowl (ripening fruit releases ethylene gas that ages flowers faster — I lost a whole arrangement to a bowl of bananas once). Total flower cost for mine last year: $21. Total compliments: I stopped counting after my mother-in-law asked which florist I used. If you’re building the whole table around this, these budget Thanksgiving centerpieces that look high-end are the perfect next read, and if you’re seating a crowd, here’s how to set a Thanksgiving table for 12 without stress.
FAQs
How far in advance can I make a Thanksgiving centerpiece from grocery store flowers?
Two days is the sweet spot: buy and arrange on Tuesday or Wednesday for a Thursday dinner. Most grocery store mums and carnations will easily last 7–10 days with conditioned stems, and roses 5–7, so a Wednesday arrangement still looks fresh through the weekend. Don’t arrange Sunday thinking you’ll “refresh” it — you’ll just be fighting wilted stems.
Which grocery store has the best flowers for Thanksgiving?
Honestly, freshness matters more than the store name. That said, Trader Joe’s, Costco, and Wegmans consistently get mentioned for quality and price (Costco’s 24-rose bunches are famously cheap per stem). Whatever store you choose, use the freshness checks in step 3 — a good bunch at a basic supermarket beats a tired bunch at a fancy one every time.
How much should a grocery store flower centerpiece cost?
Expect $18–30 total: three focal bunches ($4–7 each), one greenery bunch ($4–6), and optional wheat or mini pumpkins ($3–5). A comparable florist centerpiece runs $60–100+, so you’re saving roughly 70% for something guests genuinely can’t tell apart at the dinner table.
Can I use a regular kitchen pitcher instead of a vase?
Absolutely — pitchers, mason jars, and even large mugs work beautifully, and they suit the casual-harvest Thanksgiving vibe better than formal crystal. Just make sure it’s watertight (test it in the sink first), wide-mouthed for easy arranging, and low enough that guests can see over it.
What if my grocery store doesn’t have fall-colored flowers?
Buy white or cream blooms — roses, mums, carnations — and let the fall accents do the seasonal work. Wheat stalks, mini pumpkins, dried orange slices, and eucalyptus around white flowers look incredibly elegant, almost bridal-harvest. You can also ask the floral department if they have more stock in back; holiday weeks often have unput-out inventory.
That’s the whole method — no florist, no stress, no $80 invoice. Pick up your bunches Wednesday, condition them properly, build on a tape grid, and let wheat and mini pumpkins do the Thanksgiving heavy lifting. If this is your first year hosting, you’re going to do great; the bar for “impressive” is honestly just a full, fresh arrangement at the center of the table, and now you know exactly how to make one. Happy Thanksgiving.